I have been planning away at my drawings for an On18 model railroad for about five years to test out projects before getting out the 'big tools' for the big train outside. Inspired by the arrival of my On18 'teakettle' conversion kit which need running in before work could begin I decided, 'I think I'll build a model railroad tonight'.
|
The HV and SF Tram is not really a model of our railroad around the ranch, just the rolling stock and locos will be. Actually they will be what we want on the ranch, someday... Spiffy little Porters and Forneys pulling strings of wagons and well kept passenger cars full of happy patrons. |
I got out my scraps of 1 1/2" gray foam left from an insulation job and a couple of pieces of foamcore board, started drawing and cutting and gluing. That was December 31 and here's what I got after about five hours:
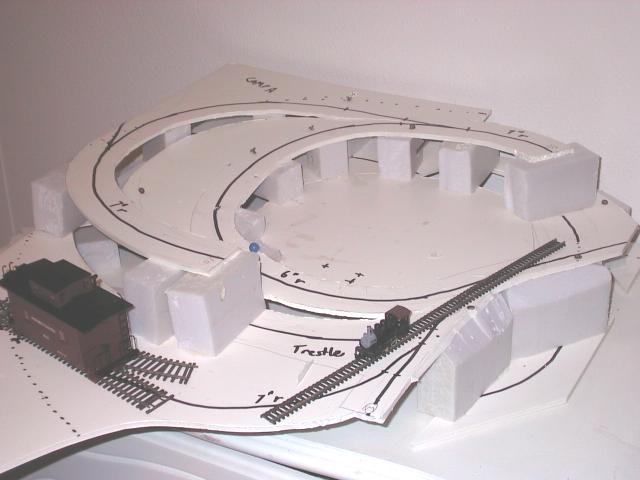
Seen are my Bachmann On30 caboose (just to show size, there is no 30" gauge on this part of the layout) and N-scale Bachmann 0-4-0 shifter donor for my Kennebunk Models On18 conversion kit.
This is the top loop and part of the middle level of my planned three level 2 1/2 x 4' layout. It is about 24x30" and uses mostly 7" radius curves, except for the inner spiral loop which is 6", way to sharp and way too steep, but that's what was required to make it all fit in the rugged terrain. In the back corner you can see 'Camp A', the first shingle bolt cutting camp, supposedly in High Valley, a town just North of Gem County, Idaho, where I live. I am working on a little 8' turntable mounted on a 1/8" phone jack and plug for it! The switch near Camp A is to lead off this layout to section II which will contain the town of High Valley and Camp B.
Behind the caboose is the lead to Mine 2, off the layout also on section II, though I might move it onto this layout as Section II is a long way off.
A couple days and three hours more work with lots of white glue and 8 penny nails, the mountains were starting to take shape:
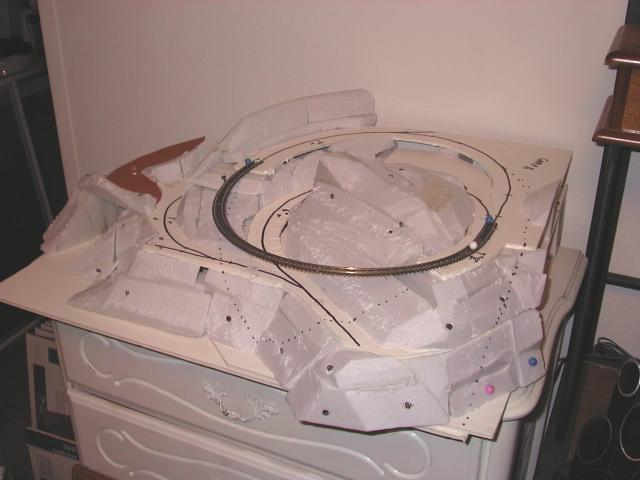
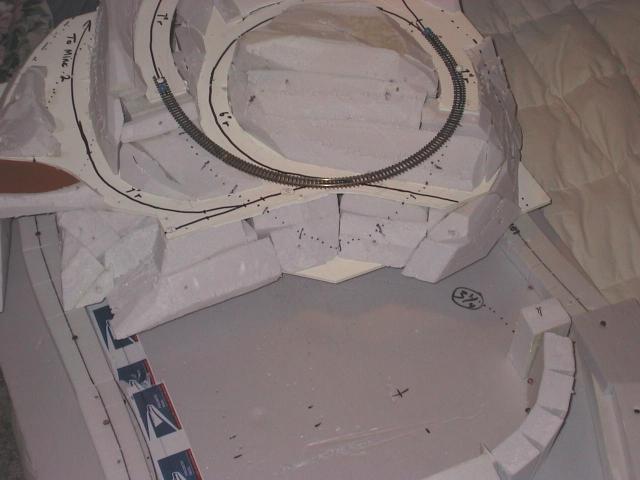
I have a piece of Atlas flex pinned in place to show where the big trestle will go. The dotted line on the right is where the main lower loop will go and a tunnel portal will be cut in the foam (you can see on the far side approximately where the other portal will be). The mid level track on the near side of this photo is on a high fill above the Payette River, so I had to start building the lower loop to figure out how it would all fit. I will take some photos and add them.
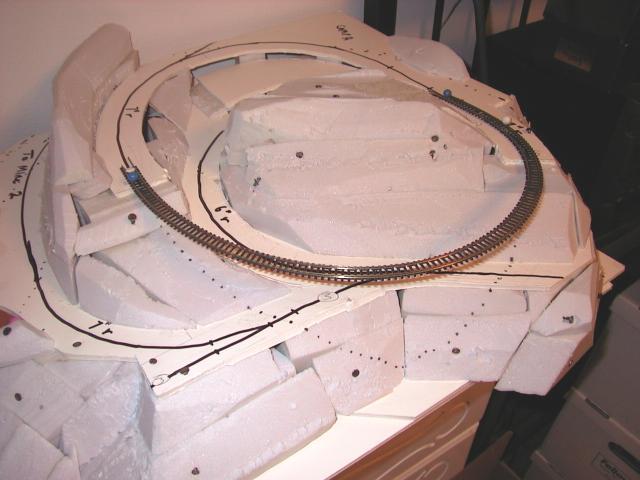
Another view. I have since found that for everything to fit my ideas for the terrain, the mid level track will have to go onto a trestle about four inches sooner than I built it (right foreground), so the styro will simply be cut off and reglued. It will end up being a 'double trestle' like the old Roaring Camp and Big Trees had until 1976 when it burned. Not planned, but it should be interesting.
The funky skinny ridge in the upper middle will be covered with trees and growth to conceal its steep narrow shape. The track that ends in the left foreground goes onto an unloading trestle, across the lower main and to the standard gauge Idaho Northern loading dock at Smith's Ferry. I still have to figure out how I'm going to make it all fit, but it doesn't bother me if it 'grows' a little in spots, I would rather have it true to my original vision than fit perfectly into a rectangle!
1/20/2002 It was snowing pretty heavy today, so I decided to do a little creative engineering indoors.
Here are two photos of the 'high loop' section sitting over the beginnings of the lower loop to see if it will all work. It should fit just fine if left all On18, but if I want to make the lower loop all dual On30/On18 (instead of just the front track which will go off each end of this section to possilby connect with other On30 modules) it is going to be a little difficult to get it all to fit and fit my standards.
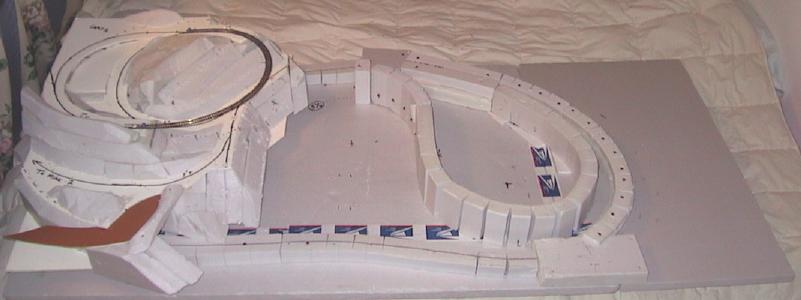
I feel 6" radius is the tightest I want for my On18 tram tracks, 7" is better. For On18 tracks where longer passenger cars will be used, 10 to 12" radius is acceptable. I have found that using a minimum radius about 1.8 times your longest car seems to work about right; the tram will use cars up to about 16' (4" in O-scale) 4x1.8= 7.2" radius. My passenger cars will be up to 24' over the body, 28' (6 1/2" in O-scale) over the end platforms. 6.5x1.8= 11.7" radius. This is about the same relationship of car length to radius on the Bachmann On30 passenger cars on 18" radius track and about the same as the really sharp radius portions of the Uintah Railway in Colorado and Utah (66 degree curves equals about 90' radius, I believe the standard narrow gauge passenger cars they used were about 48' overall length.
For On30 a minimum of 12" radius would work for freight cars and 'shortie' passenger cars, but I planned to have a 10" radius on the curve in the right side of the photo, which is smaller than I want to go (especially because it is in a tunnel!) To rework it to 12" radius and maintain the nice gentle curve above the 10"r. part (compound curve of about 32" radius), I will have to add maybe four inches to the front of that part of the layout. This may alter it too much from my original plan, which I really like. I'll probably put wider roadbed down and try it out with flex track to see how it all works before gluing anything down. Of course I'll have to make sure there is enough vertical clearance too, but that isn't too hard here, just need an extra 1/2" or so. We'll see. I've got about 11 hours of actual building time into it so far, but far more 'imagineering time'...
Web design by:
Posted10.02.2002
Edited 30.09.2002