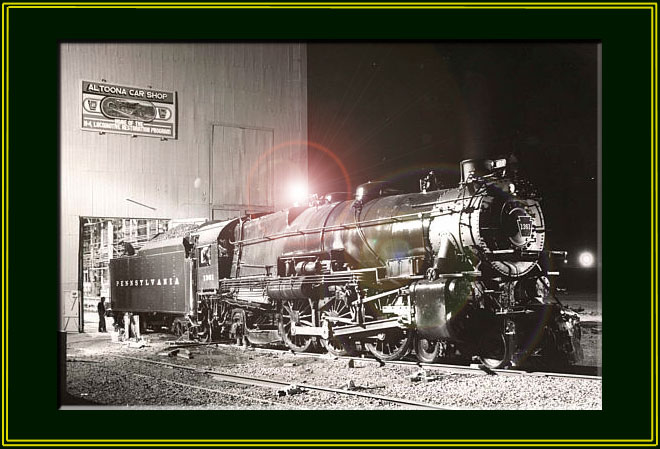
The PRR K-4s #1361
Steam Locomotive Restoration Project
Page 14
(This site is provided as a courtesy of the Altoona Railway Museum Club)
August 2003 K4 Update
These photographs were taken between January 2003 and August 2003 by Charles Cantrell, 1361 Volunteer..
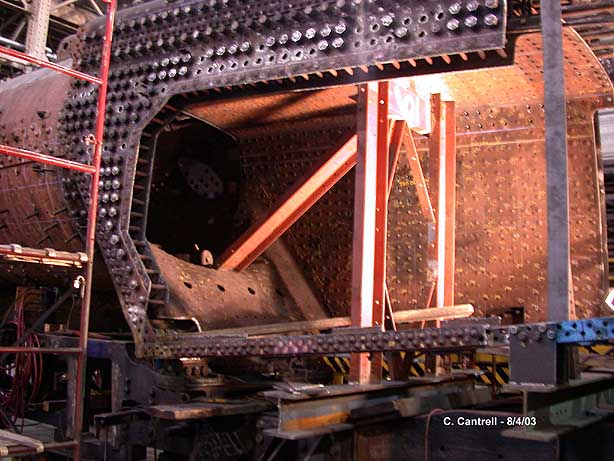
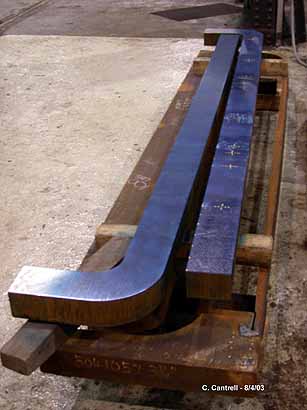
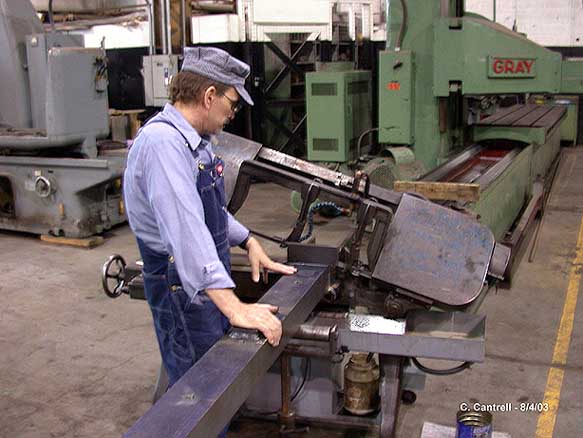
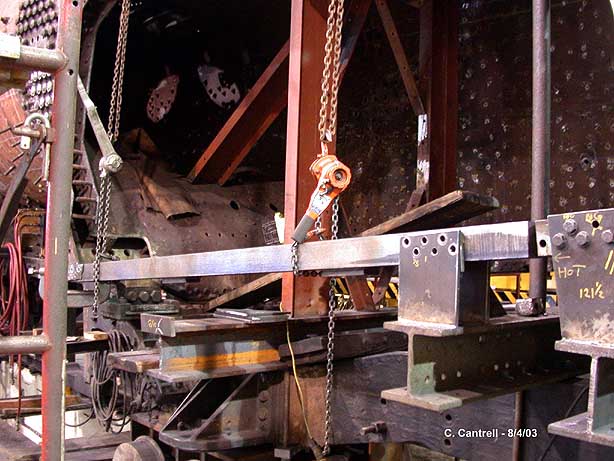
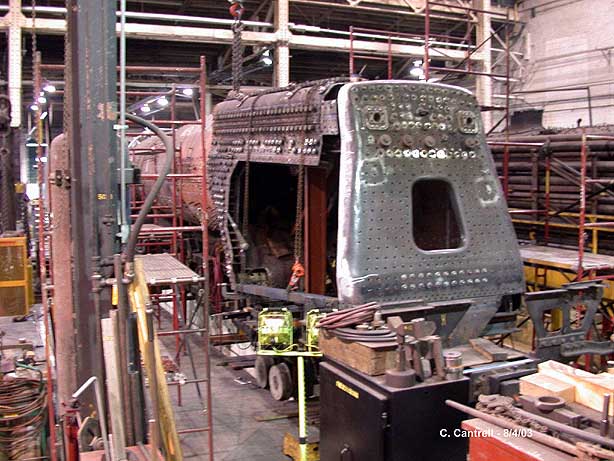
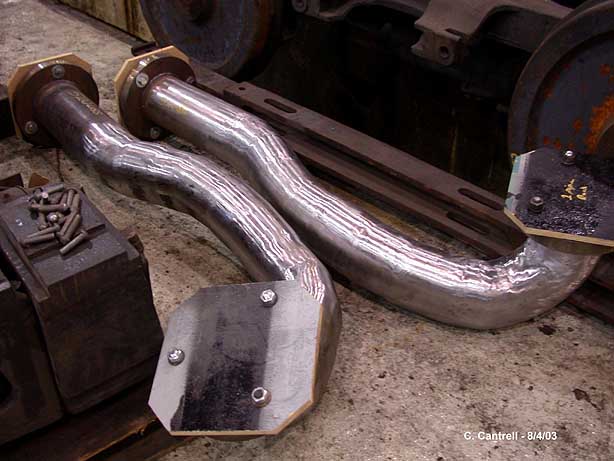
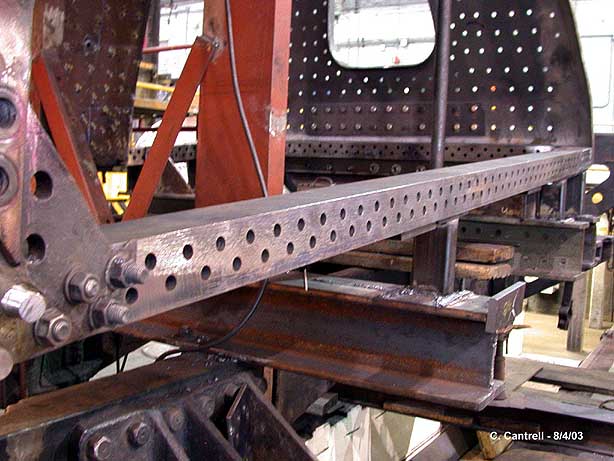
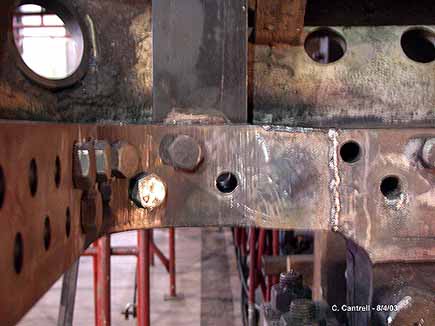
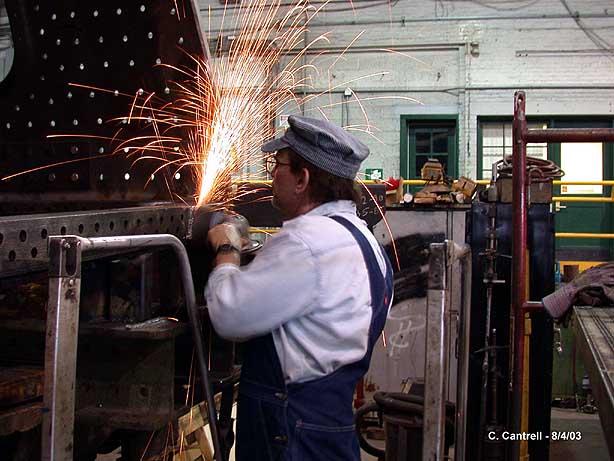
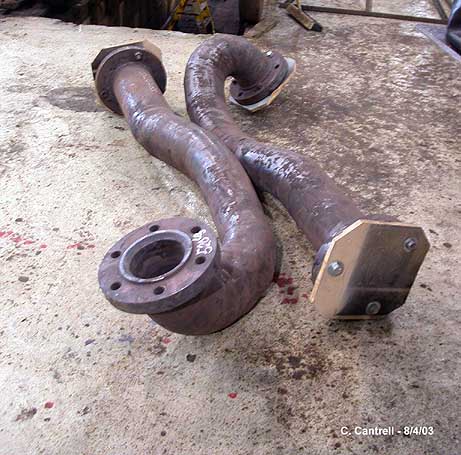
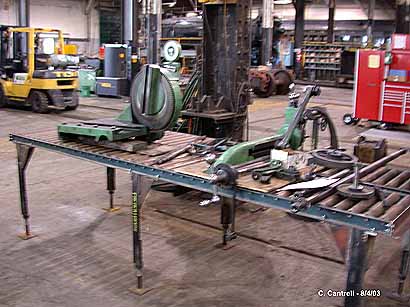
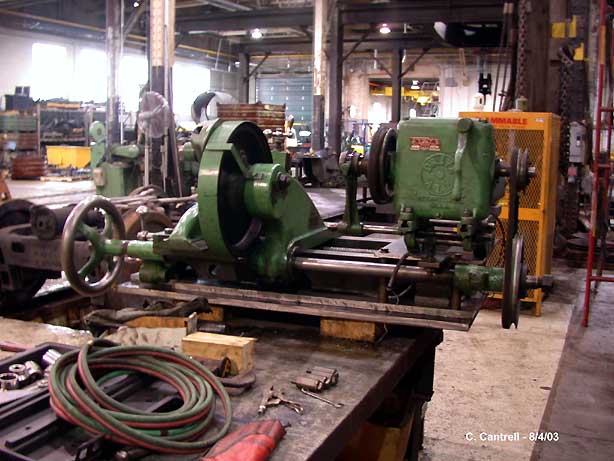
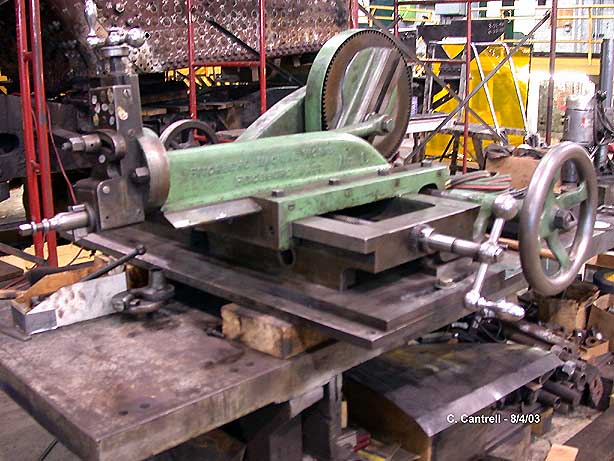
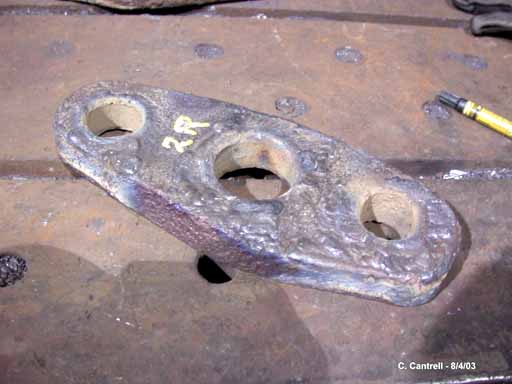
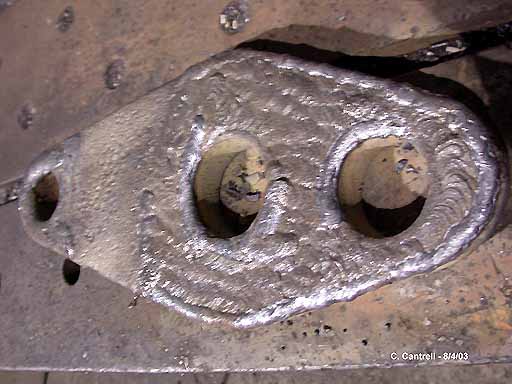
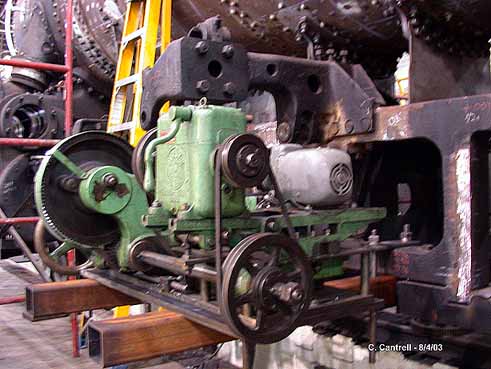
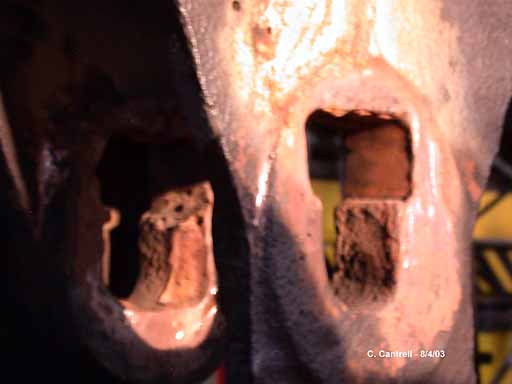
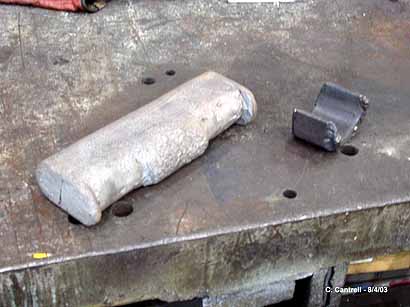
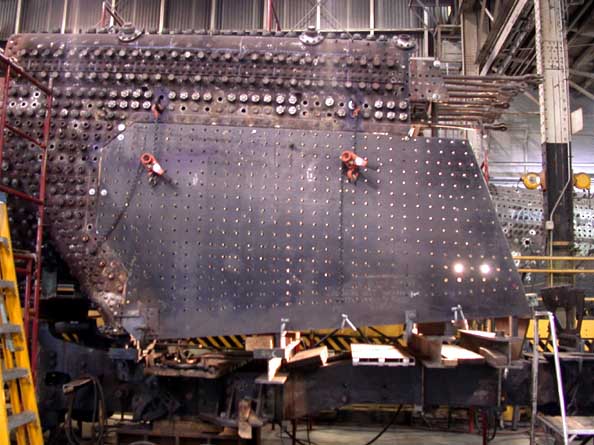
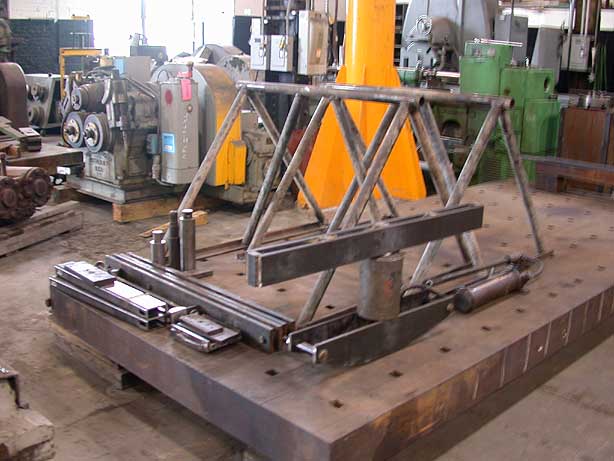
New Sheet Material Arrives And Is Ready For Markup For The New Firebox Side Sheets. Newly Cut Inner And Outer Sheets Ready For Further Fabrication. Part Of Temporary Bracing To Support Crown Sheet and Roof Sheet During Side Sheet Repairs. Firebox Inner And Outer Sheets Removed. Old Mud Ring Section Is Still In Place. Backhead Has Been Reinstalled For Alignment Purposes During Firebox Side Sheet And Mud Ring Replacement. Close-up Of Firebox Showing Side Sheets And Mud Ring Removed. Old Mud Ring Removed From Fireman’s Side New Mud Ring Sections Cut From 36” x 130” x 4” Sheet Steal By Windgate Alloys. Fireman’s Side Mud Ring Section Set Up On Power Saw For Cutting To Size. Volunteer Charles Cantrell Cutting New Mud Ring Section To Proper Length. New Fireman Side Mud Ring Section Set In Place For Further Markup. Overall View Of Side Sheet And Mud Ring Project. New Mud Ring Is Temporarily Held In Place. Art Leighty Drills Rivet Holes In New Mud Ring Section. Finished Steam Delivery Pipes With Caps To Protect Flange Seats Are Readied For Heat Treating. View Showing The Newly Completed Fireman Side Mud Ring Section. View of Mud Ring Showing Completed Weld On Inside Of Throat Sheet. The Weld Must Now Be Ground To Complete Work. Patch Bolts Have Been Drilled And Installed To Hold Mud Ring To Throat Sheet. Next The Bolts Will Be Cut To Proper Size And Hammered Down. Volunteer Charles Cantrell Grinding Mud Ring After Welding. Grinding Is Necessary To Make The Two Sections Uniform. Close-up of New Mud Ring Section After Welding And Finial Grinding. Steam Delivery Pipes Back From Heat Treatment. Parts Salvaged From An Old Shaper Will Be Used To Build A New Shaper For Work Necessary On 1361’s Frame. The New Shaper Will Be Used To Reshape The Worn Equalizer Pockets On The Frame After They Are Built Up By Welding. Base Sheets Being Fabricated For A New Pocket Shaper. Construction Of New Shaper Construction Of New Shaper Volunteer Walter Elvidge Machining New Replacement Studs For 1361. Pony Truck Equalizers And Steam Dome Arrive Back At Steamtown From Heat Treatment Facility. Close-up Of One Of The Worn Brake Rigging Links Volunteer Charles Cantrell Builds Up Worn Locomotive Brake Rigging Parts In The Weld Shop. View Of Brake Rigging Link After Build Up. Another Example Of Buildup Work On A Brake Rigging Link For 1361. The Part Will Now Be Ground To Proper Shape. Volunteers Tom Diehl And Walter Elvidge Drill Pilot Holes For Stay Bolts On New Firebox Side Sheet. The Old Inner And Outer Side Sheets Are Visible In The Foreground. Inner Firebox Sheet Is Held In Place For Markup, View 1. Inner Firebox Sheet Is Held In Place For Markup, View 2. Right View Of New Pocket Shaper Mounted On Locomotive Frame. Left View Of Pocket Shaper Mounted In Place On The Locomotive Frame. One Of 4 Badly Worn Pockets Can Be Seen In This Photo. Close-up Of The Inner And Outer Gib And Bushing Pockets. One Can Clearly See The Wear. The New Shaper Will Be Used To Reshape The Pockets After Buildup By Welding. Pictured Are An Old Bushing And Gib. The Gibs And Bushings Are Used To Support The Equalizers In The Locomotives Frame. Volunteer Tom Diehl Doing Final Drill Work On Outside Firebox Sheet. Newly Formed and Drilled, Fireman’s Side, Firebox Side Sheet Is Held In Place For The Final Markup Of The Rivet Holes Along The Mud Ring. Close Observation Shows The Front Edge Of The Sheet Has Just Been Formed Using A Torch And Sledge Hammers Near The Lower Left Corner Of The Sheet.....> .....After Final Drilling, The Bottom Of The Sheet Will Be Cut To Size, The Sheet Will Then Be Mounted In Place In Preparation For The Inside Sheet Installation. With The Light Behind The Sheet, One Can Clearly See All Of The Newly Drilled Stay Bolt Pilot Holes. Tool Fabricated To Cold Form The Firewall Side Sheets. The Tool Was Then Mounted On The Side Sheet. Hydraulic Pressure Was Then Applied To Form The Sheet To The Contour Of The Old Side Sheet And Firebox Per Engineering Drawings.
Stay tuned for additional photographs of the PRR K-4s #1361 Restoration!!