Construction Photos and Blog
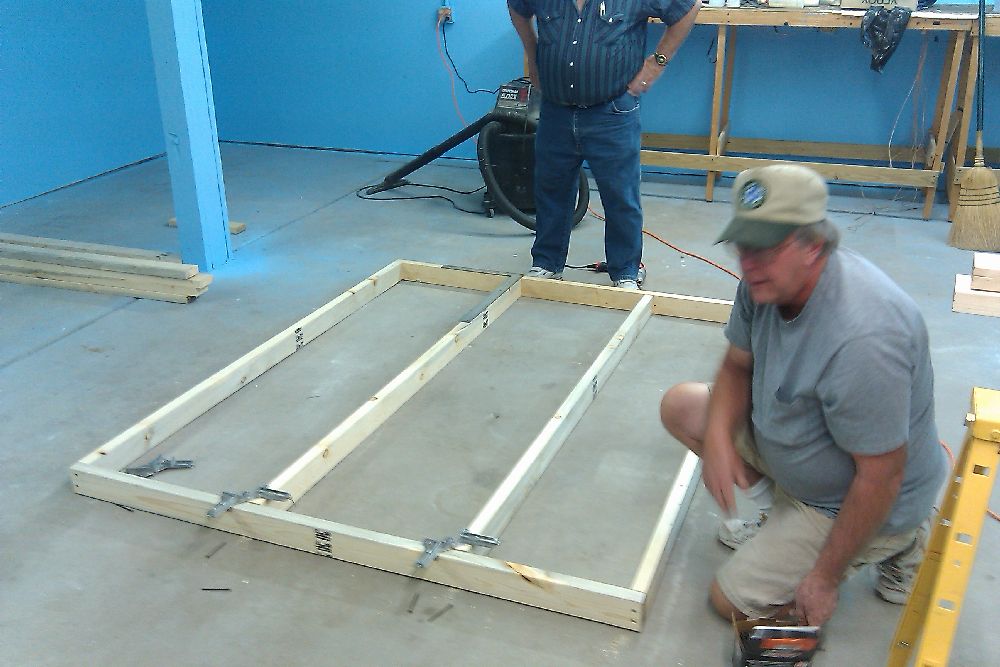
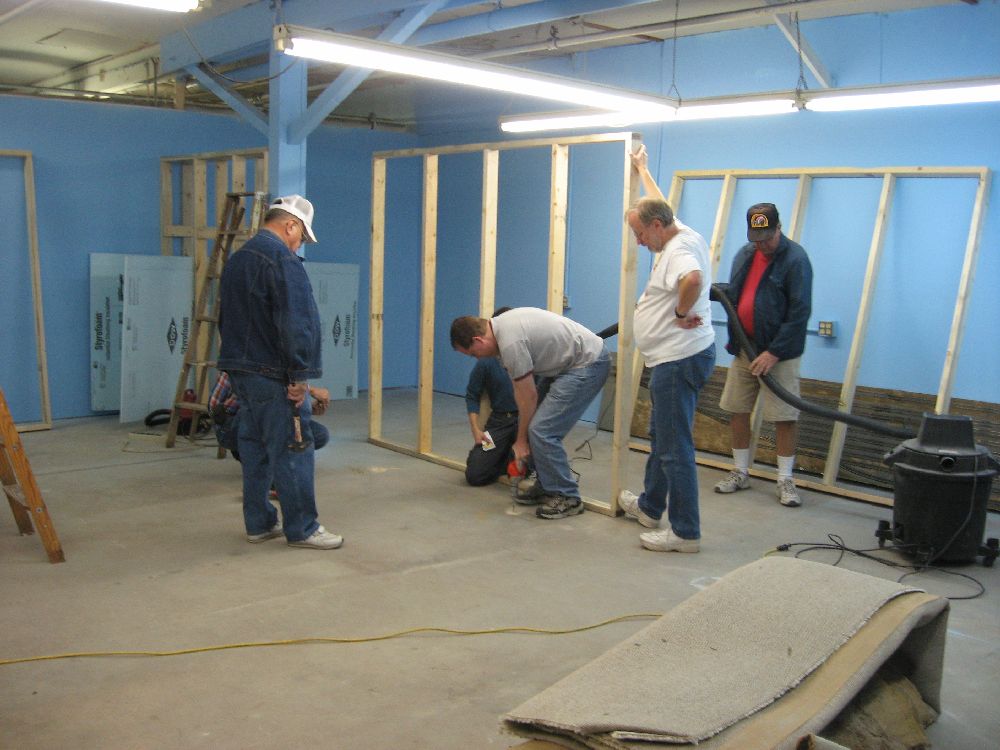
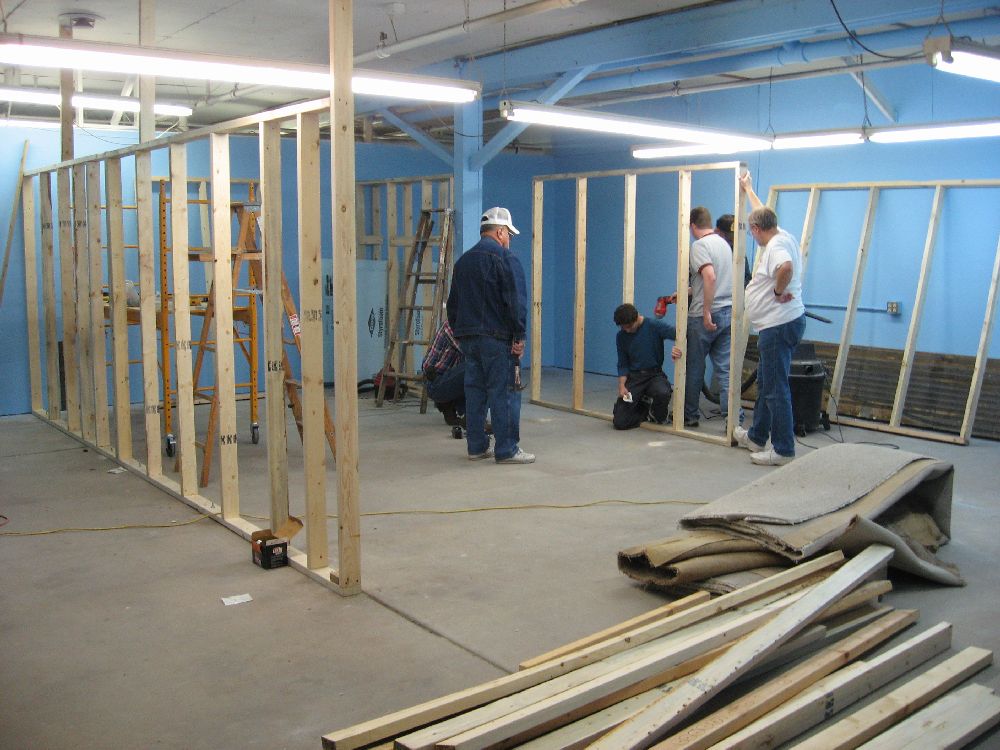
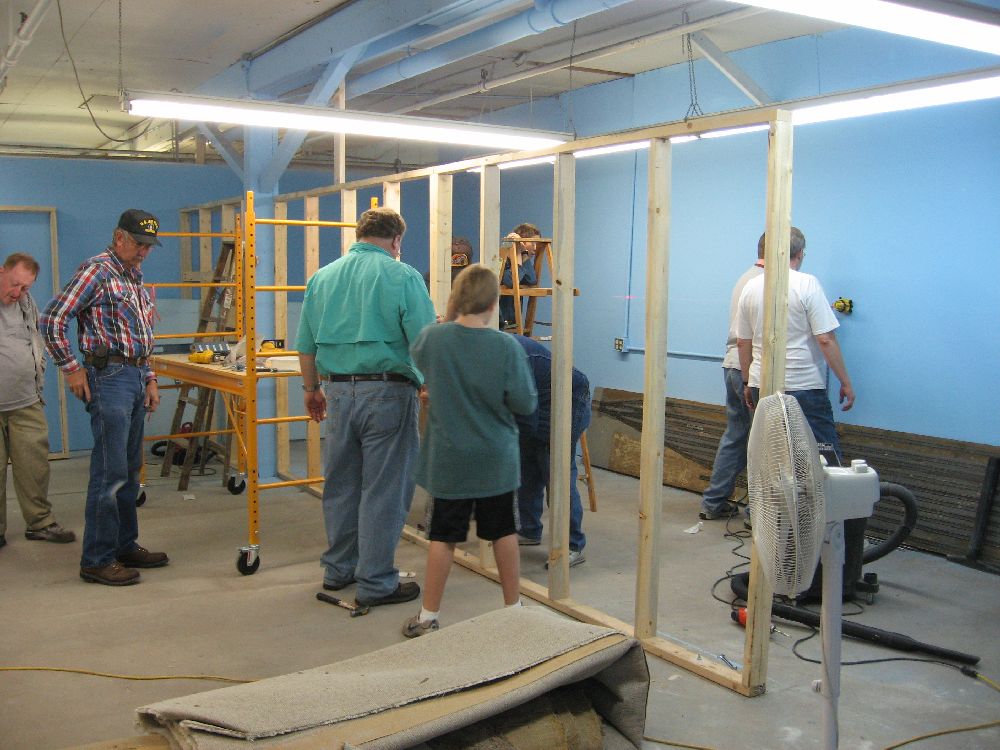
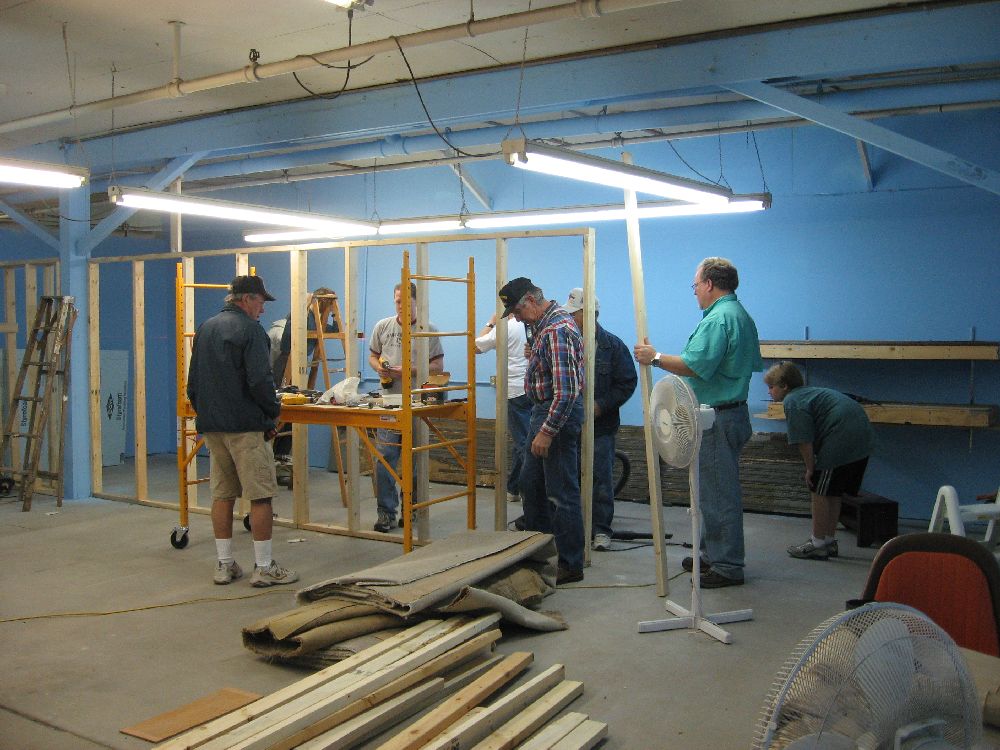
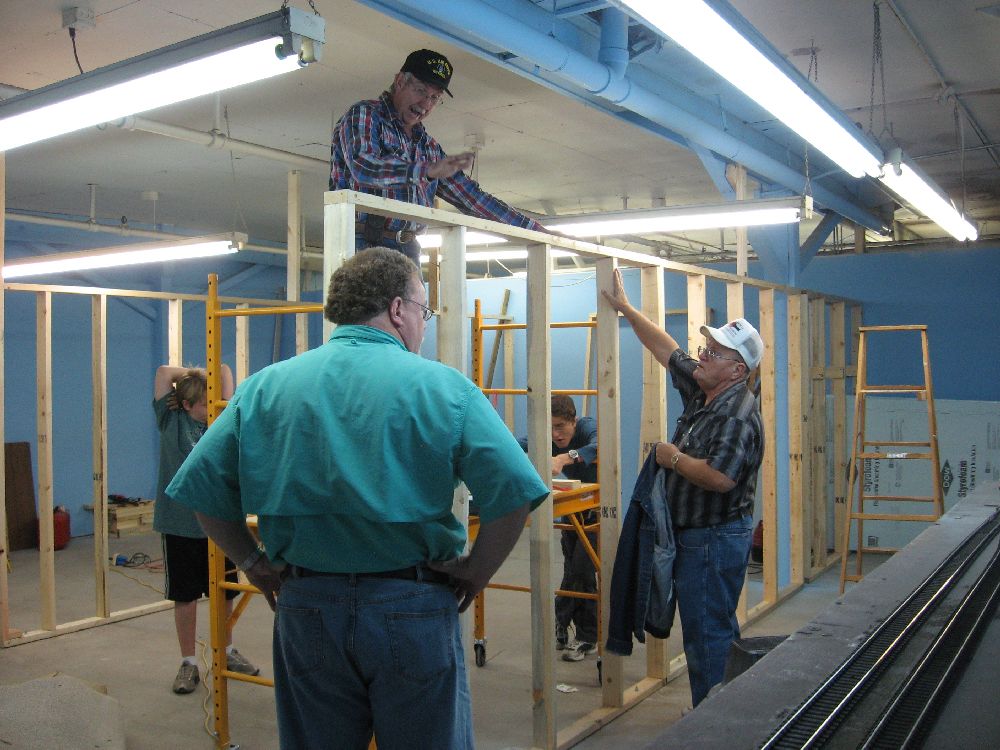
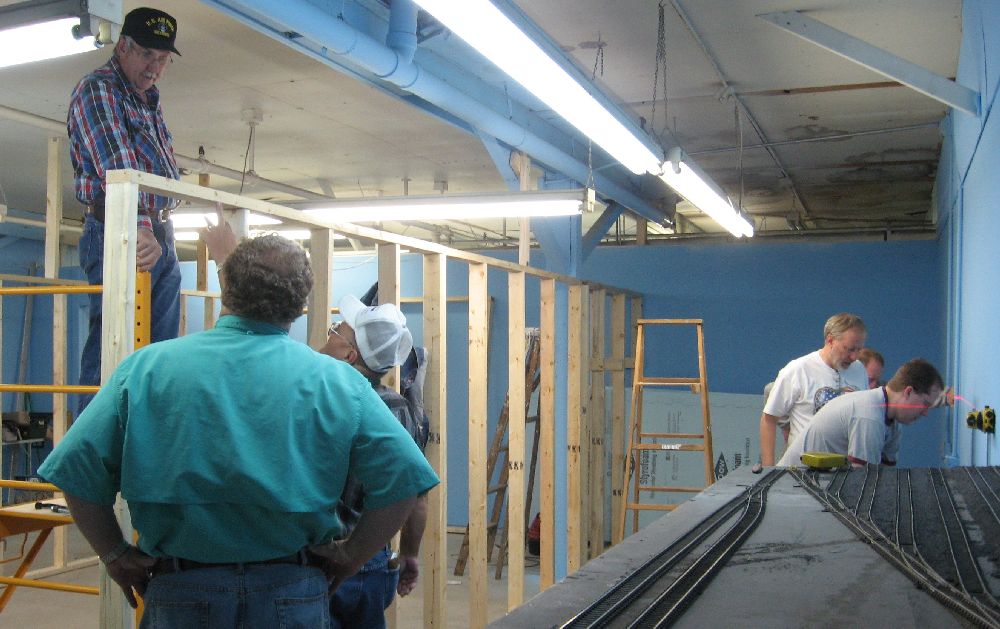
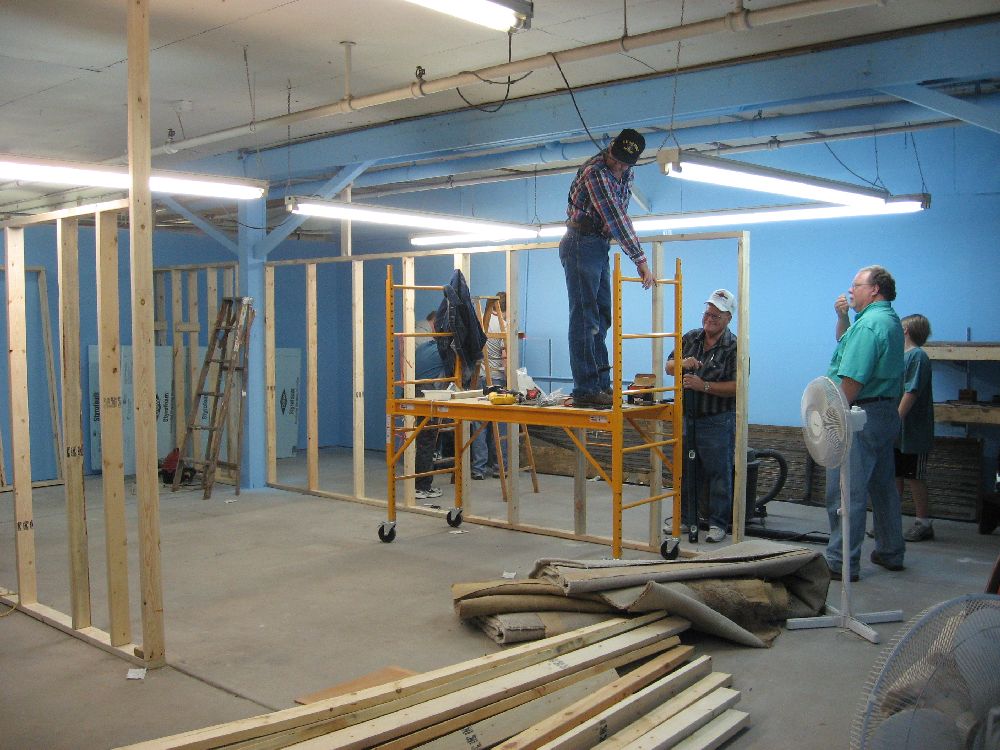
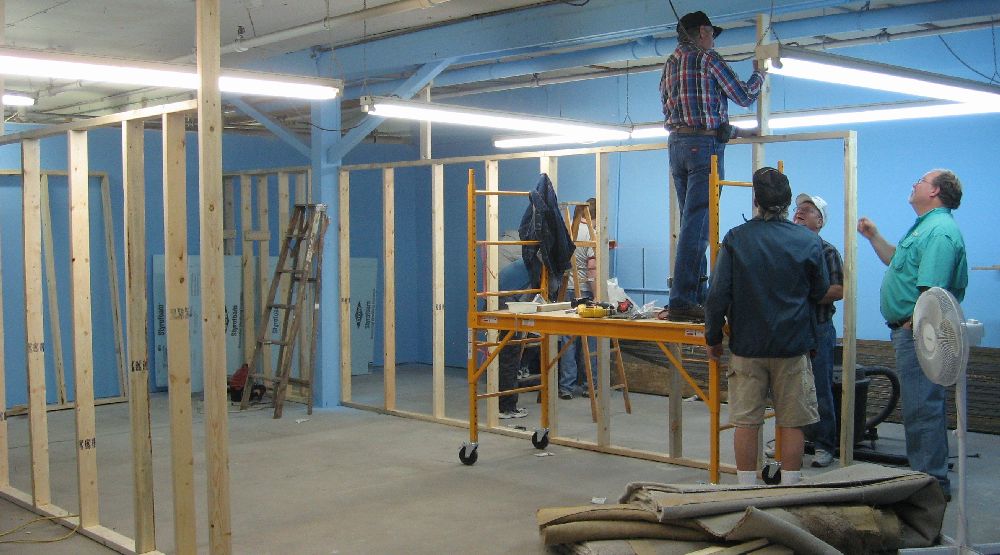
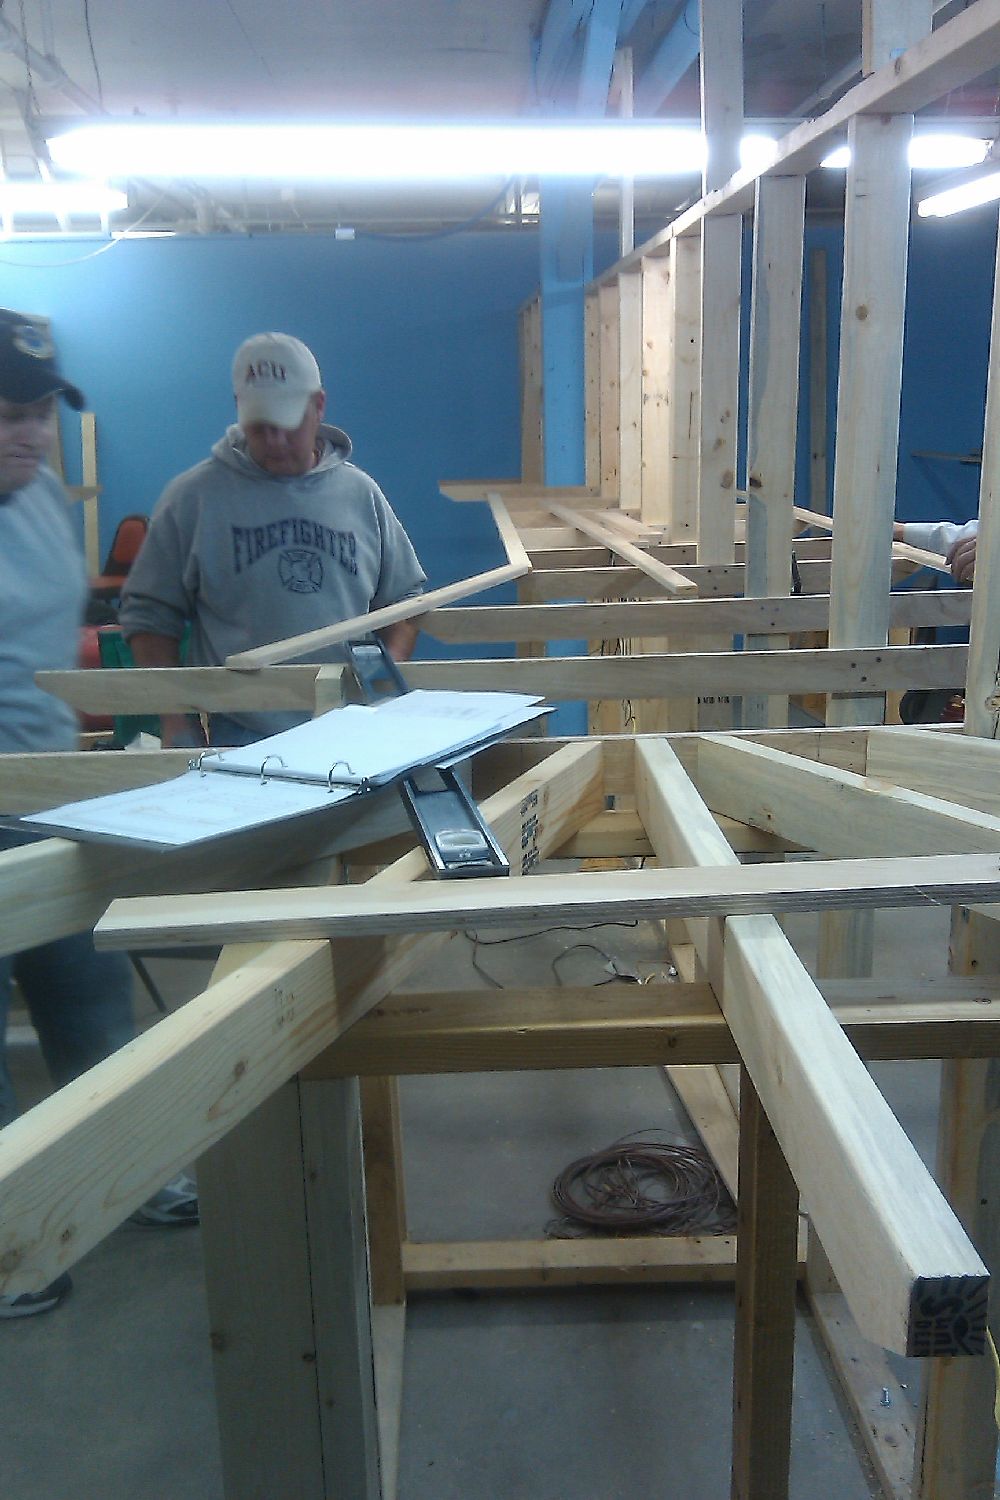
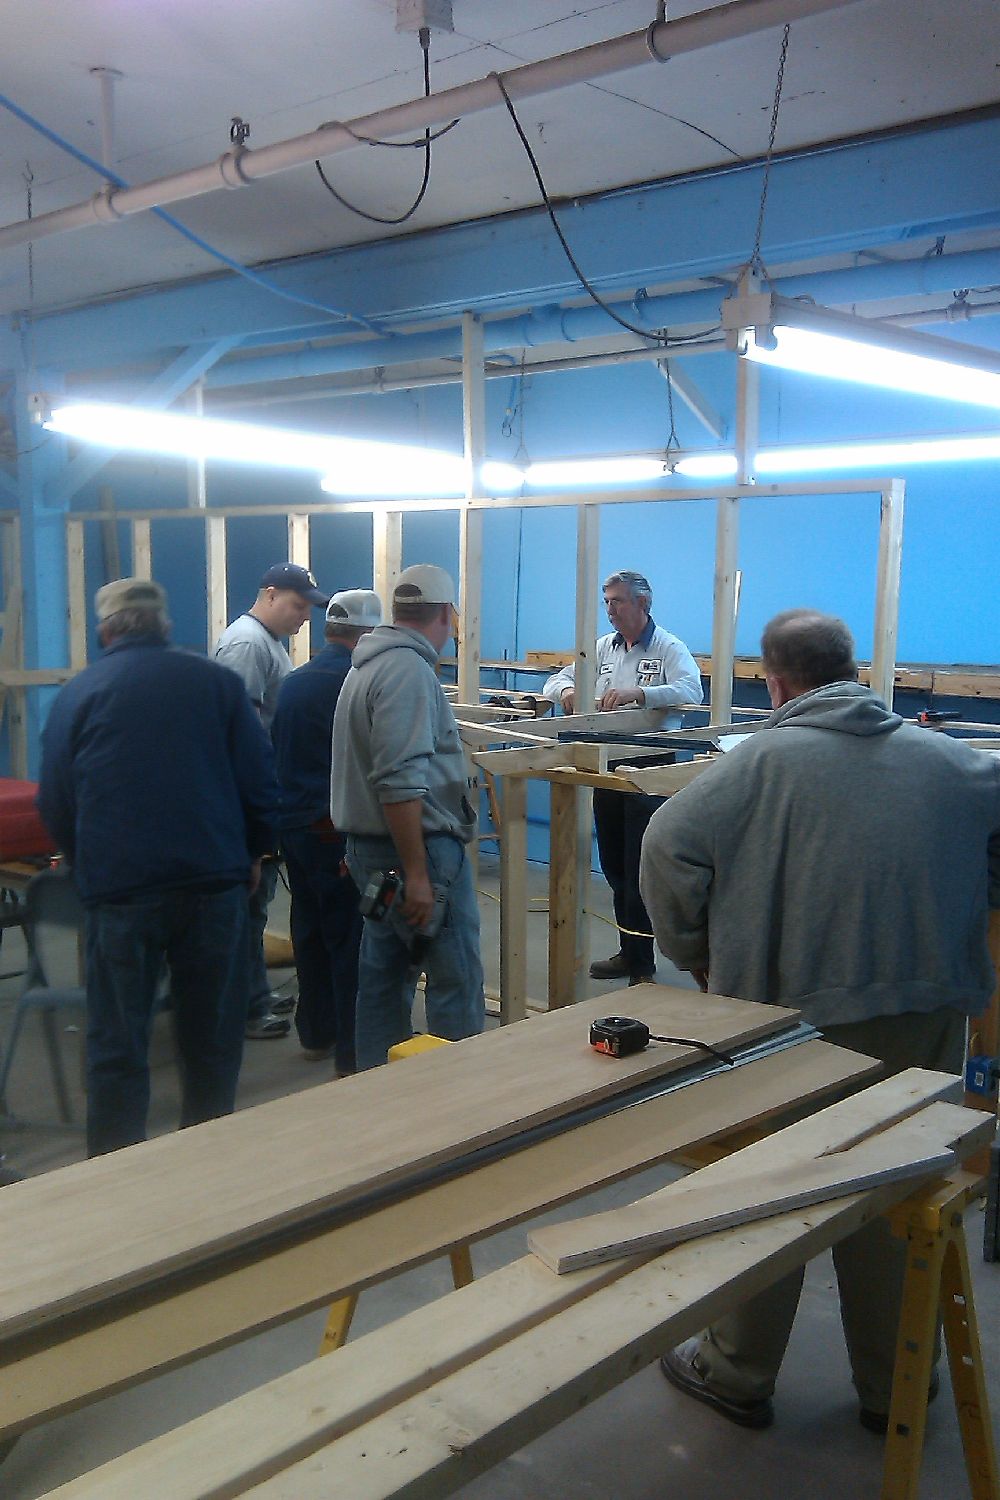
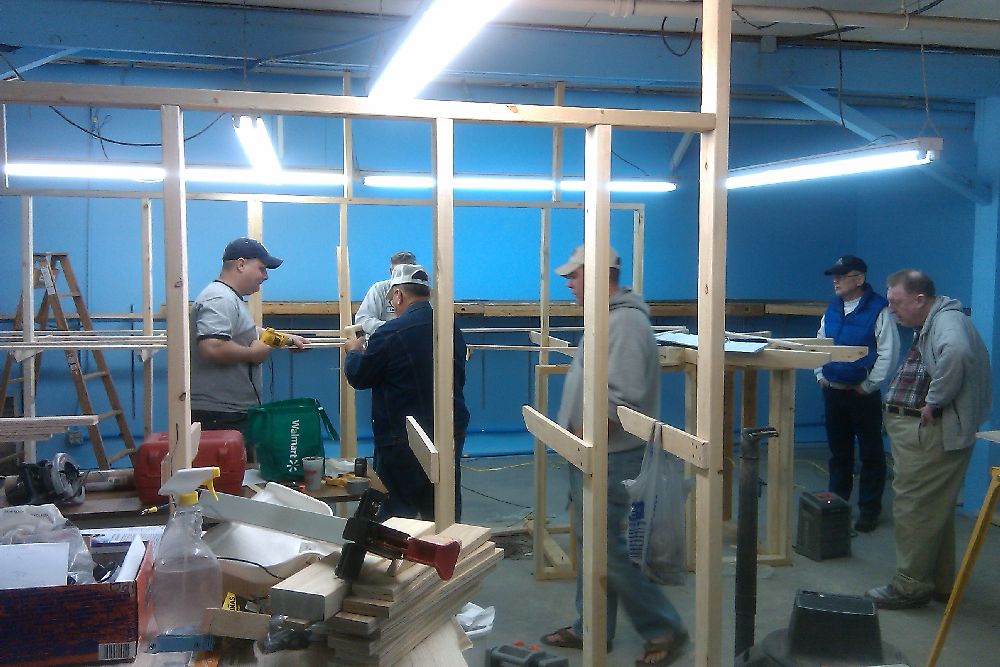
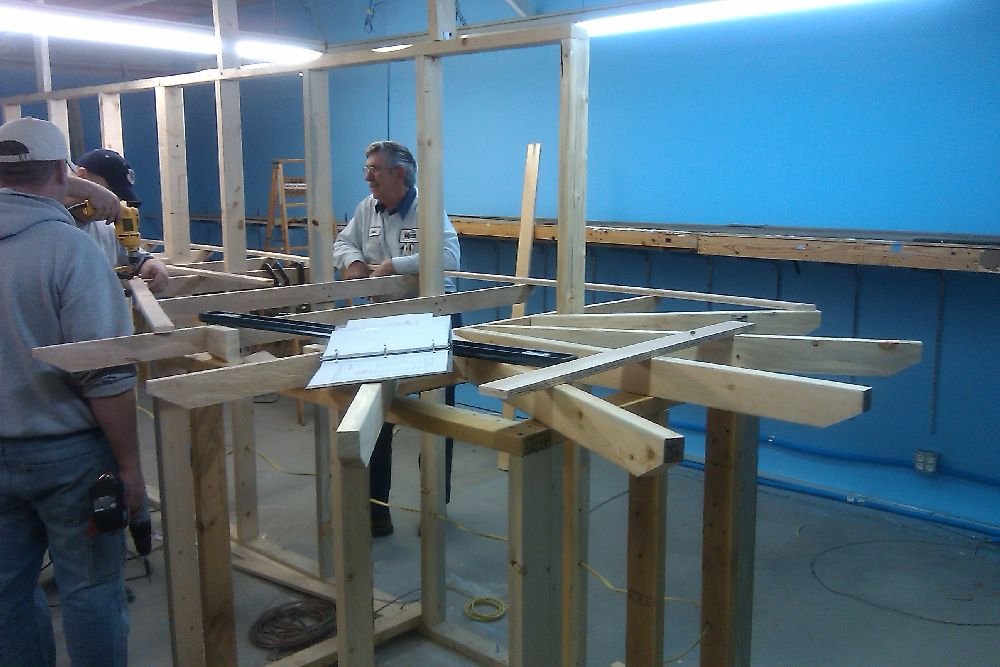
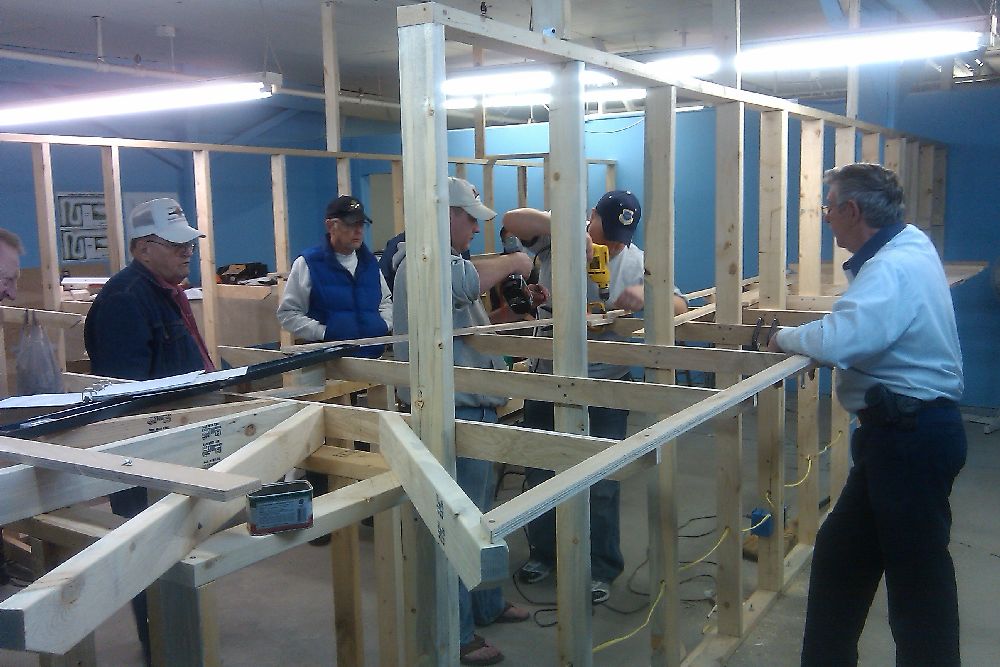
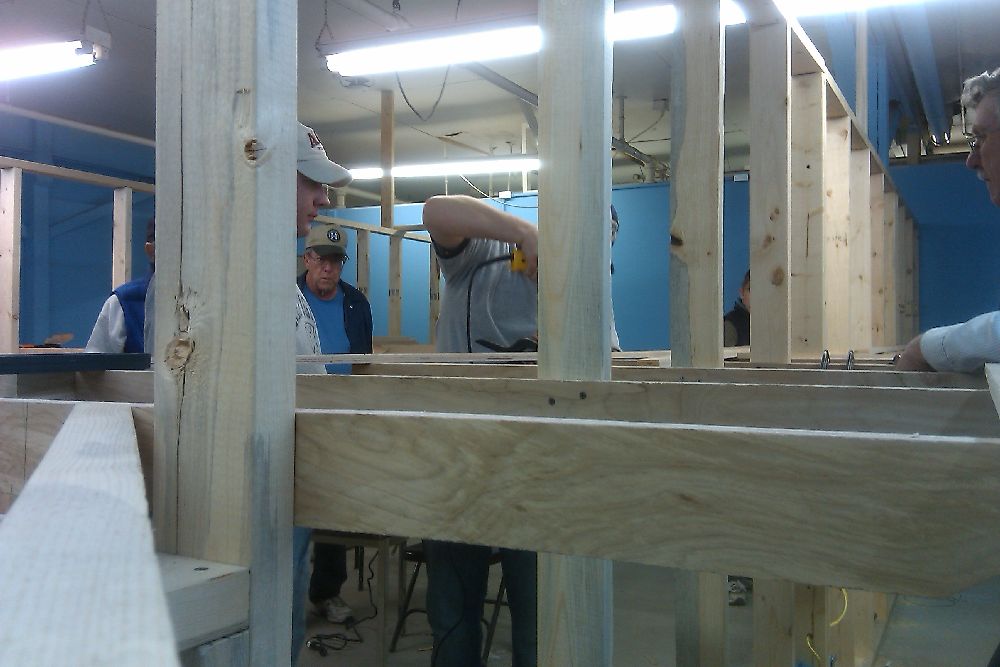
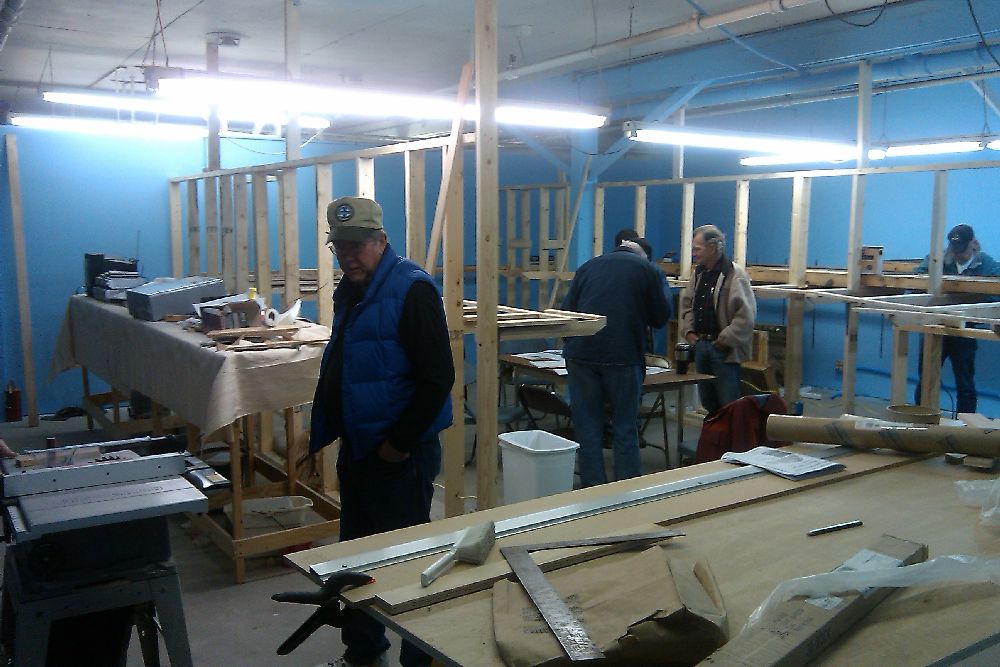
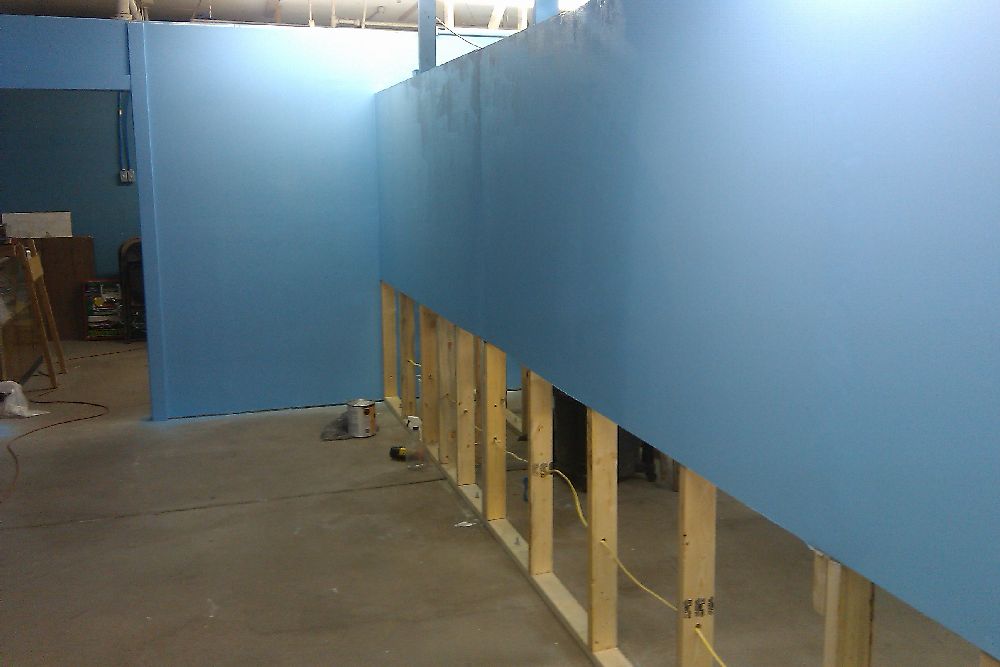
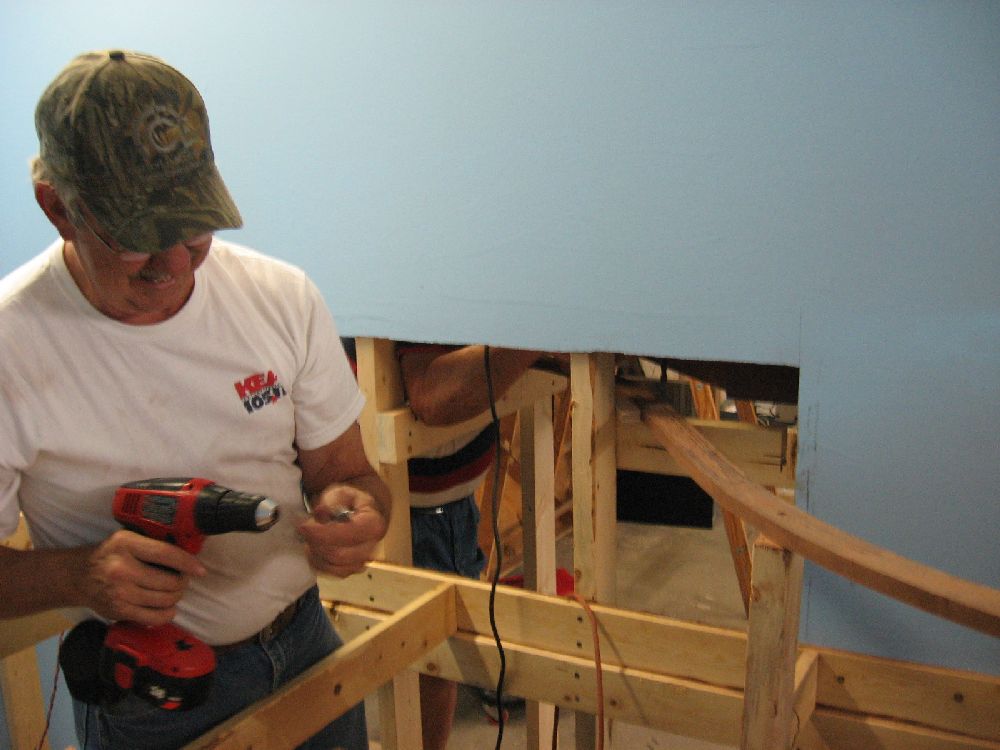
November 2010 - Walls going up
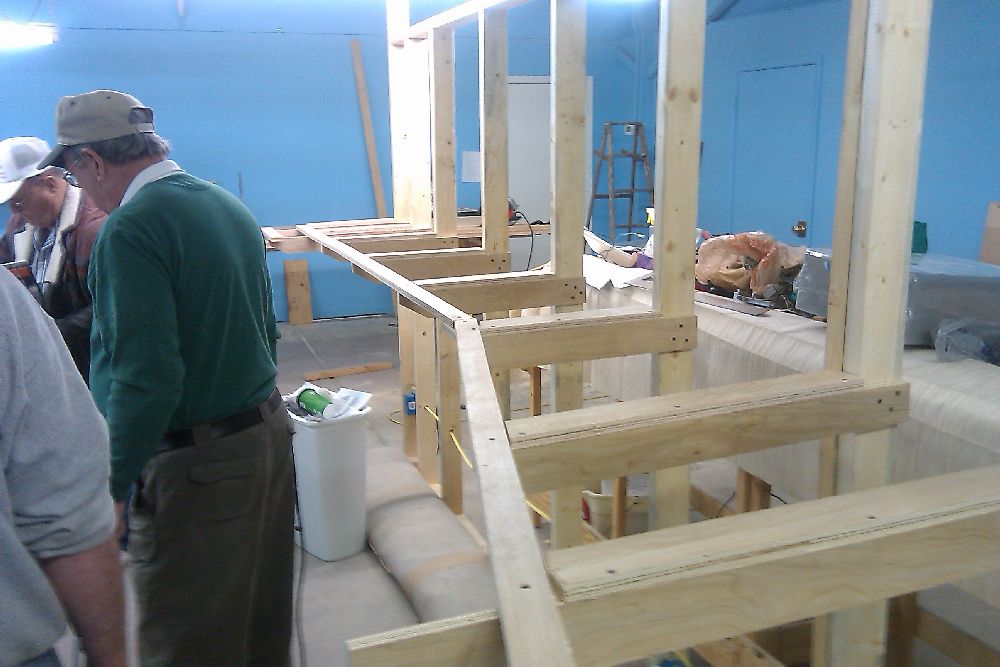
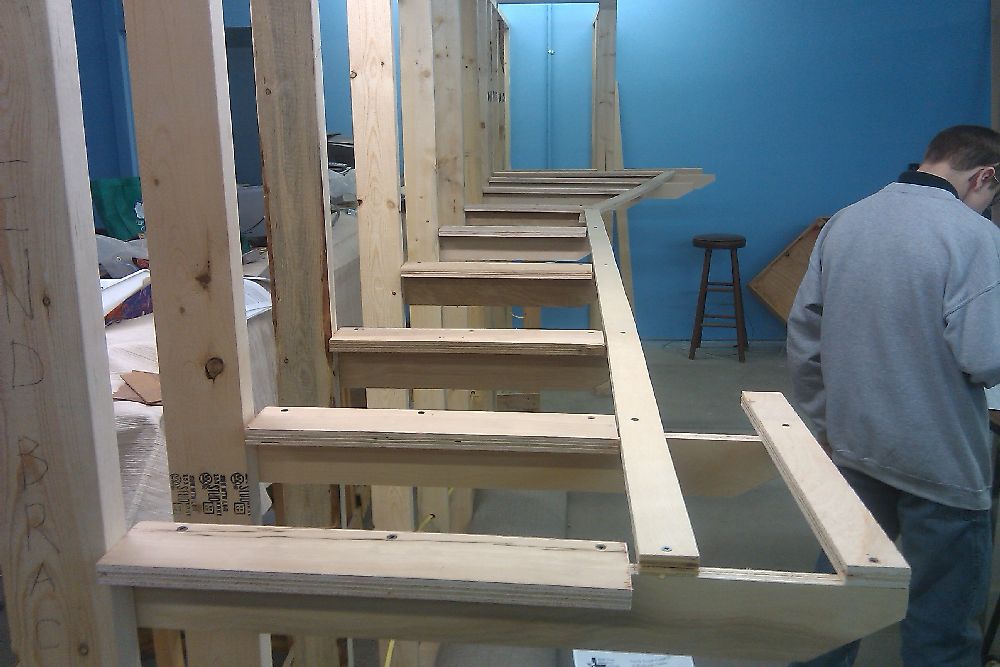
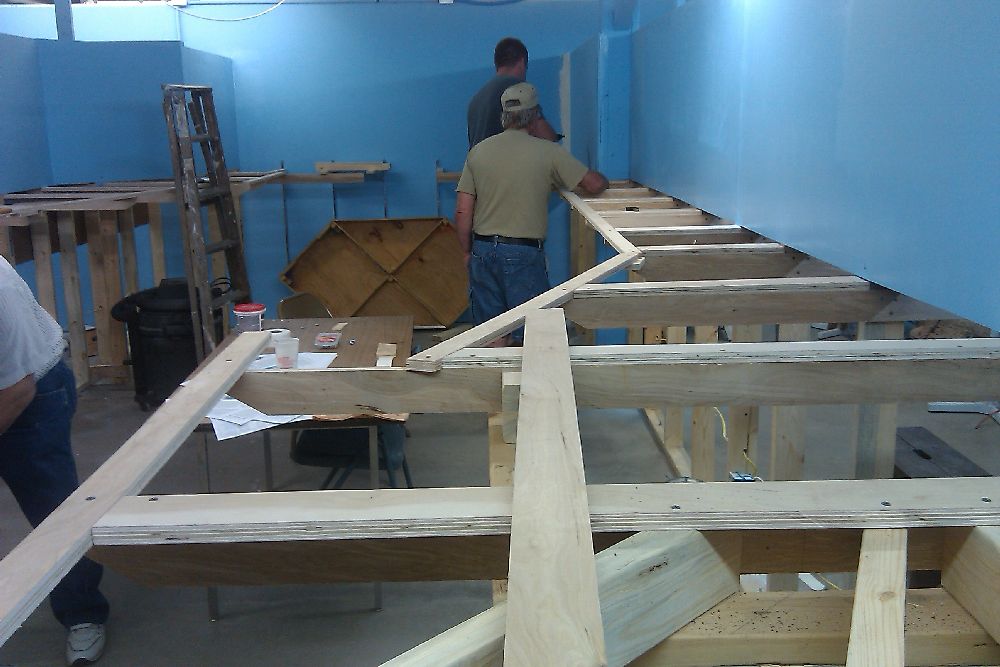
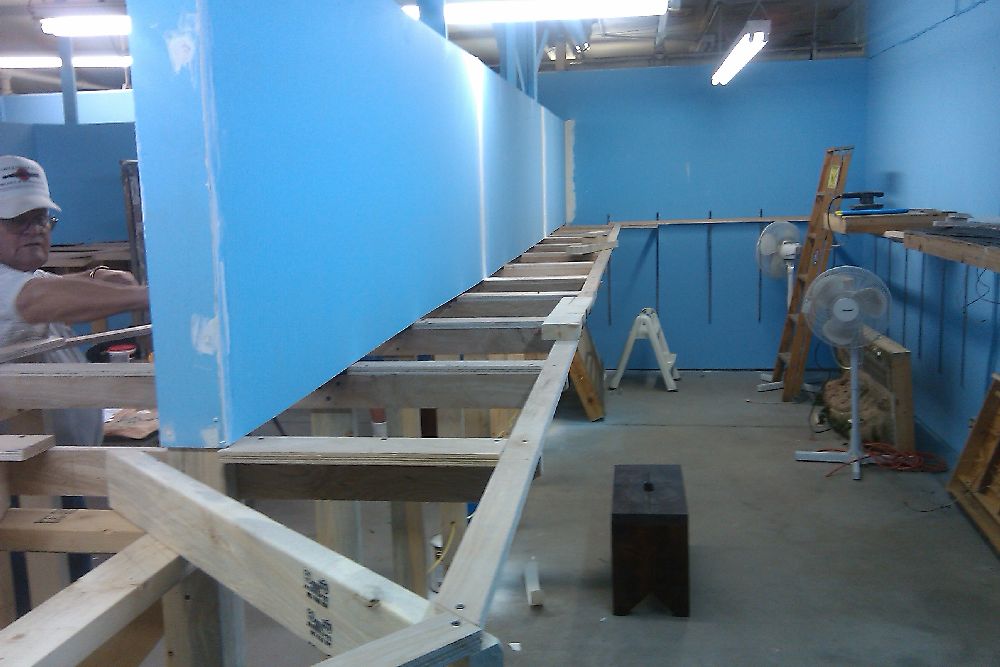
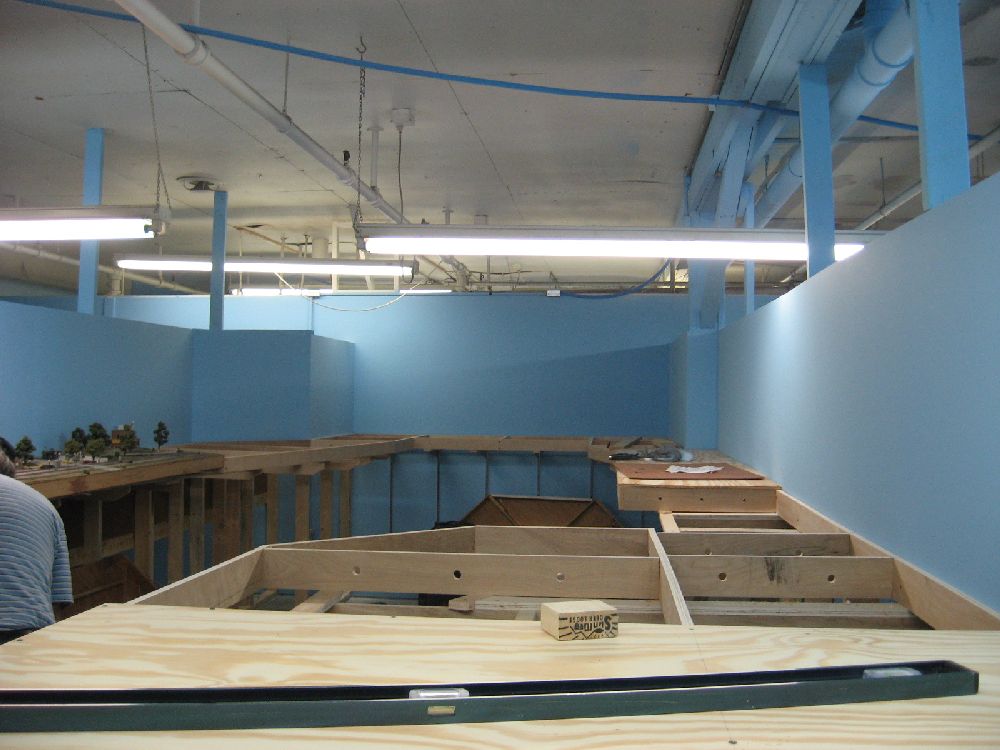
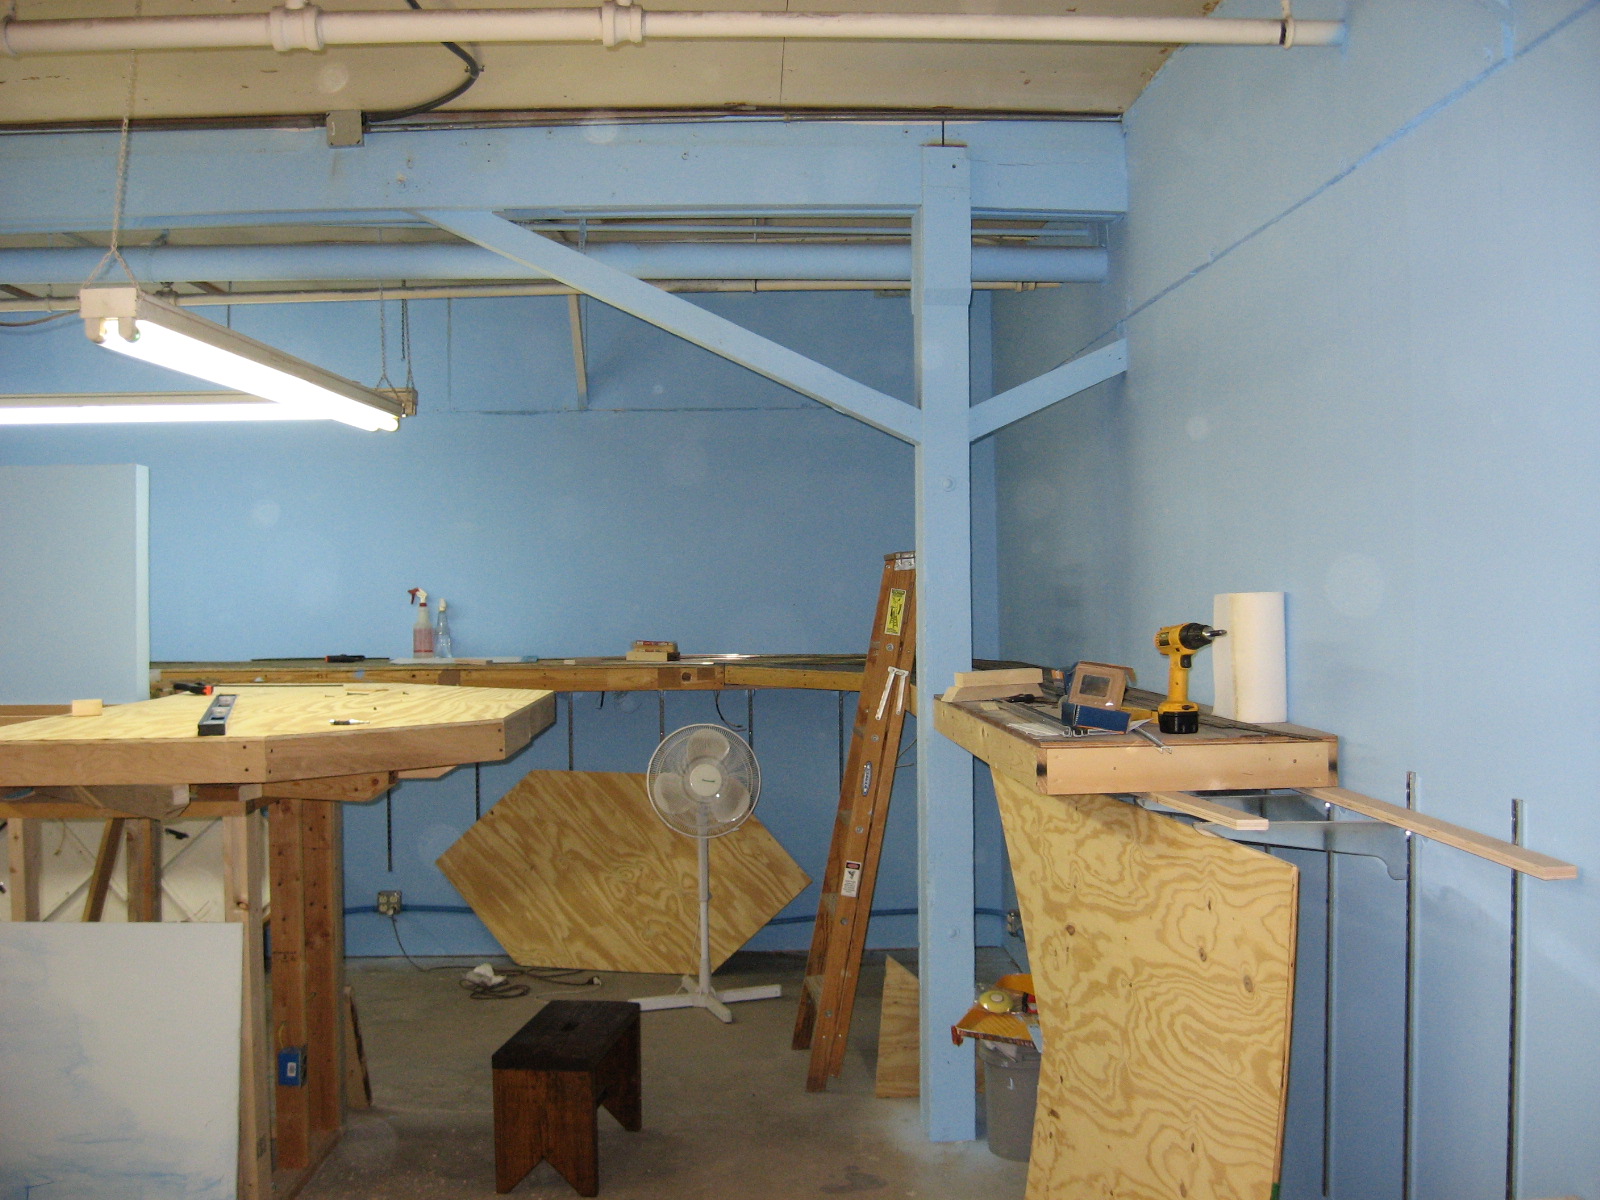
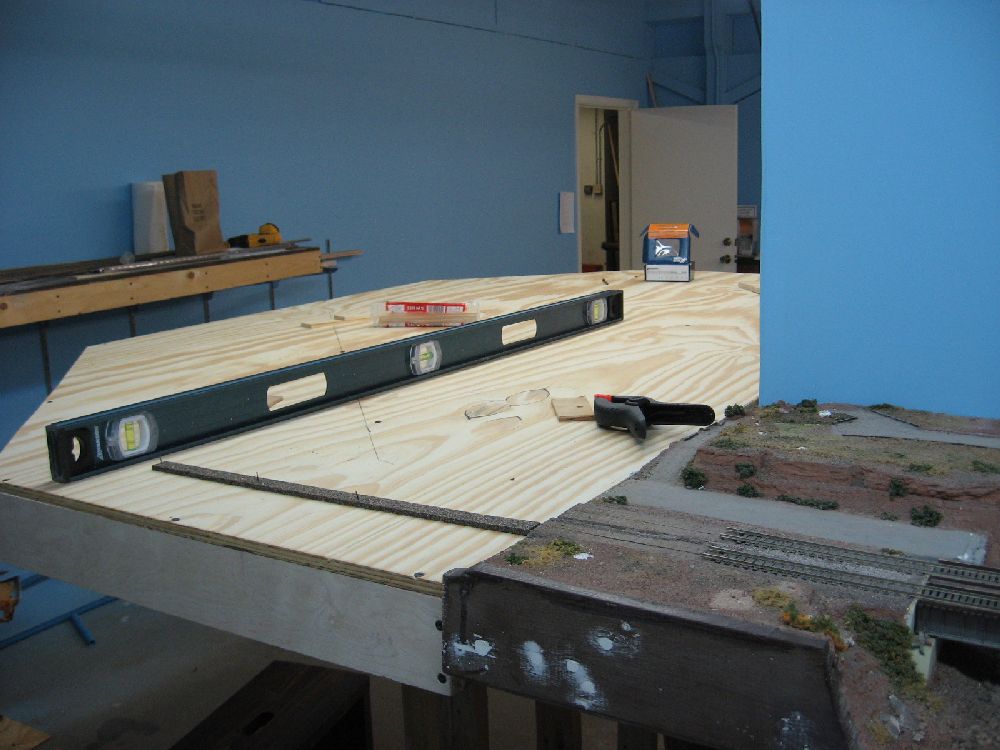
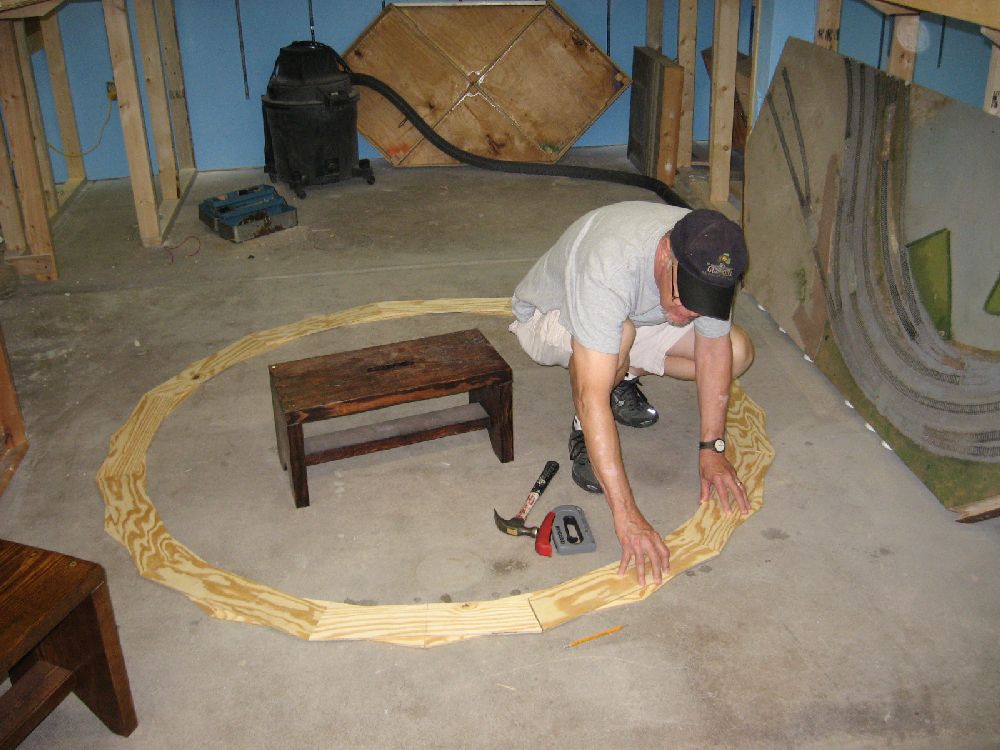
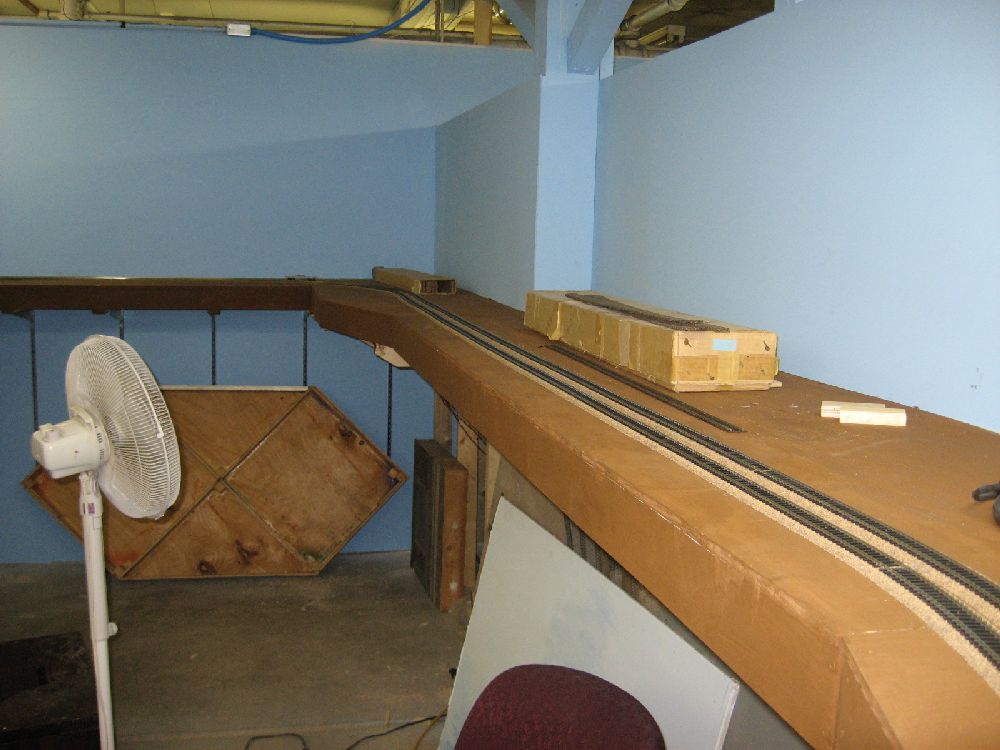
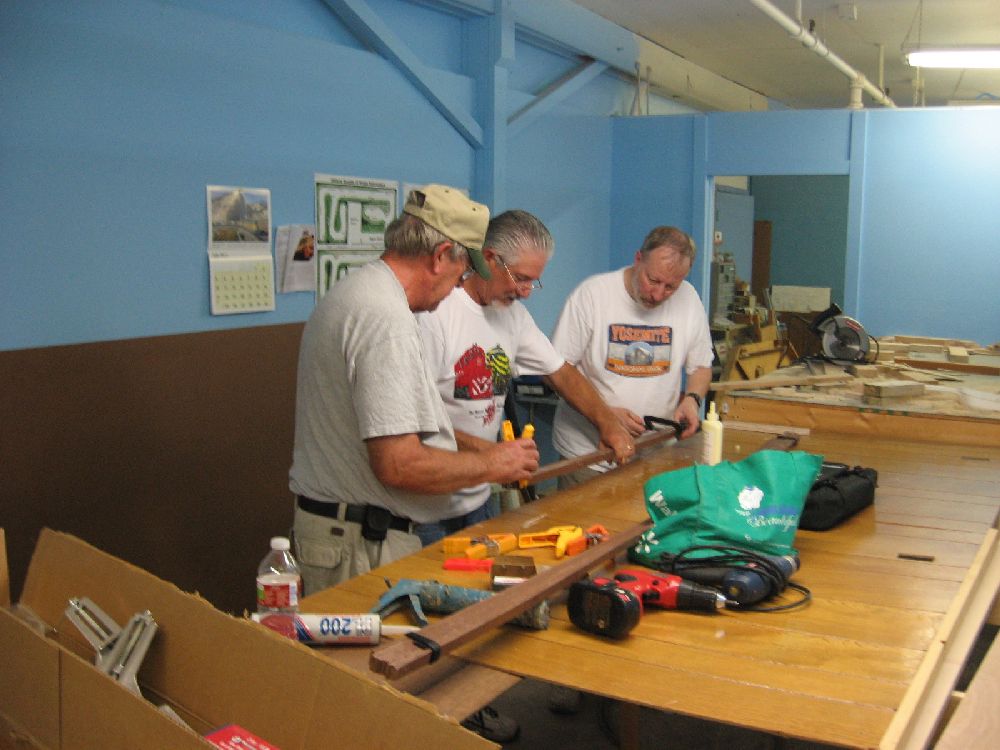
Testing the height of new layout
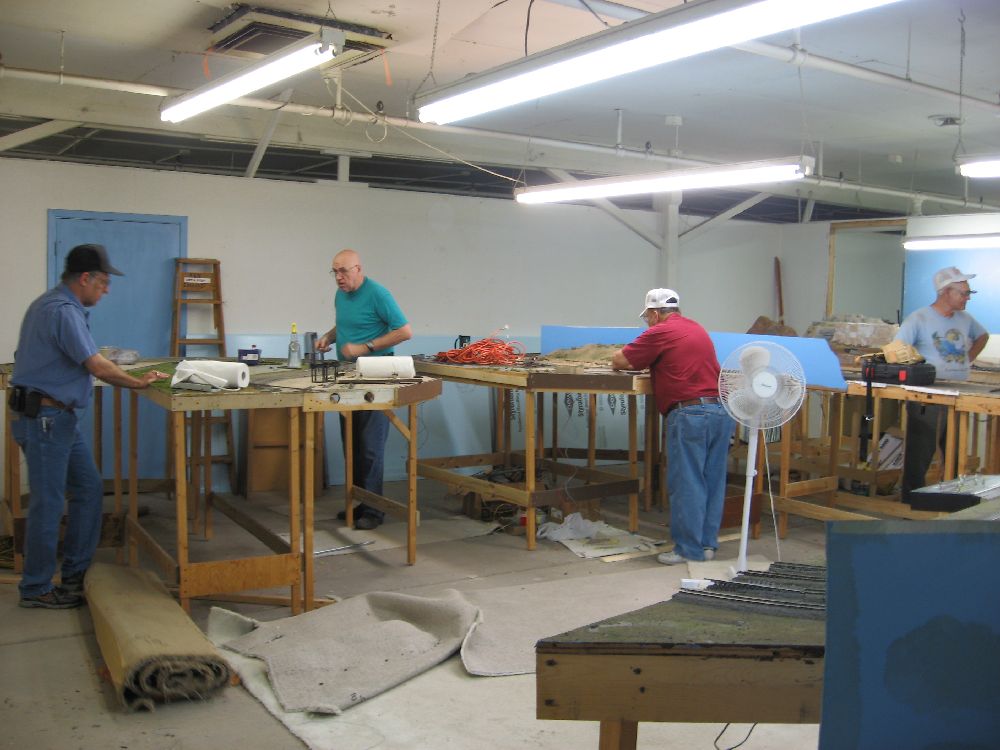
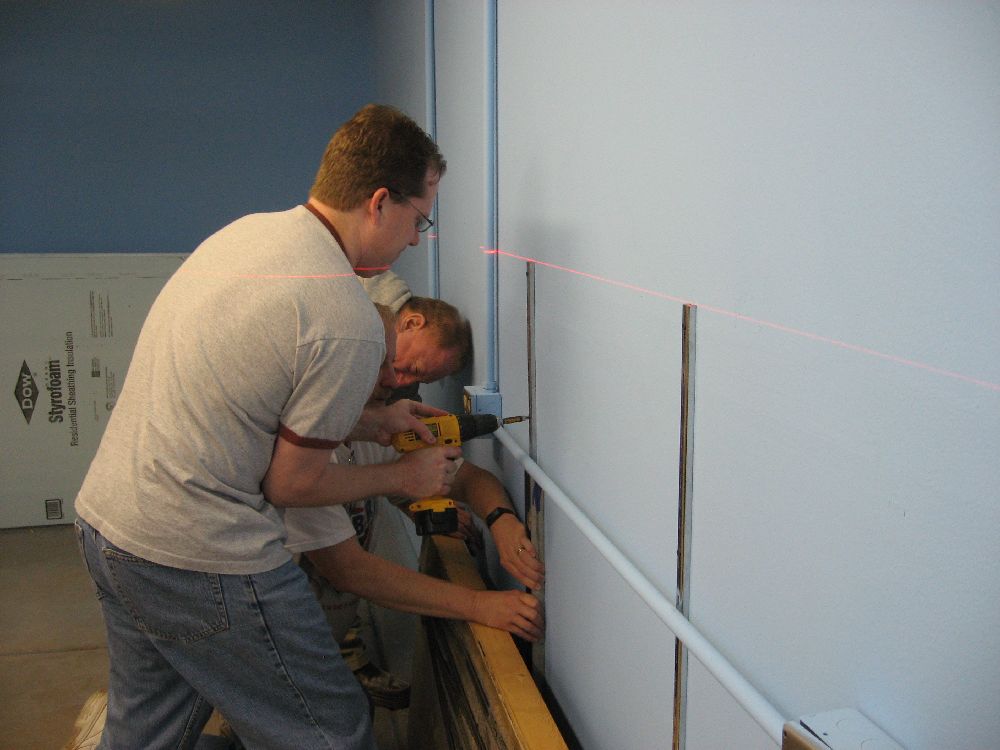
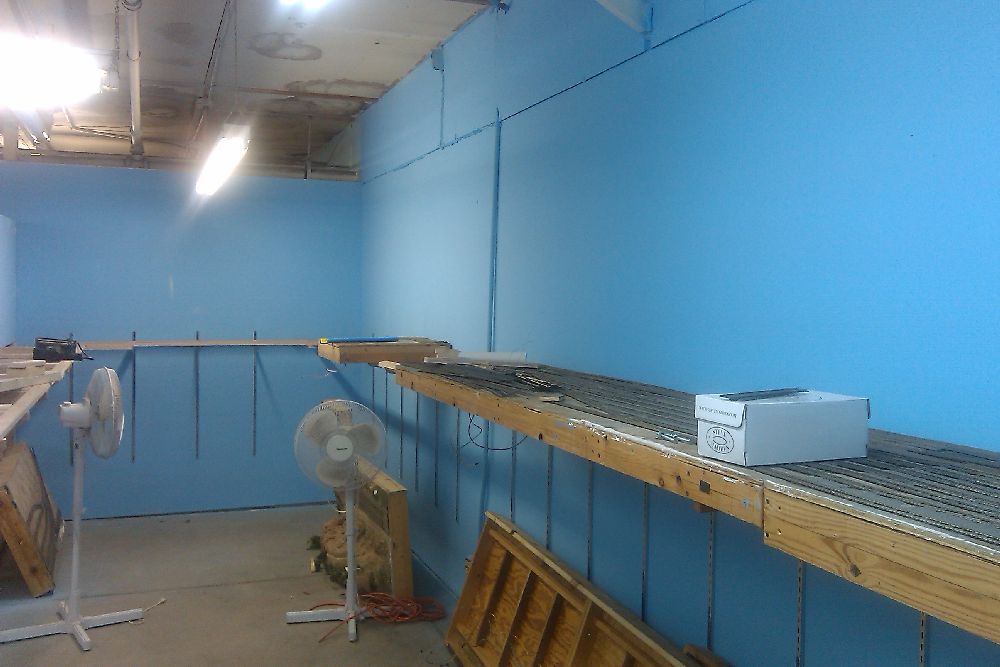
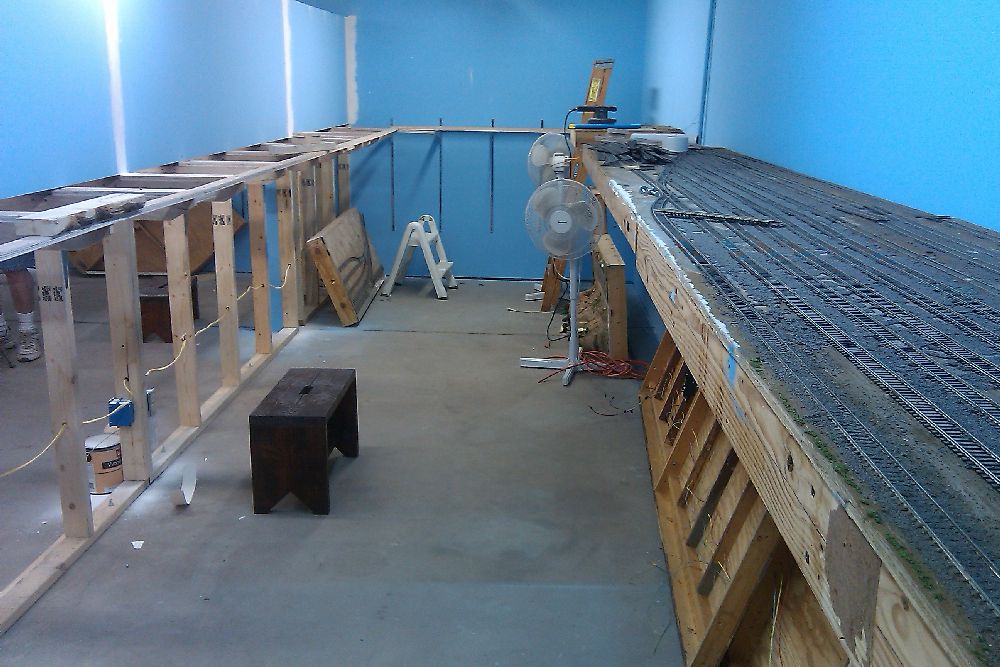
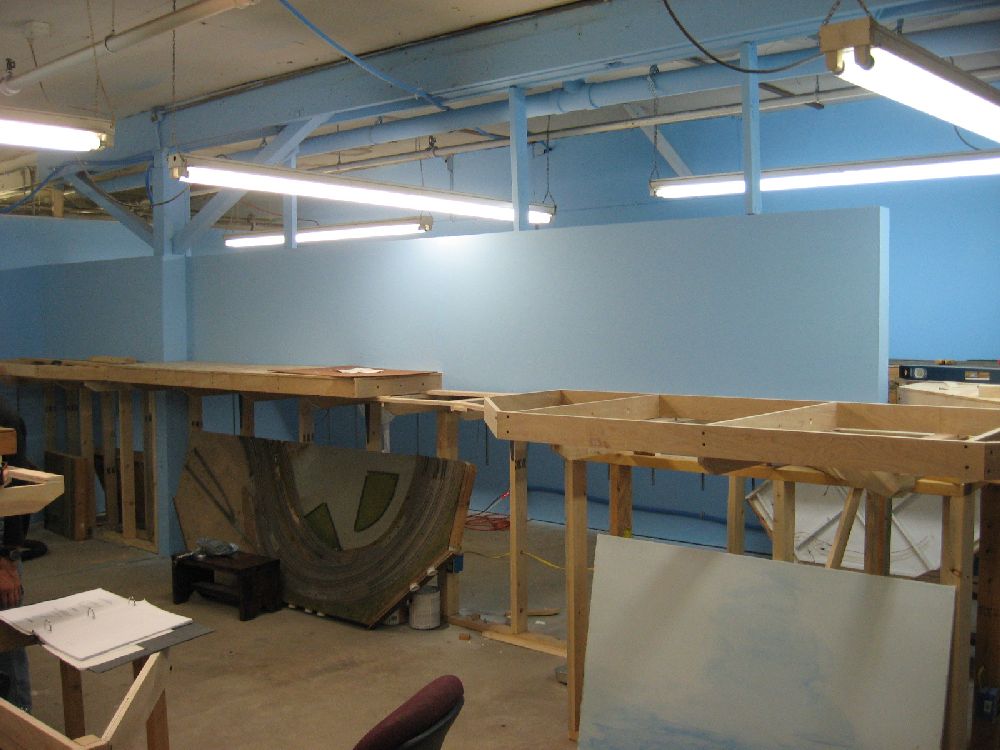
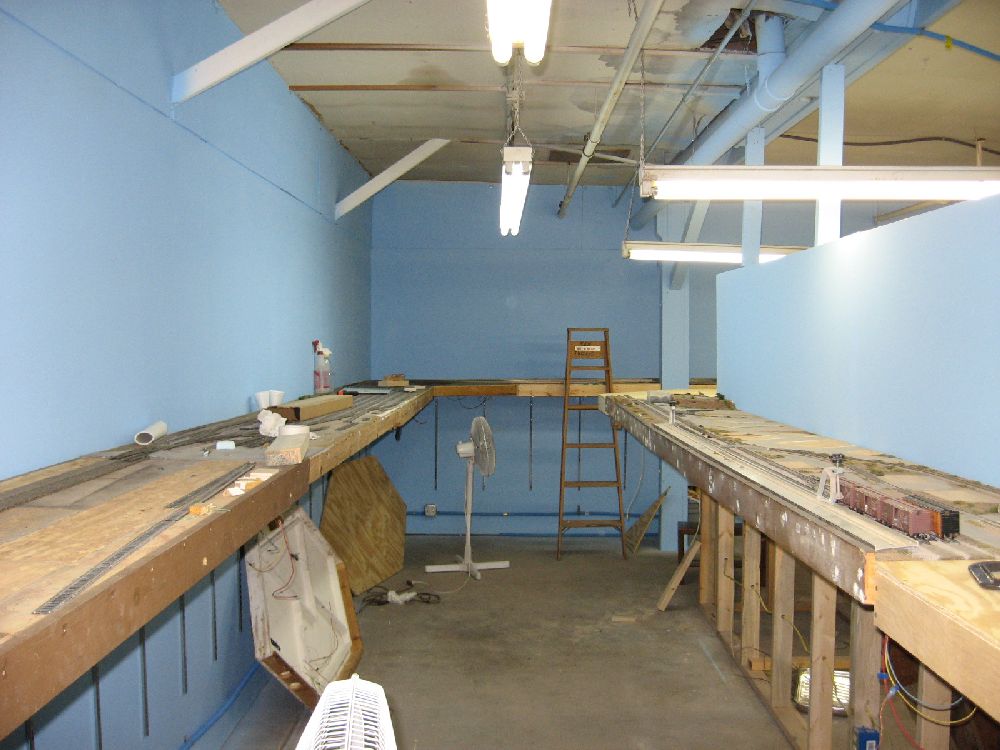
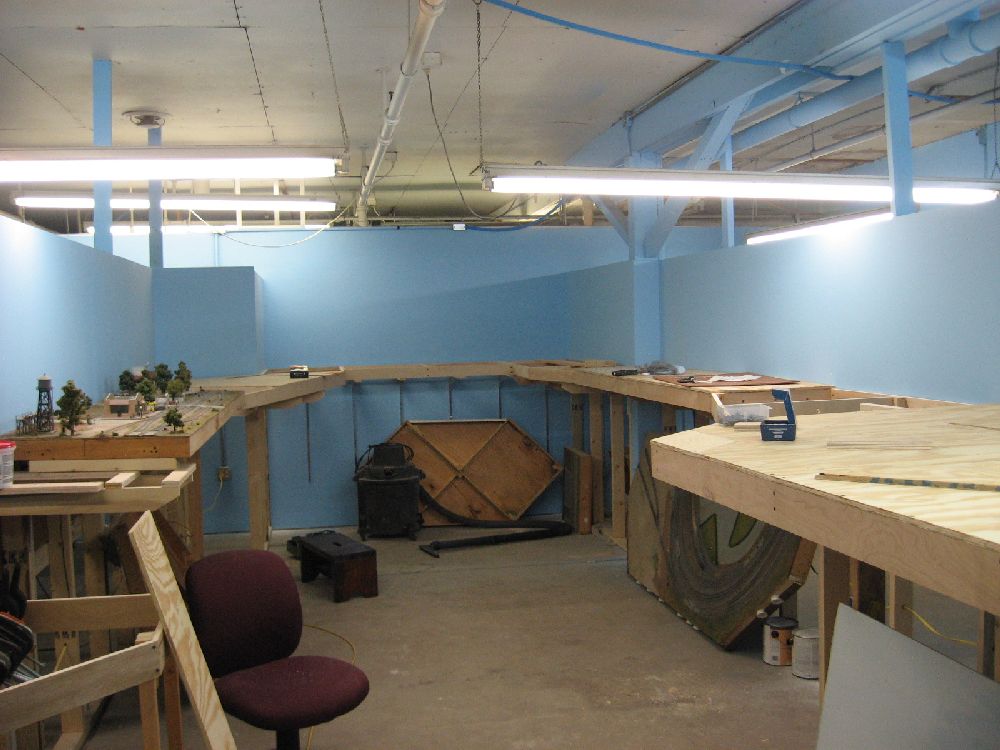
August - October 2010 - Tear down of old layout and room preperation
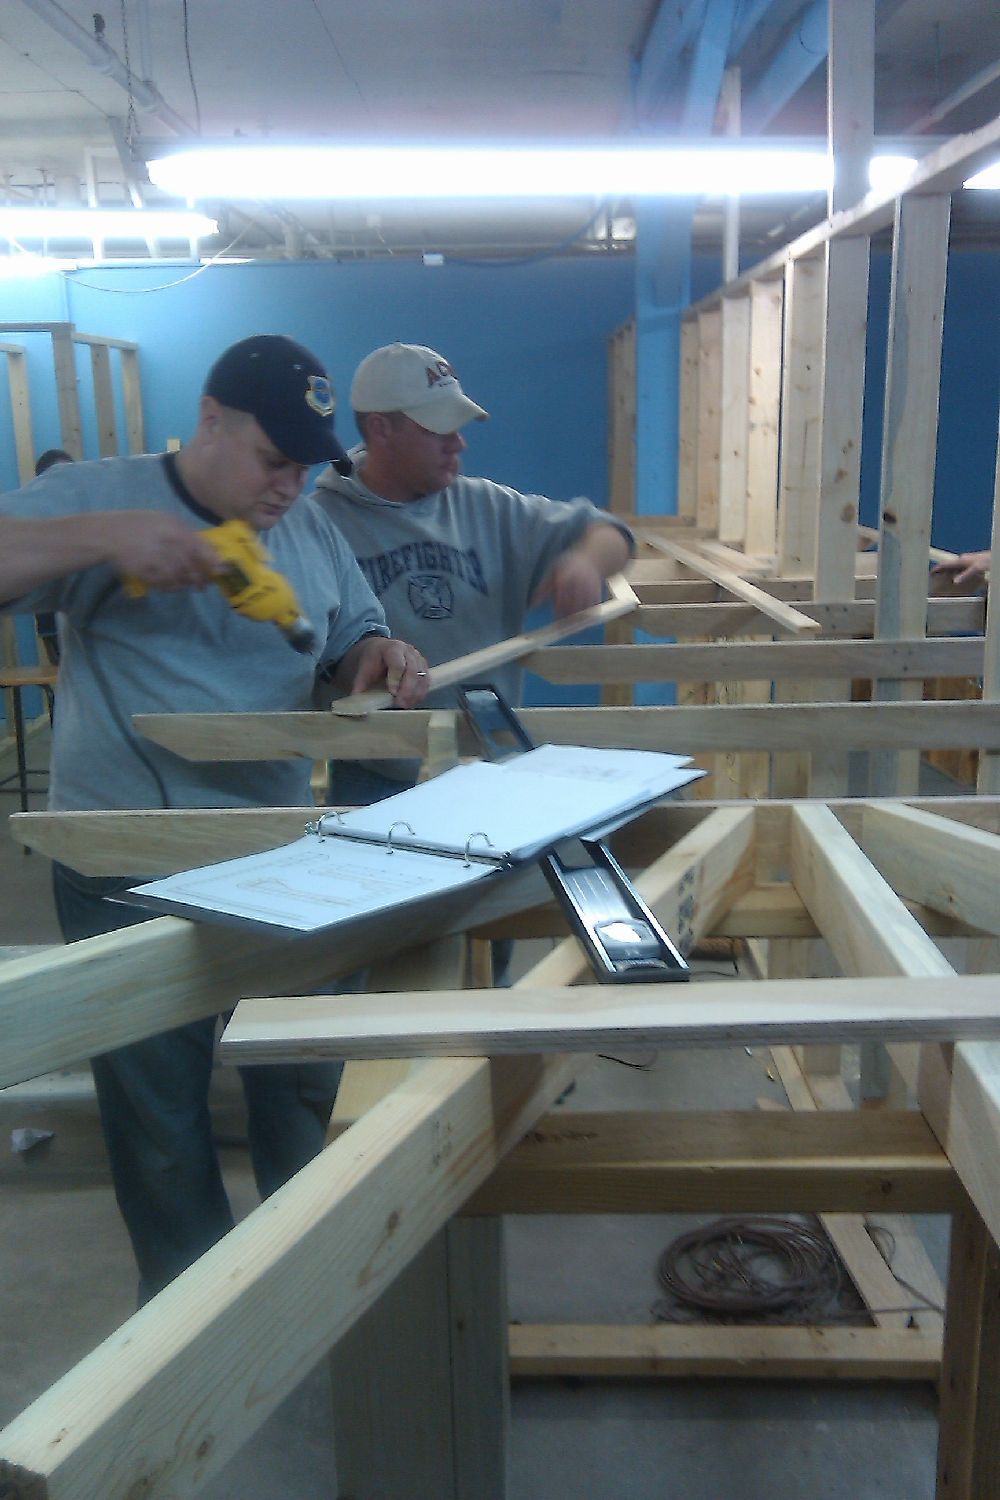
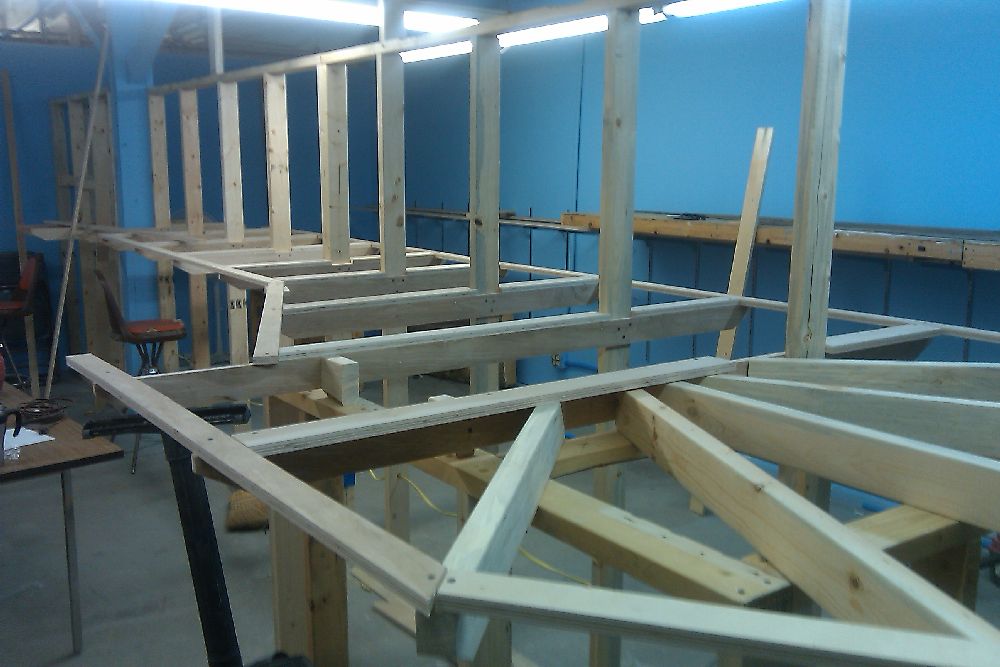
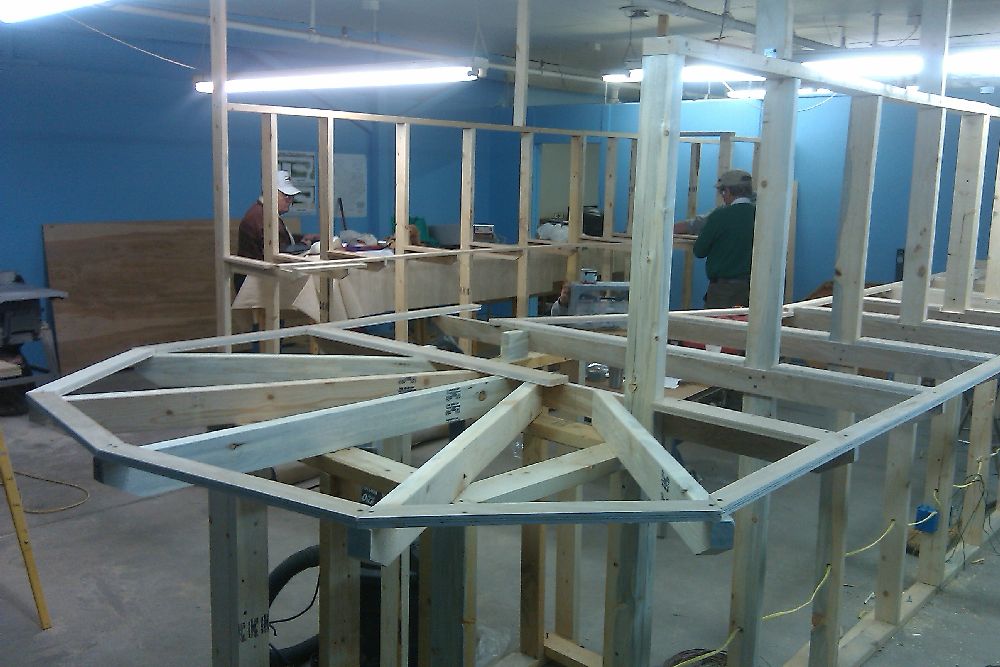
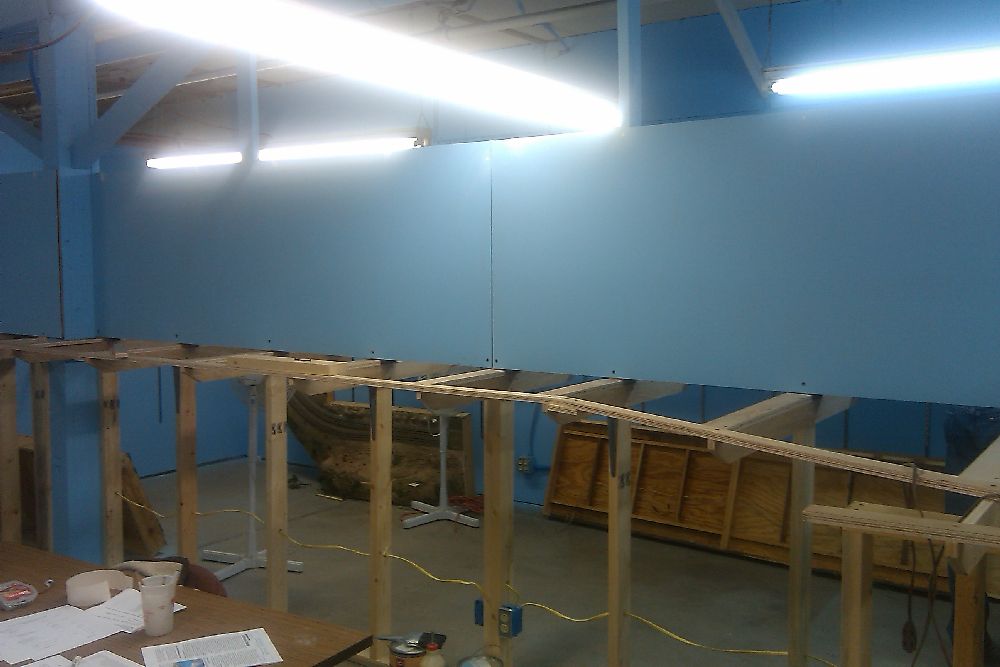
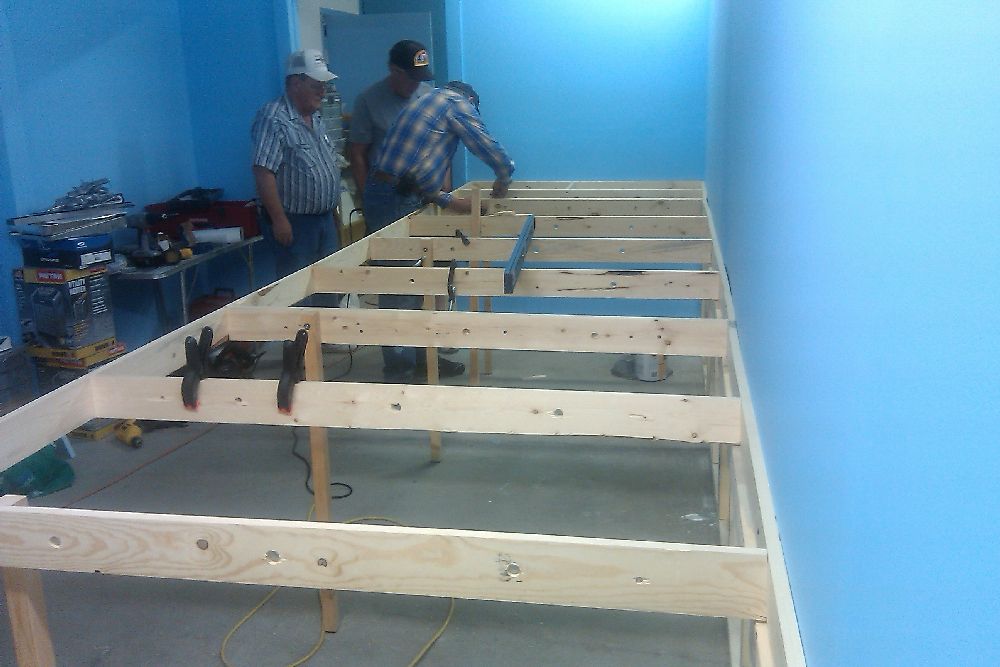
January 2011 - Benchwork being built for upper level (Phase 1)
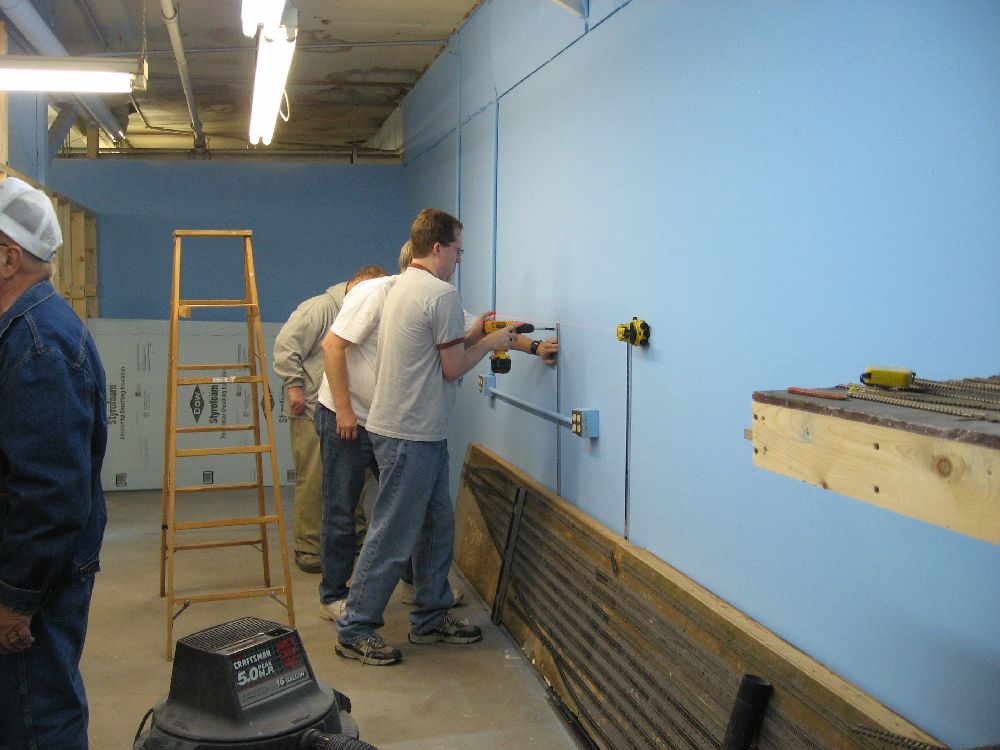
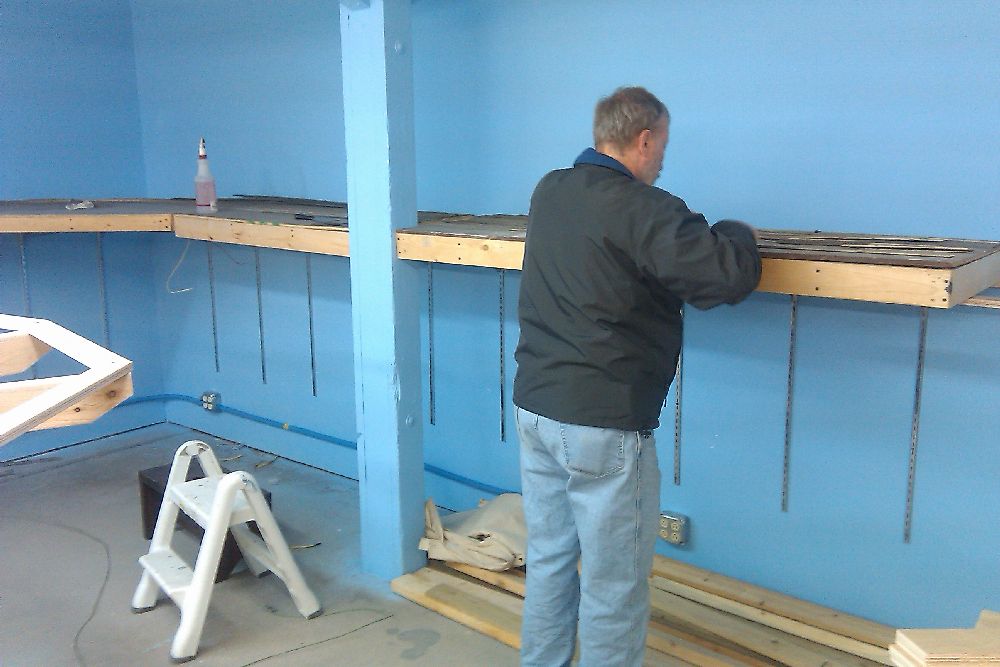
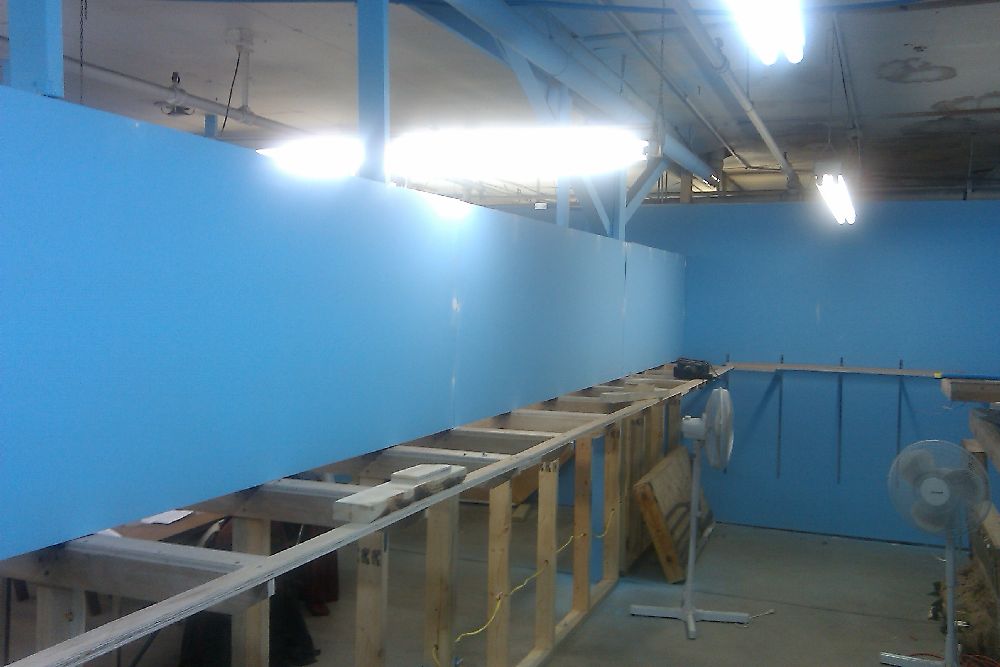
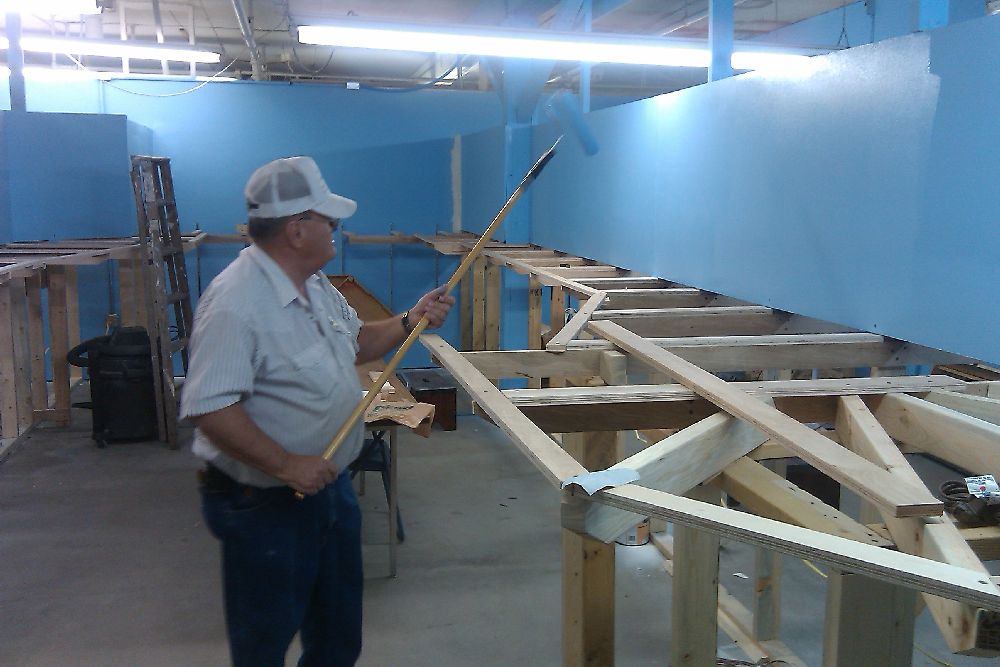
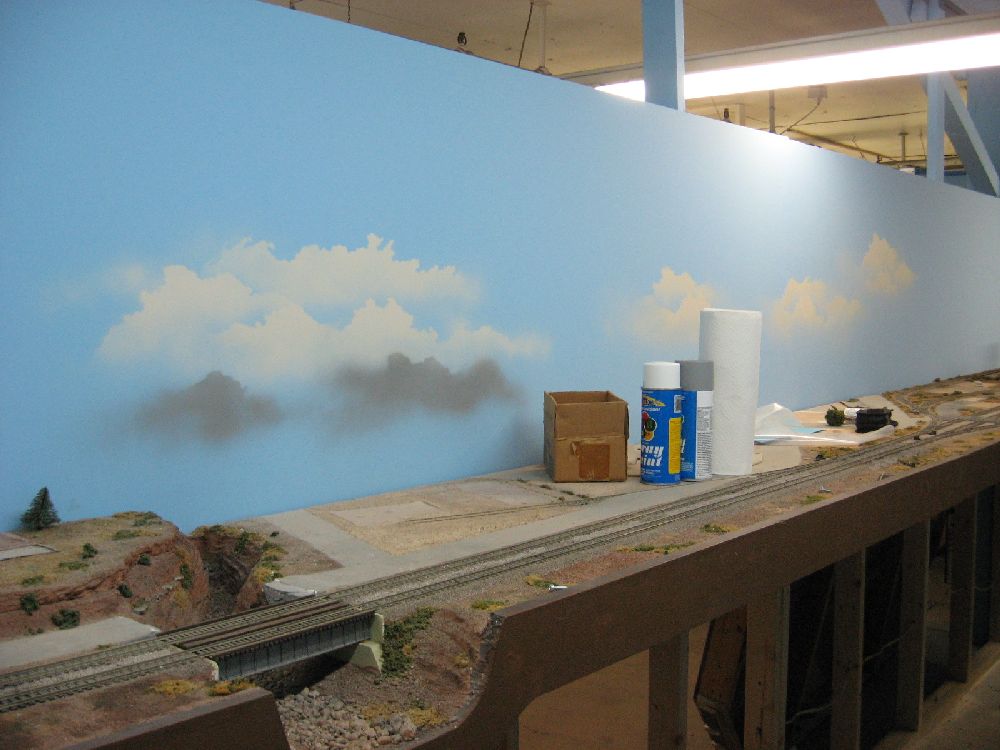
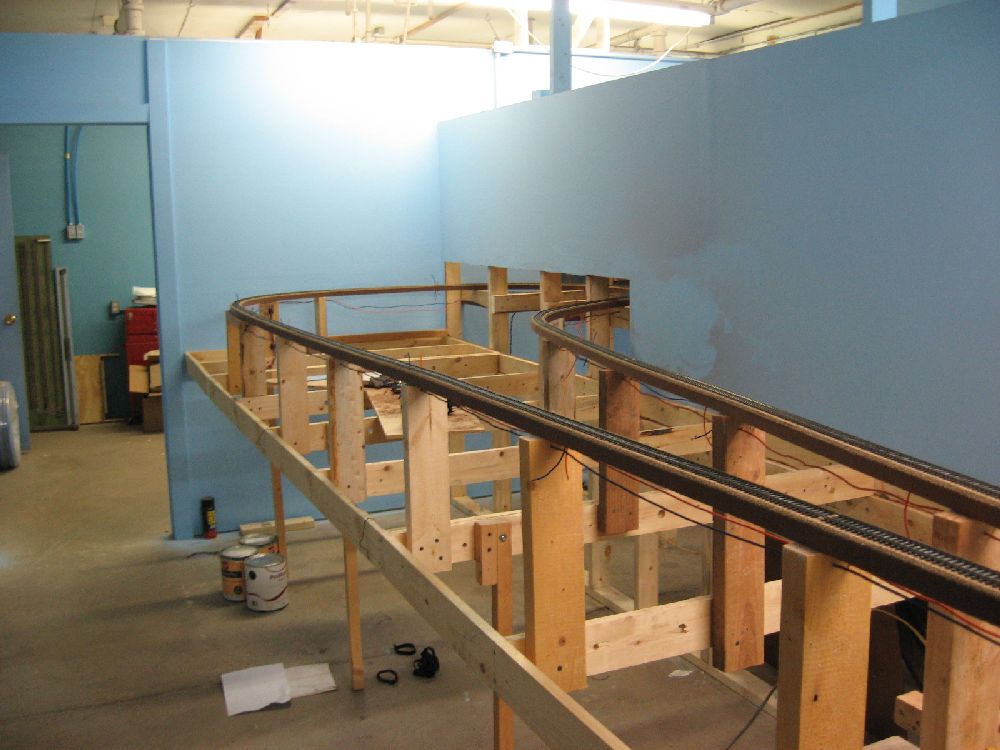
February 2011 - Backdrop being installed
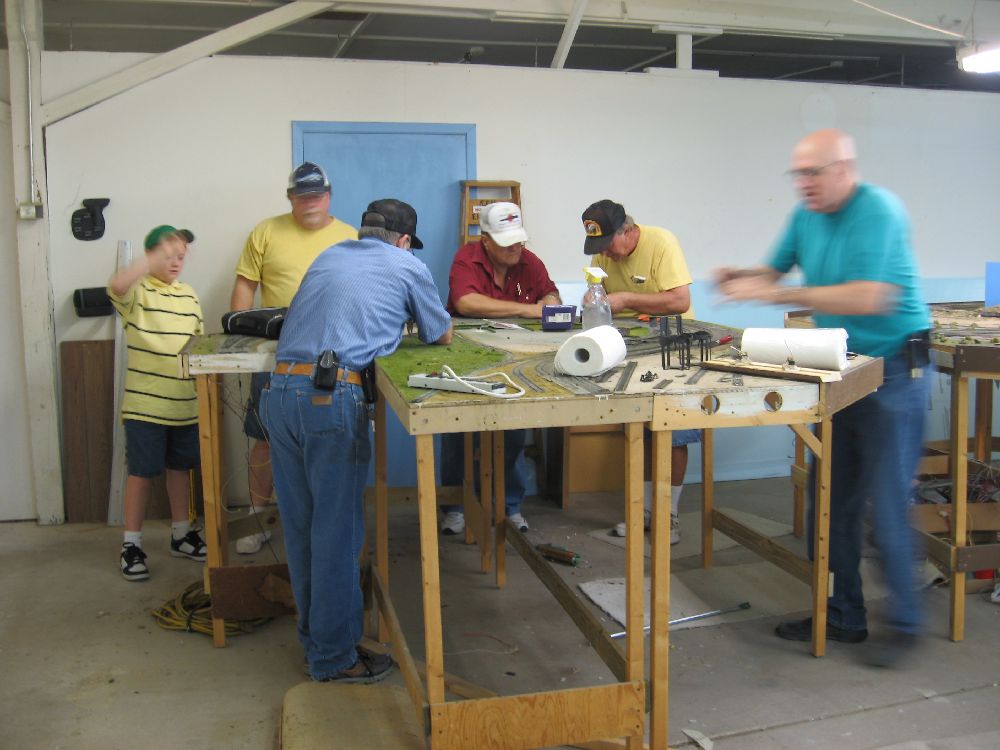
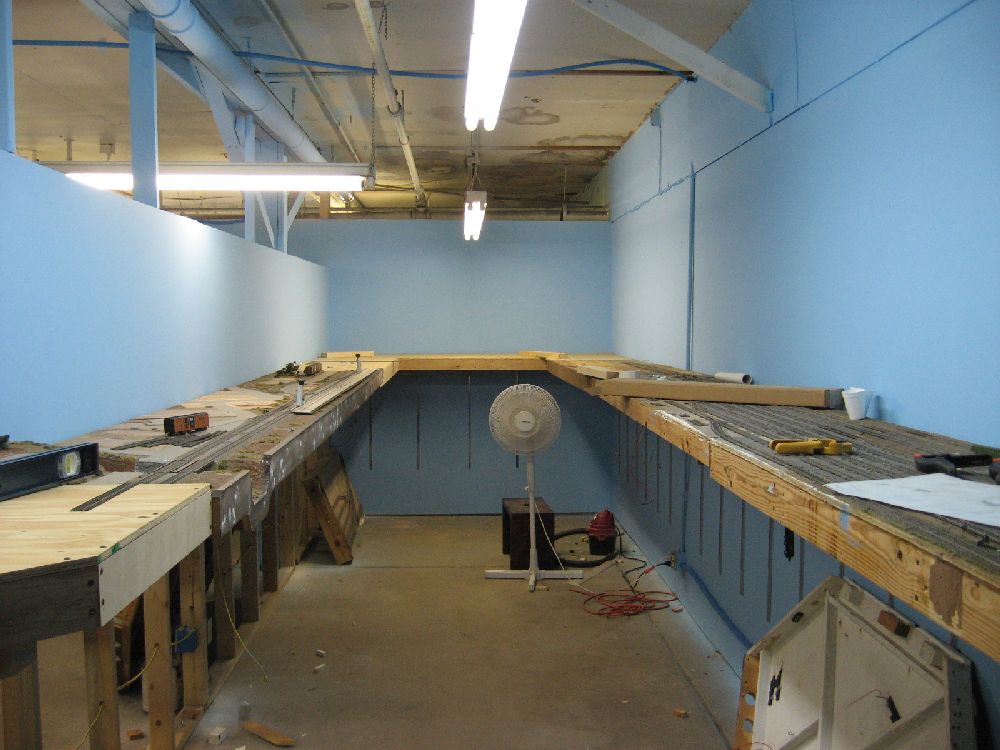
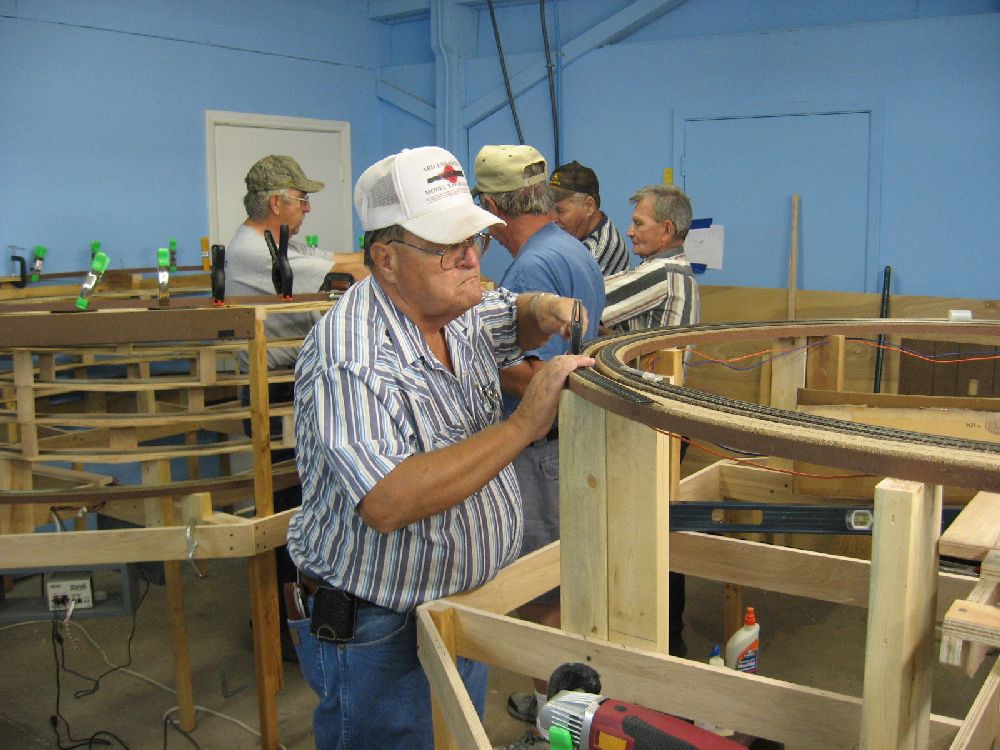
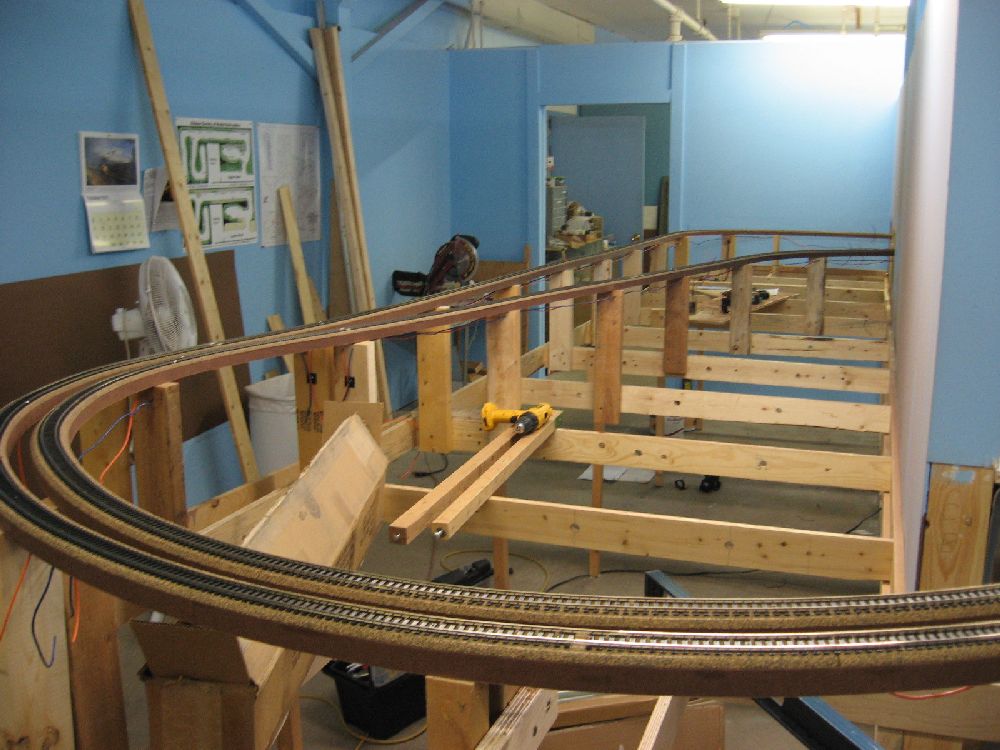
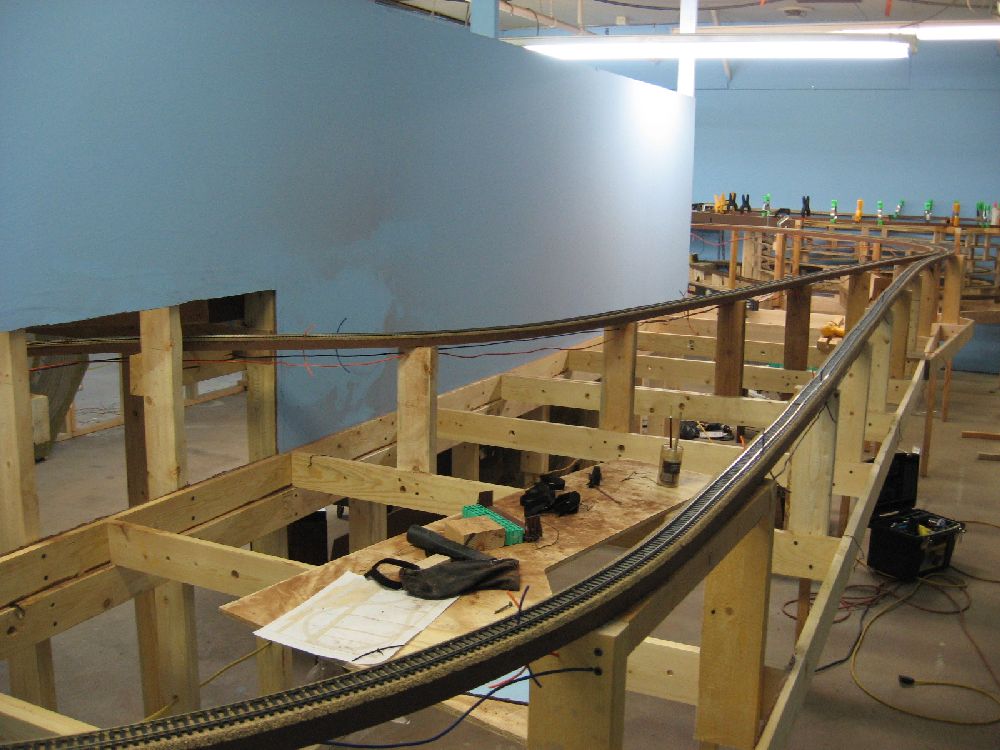
March - May 2011 - Modules being built and installed
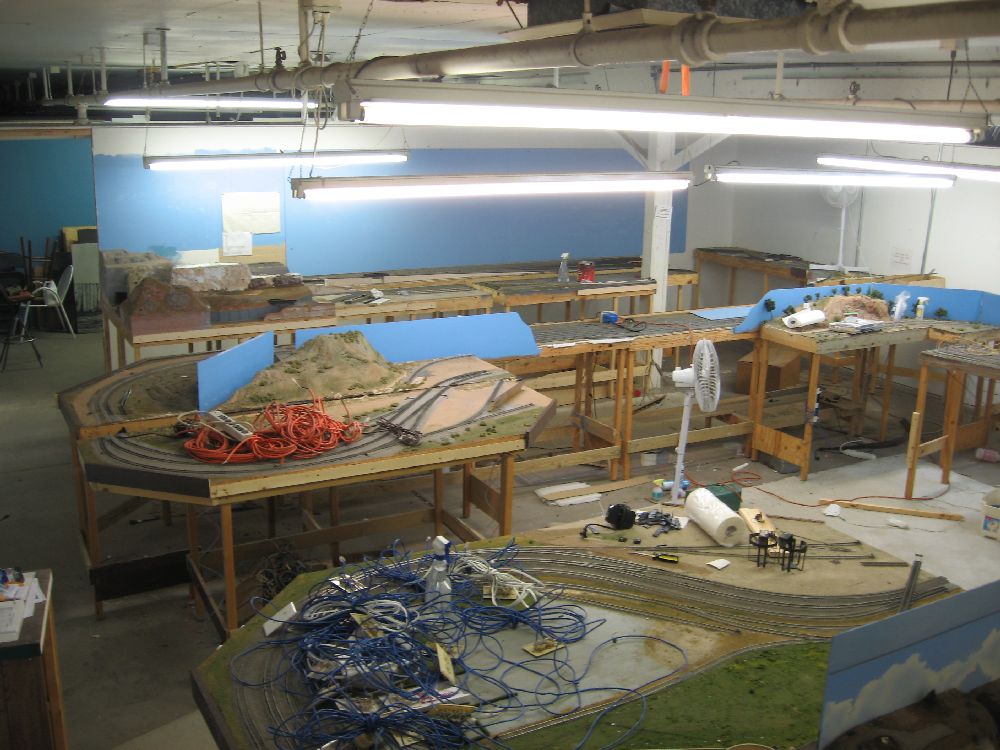
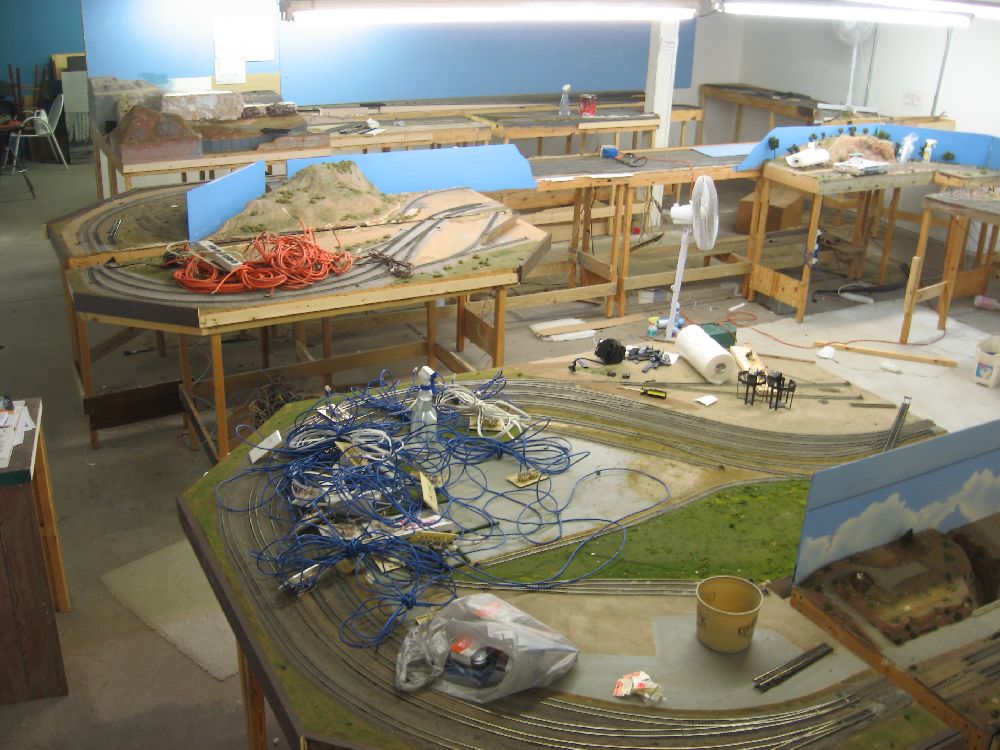
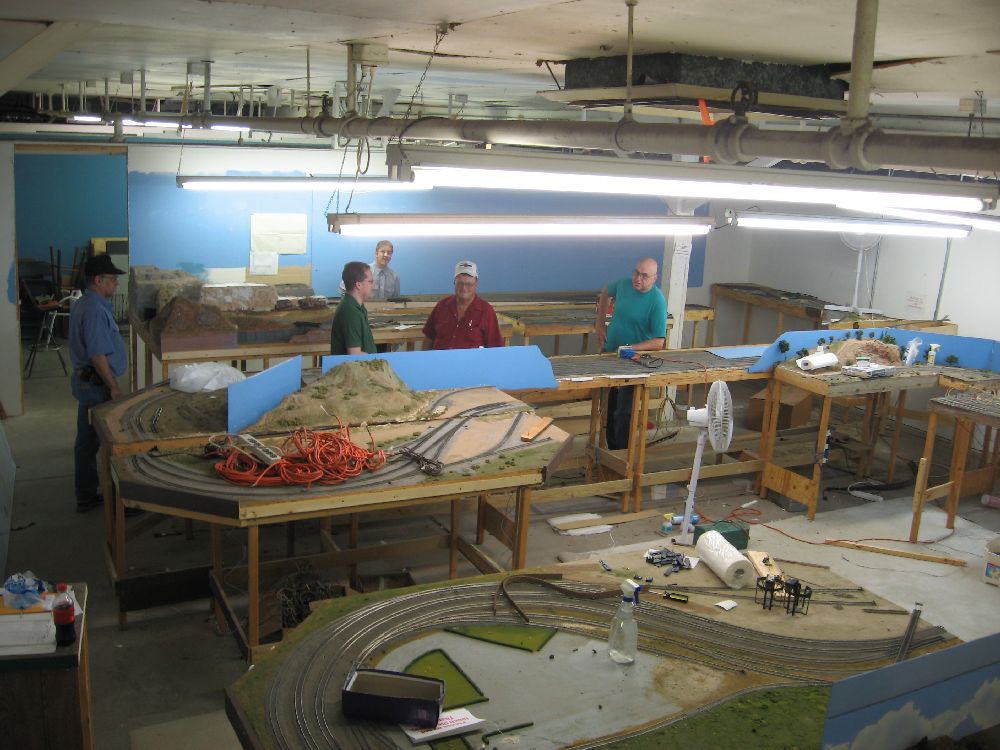
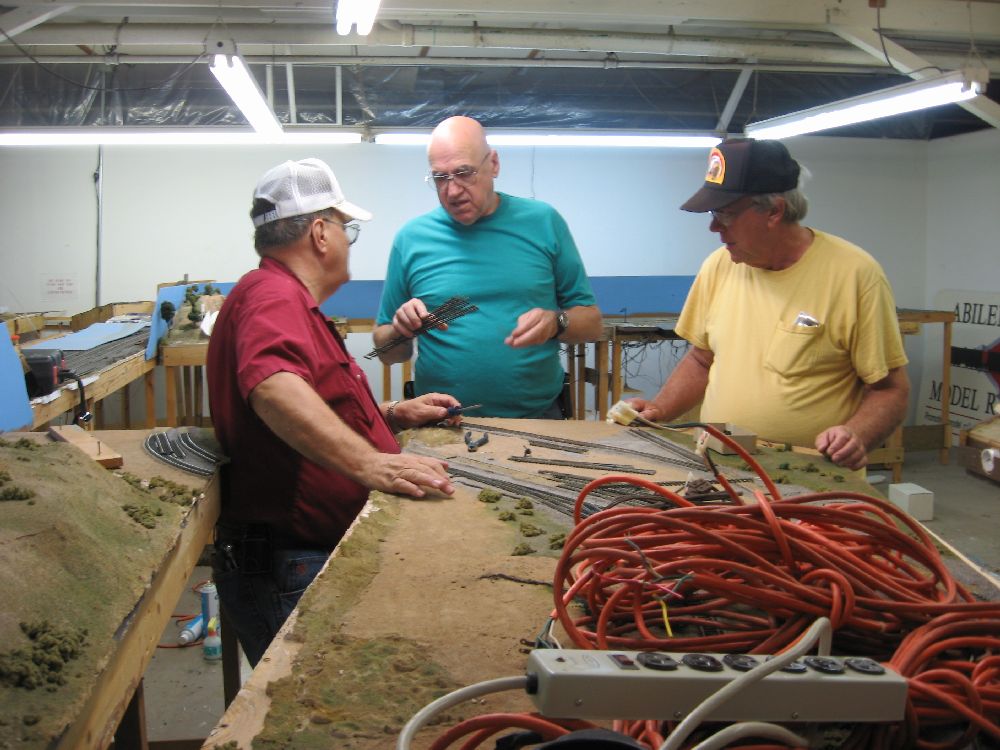
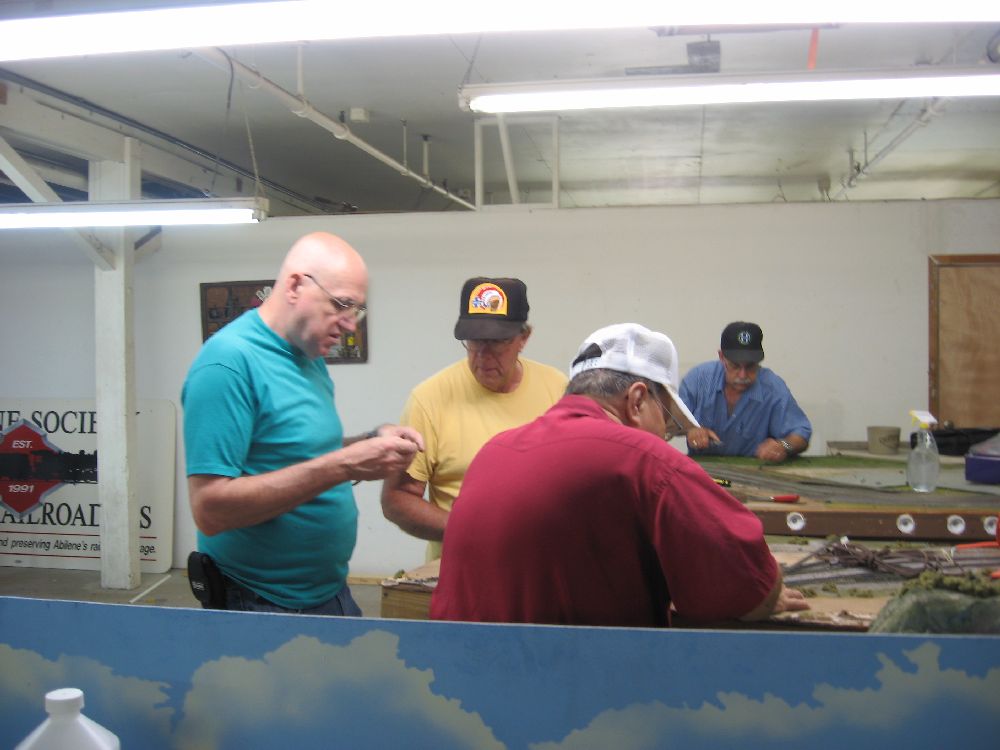
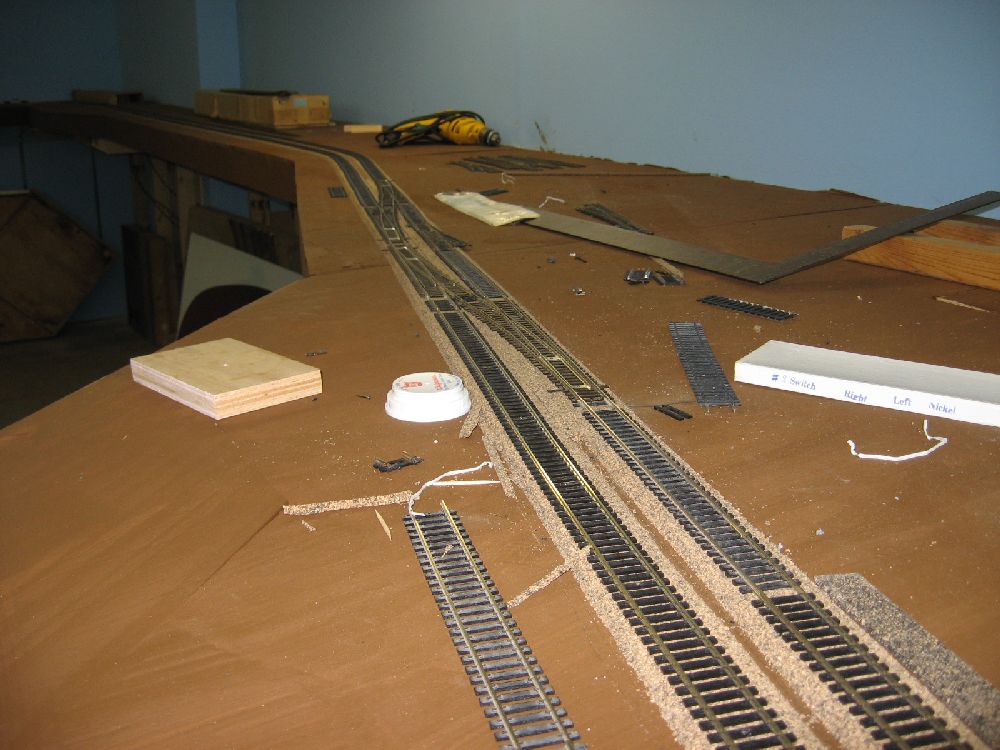
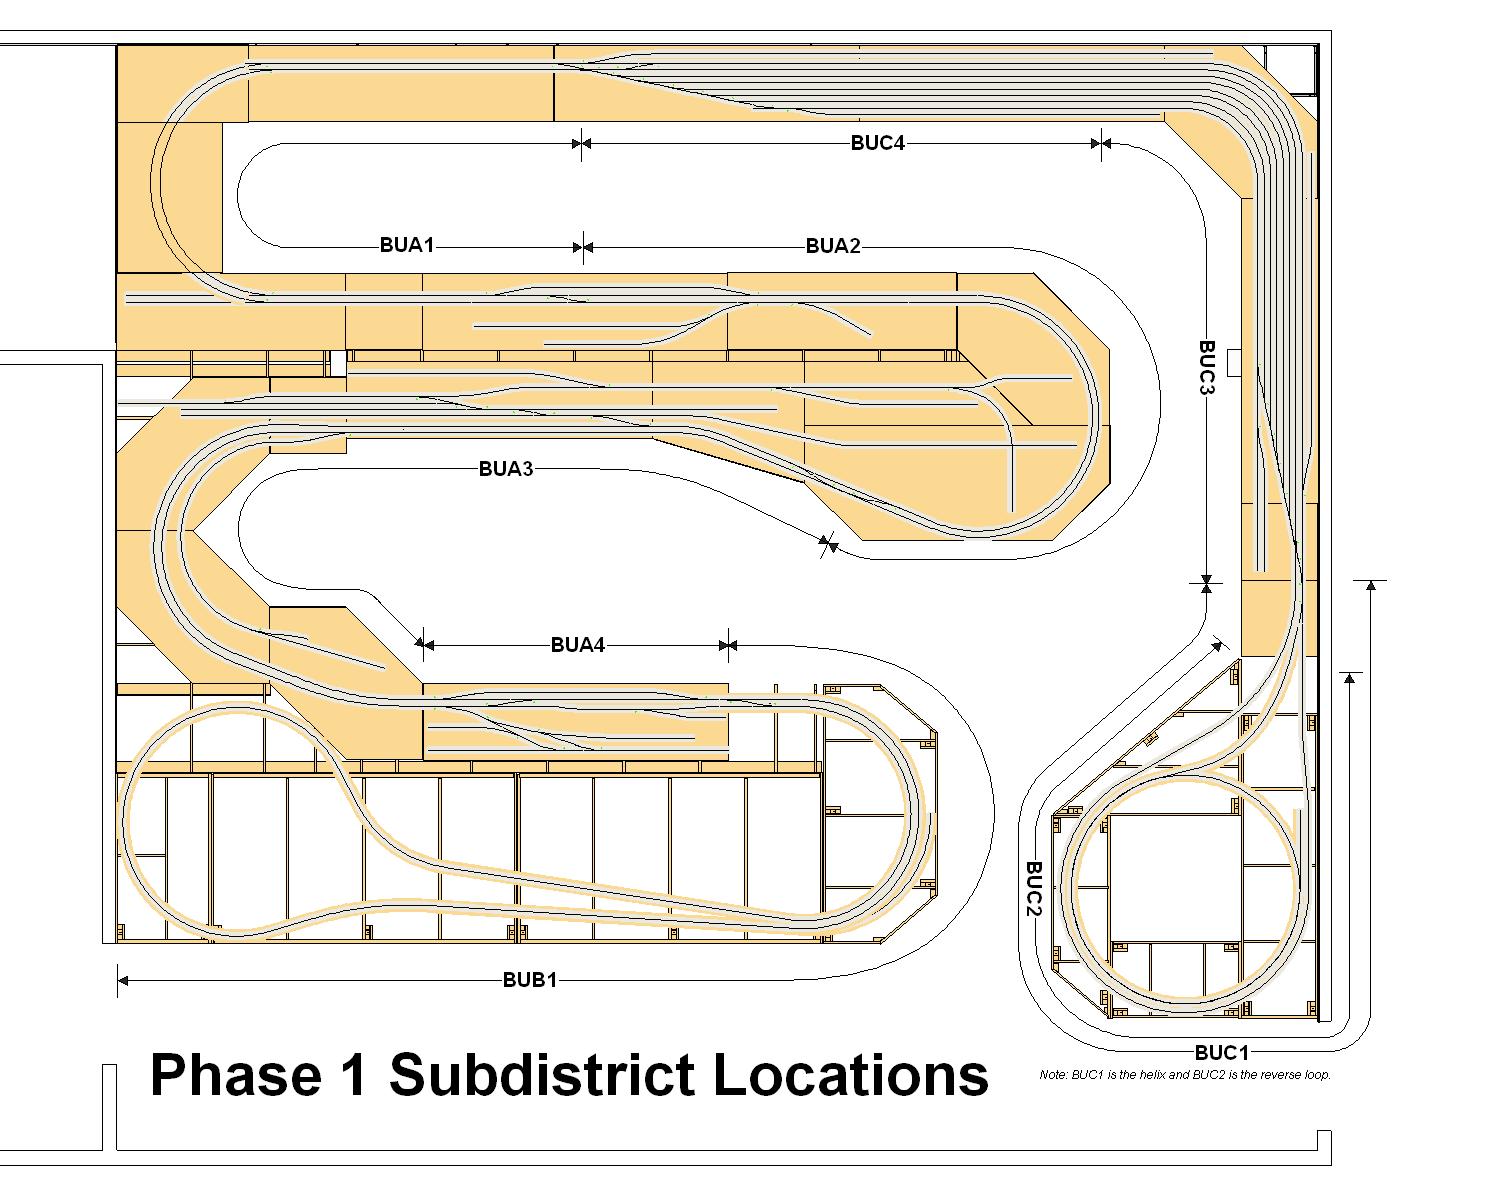
July - October 2011 - Spline Constuction, Track Laying, and Wiring.
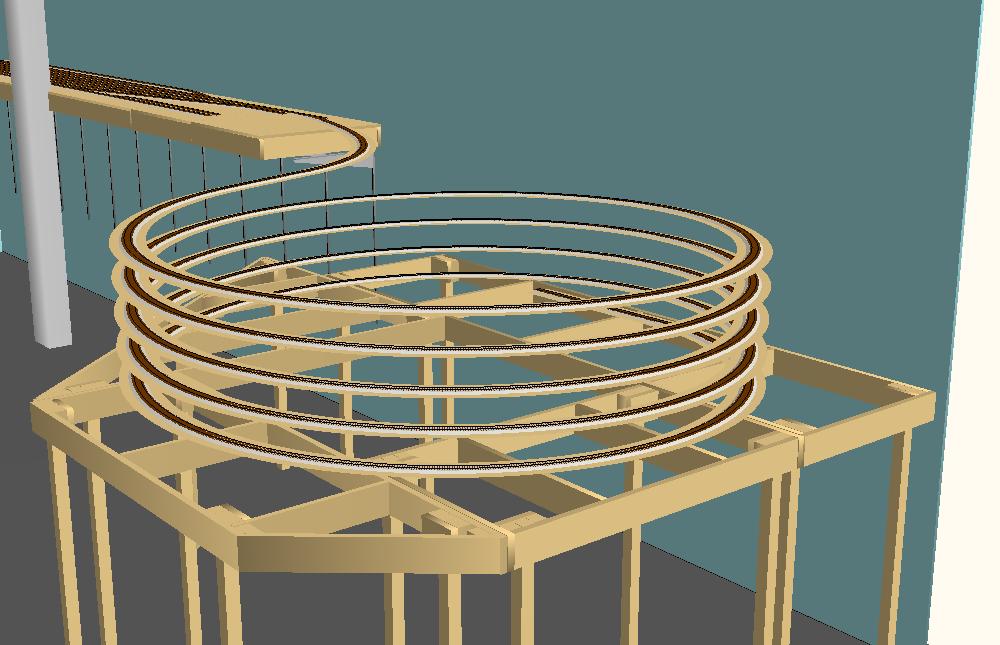
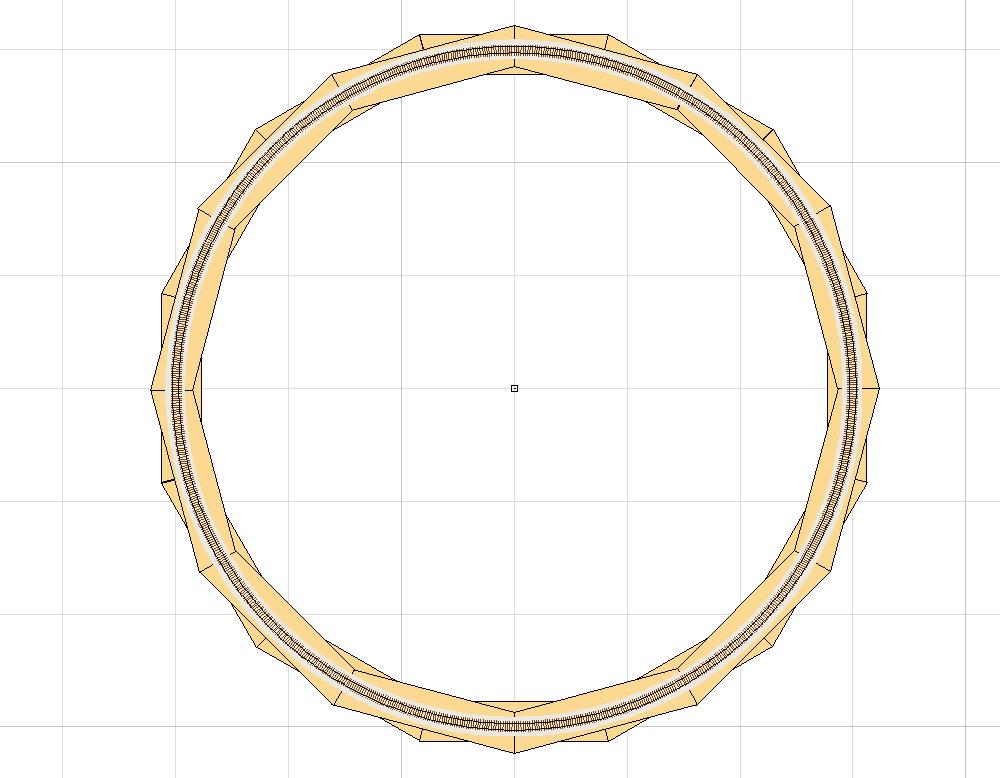
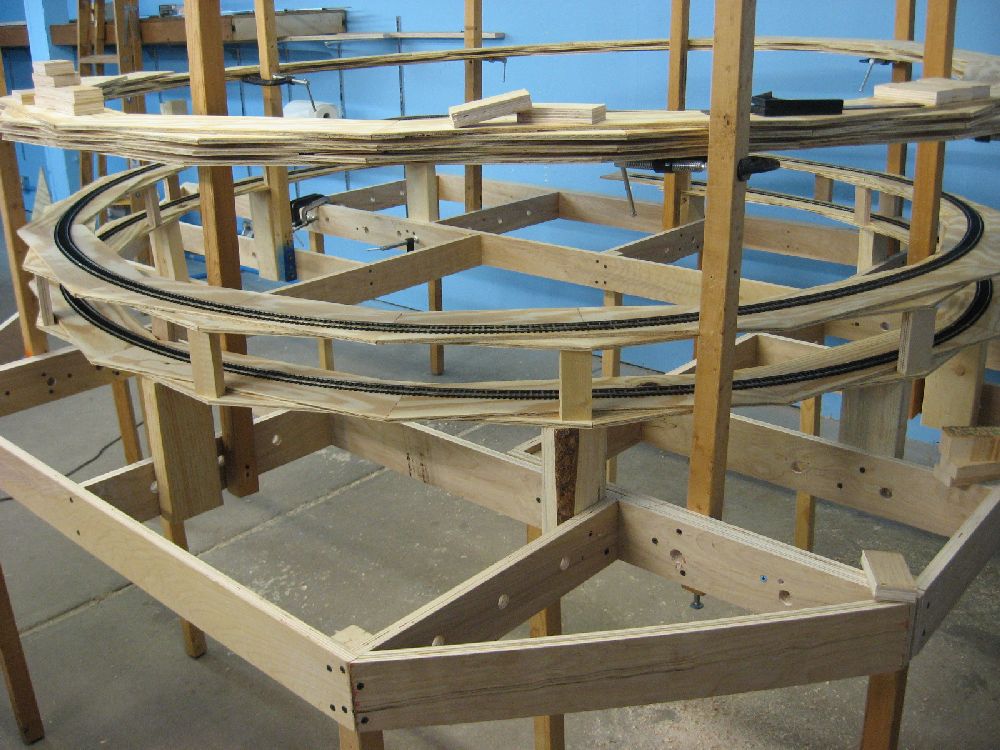
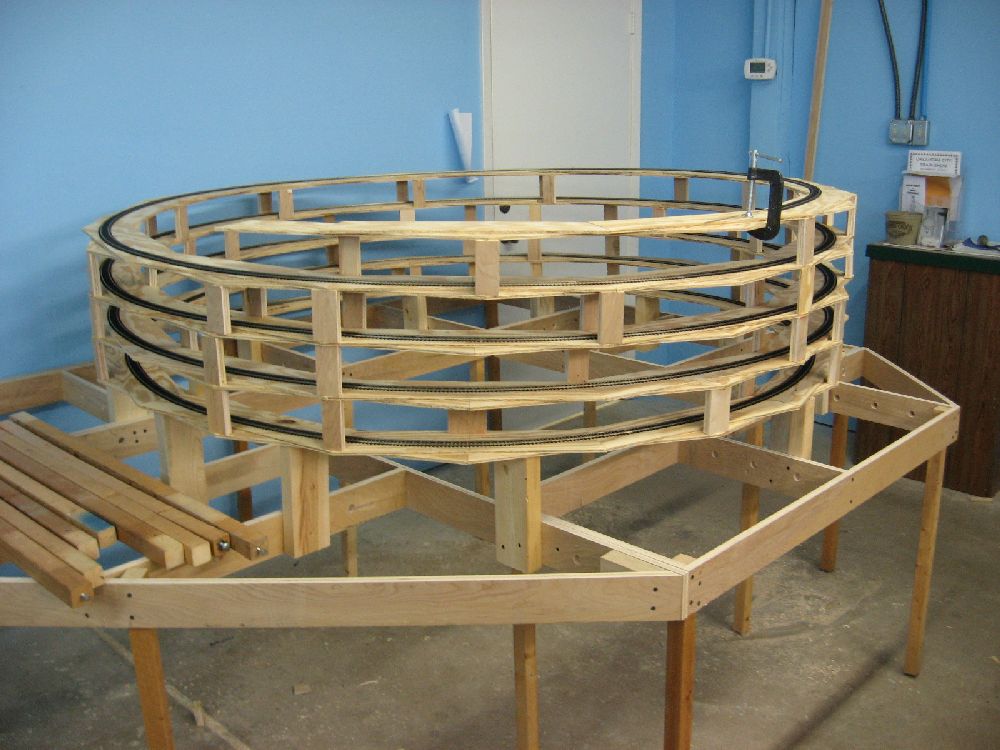
The Design and Construction of the helix
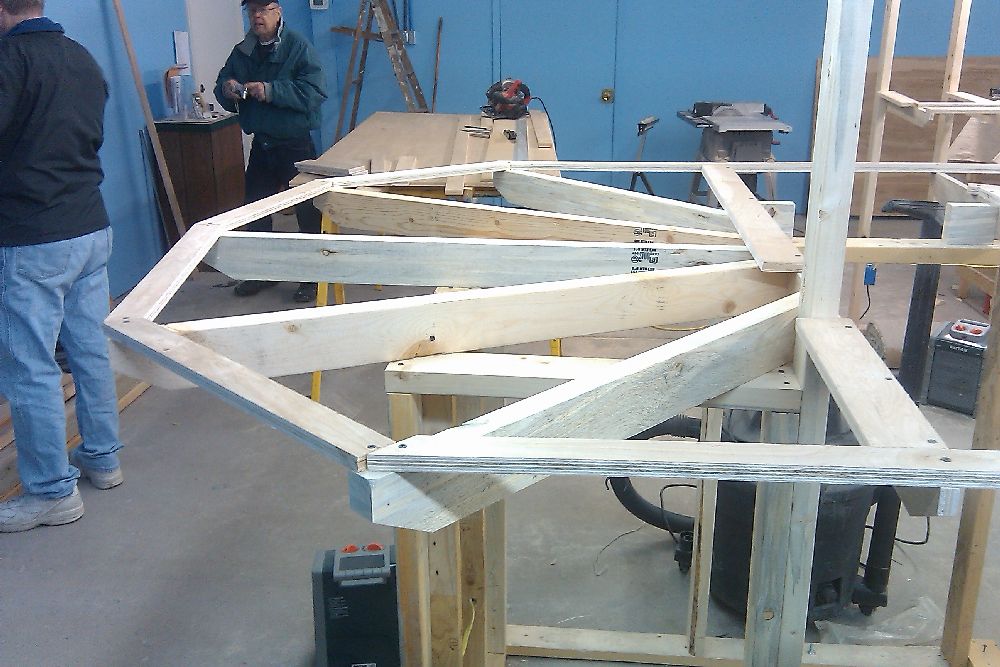
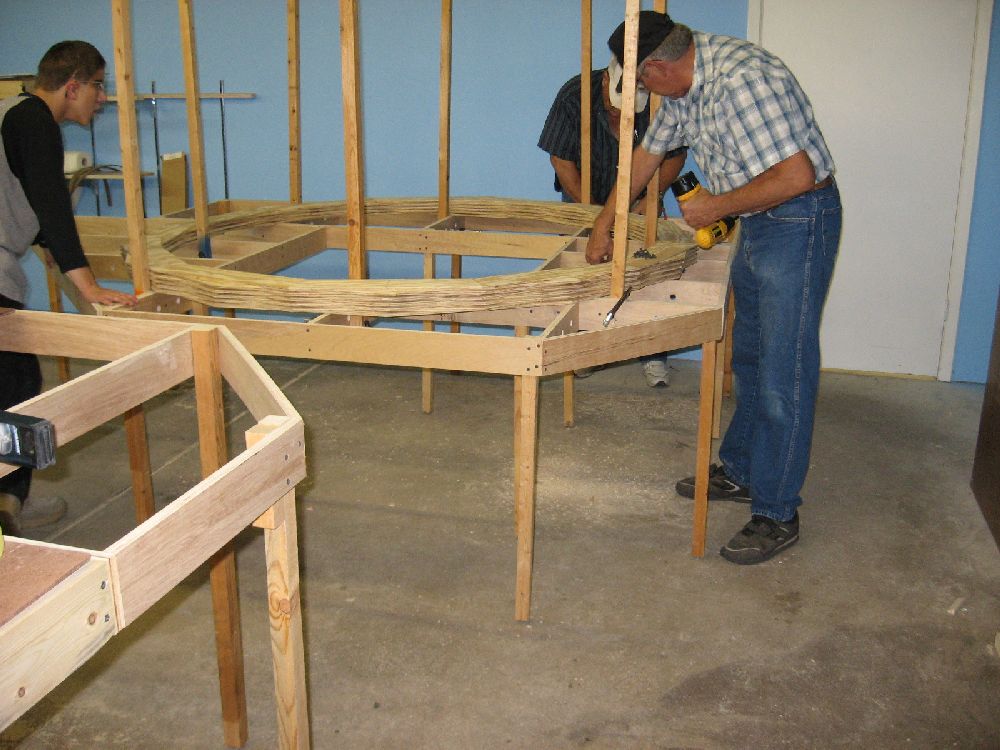
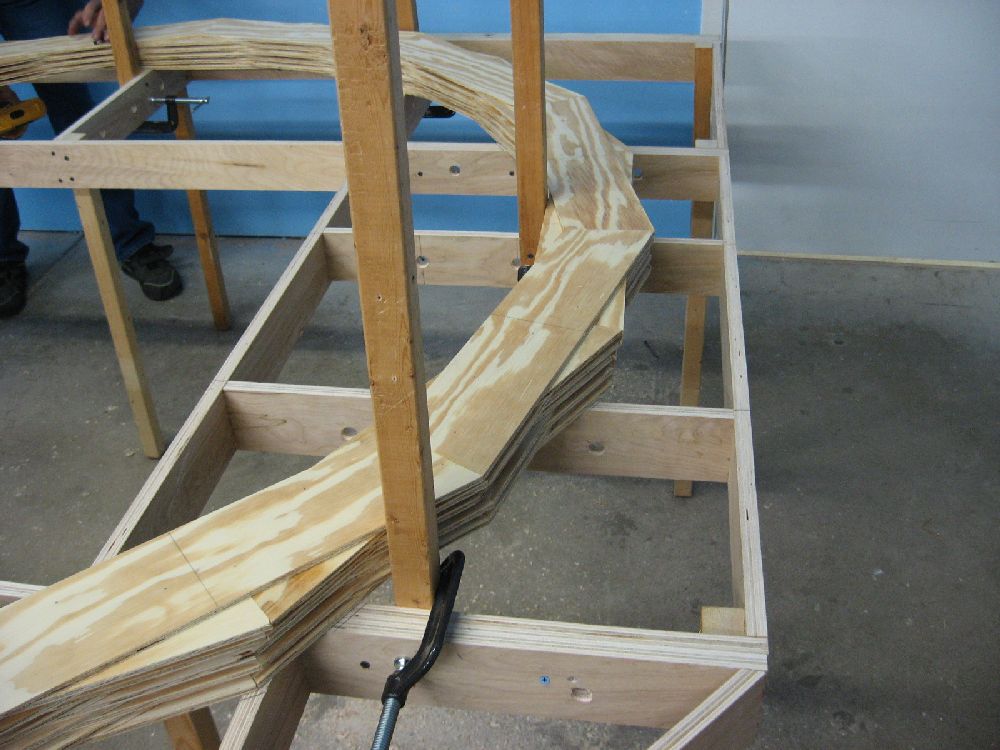
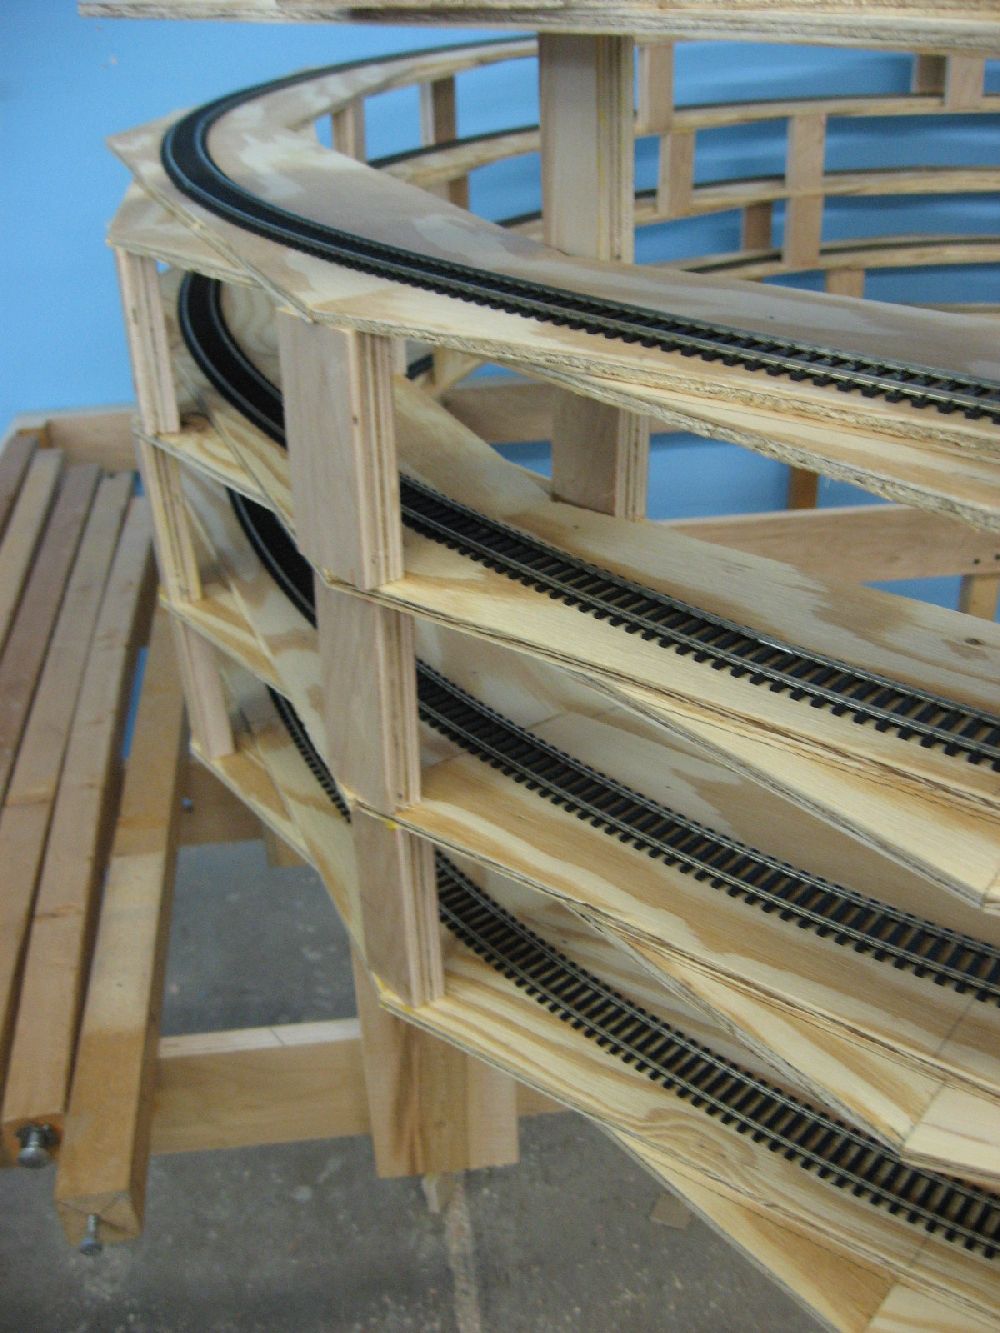
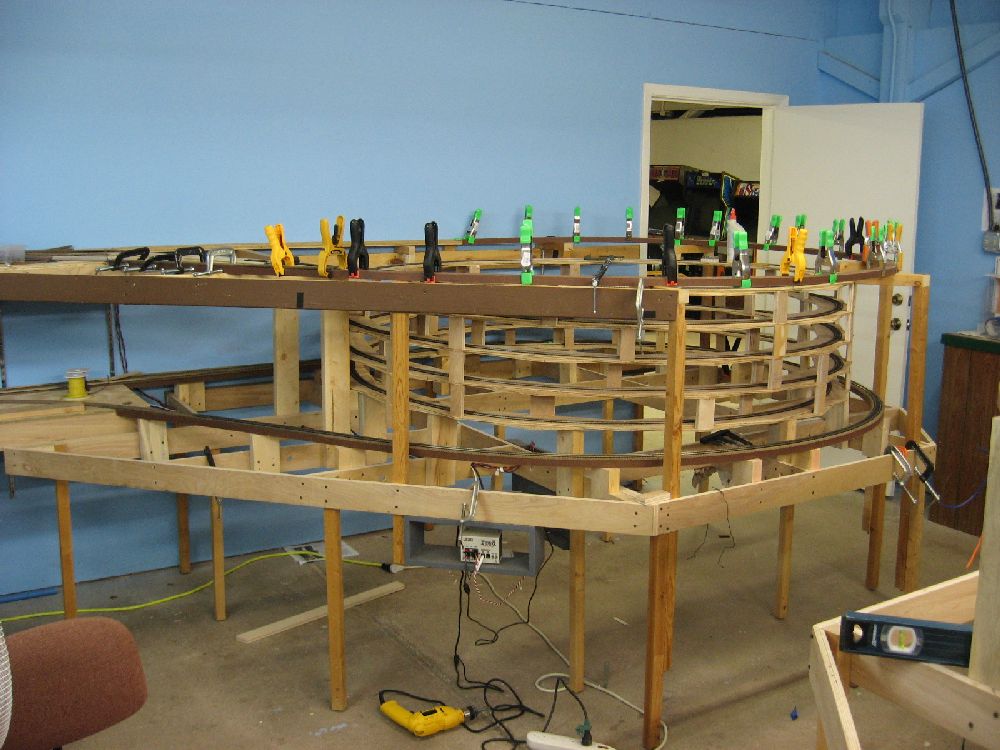
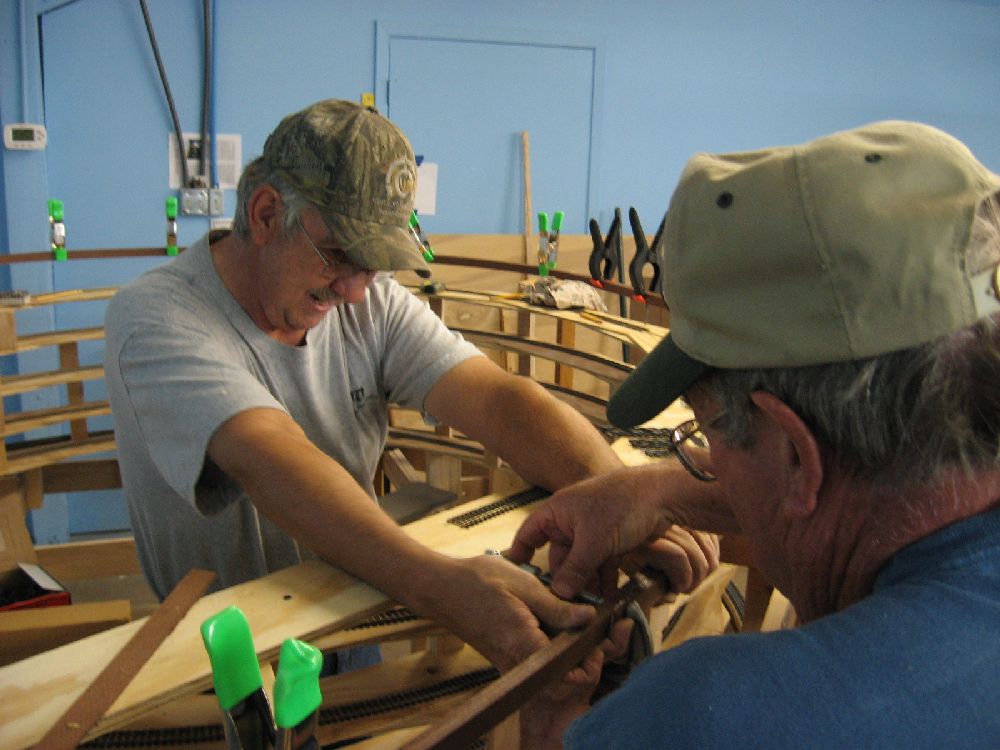
I designed the helix to use trapezoidal pieces of plywood to create a dodecagon (12 sided). The helix has a 36" radius at a 1.75% grade, which gave us a 4" rail head to rail head separation. By using the trapezoidal pieces we were able to cut the helix out of 4 1/4" plywood strips with very little waste. We used 2 pieces of 1/4" plywood, which was laminated with 1/2" brad nails and plenty of glue. We staggered the joints by one half piece. We assembled all the layers together on the floor and then moved the assembly to the frame. We then temporally installed 2x2 to the frame vertically around the inside and outside of the helix. This gave us something to clamp the upper levels to while working on the lower levels. Risers were then installed on the bottom level to give us our grade. After the first level was attached to the risers, we lifted up on the other levels and clamped them to the 2x2 to get them out of the way so we could lay track on that level. Once the first level had track installed, we then installed the blocks that gave us the correct vertical separation. We then unclamped the next level and lowered onto the blocks. Next, we installed track on the next level and so on until we had gotten to the top. Cody Hilliard
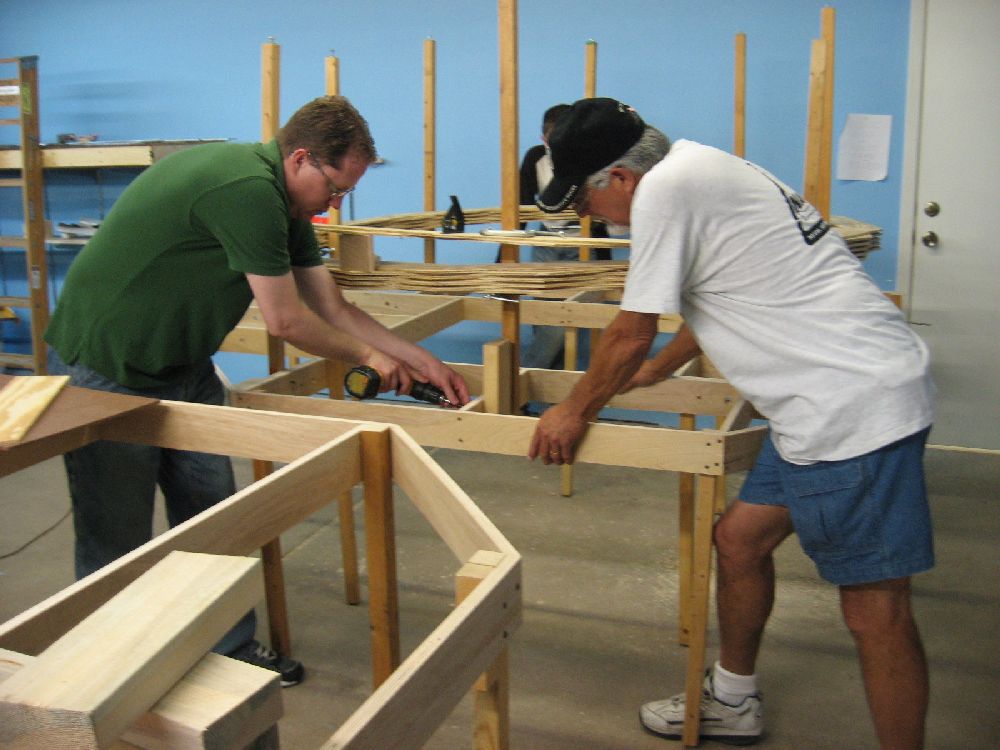
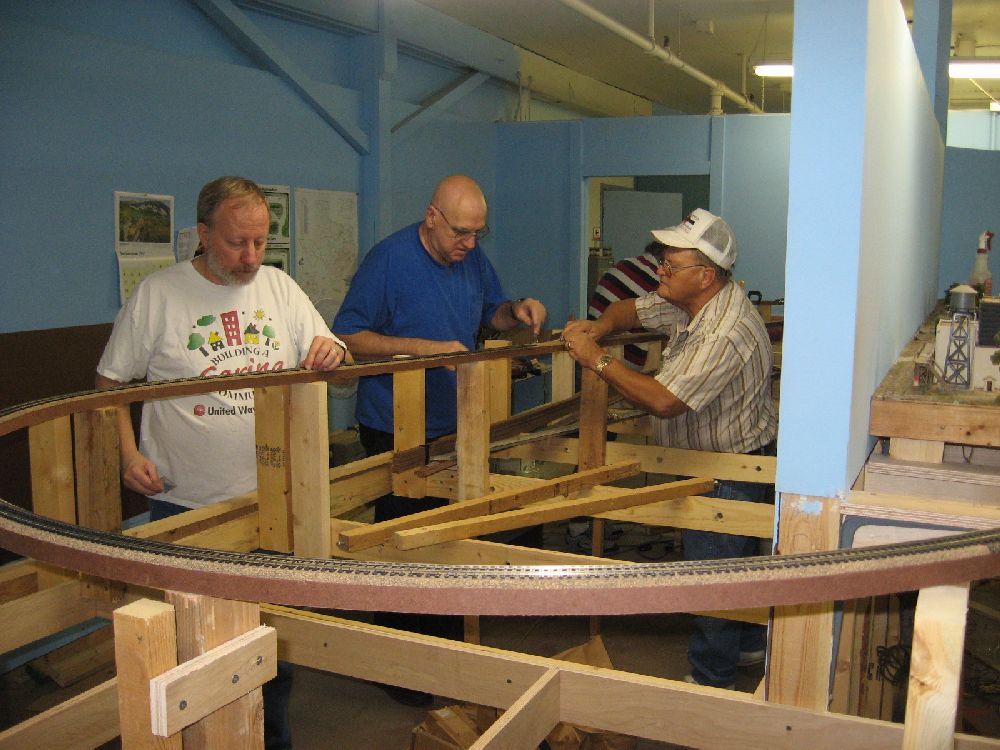
Jerry Wagamon working on the frame that will support helix
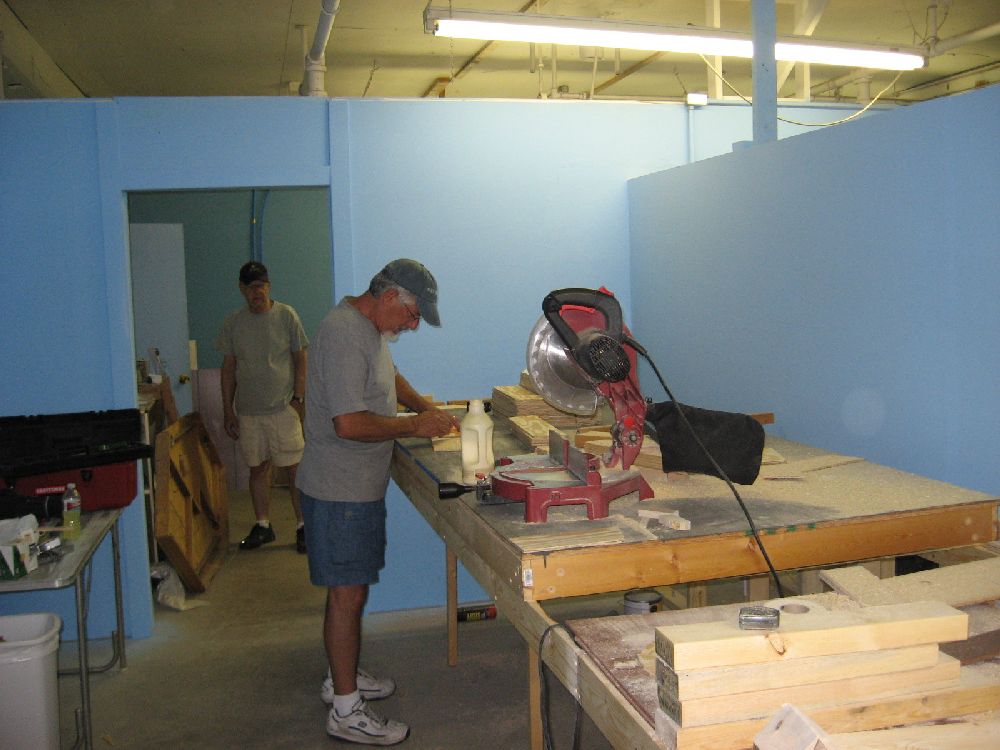
New member Jeff Tellechea cutting the trapezoidal pieces.
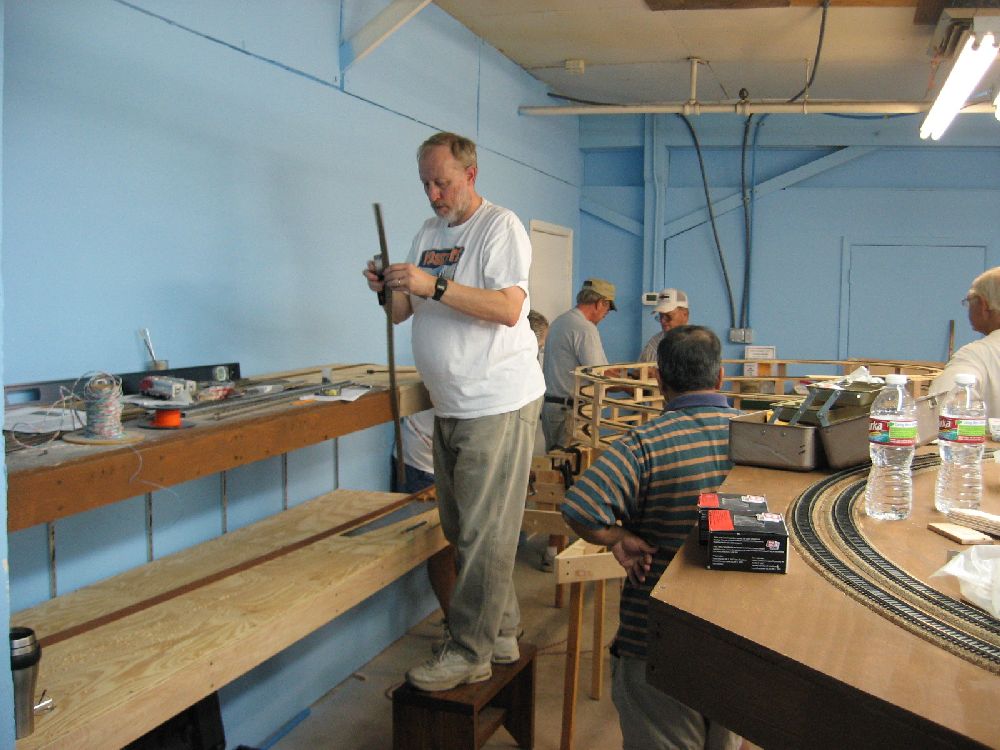
Jim Gibson laminating the pieces of the helix
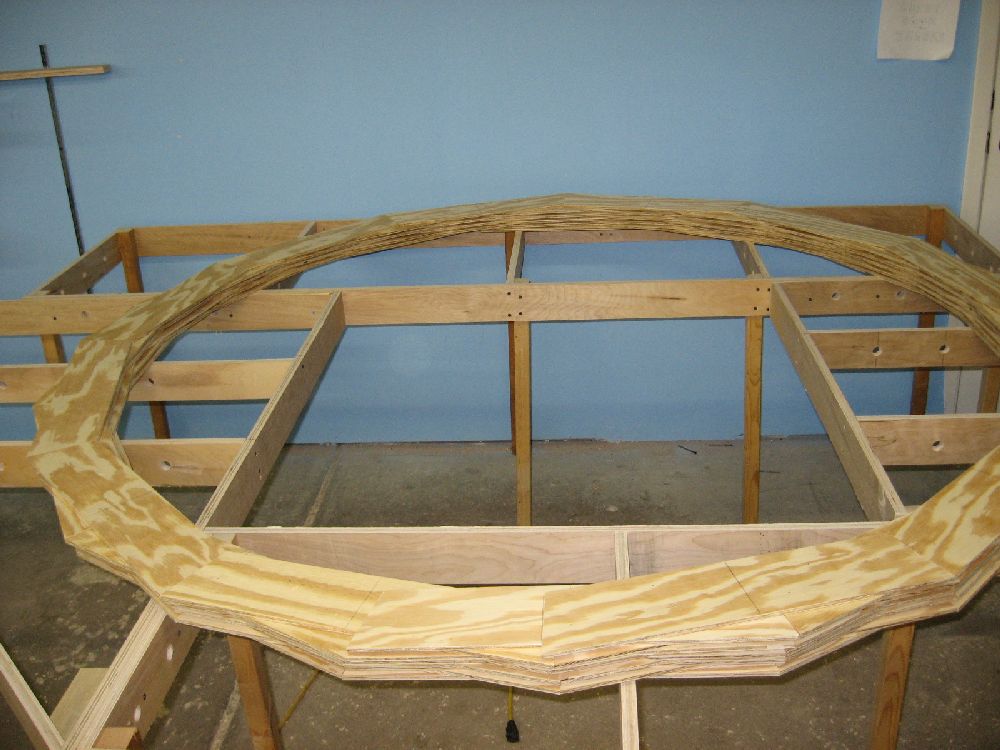
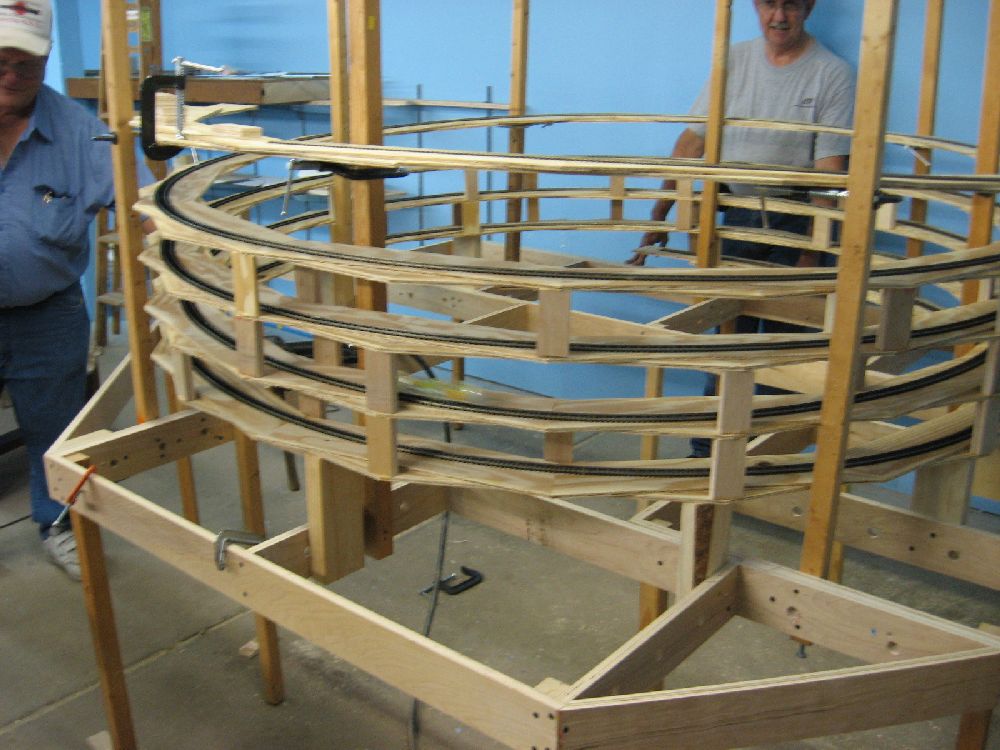
All the levels sitting on the frame assembled but collapsed.
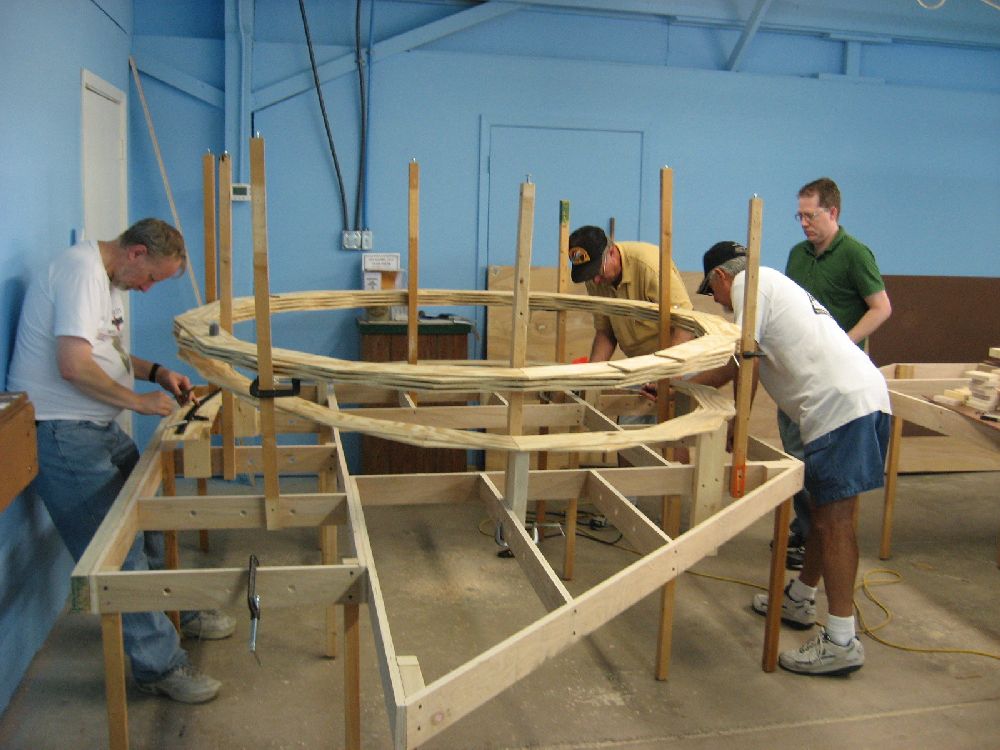
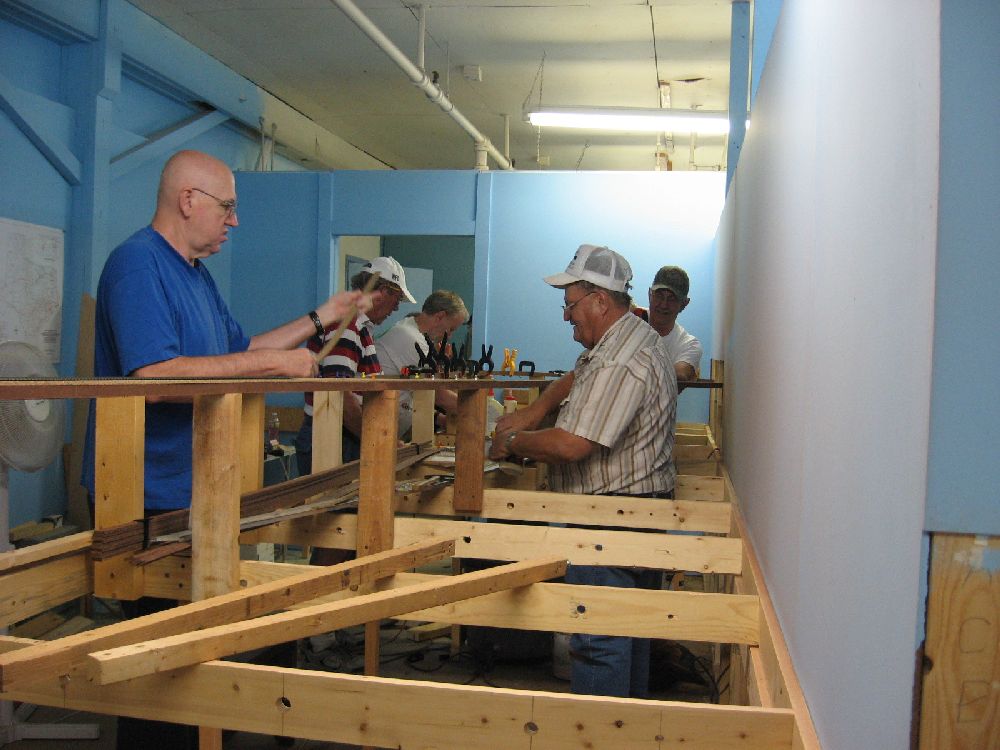
Kent Stark, Ken England, & Robert Wiley installing temporary 2x2's
Close up of laminated helix with 2x2's visible
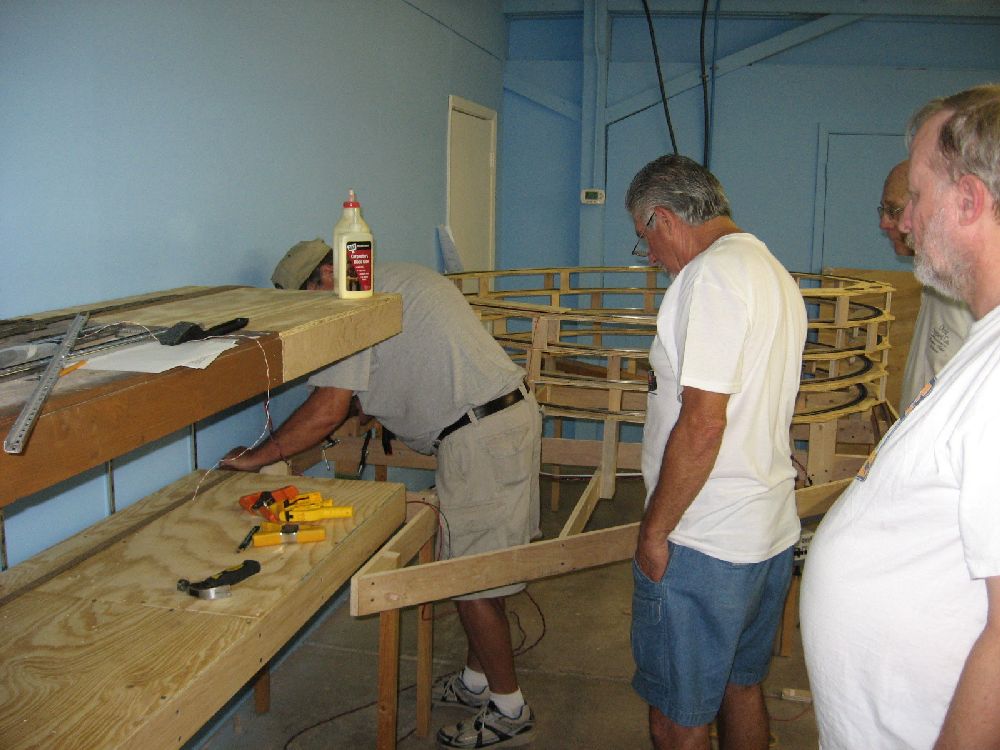
Cody Hilliard and Jeff Tellechea installing risers
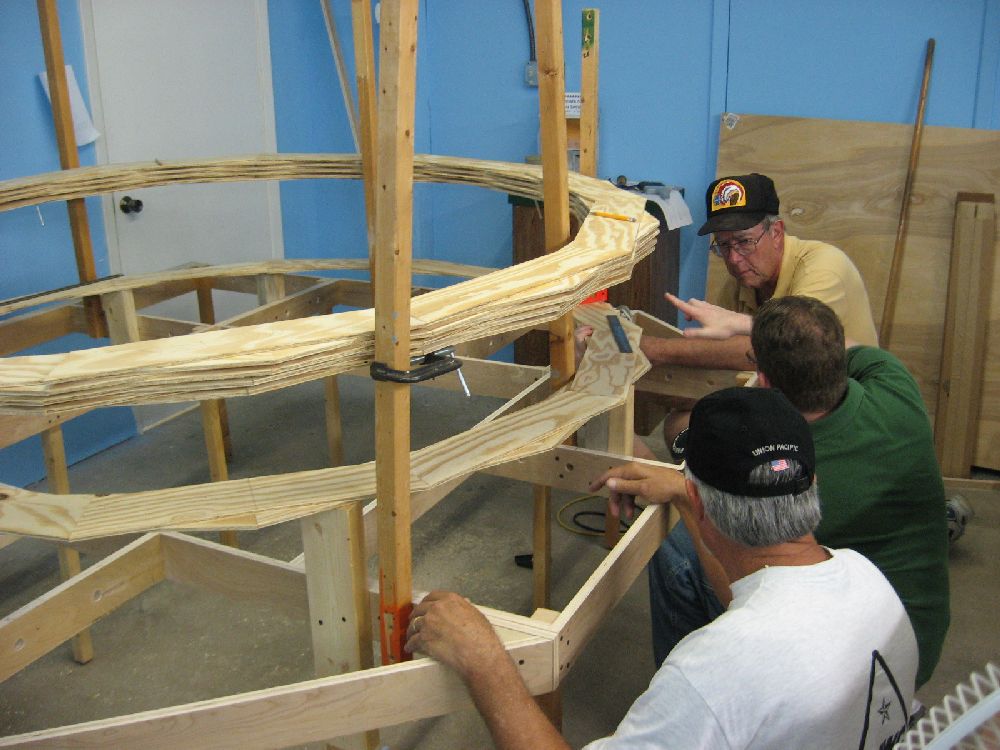
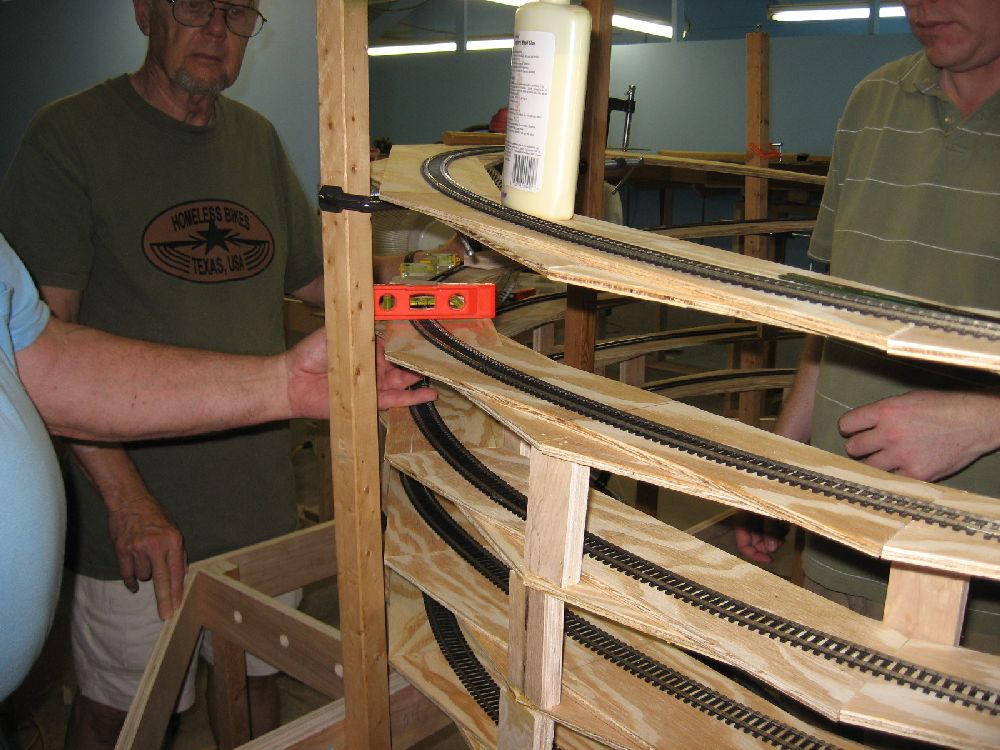
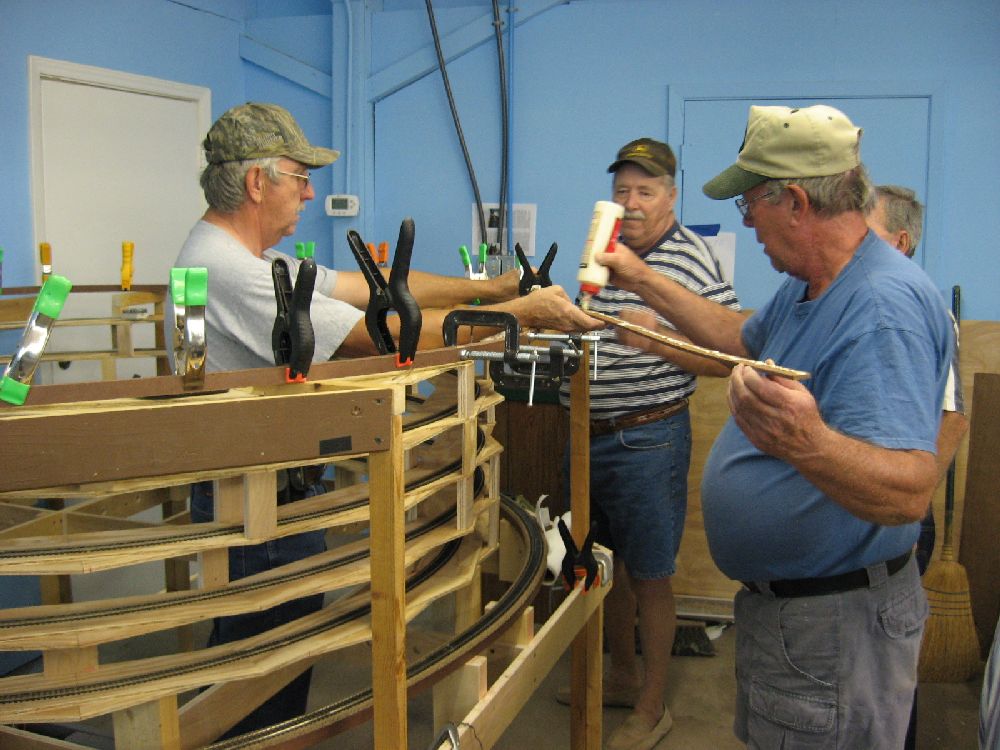
Jeff, Cody, & Jerry working on the grade of helix
Ken Riediger starting on track while Jerry, Jeff, & Cody work on risers
First two levels are spaced with track installed
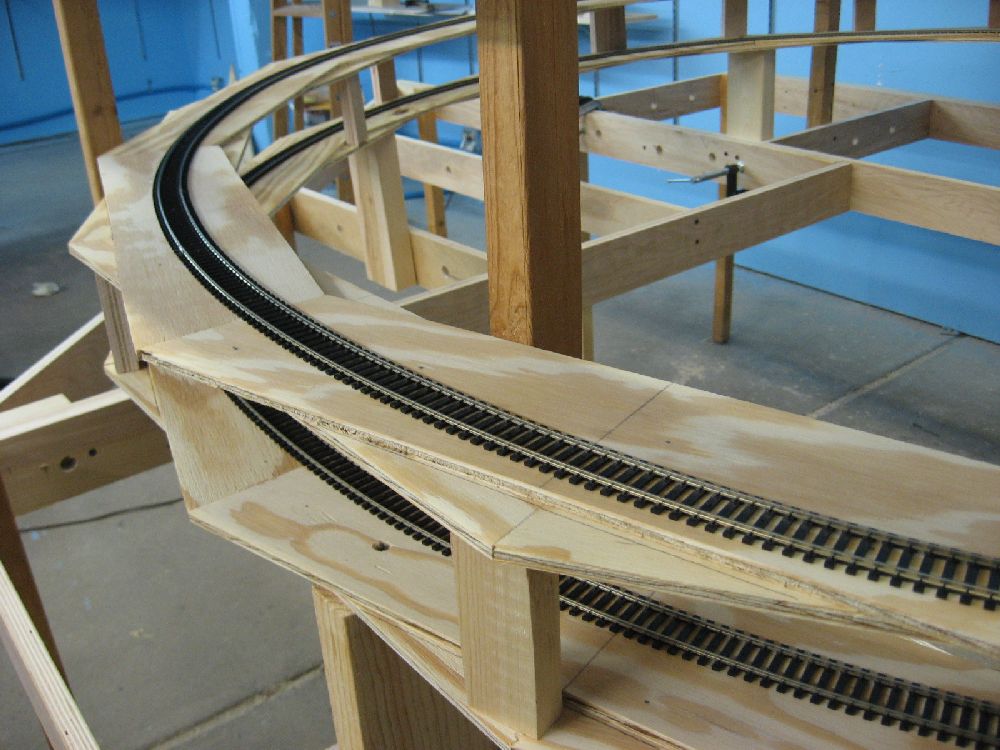
Close up of first two levels with track
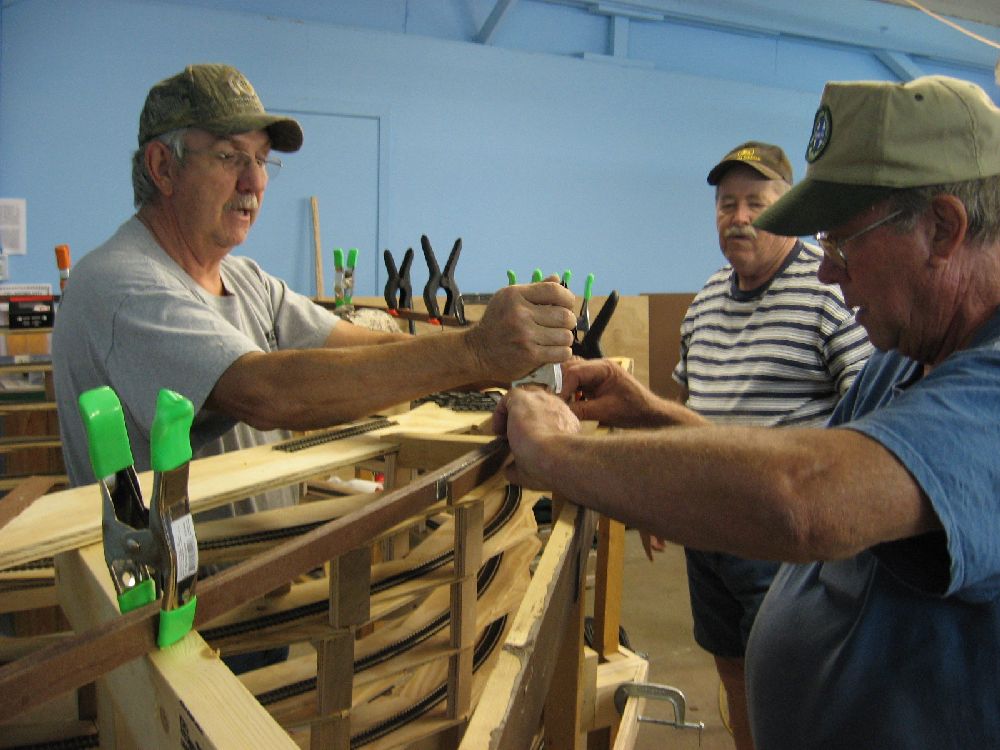
Jerry, Jim, & Cody installing spacer blocks
Working the spacers on up.
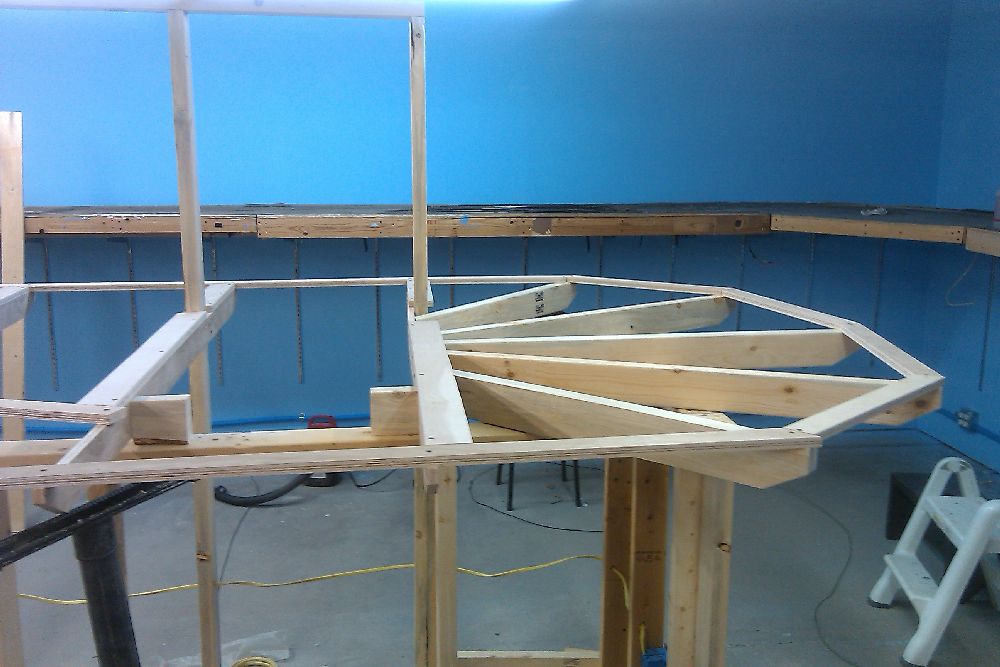
Finished Helix with temporary 2x2's removed!!!
Close up of finished helix
June 2011 - Helix being constructed
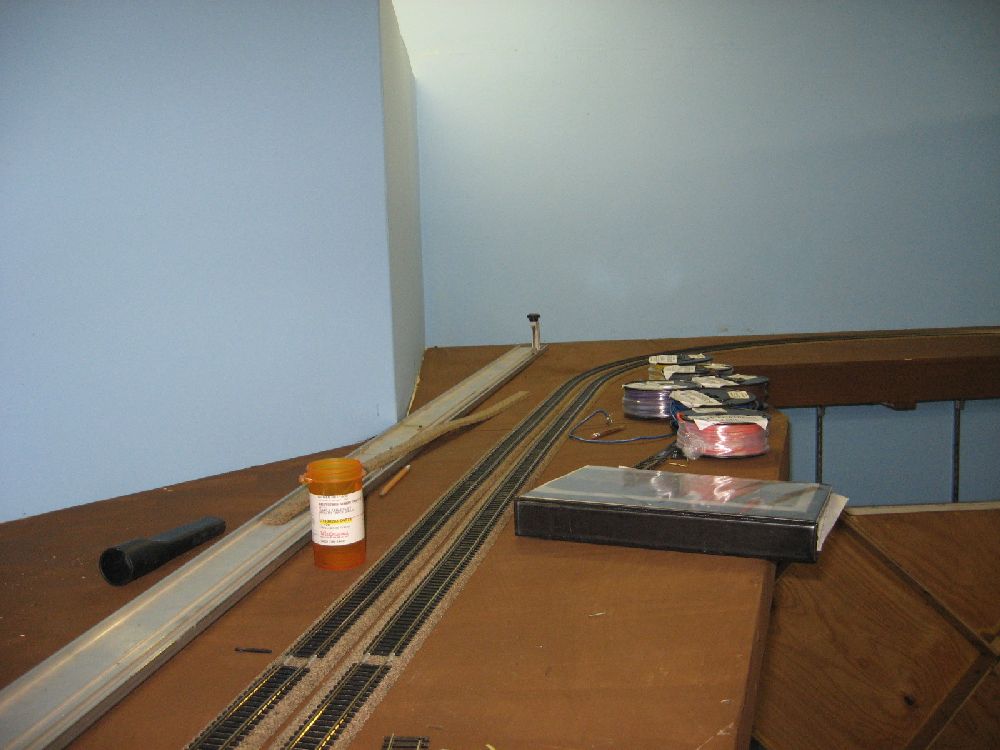
Portion of mainline in place
Jerry, Jeff, Mel & Ken connecting helix to lower level
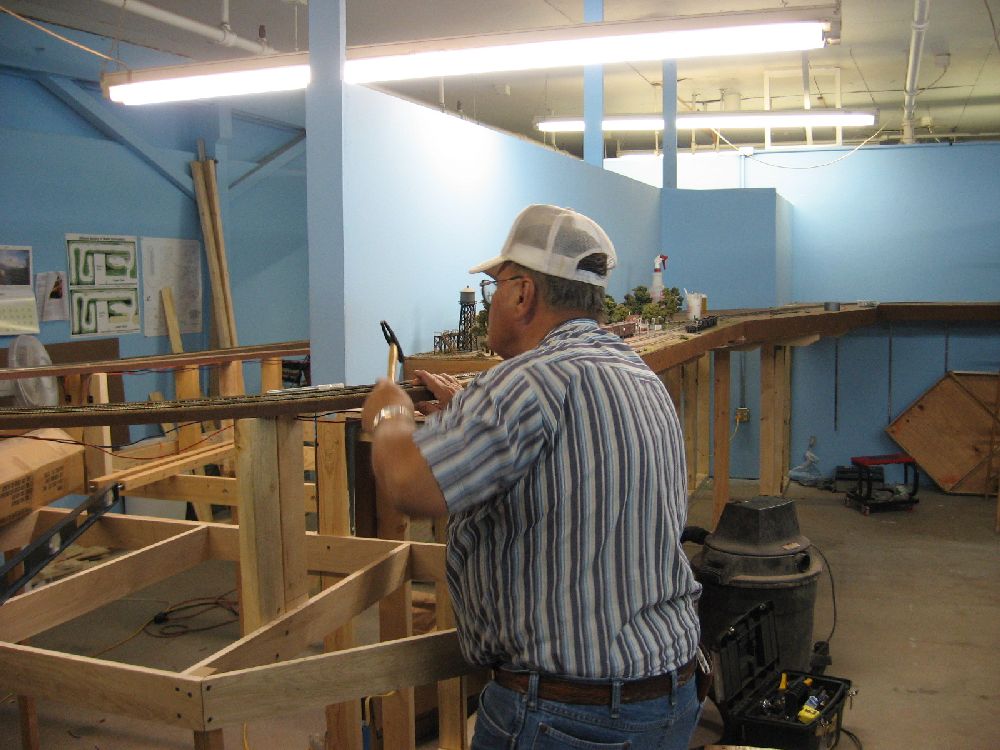
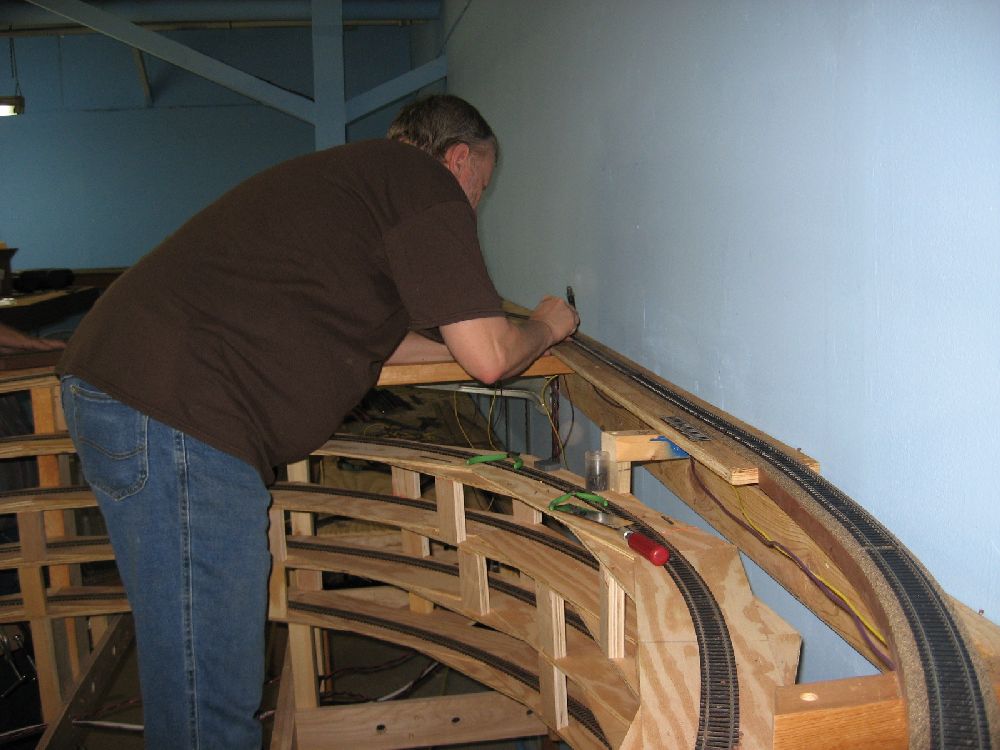
Kent Stark attaching spline
Cork being istalled on spline
Ken England laying flex track
Ken laying track with reverse loop construction in background
Kent Stark, Richard Sykes, Jerry Wagamon, & Charlie Chinn gluing spline
Reverse loop being built with spline
Jerry Wagamon, Jeff Tellechea, and Ken Riediger working
Ken Riediger installing last piece of flex track for phase 1 mainline!
Jim Gibson's cloud painting
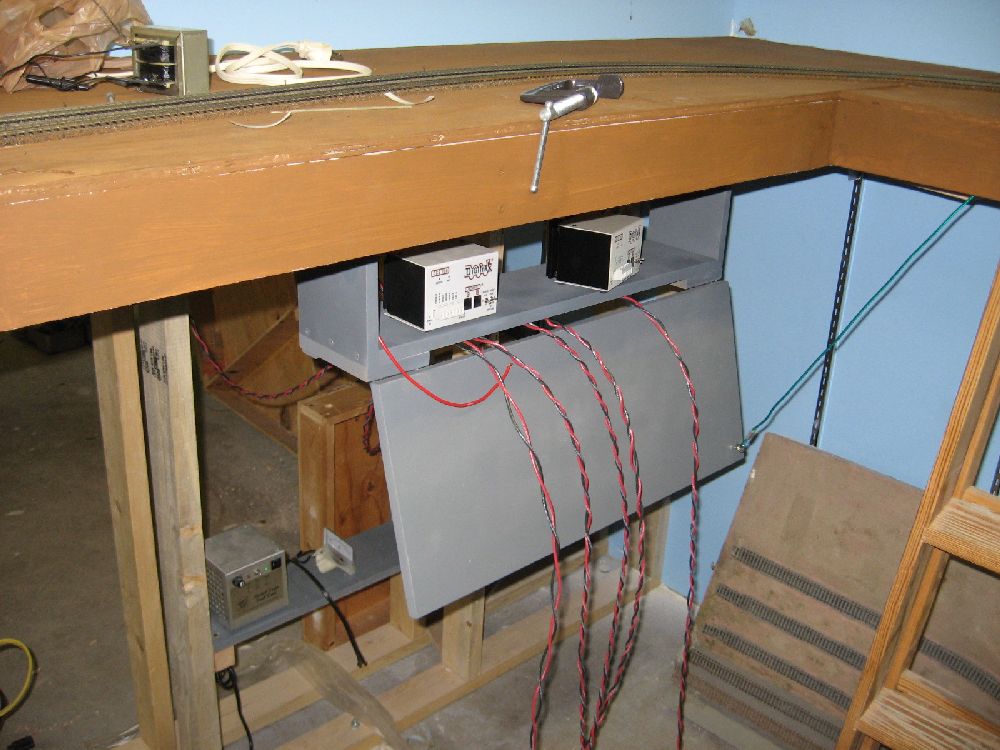
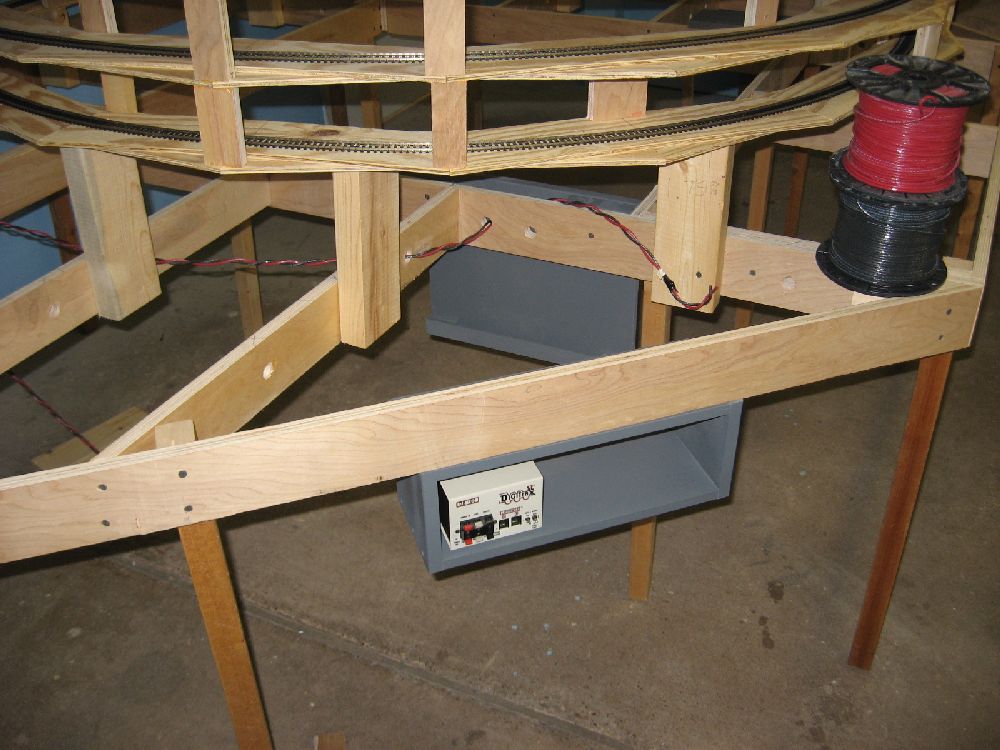
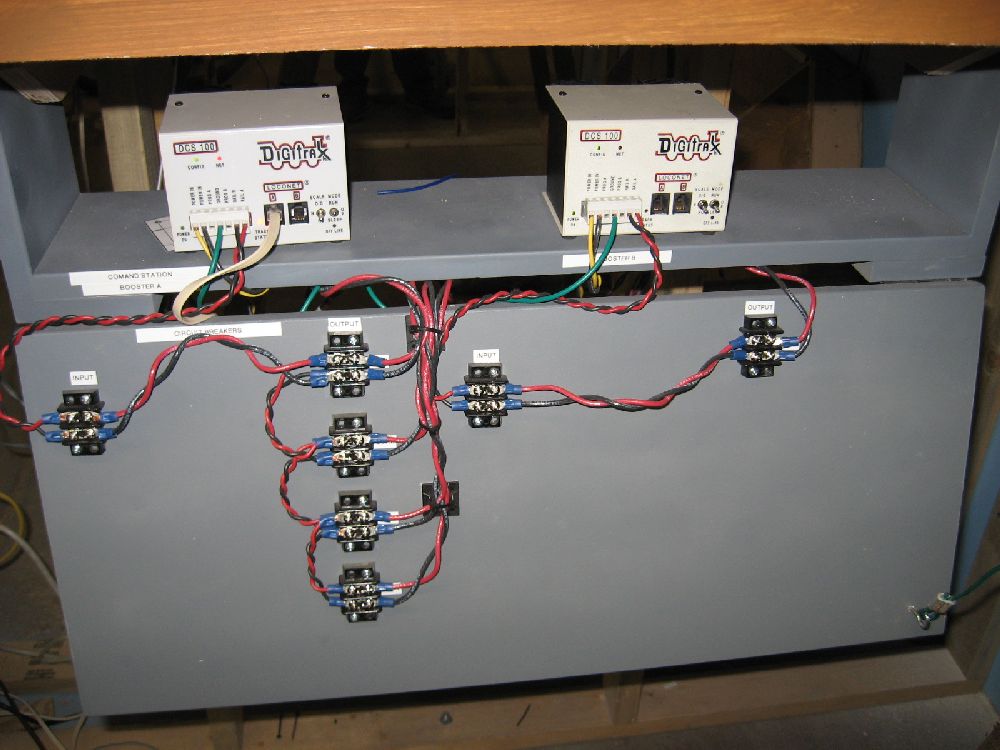
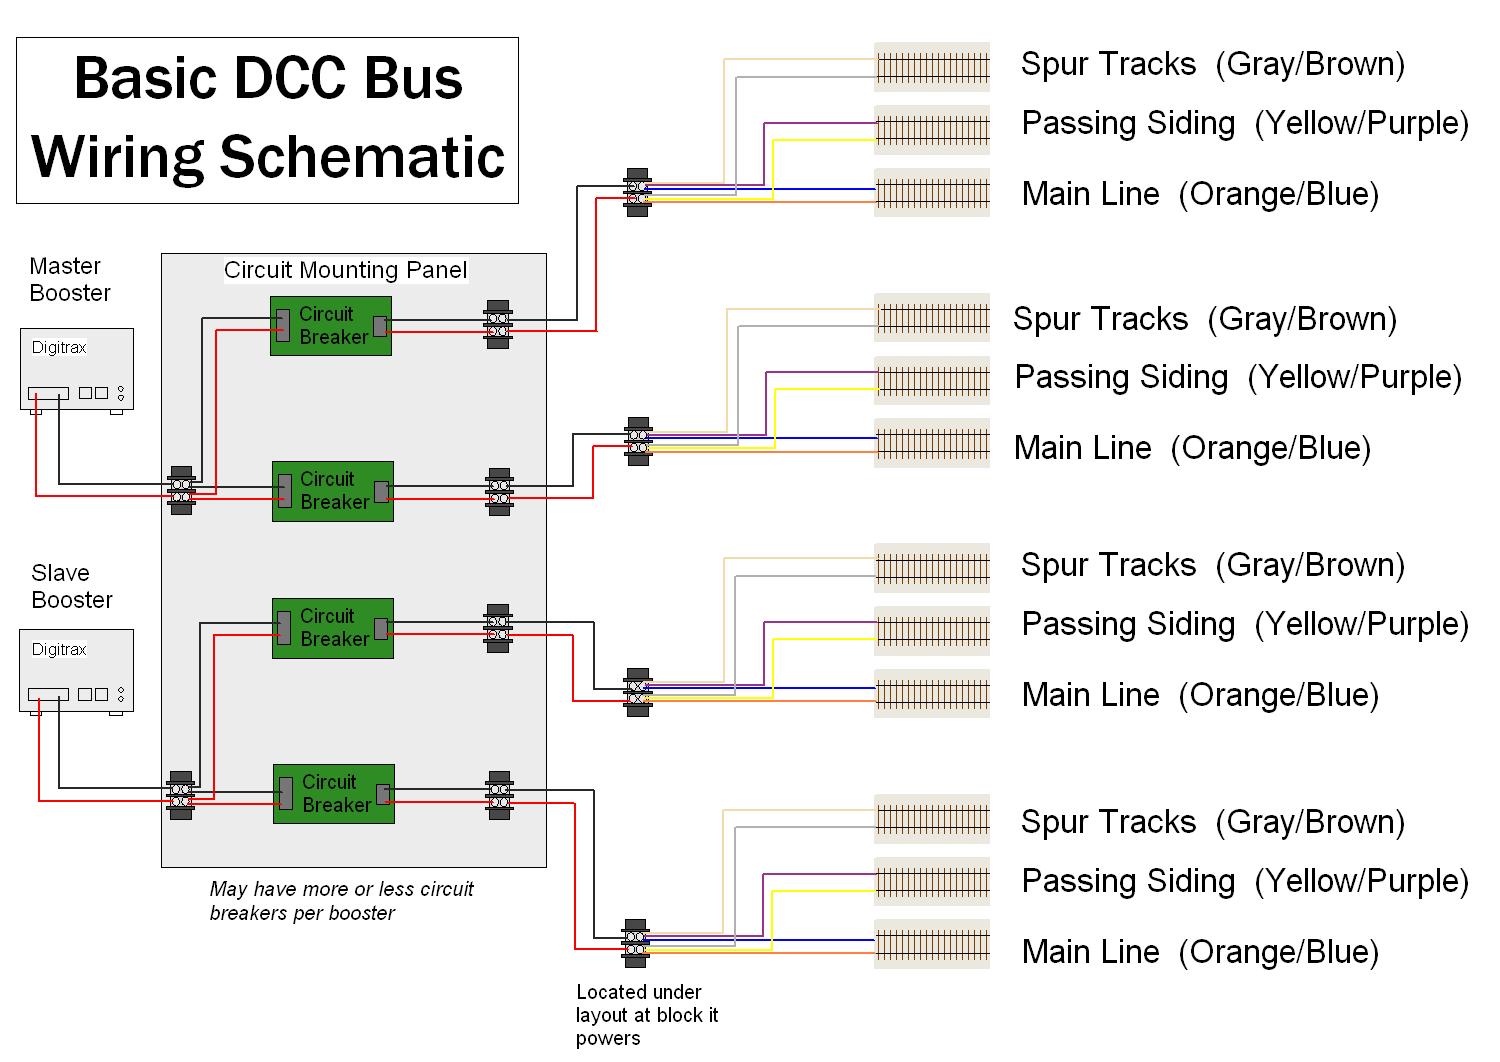
Hinged wiring panel for boosters & circuit breakers installed.
Wiring infrastructure being installed
Waiting on circuit breakers
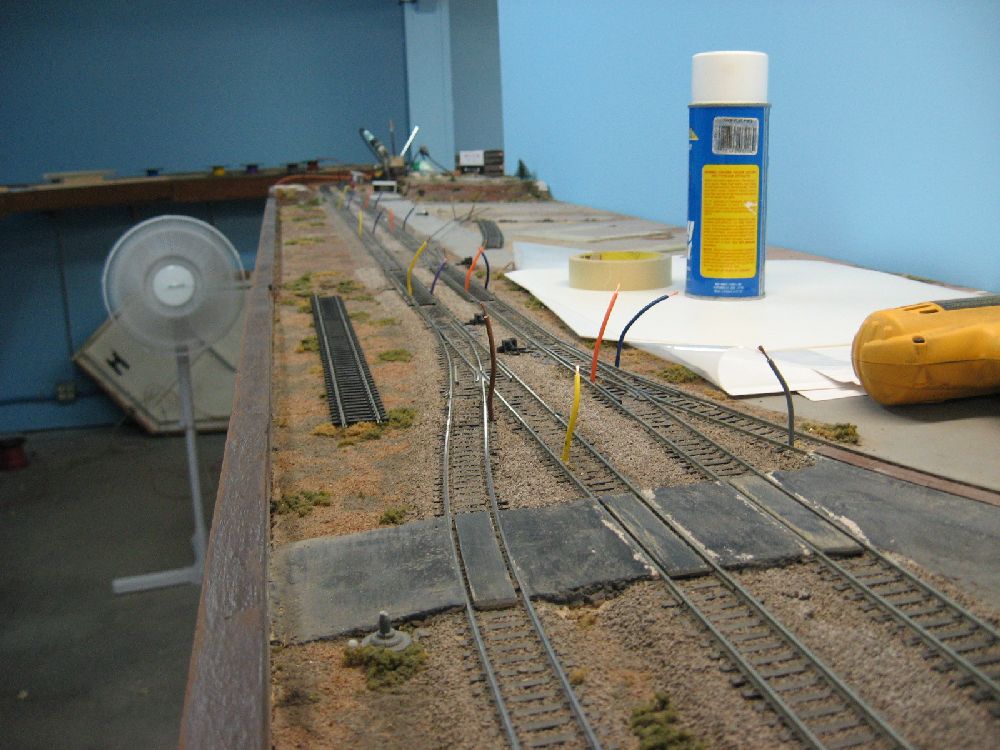
Track Feeders being installed on every rail section
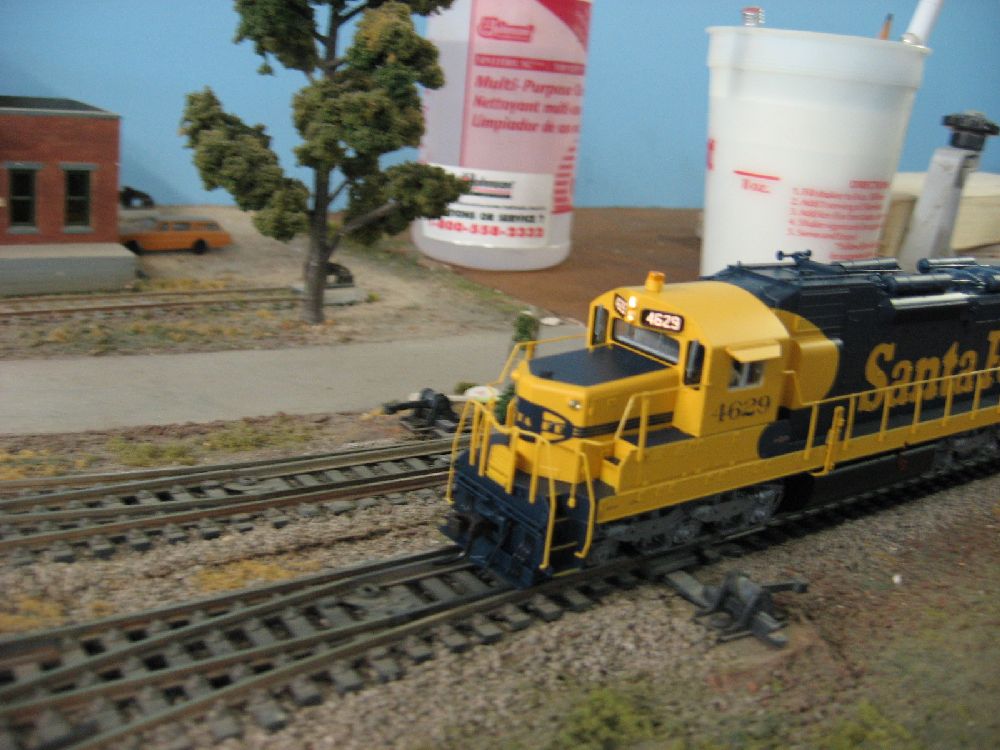
First train to run during testing of a subdistrict
Photos and Diagrams By Cody Hilliard
Photos and Diagrams By Cody Hilliard