Each of the three roads had cars almost identical to this kit. The B&O cars came in numbers 242391-245174 (HC-6 class) and 830000-830184 (HC-8 class). The C&O cars came in numbers 2250-2374, 2380-2385, and 2550-2599 (all HC-8 class). The WM cars came in numbers 5551-5557. To the best of my knowledge all were delivered in grey predecessor paint jobs and some got painted in Chessie colors (as seen below).
Below is a pic of a real 40' Airslide in Chessie colors.
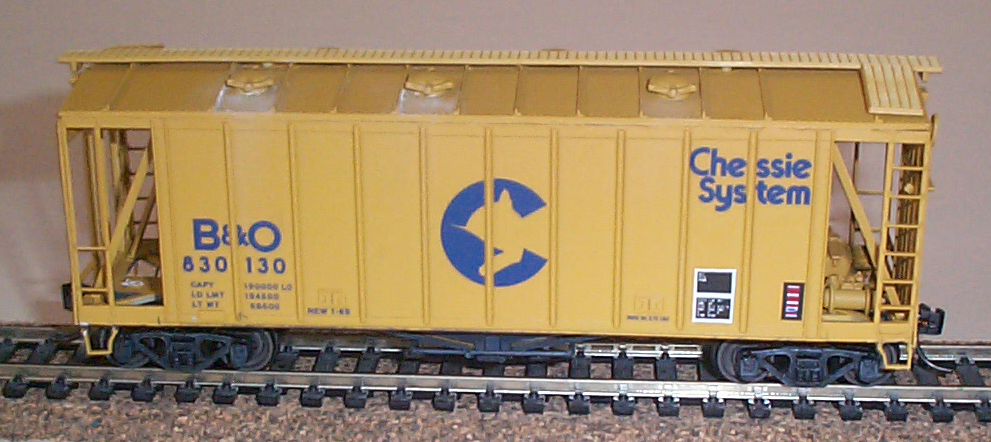
I chose to do one Chessie B&O car and one speed lettered WM car.
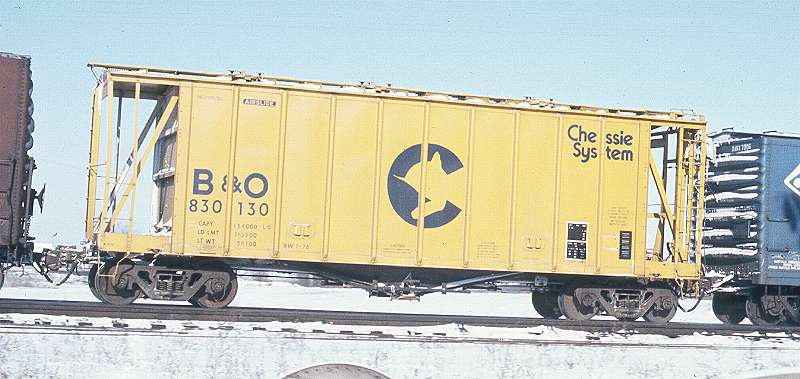
George Elwood photo
How to:
1. Get two Eastern Car Works kits. Choose
the two cars you want to do. I chose one Chessie painted car and
one WM grey car.
2. Paint the WM car with Tamiya Light Grey (XF-19).
Spray with dull coat when the grey is dry.
3. Paint the unassembled parts of the Chessie car
with UP Armor Yellow. Painting these before assembly will allow for
easier paint coverage on all the little parts on the ends of these cars.
4. Assemble the cars (my WM car was bought secondhand
and came partially assembled). Paint the wheel faces rust colors.
5. Add weight if needed to the two cars.
My Chessie car needed weight.
6. Apply CDS dry transfers to the WM car.
No one makes decals for this car, but CDS does make dry transfers.
Dry transfers require a rough surface to adhere properly, so you spray
the car before transfering with dull coat not gloss coat.
7. Touch up the Chessie car with more UP Armor
yellow after assembly if needed.
8. Spray the Chessie car with gloss coat.
Apply Herald King H-143 or 141 decals. Also Champ's Chessie Jumbo
Covered Hopper set would work.
9. Seal the decals with dull coat.
10. Overspray the two cars with roof brown.
I used very little on the Chessie car, as it looks quite clean in the pic
I have of it.
11. Weather the two cars. The WM car has
a rusty roof and several repars on the ribs. I used black paint to
make the repairs. I used white chalk to simulate a spilled load.
12. Seal the weathering with dull coat.
13. You are done, enjoy your cars.
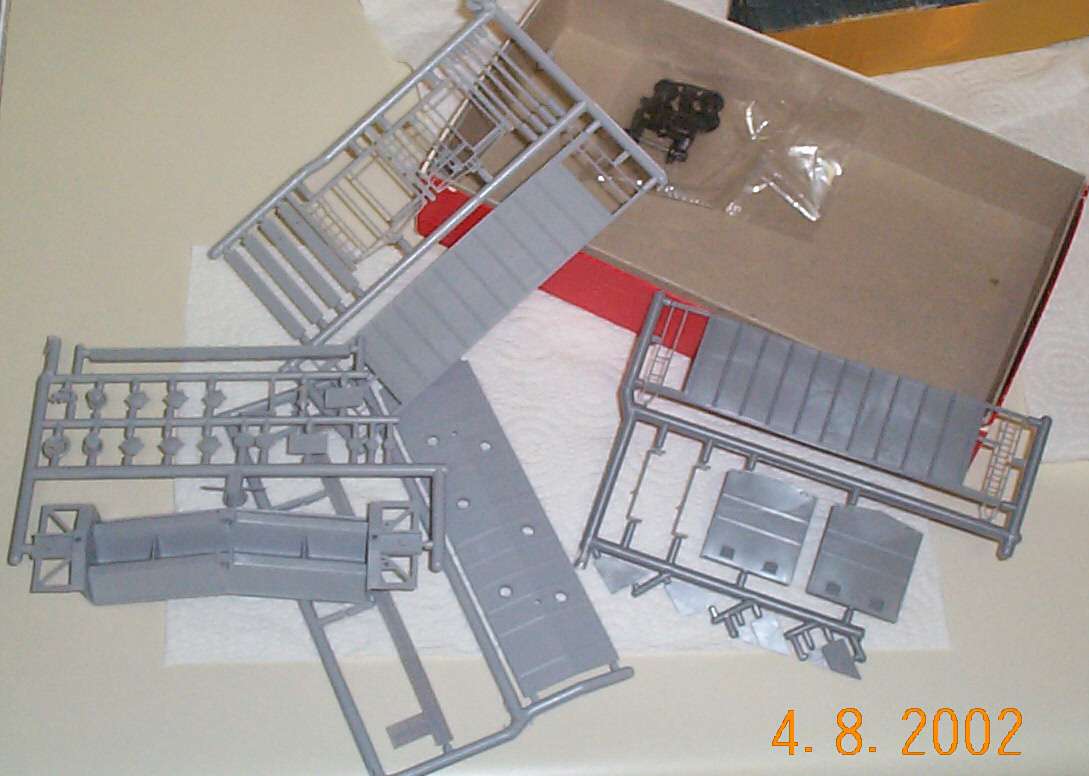
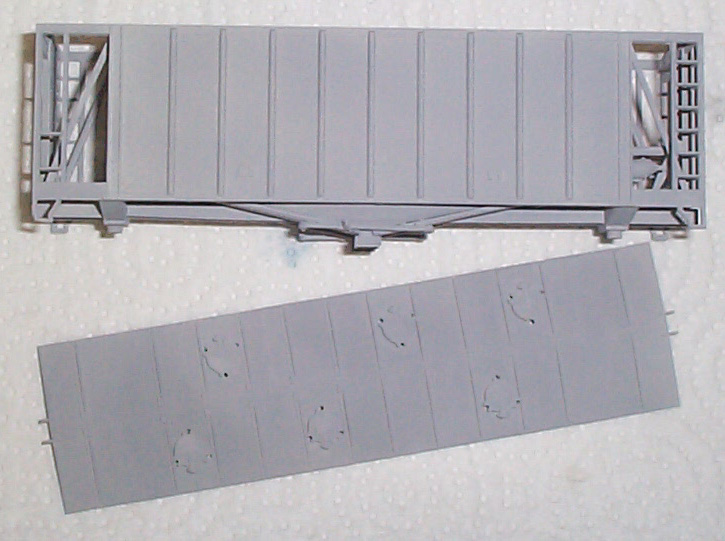
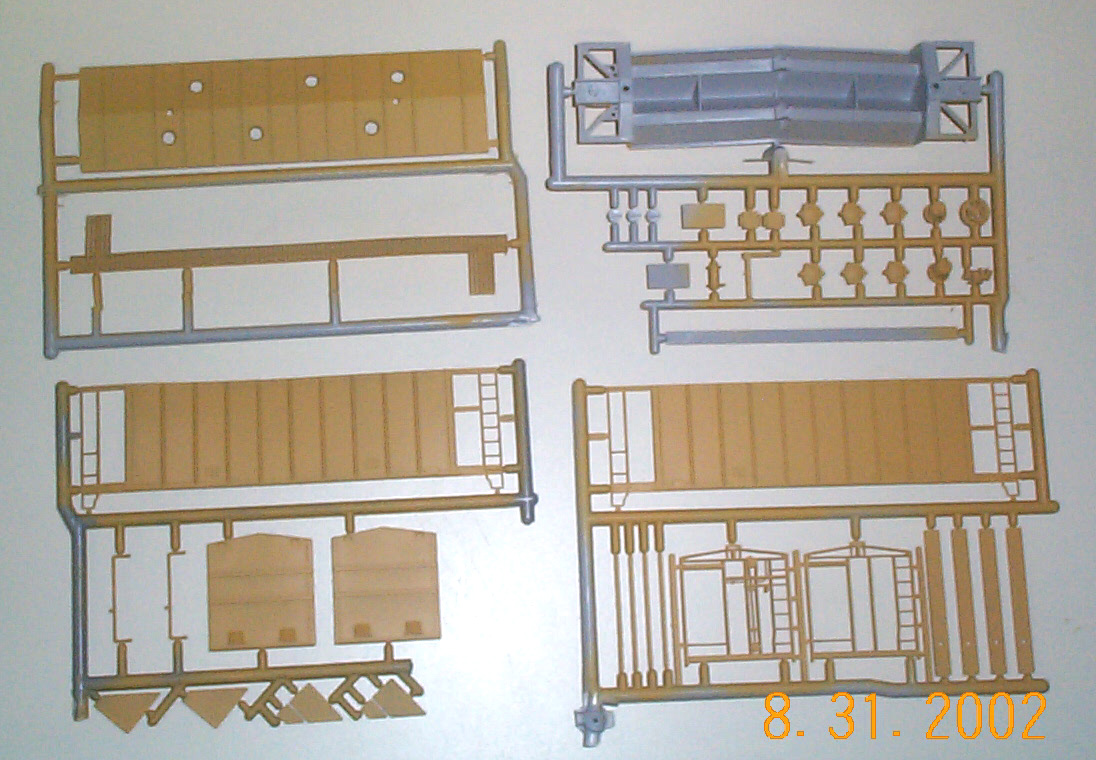
Below on the left is a pic of the kit I got second hand.
It came with the body assembled, but the roof unattached. The other
photo is the second kit that came completely unassembled.
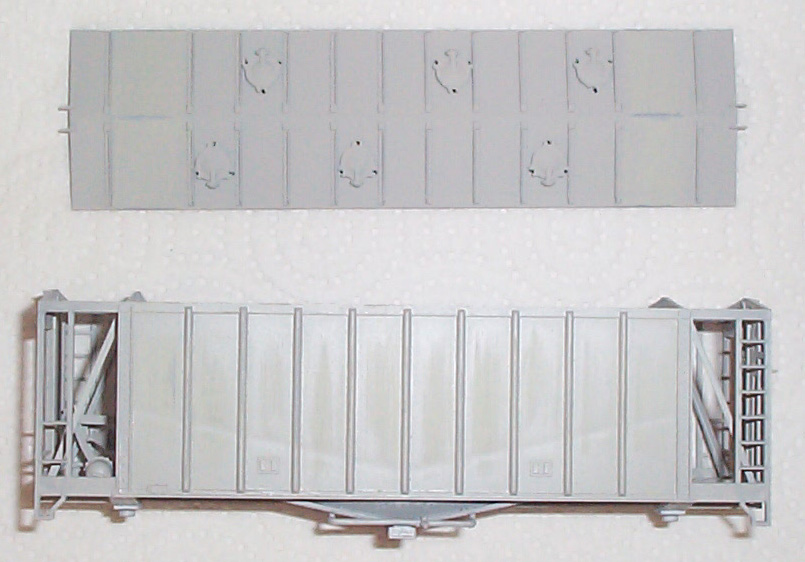
Below left is a pic of the WM car painted Tamiya Light
Grey. Below right is a pic of the Chessie car painted yellow.
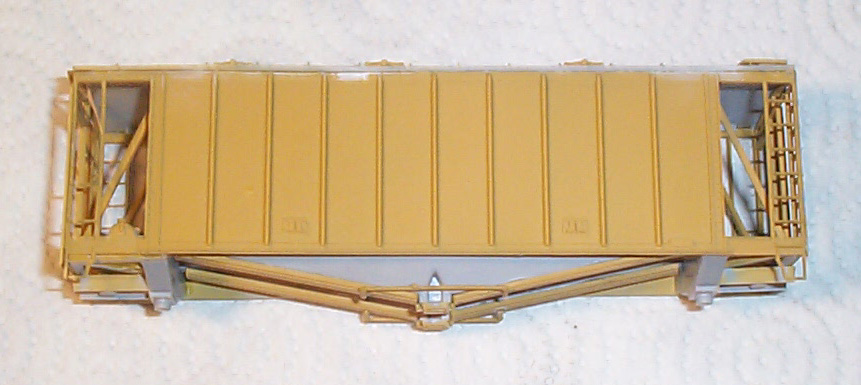
Below is a pic of the car assembled and ready to be touched
up with yellow and the bottom painted blue.
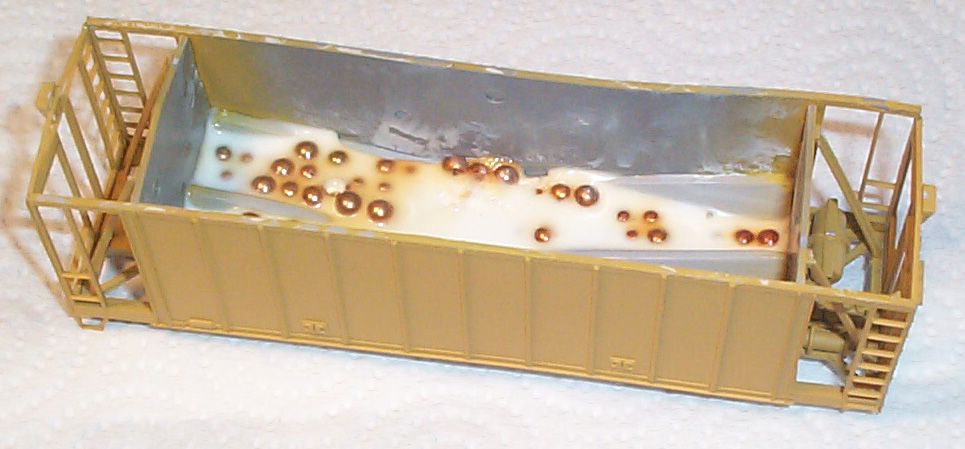
Below is a pic of the Chessie car with the weight added.
I use BBs in white glue. Note how warped the far side is. I
added a cross beam support in this car to keep the side straight.
Below is a pic of the car with the CDS dry transferred
lettering applied. The top 1/2 of the pic is a scan out of the Western
Maryland Color Guide by Morning Sun Books. I used it as a reference
for this project.
![]()
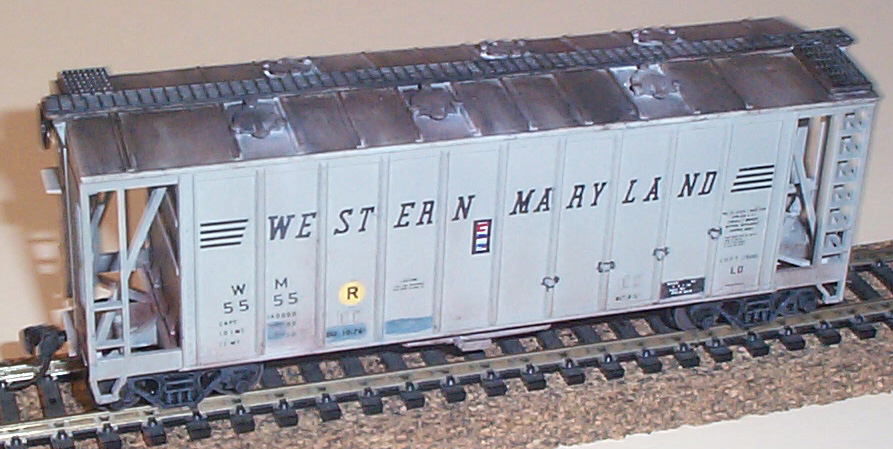
Below is a pic of the finished WM car. It is ready
to earn its keep.
Below is the finished Chessie car.