These kits are accurate for the Freuhauf type trailer that Chessie owned. Chessie did own some other brands, but no kits exsist for those types.
Below is a Dean Heacock pic of a real 40' Chessie
trailer.
This is the most common size of Chessie trailer, so if you plan on
running
TOFC trains, you can't have enough of these kits. By the numbers,
Chessie had about 4,000 trailers in 1982. Only 65 of them were
C&OZ marked. The rest were B&OZ or BOZ marked. 90%
of them were 40' and only 10% 45'.
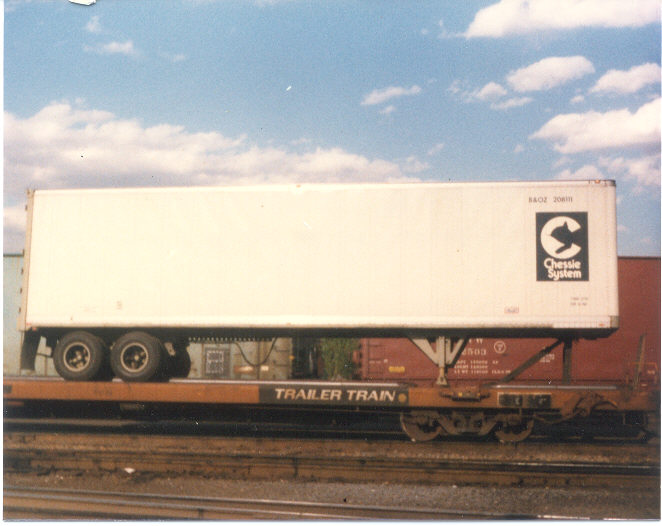
Dean Heacock photo
How to:
1. Purchase as many A-line kits as you want to
do. I picked up two packs, enough to do 4 trailers.
2. Carefully cut the parts off the trees.
Carefully glue the sides to the front piece. Next glue the top to
the two sides and the front. Glue the floor in next, finally glue
in the rear piece. This is the most efficient method I found to
making
the trailer.
3. Paint the sides, front, back, and top flat
aluminum.
4. Paint the bottom and mudflaps black, leave the
jack in the
front silver. I forgot to do this and my jacks are black.
5. Paint the sides, front and back white.
Leave the edges silver (see photos for clarity).
6. Spray with gloss coat.
7. Decal with Microscale decals for Chessie
Trailers. (I made
my own by copying this sheet and jumbling the numbers so each trailer
has its own #. I also made custom Chessie mudflap decals).
8. Spray with dull coat. Weather with
chalks. Use black for soot and brown for road grime.
9. Paint the lights on the back red.
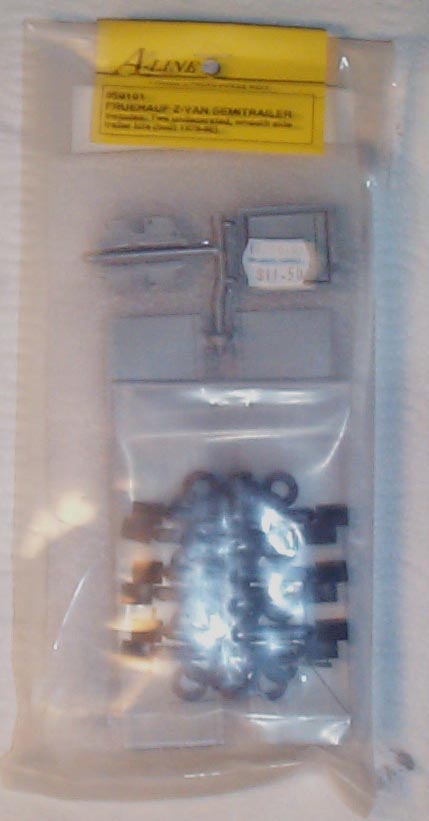
Below is a blurry picture of what you get. A
bag
full of parts for $11.50 is a little steep for two trailers, but it is
the best kit going.
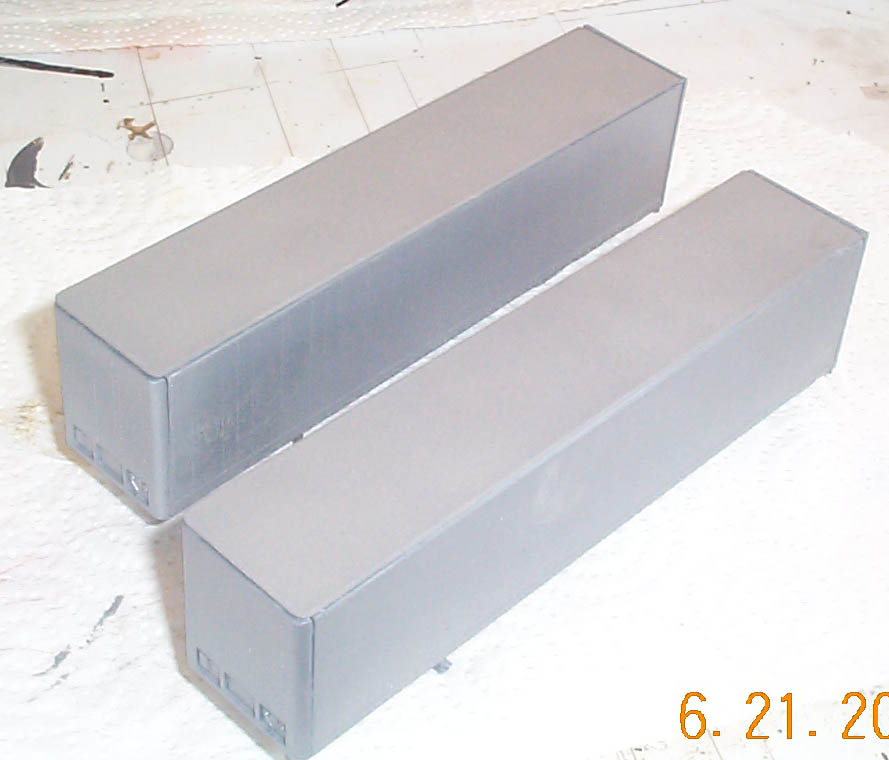
Below are two of the trailers, assembled and painted
silver.
Up next, painting white.
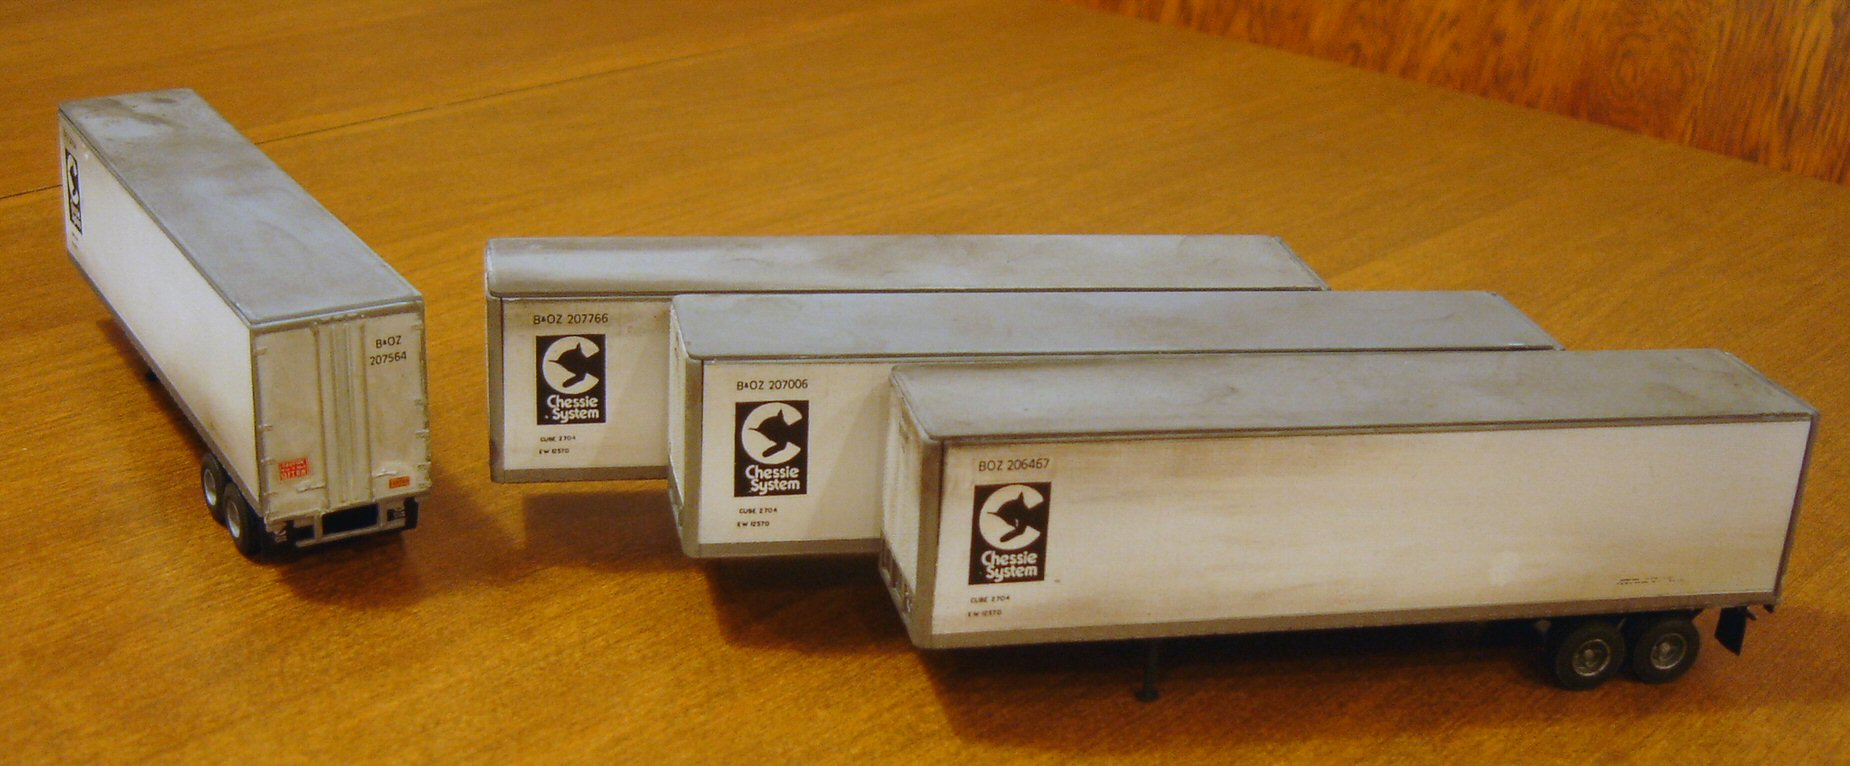
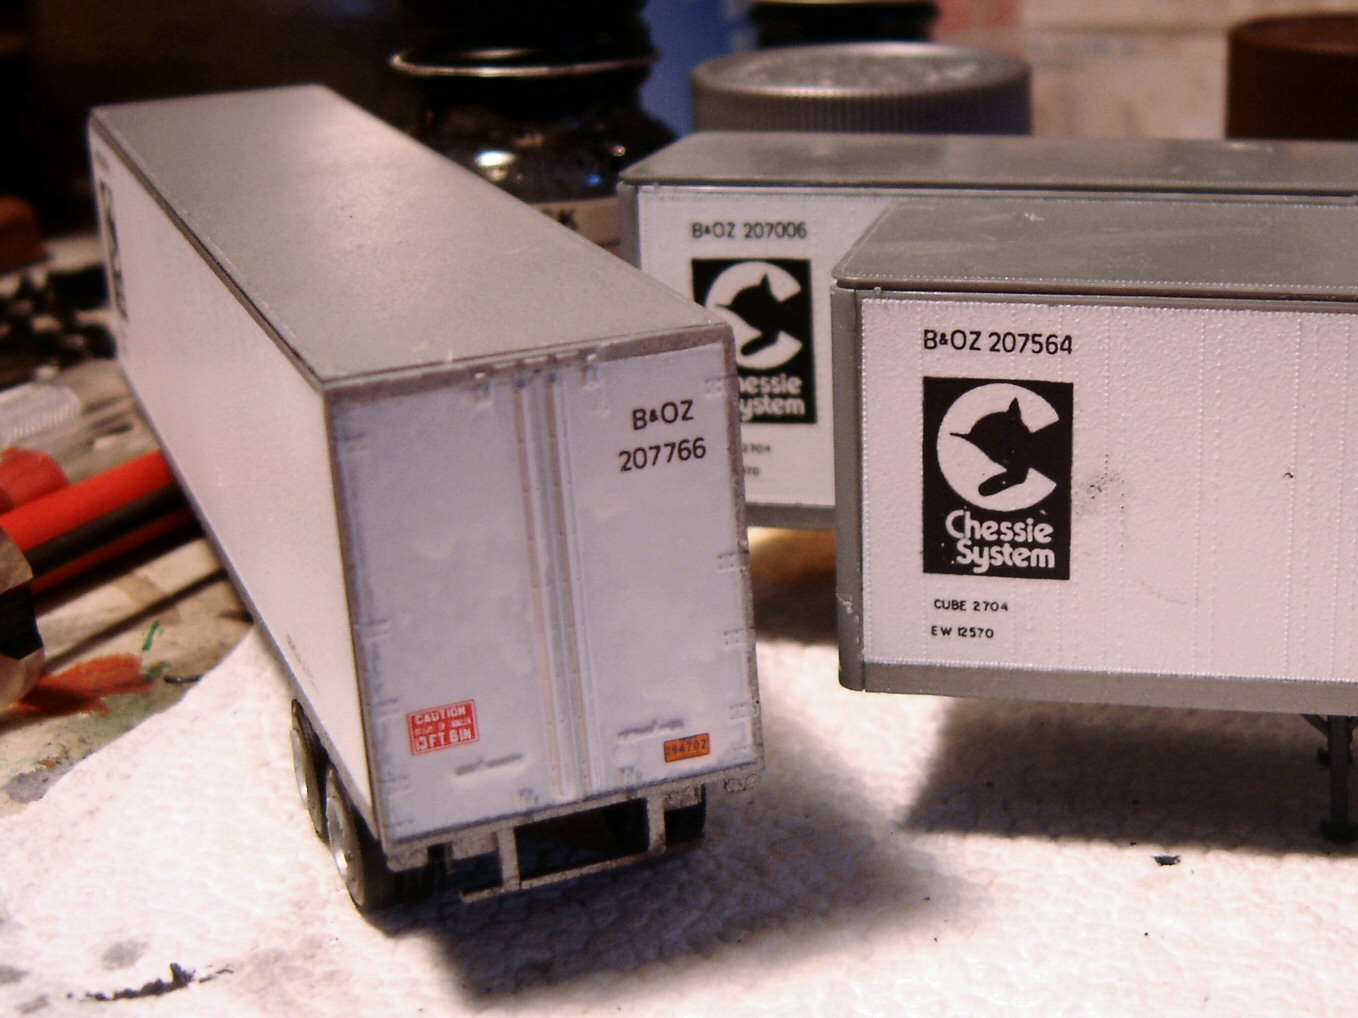
Below is a close up of the trailers painted white
and decaled. Note they all have different road numbers. On
the back I included license plate and a caution decal.
Below are the finished trailers. They have a
nice weathered look, but not too over done.