Below is a Dean Heacock pic of a typical ACF large covered
hopper.
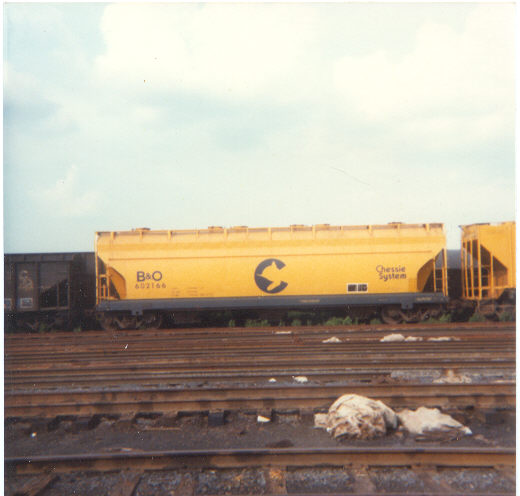
Dean Heacock Photo
How to:
1. Buy as many undec kits as you want to do.
I am doing 5 for this project.
2. Take out the shell, the bay doors and the bottoms
of the kits. Paint the bottoms all black and the top walkways black.
I don't worry about masking anything at this point, it will all be covered
up later.
3. Paint the side sill on the shells C&O Enchantment
Blue. I am doing 4 with the blue side sill and one as an all yellow
repaint. Choose how many you want to have the blue sidesill and only
paint that many.
4. Mask off all the black walk ways and blue side
sills with regular masking tape. Paint the exposed parts of the shells,
the ends, the tops of the bottoms (see photos below for clarity), the roof
covers, and the assorted little parts on the tree UP Armor Yellow.
5. When the yellow is dry spray the shells (all
sides) with gloss coat.
6. Decal the cars with Herald King or Champ decals.
7. While you have the cars unassembled, mix 10
parts water to 1 part white Elmers Glue and apply to the parts of the ends
that you just painted yellow. Sprinkle on fine dirt (I use the dirt
from under the door mat), make sure the dirt is the consistency of baby
powder. Let dry. (See pics below for clarity)
8. Dry brush the bays (currently black) with shades
of grey paint. Leaving them a dark grey color with white highlights.
9. Assemble the car as per the directions
10. Sand the tops of the walkways until you can
just see the light grey plastic. Black paint should be left in the
holes. Do this 400 grit sand paper.
11. Spray the cars with dull coat.
12. Apply a light overspray of railroad tie brown
or another brown color to simulate road grime. Concentrate the overspray
along the bottom 1/3 of the car.
13. Apply weathering chalks. I use white
to simulate the spilled loads normally carried in these cars. Also
use some rust colored chalk on the vertical raised ribs.
14. Seal the weathering with dull coat.
15. You are done. Enjoy your cars.
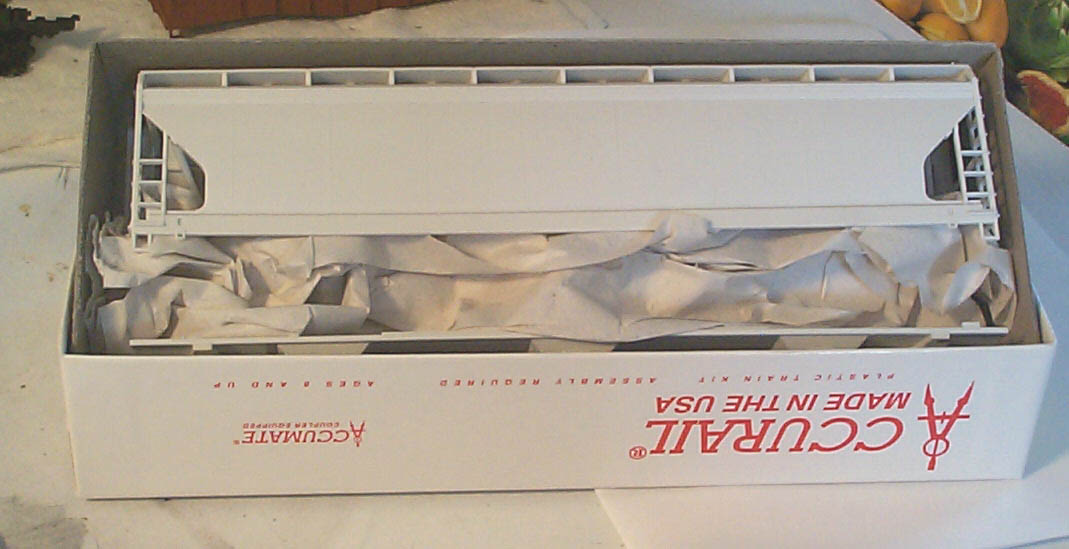
Below is a pic of one of the cars in the box.
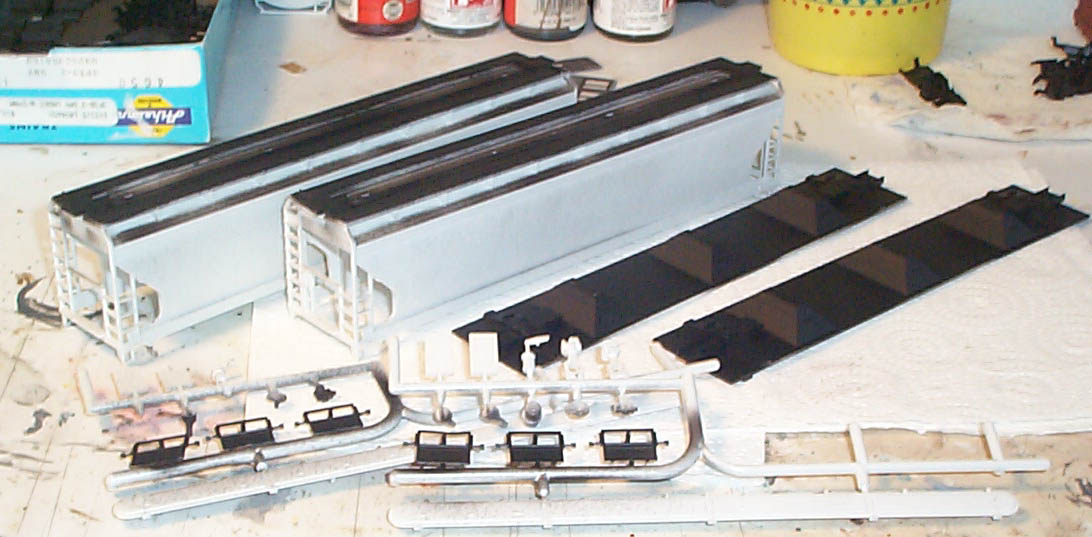
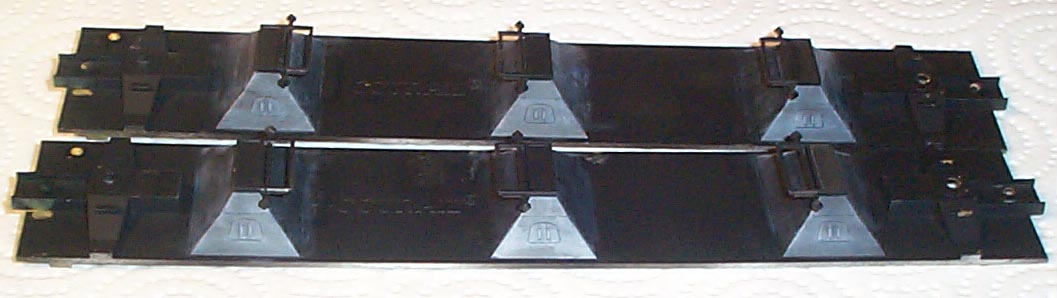
Below are two of the cars and the parts you need to paint
black. I paint the bottoms of all mine black to help out when I brush
paint the bottoms with shades of grey later. You can remove the black
hopper doors from the trees after this step is done. No need to paint
them yellow, as they should be black.
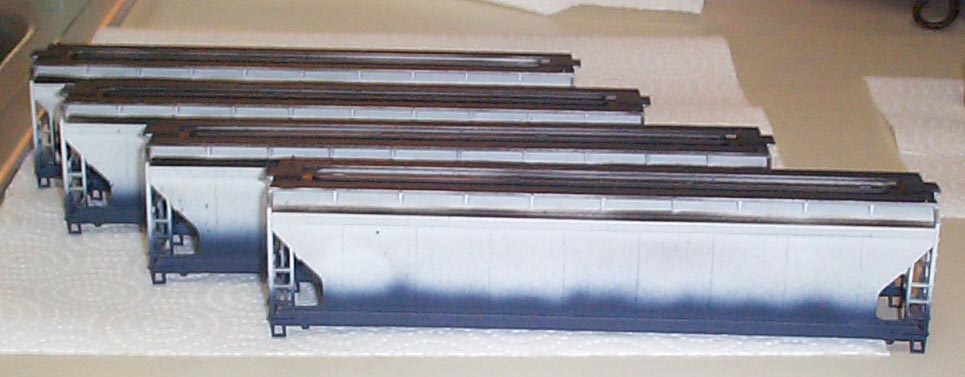
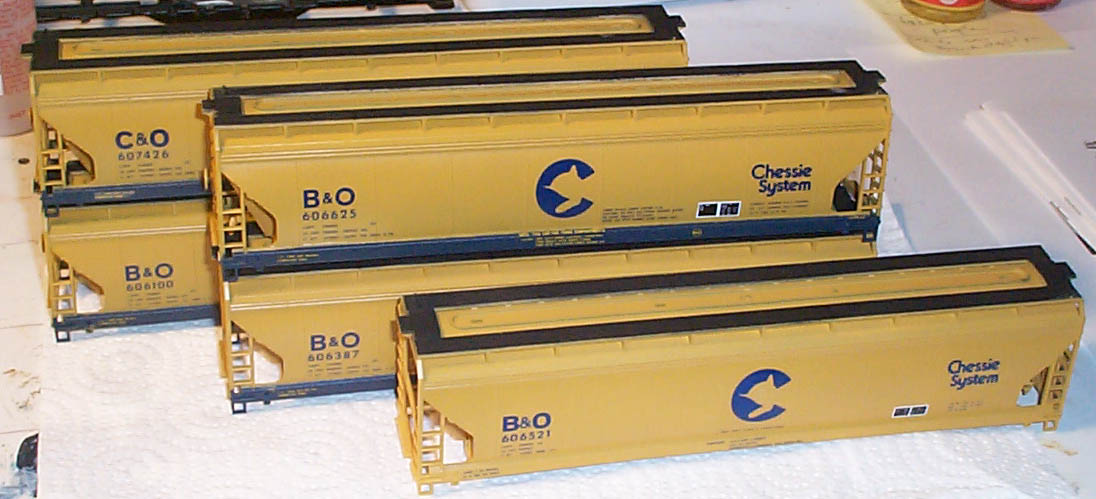
Below are the four cars that got the blue side sills.
Up next, yellow.
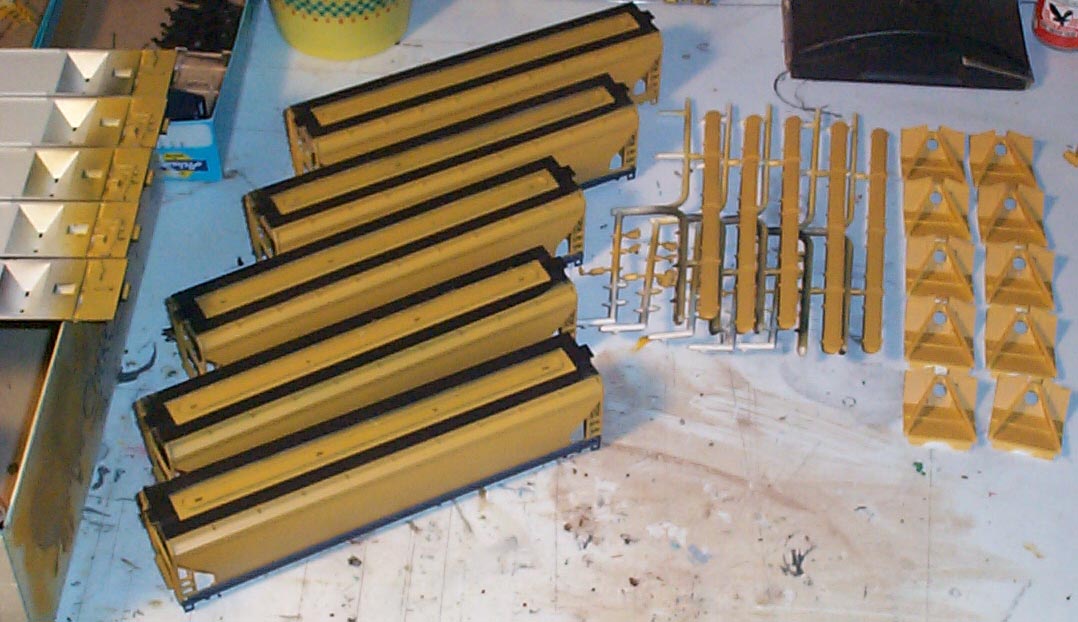
Below are all five painted yellow parts. This is
alot of yellow to paint at one time, so be patient and take it slowly.
I tape over the black and blue parts with regular masking tape before spraying
the yellow. Also, I remove the black parts off the trees, leaving
just the ones that need to be painted yellow.
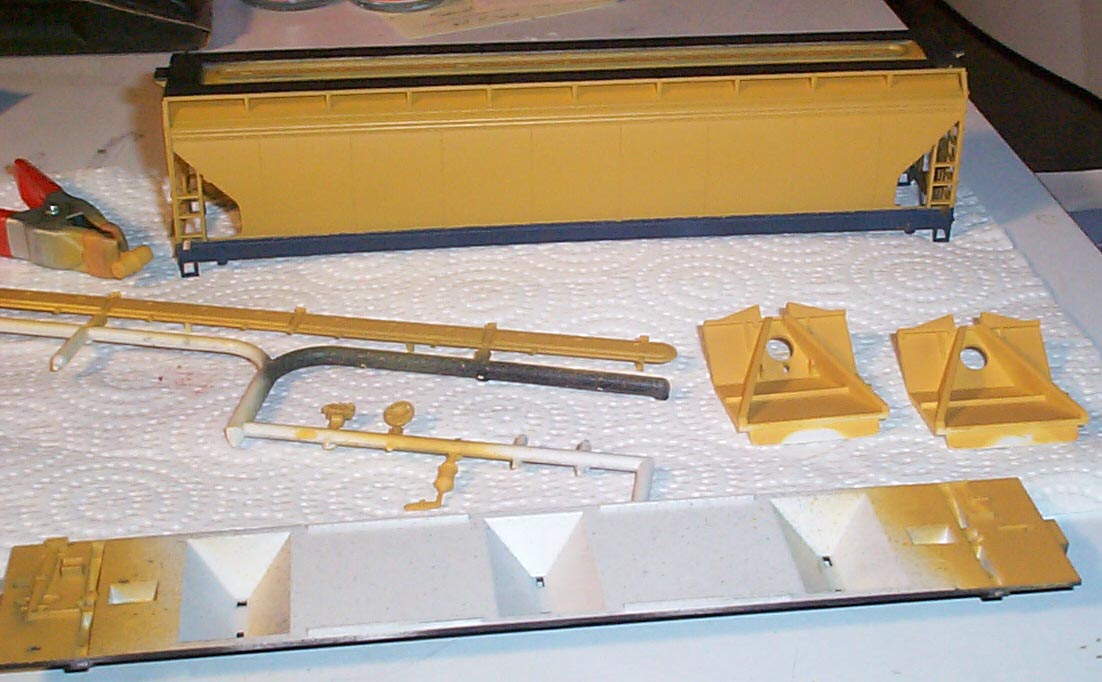
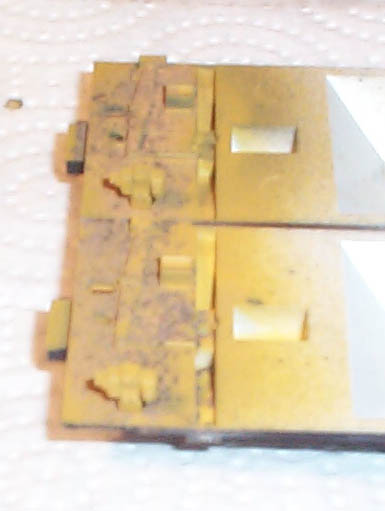
Below is a clearer photo of what is required to paint
yellow on each car. Don't forget to paint any of those little parts
that have a habit of falling off the tree. If you see, one is in
the clip in the upper left of the pic. Also, don't forget to paint
the ends of the bottom piece yellow (seen along the bottom of this pic).
Below are the bottoms drybrushed and with the bay doors
on.
Below are two of the bottoms treated with sprinkled dirt.
On the real cars, the dirt accumulates here and makes this area look like
a sand box.
Below are the five shells decaled and ready for assembly.
Below are two pics showing the cars assembled. The
first shows how much weathering I put on the cars before sealing with Testors
dull coat. Once the dull coat is put on much of the white streaks
(simulating spilled stuff) disappear. Each car is in the same position
in both photos.
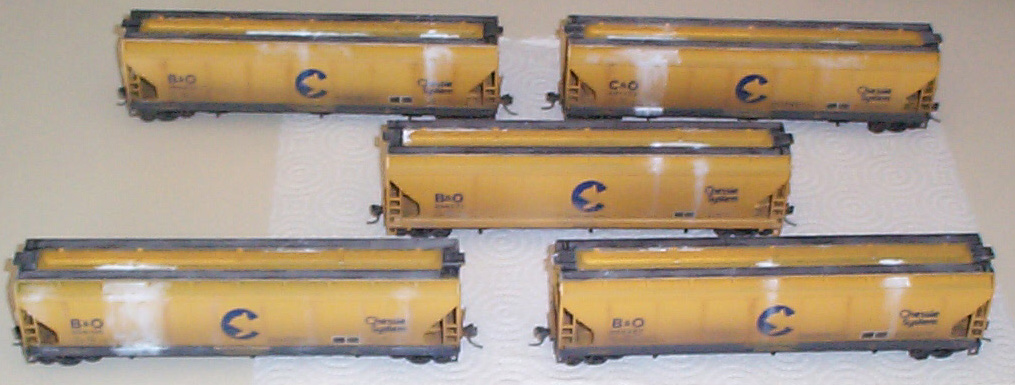
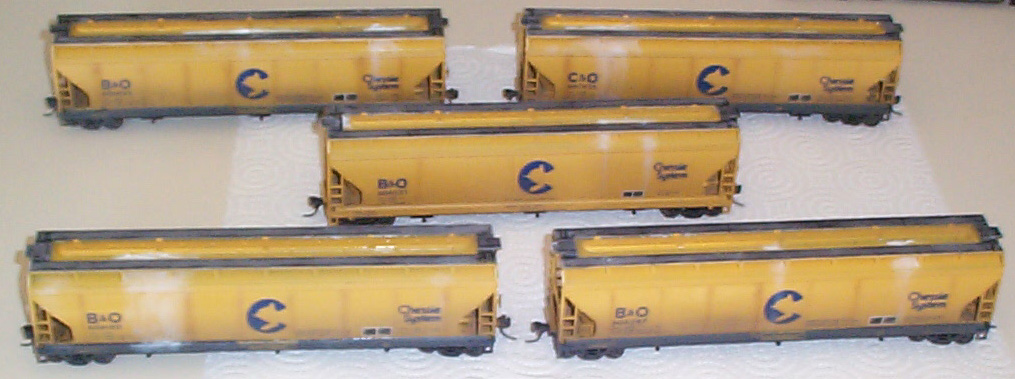
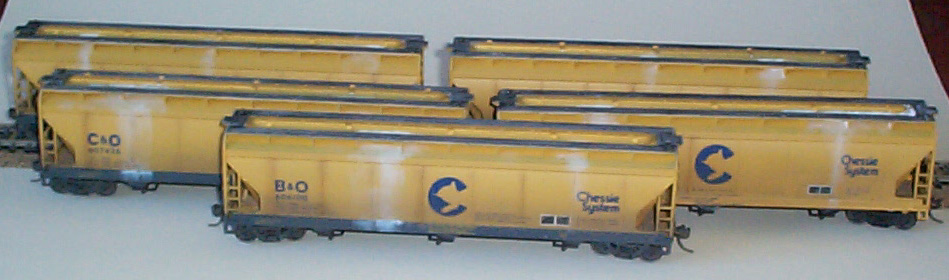
Below are the five finished cars posing for a family shot.
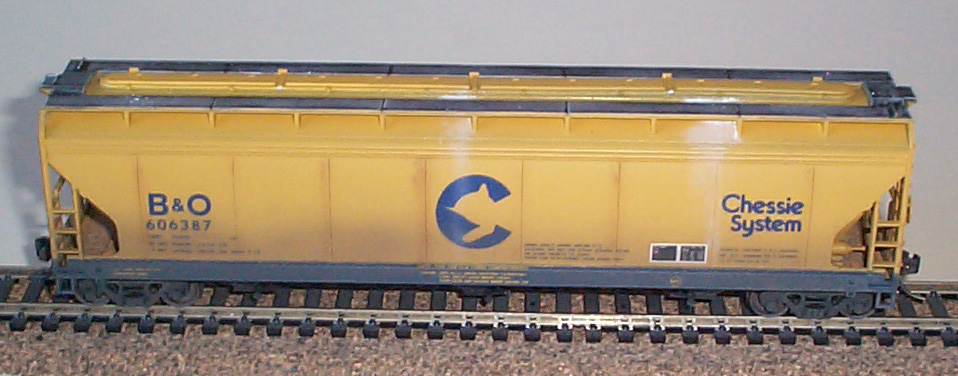
Below is a close up of one of the five finished cars.
To see the rest go to the covered hoppers freight page.