Stewart offers a 6 pack of these cars. 4 come with Western Maryland lettering and 2 with C&O lettering. As on the real cars, the lettering of the two roads is slightly different. Stewart also sells the cars individually. Each WM or C&O car comes in atleast 12 different road numbers.
This is a relatively easy mass production project. Working assembly line style you can have alll 6 of these cars weathered and ready to go in a day.
Below is an actual pic of a C&O 70 ton hopper.
It is in the same class as the C&O ones I made. It is a John
Whitmore photo.
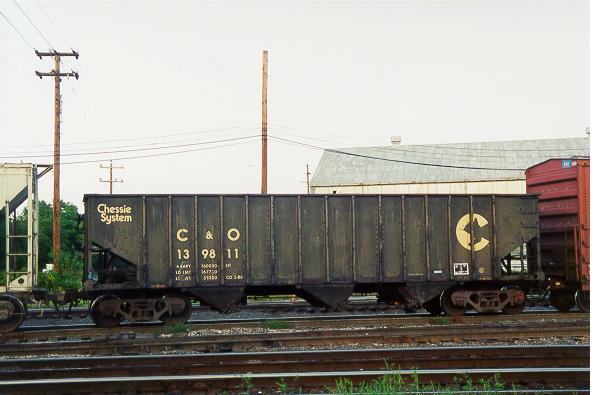
John Whitmore photo
How to:
1. Purchase a 6 pack of Stewart 70 ton hoppers.
2. Take out each of the kits and cut off the detail
parts from the sprues. Set them aside in boxes like I have below.
A little organization and working assembly line style here really saves
time.
3. Apply consolidated stencil decals. I use
Champ and Microscale ones. The C&O used the small 3 panel stencil,
like the picture above. The WM use the two panel stencil, separated
by one of the hopper ribs.
4. Glue the brake gear parts to the frames as shown
in the directions. Attach the brake wheels to the shells. Mine
fit so snugly that I did not glue the brake wheels at all.
5. Glue the frames to the underside of the car.
6. Attach the KD coupler. Each screws in.
You can use the small screws given in the kits.
7. Assemble the trucks by putting both wheel axles
in them. Attach the trucks to the cars with the long screws given.
8. Paint the wheel faces on the trucks rust colors.
9. Overspray the cars with flat black and the bottom
1/4 with tan.
10. Drybrush and streak the inside of the hopper
with grey, tan, and black.
11. Seal with dull coat. You are done, enjoy
your hoppers.
Below is a pic of the six shells coming out of the box.
The yellow dot under the Ches-C logo is the wheel inspection dot.
These came on the Stewart kits. Most manufacturers leave off this
detail.
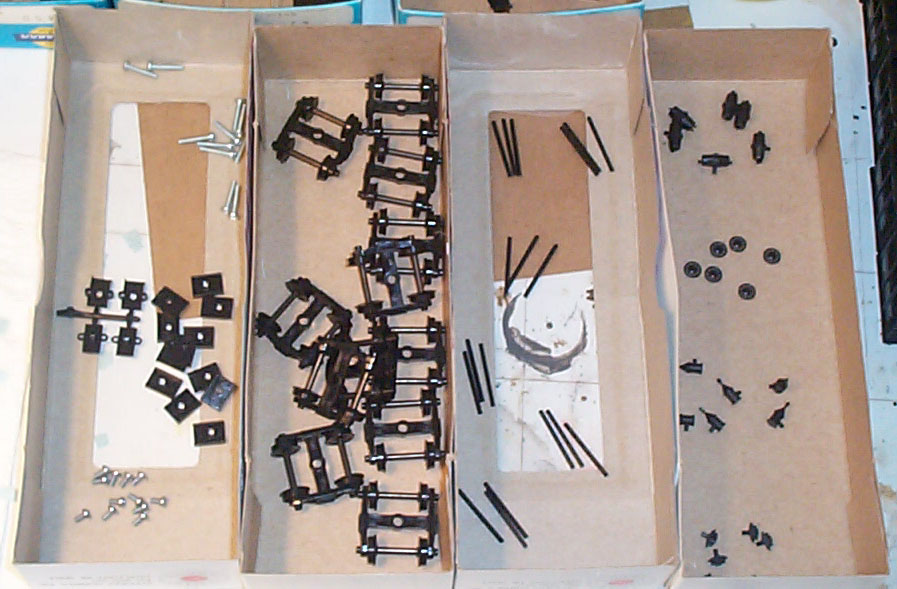
Below are all the parts for the kits in boxes awaiting
assembly. A little organization here makes assembly a snap.
The trucks have alread been assembled in this pic.
Below is the frame being glued to one of the cars.
Some of the frames did not want to stay flat as I was gluing them, so I
taped them down as you see here. When the glue is dry, carefully
remove the tape.

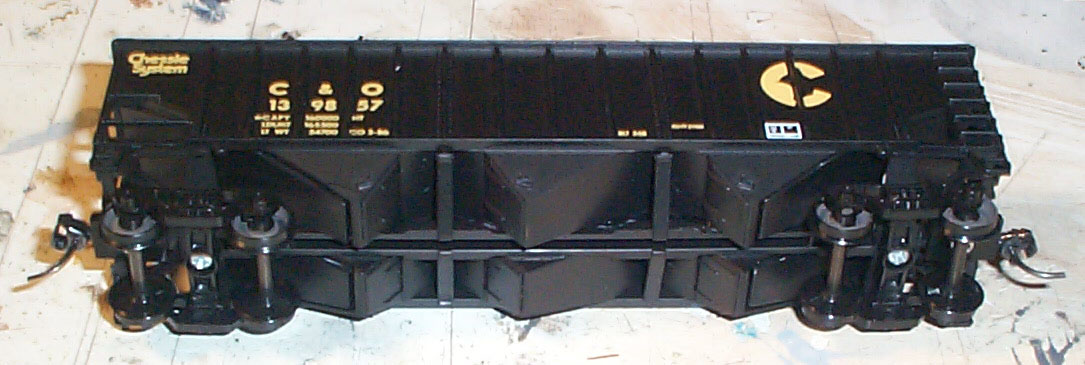
Below is an almost fully assembled car ready to be weathered.
The three little beams that cross between the hopper doors have yet to
be added. The wheel faces are already rust colored. The three
panel consolidated stencil is easily seen in this pic below the Ches-C
logo.
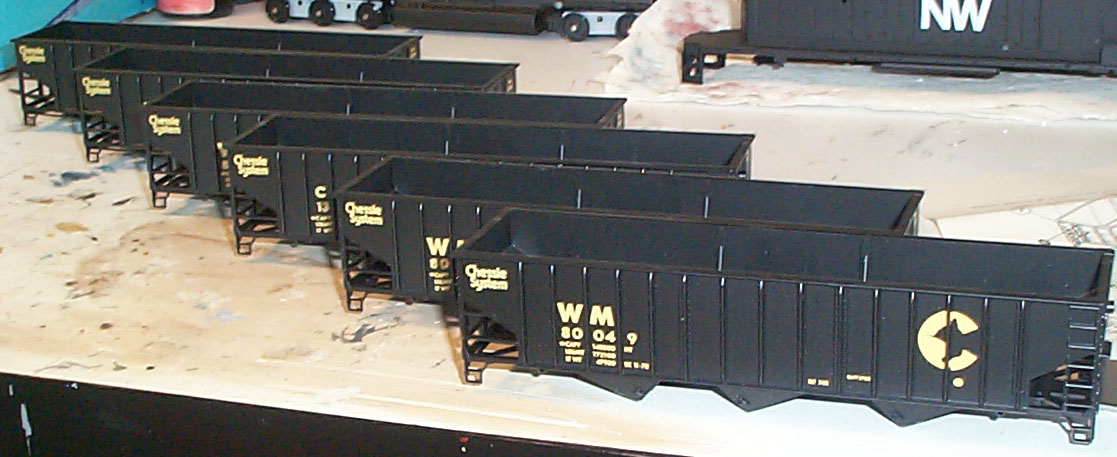
Below are all 6 Stewart hoppers ready for weathering.
Notice the difference in consolidated stencils between the WM and C&O
cars. Also note that the C&O cars have no wheel inspection dot.
Furthermore, the "WM" letters are much bigger than the "C&O" letters,
this too is correct for these cars. Finally the Ches-C logo is diferent
sizes like they should be. The C&O cars had unusually small logos
for some reason.

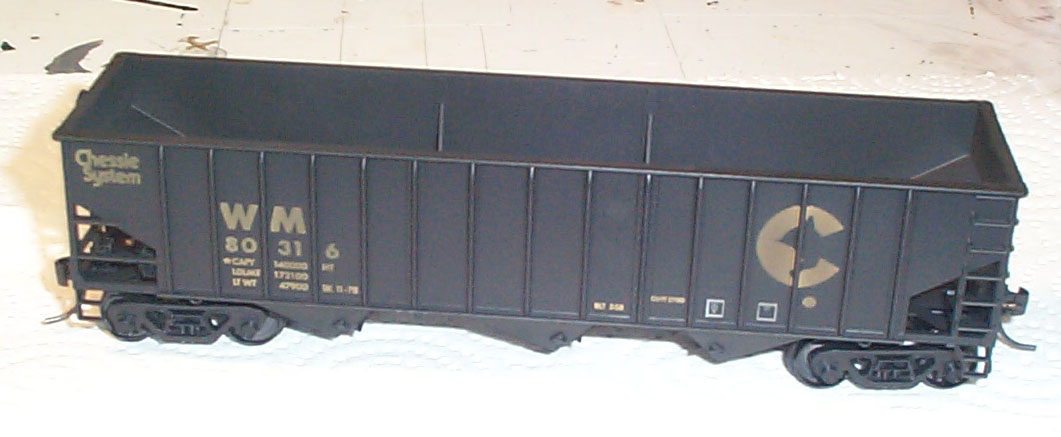
Below is a WM car after being oversprayed. The WM
cars got painted Chessie colors in 1978, so their paint jobs are much older
than the 1986 painted C&O cars.
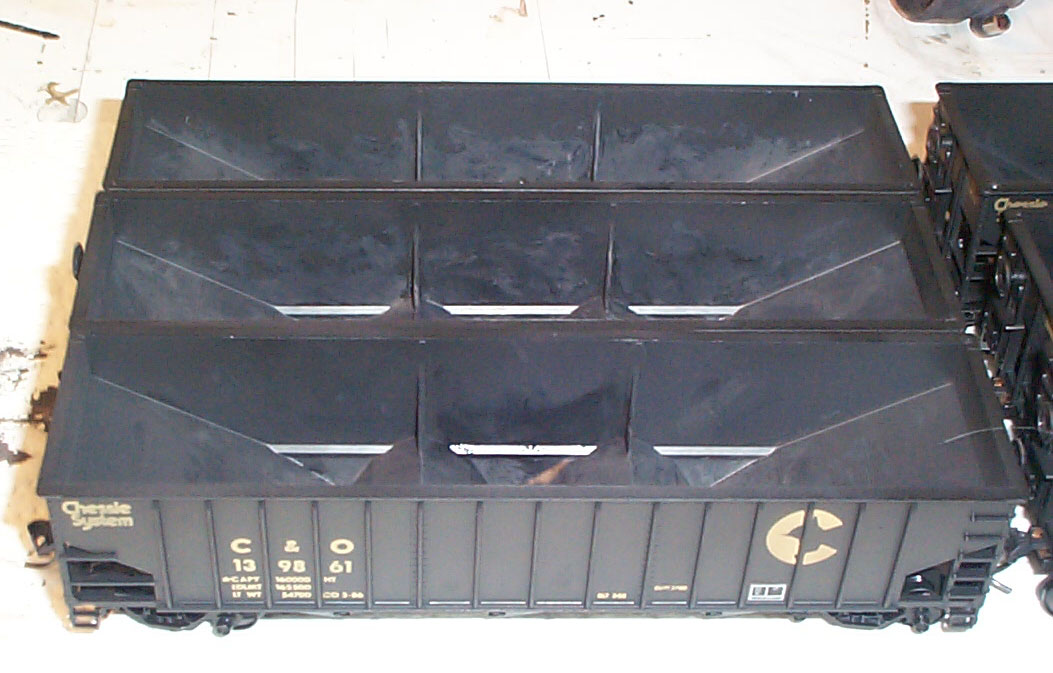
Below is a good view of how the insides of my hoppers
are weathered. The mottled look of the inside is very typical of
a used hopper.
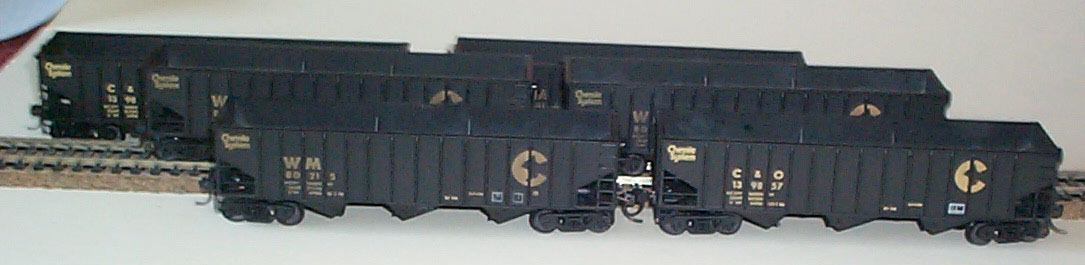
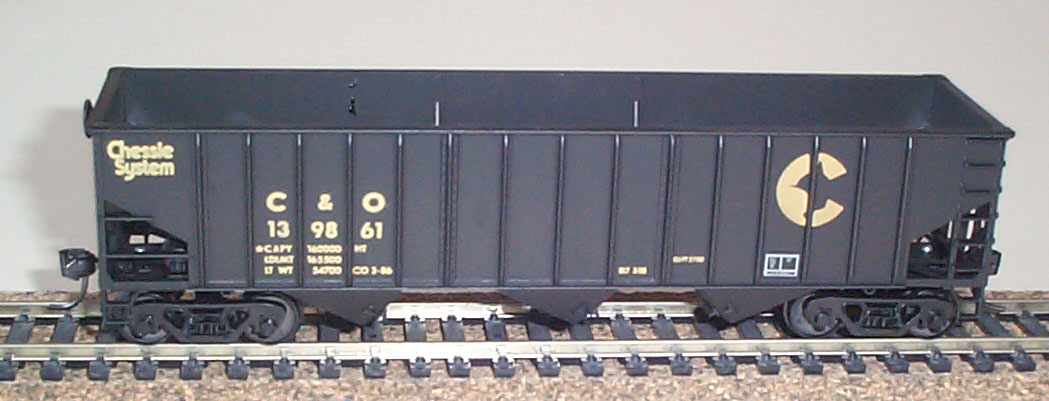
Below is a finished pic of a C&O and then a WM car.
Notice that the WM car has been oversprayed with flat black paint more
than the C&O. This gives the look that the WM car is older.

Below are all 6 hoppers ready for duty. The front
two hoppers show again the contrast in weathering. The C&O letters
are much brighter than the WM ones.