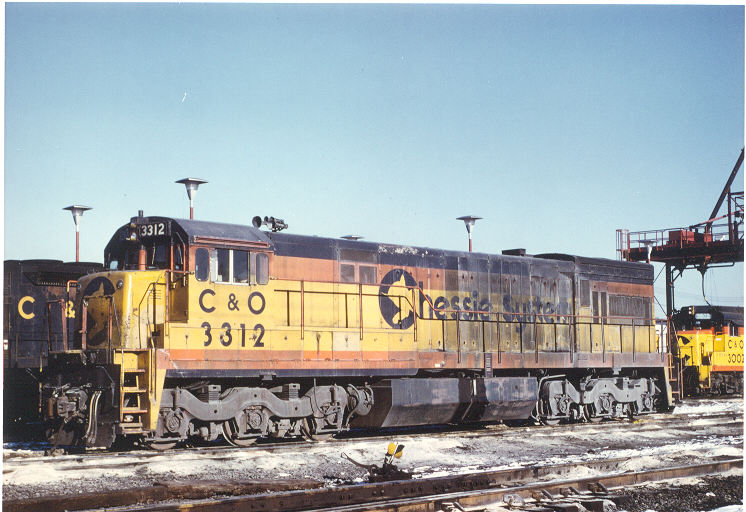
Below is a Dean Heacock pic of the one I will
do.
Below that is another of Dean's pics. This is one with GSC
trucks
and the different back of the long hood.

How to make an Athearn U30C from a U28C:
1. Disassemble the locomotive by taking off the
shell
and separating the cab from the body. Also remove the
clear plastic
windows.
2. Shave off the four antennas on the top of
the
cab. Sand smooth (see pics below)
3. Shave off the headlight on the short
hood.
Shave off the two boxes right behind the cab.
4. Put platic behind the holes made from
removing
the boxes and headlight. Fill with Bondo. Fill the
three holes
on the top of the roof too. These are for the horn, but
the location
is wrong for a Chessie unit.
5. Sand the bondo smooth.
6. Paint the whole locomotive primer
color.
Any light color will work. I use light grey.
7. Tape off the walkways. They will be
grey,
so just cover the primer, and that is what color they will be.
8. Paint the sides of the locomotive and cab
UP
Armor Yellow. Do several light coats to get good
coverage.
Yellow is quite thick as paints go, so don't glob it on in one
heavy coat,
it will look horrible.
9. Tape a line where the bottom of the
orange stripe
should be on the cab and body. Paint it SP Daylight Red or
what I
refer to in this article as "orange". Don't forget a small
part needs
to be taped in a "V" shape for the Ches-C logo on the long
hood.
See pics below for clarity.
10. BASE: While the orange is drying, pry
off the
truck side frames. They just pop right off. Paint
the silver
metal with enamel primer. Spray the base flat black.
11. BASE: Weather the base with roof brown
streaking,
dark grey streaking, and drybrushing of lighter and lighter
shades of grey.
Then streak a little roof brown again to give it a good look.
12. Paint the side sill orange. I
paint the
orange twice, the upper stripe first, then the side sill
last. I
do this for ease of taping. You can easily tape off both
the upper
stripe and side sill and only paint the orange once.
13. Tape off around the ends (technically
called
the pilots) and paint them C&O Enchantment Blue. Also
tape around
the cab at the top of the orange stripe and paint the top of the
cab blue.
14. Tape off around the upper part of the
orange
stripe and paint the top blue. Paint the top of the short
hood blue
too.
15. Spray the shell with gloss coat.
Apply
decals. I use the Herald King GE hood unit set. The
back of
this shell has no numberboards. I applied two microscale
numberboard
decals to represent the back two numberboards.
16. Touch up, if neccessary, where the
Ches-C logo
goes on the orange stripe. I missed by about 1/8 of an
inch and needed
to do a little touching up.
17. Drill hole on the left side of the roof,
behind
the cab, for the horn to go in. See pics for exact
position.
Also drill two holes in each pilot just below the sets of three
little
nubs. These are where the mu hoses will eventually go.
18. Prime details west or details associates
parts.
These should be a 3 chime Leslie horn, a top mounted bell, 2
uncoupling
levers and 4 sets of mu hoses.
19. Paint the horn, bell, and uncoupling
levers
blue. Paint the mu hoses mounting brackets blue, the hoses
black
and their tips silver. The little part where the hose
meets the mounting
brackets are painted red, yellow, and green. See pics for
clarity.
20. Prime the handrails. Paint them
orange.
While you have the orange out, paint the step edges orange too.
21. Paint the inside of the cab light
blue.
I use Tamiya Japanese Light Blue.
22. Paint the bottom inside edge, jacking
pads,
and a small stripe on the left front side blue. This will
give the
orange side sill the illusion that it is straight. See
pics for clarity.
23. Cut a small rectangle of scrap plastic
or sheet
styrene for the ACI card. Attach it to the side sill as
shown in
the pics below. Paint it orange. When the paint is
dry put
on an ACI decal.
24. Spray the shell with dull coat.
Weather
with an overspray of dark grey, concentrated on the back of the
long hood
right before the radiators. This seems to be the dirtiest
part in
all the pics of U30Cs I have seen.
25. Dry brush the shell with shades of dirt,
earth
and white. Seal all weathering with more dull coat.
26. Put in the "glass" for the windows.
27. Snap the shell on the base. Put on
the
couplers.
28. You are done. Enjoy your U30C.
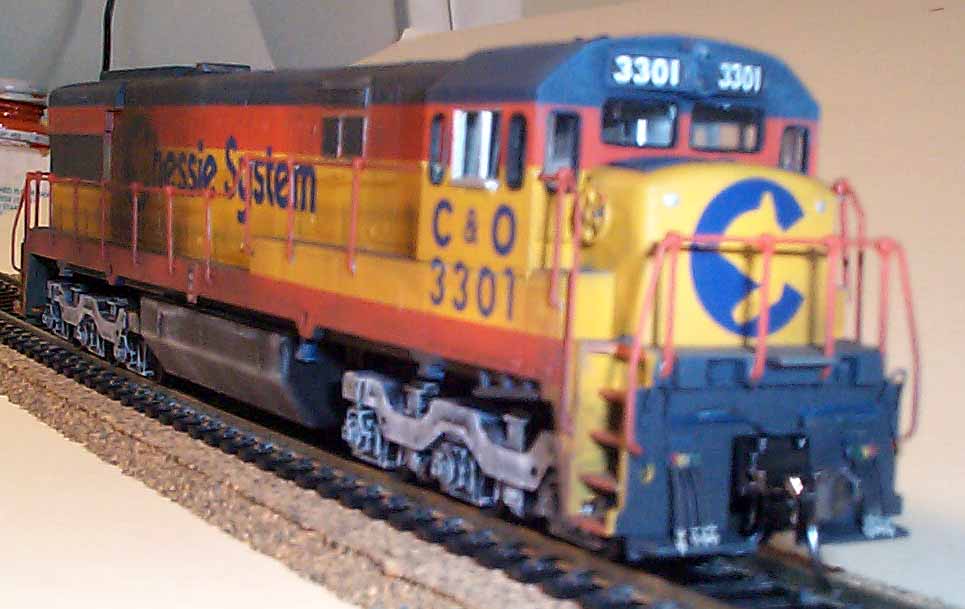
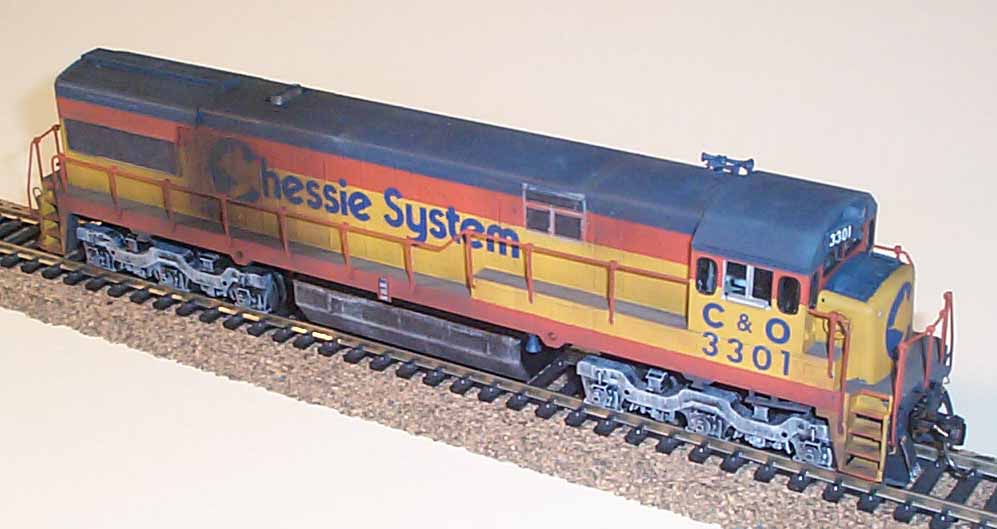
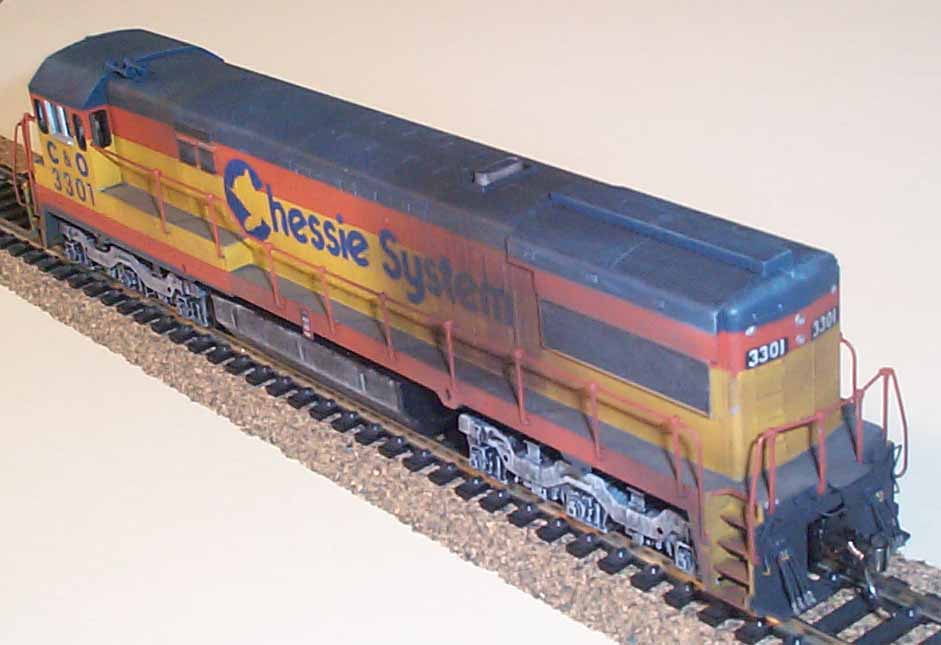
Below are pics of my U30C. Enjoy.
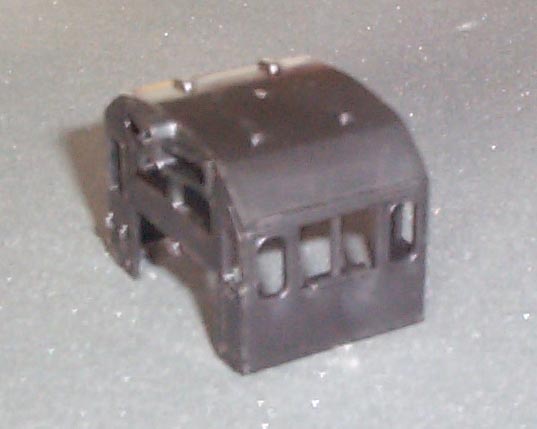
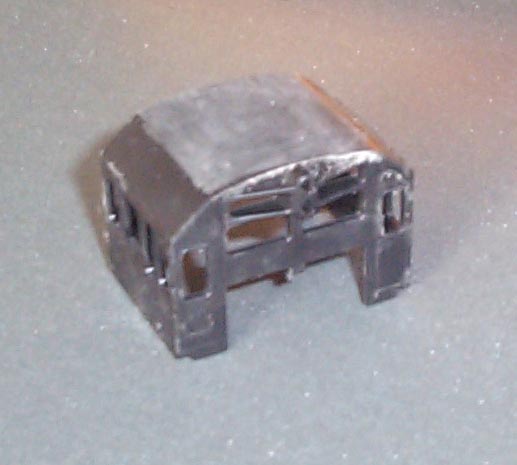
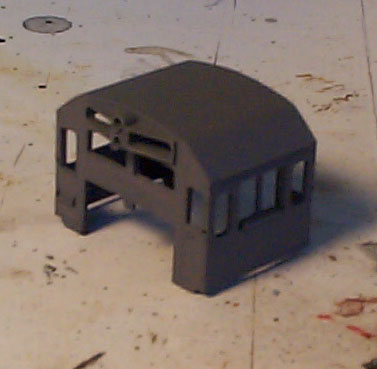
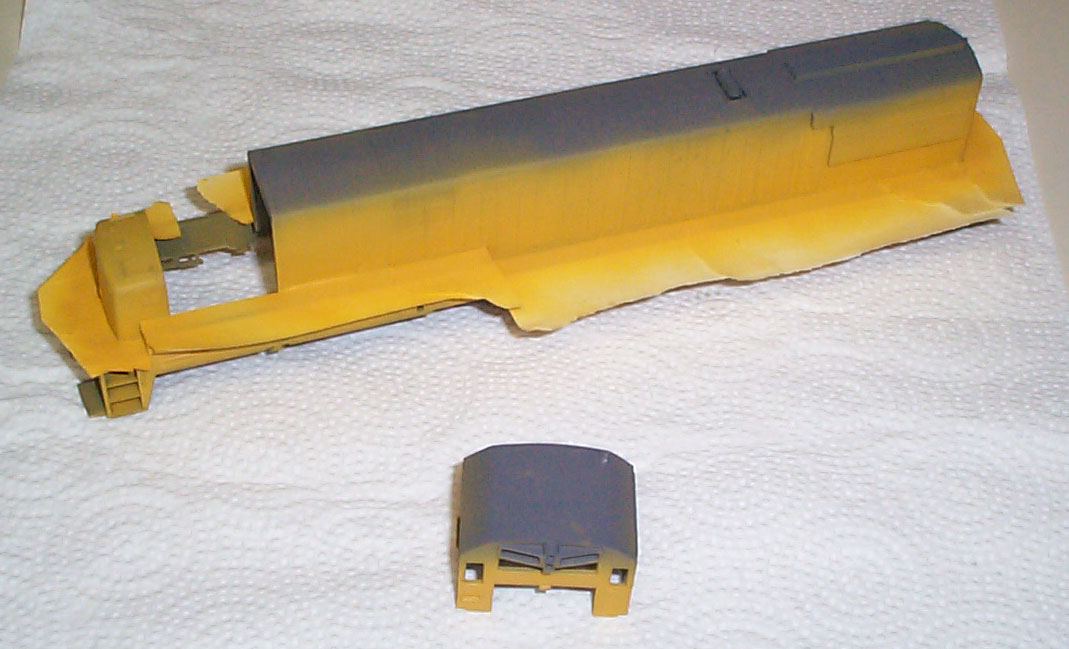
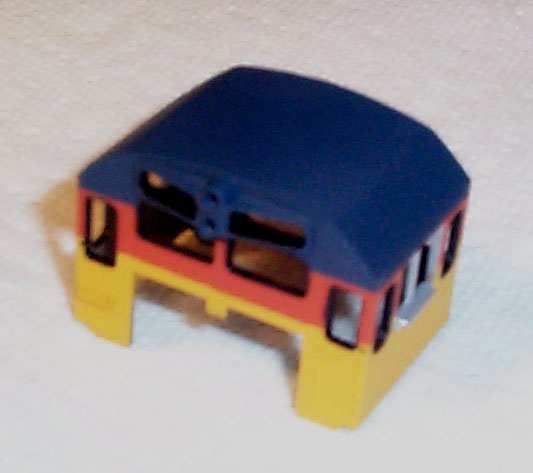
Below are the cab right out of the box, then with
the
four antennas shaved off and sanded smooth.
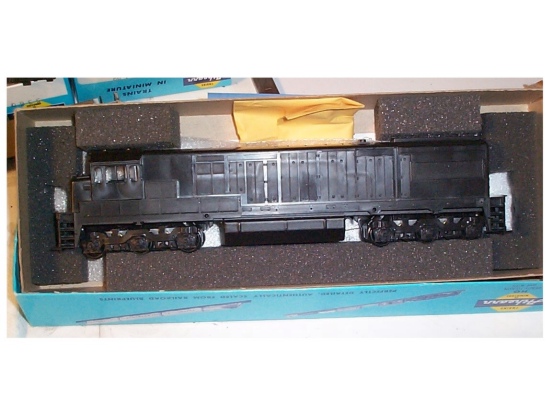
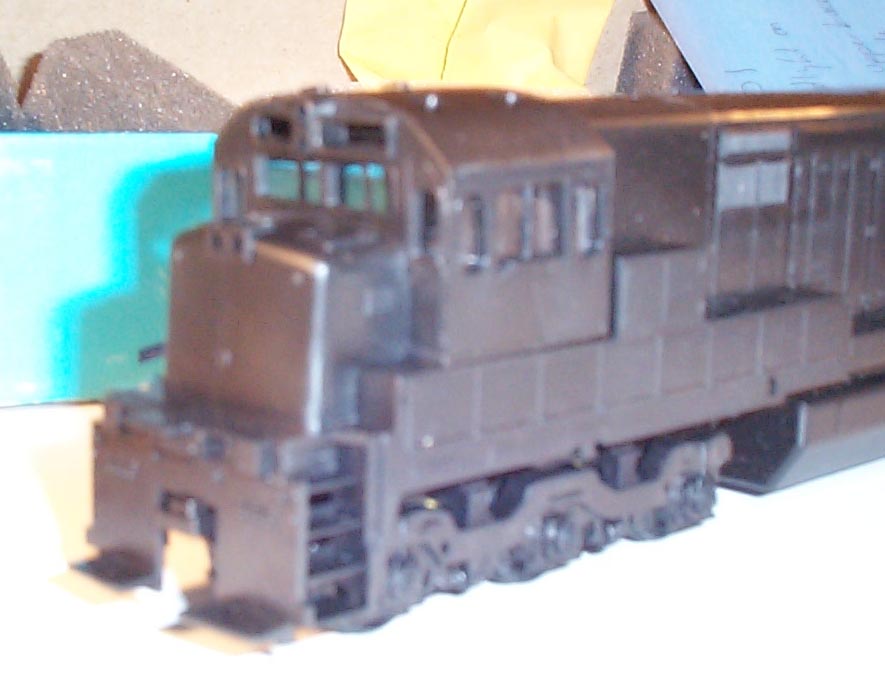
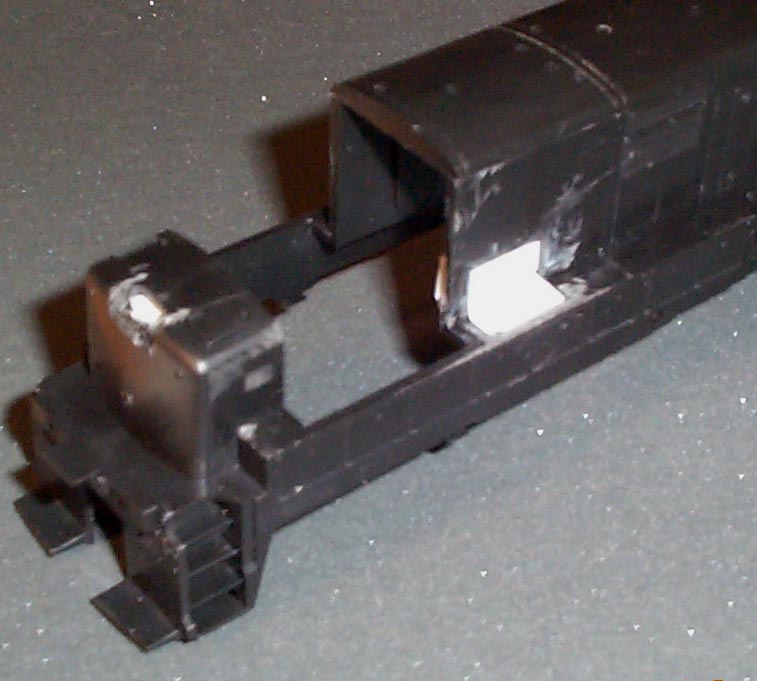
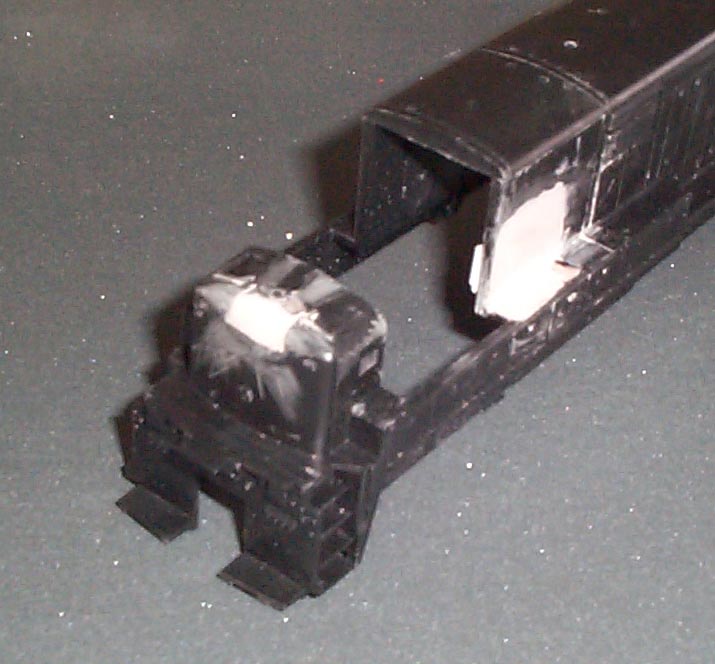
Below is 3301 right out of the box. The
next is
what the shell looks like with the headlight and two boxes
removed.
The white plastic has been placed behind it to hold the putty.
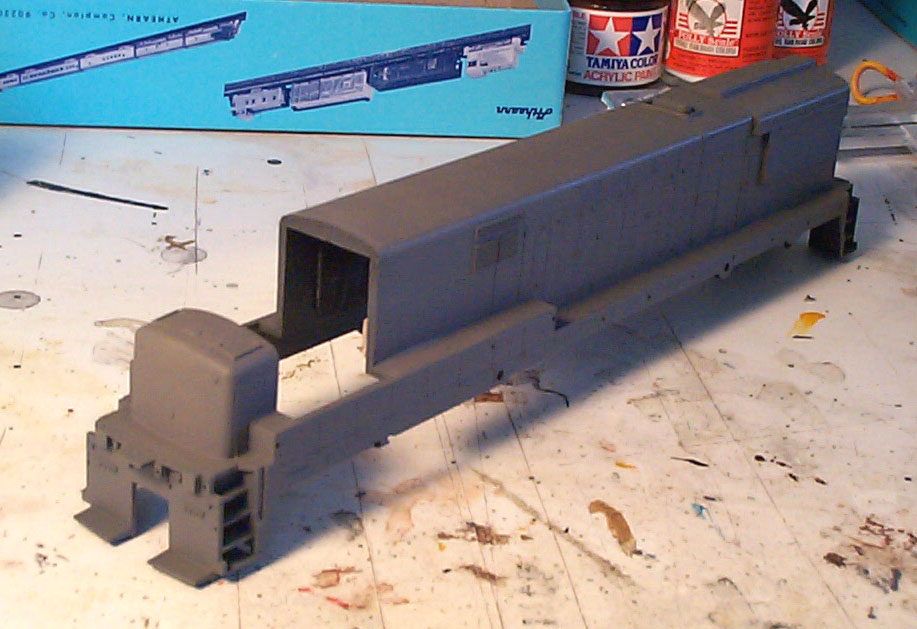
Below is a pic of the Bondo on and sanded smooth
and the
shell primered.
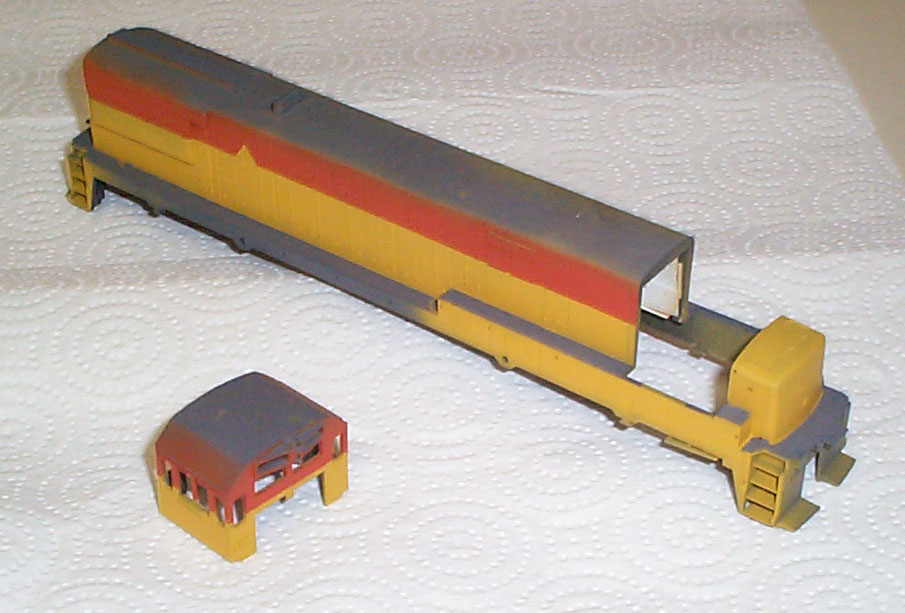
Below is the cab primered and the whole
locomotive painted
yellow. The tape covering the walkways is still on.
Since the
walkways are grey on these locomotives, I cover them with tape
so the yellow
won't get on them. Don't forget to paint the step wells
and battery
boxes (just visible up front under the tape).
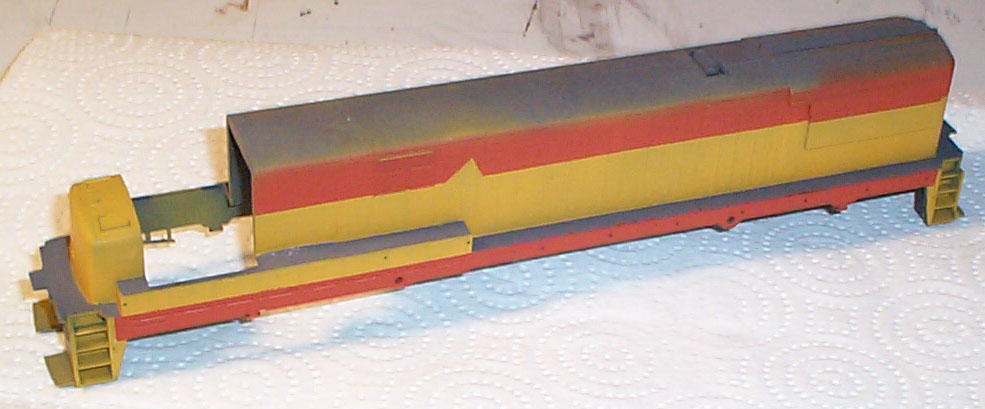
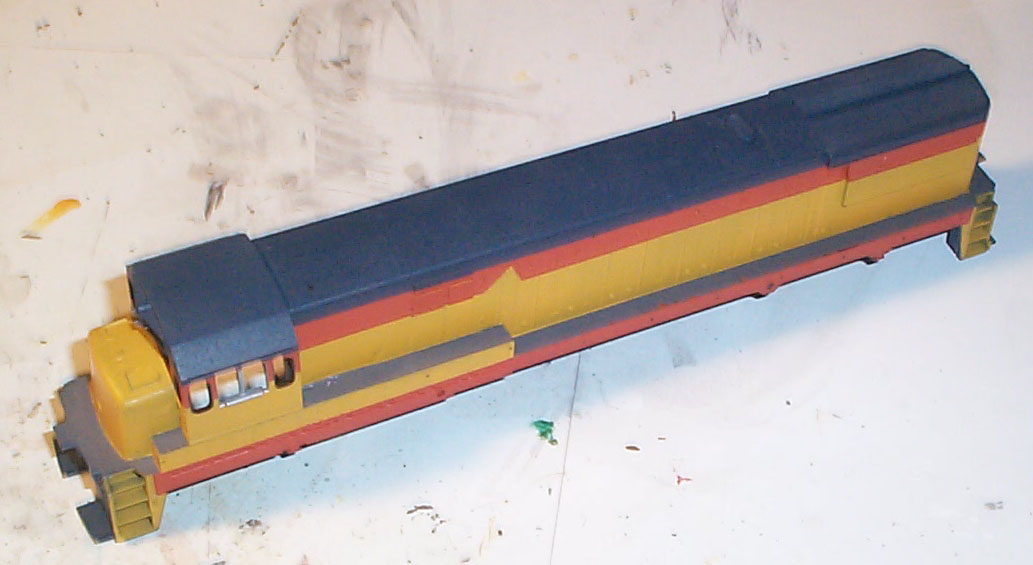
Below-left is a pic of the cab and body painted
orange.
The sill still needs its orange painted. I chose to do it
in two
coats since taping is much easier this way. Not the yellow
"V" in
the orange stripe for the Ches-C logo. The second pic
shows the sill
painted orange. Next up is to paint the blue.
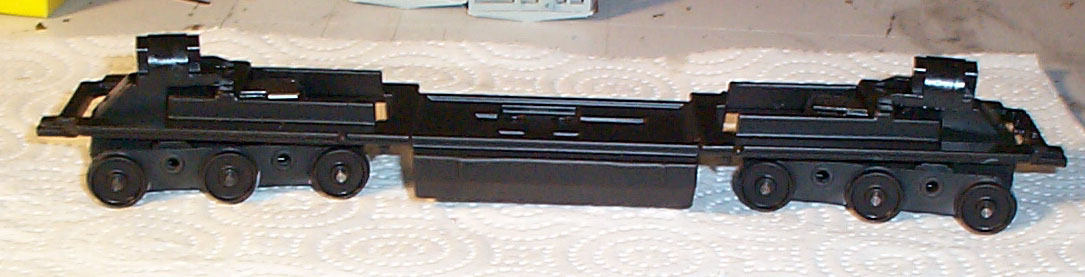
The base of 3301 is primered in the first
pic. The
metal parts need a coat of an enamel paint for the black acrylic
paint
to stick to them (as seen in the second pic).
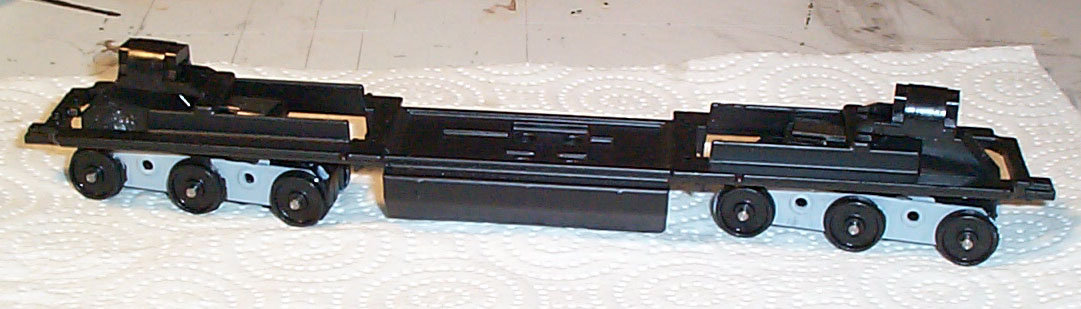
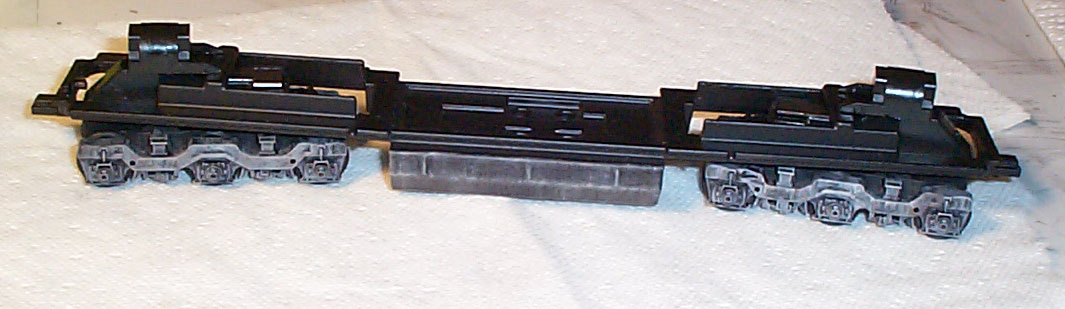
Below is a pic of the base completely weathered
and the
side frames of the trucks put on. These are actually GSC
trucks,
the 3301 had Adirondack trucks. When I find the Athearn
replacement
parts I will replace this defect. For now it looks just
fine.
Below is the cab completely painted and
detailed.
It is time now to put on the gloss coat and attach it to the
shell.
Here is the body with the first of the blue painted. The
blue still
needs to be painted on the top of the short hood and a small
stripe on
the bottom of the side sill.
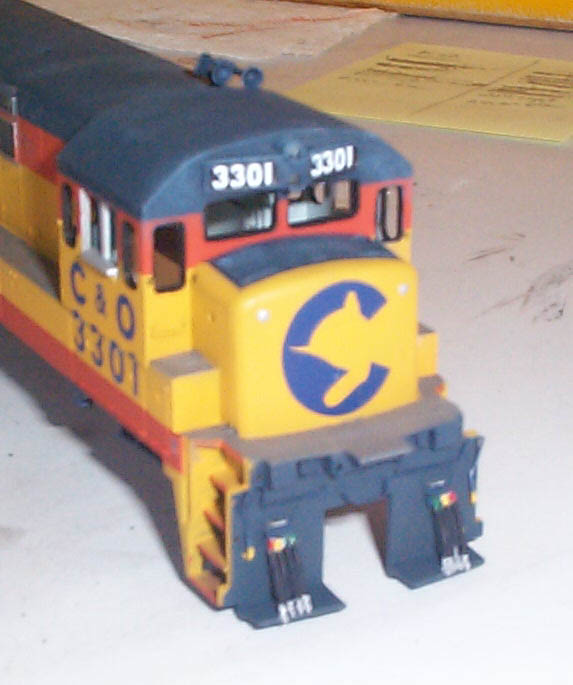
Below is a pic of 3301 with the short hood
painted and
all the decals applied. Not that I missed on my guess of
where the
Ches-C logo would go in the orange stripe. I touched it up
later
with some yellow paint. The second pic shows the details
added to
the front. The three chime horn is on the top, the mu
hoses and decoupling
lever are on the pilot.
Below is a pic of the handrails attached and
primered.
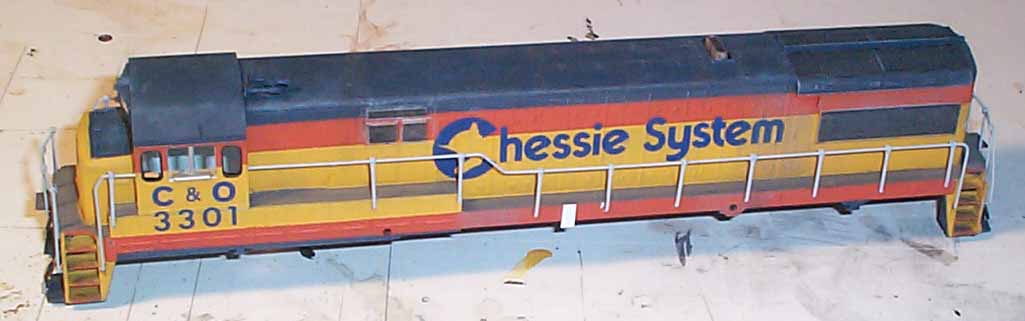
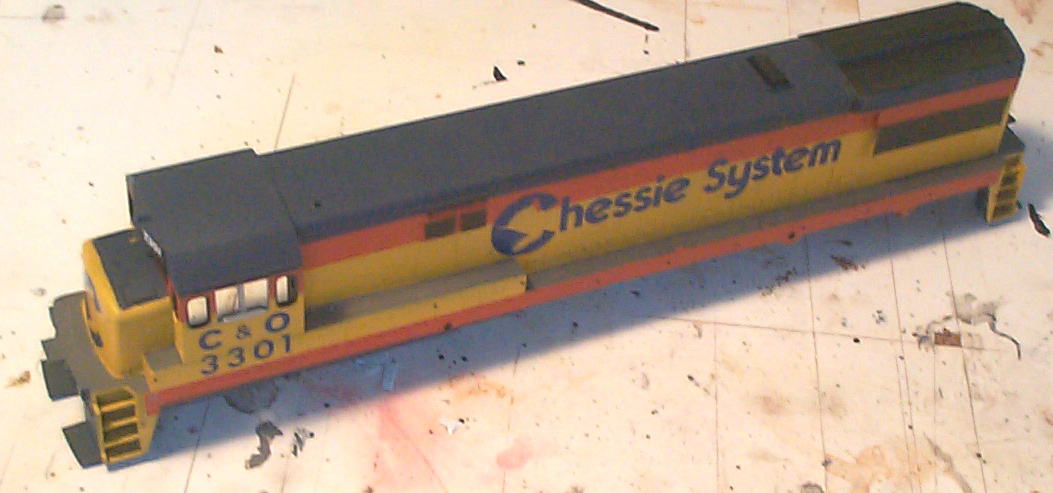
Below is a pic of the shell finished, ready for
weathering.
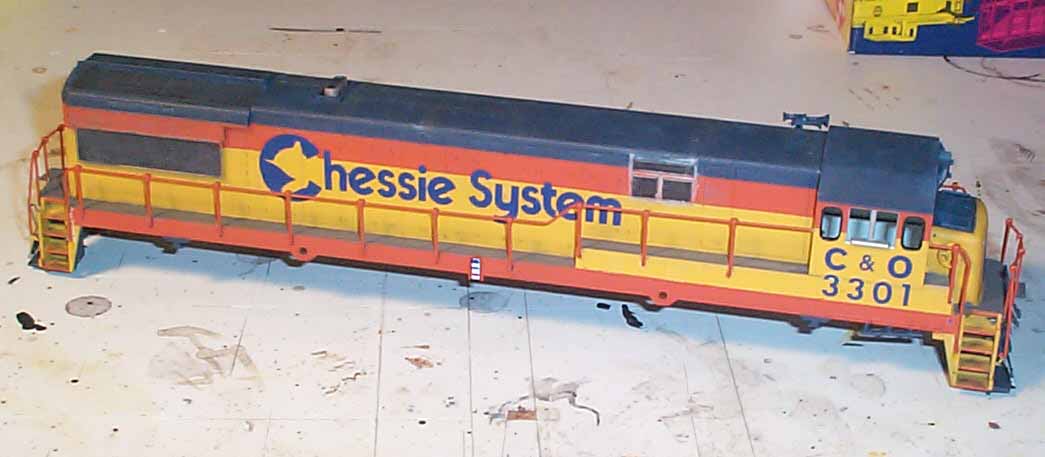
Below are the finished pics of #3301.