How to:
1. Luckily Athearn's 34' Rib-Sided Hopper (I
started with #5446 Virginian RR, but you can start with an
undecorated
one) .
2. Removed the second and sixth ribs.
Notch the one end so it matches the other.
3. Sand the area with 400 grit sand
paper. Add two new ribs in the places shown below. I
used
wood, but you can use styrene too for these new ribs.
4. Paint the hopper Polly Scale Engine
Black.
5. Spray the car with Testors Gloss Coat, to
get it ready for decals.
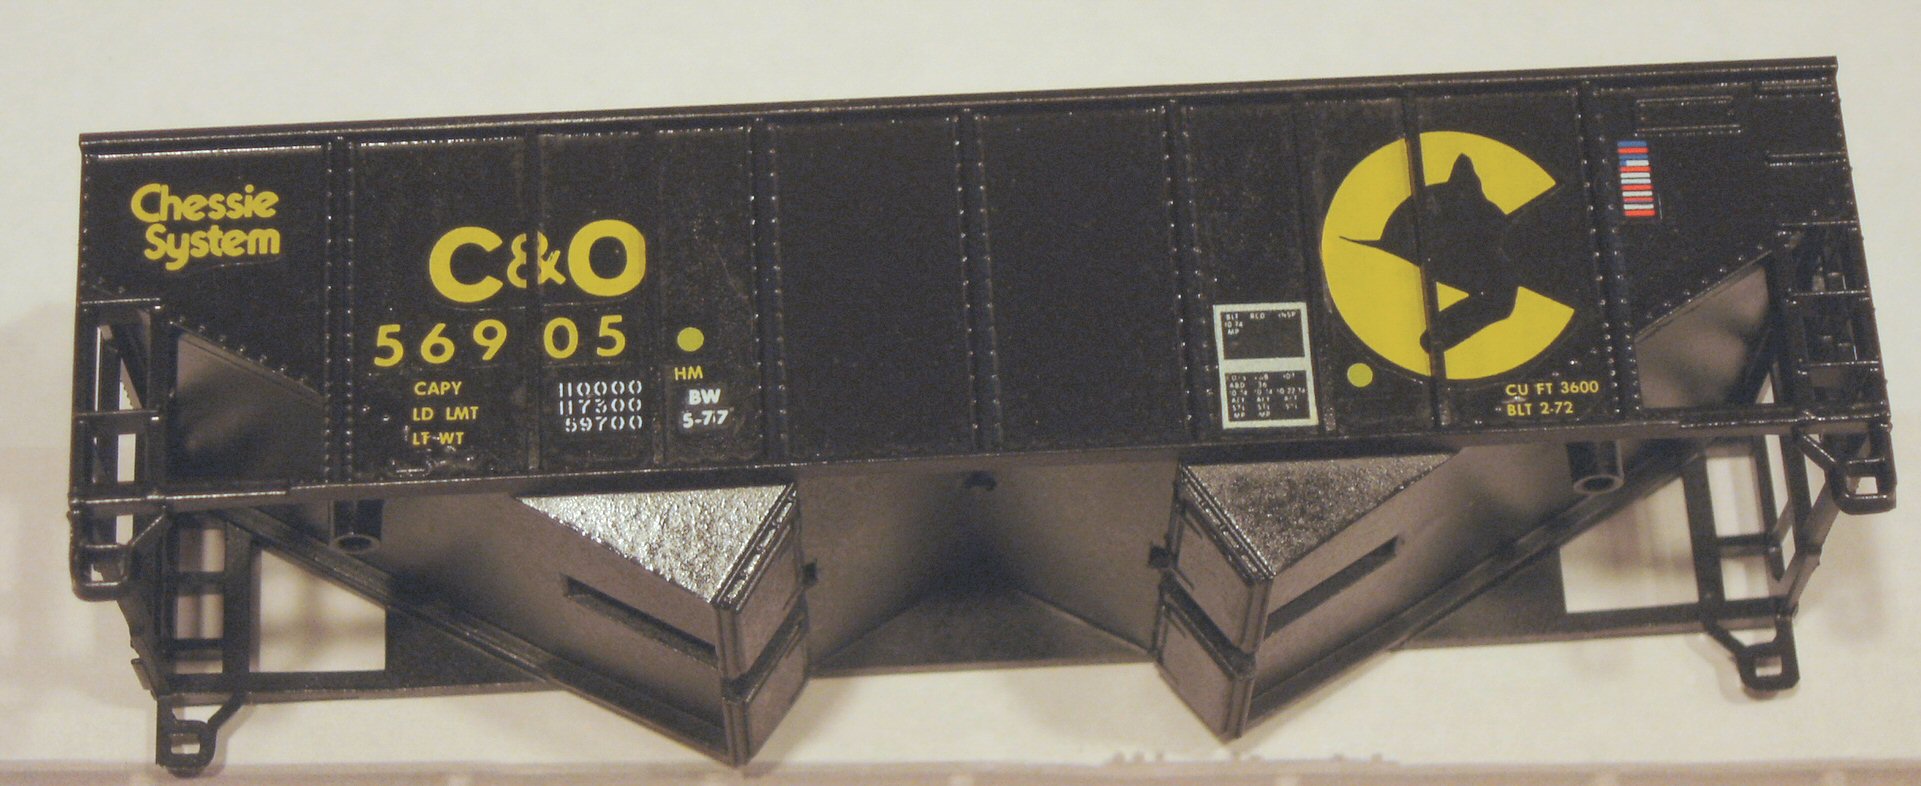
6. Decal the car. I chose C&O
56905, but you can chose any one in the series. I used
Herald
King H-140 Black Open Hopper (1973) Set. I used wheel
inspection
dots, ACI card and consolidated stencils from various Microscale
sets I
had on hand. Spray the car with Testors Dull Coat the car
when
complete.
7. Assemble the car per the
directions. Weather the car lightly with black
pastels.
Seal the weathering with Testors Dull Coat.
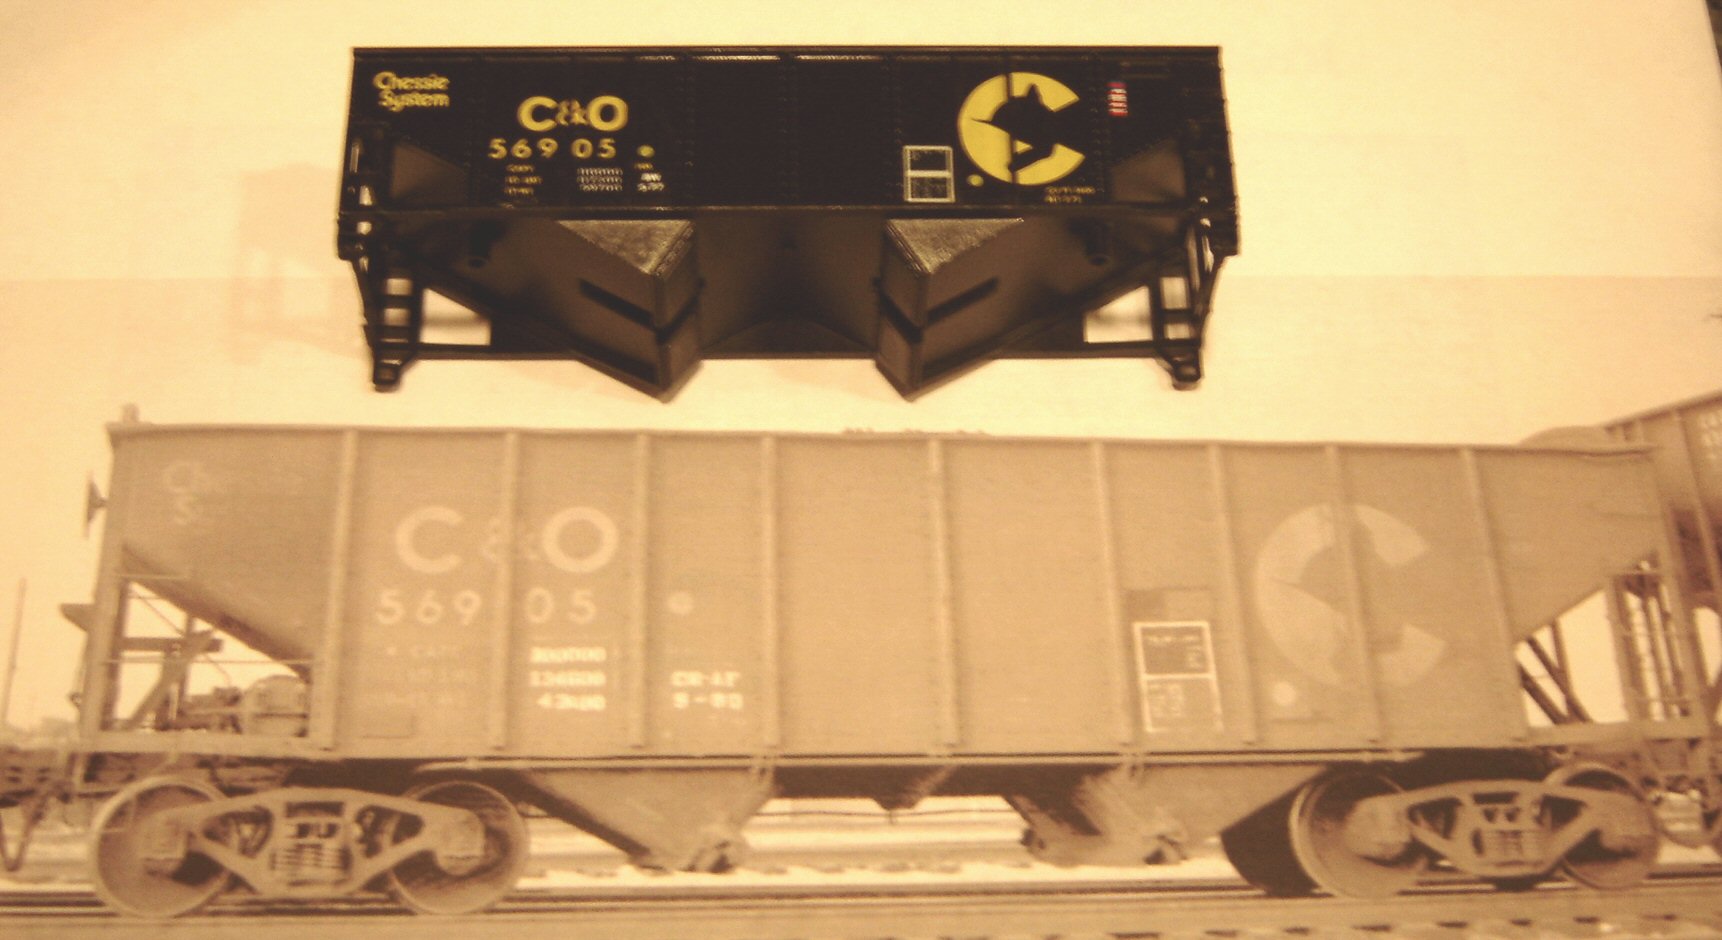
8. You are done. You now have an
interesting, and more accurate 2-bay covered hopper. It
will
break up the monotony of large 100 ton 3-bays nicely and make
for a
very prototypical Chessie coal train.
Below is the kit with the Virginian
lettering removed.
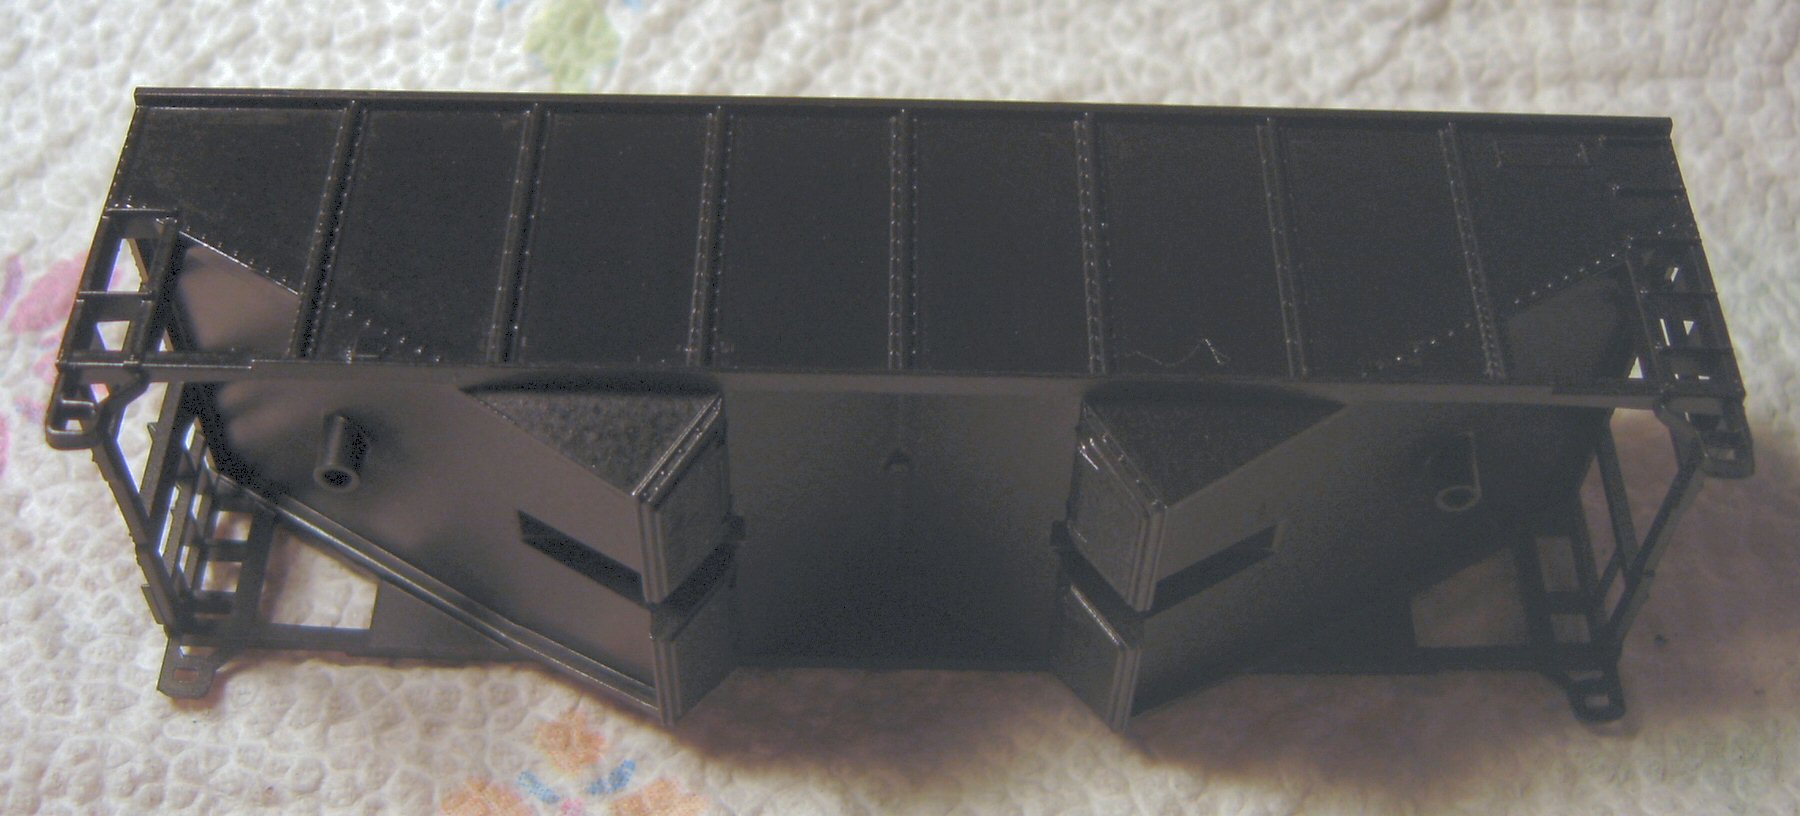
Below the two ribs have been
removed.
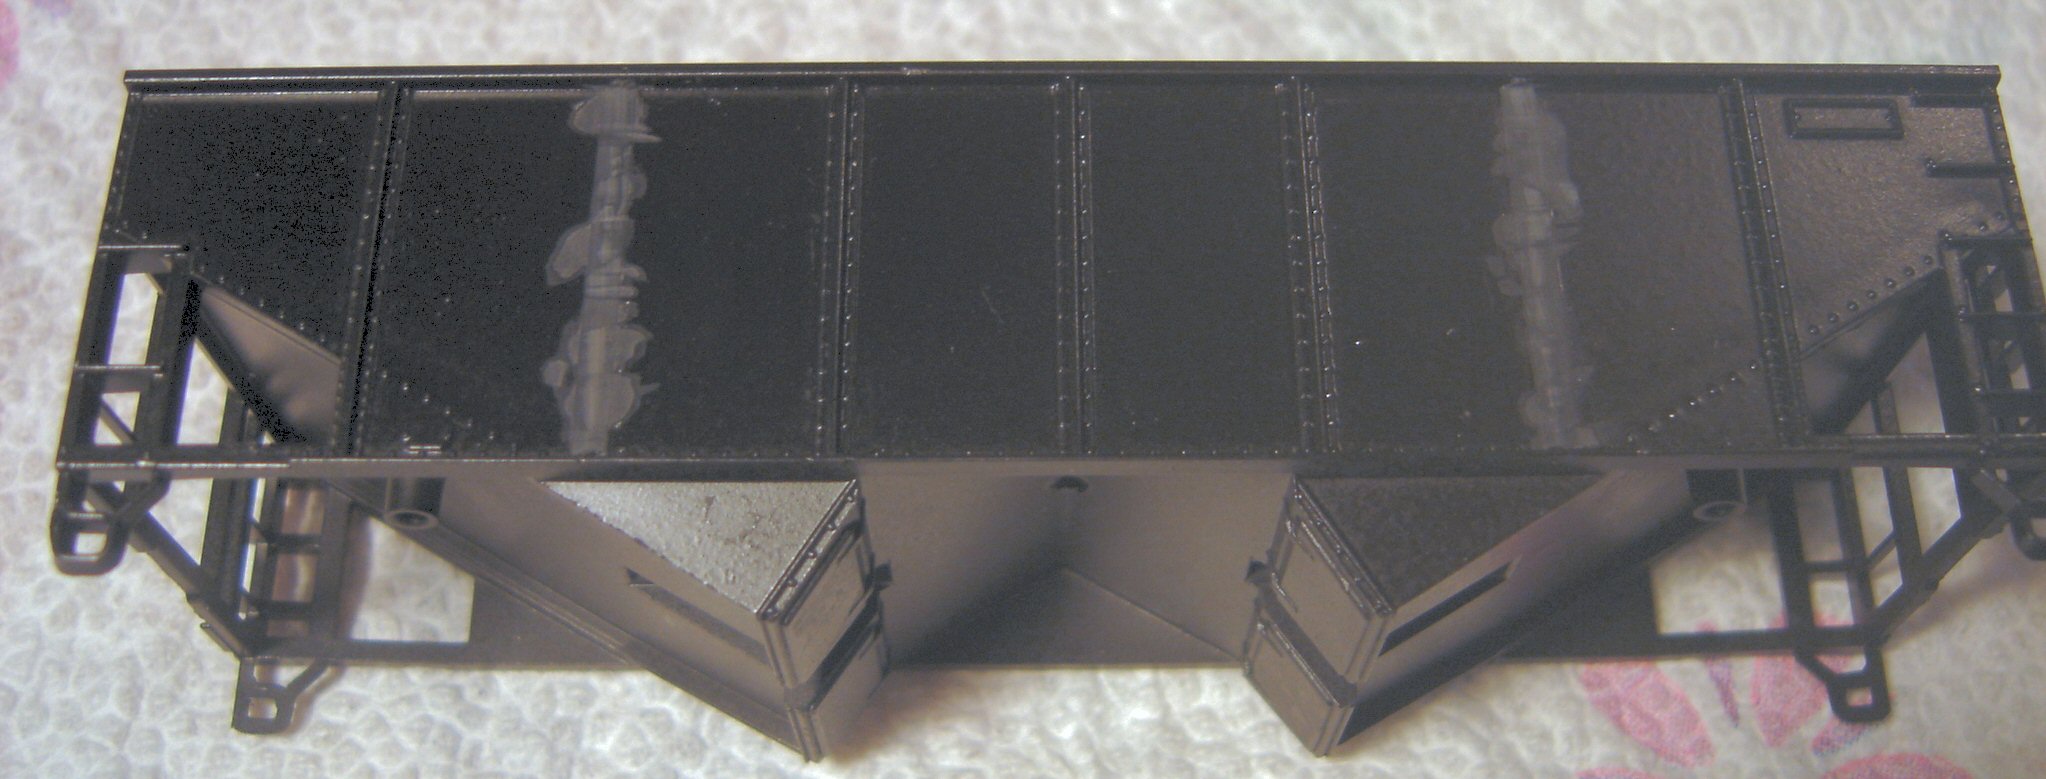
Below the area where the two
ribs were has
been sanded.

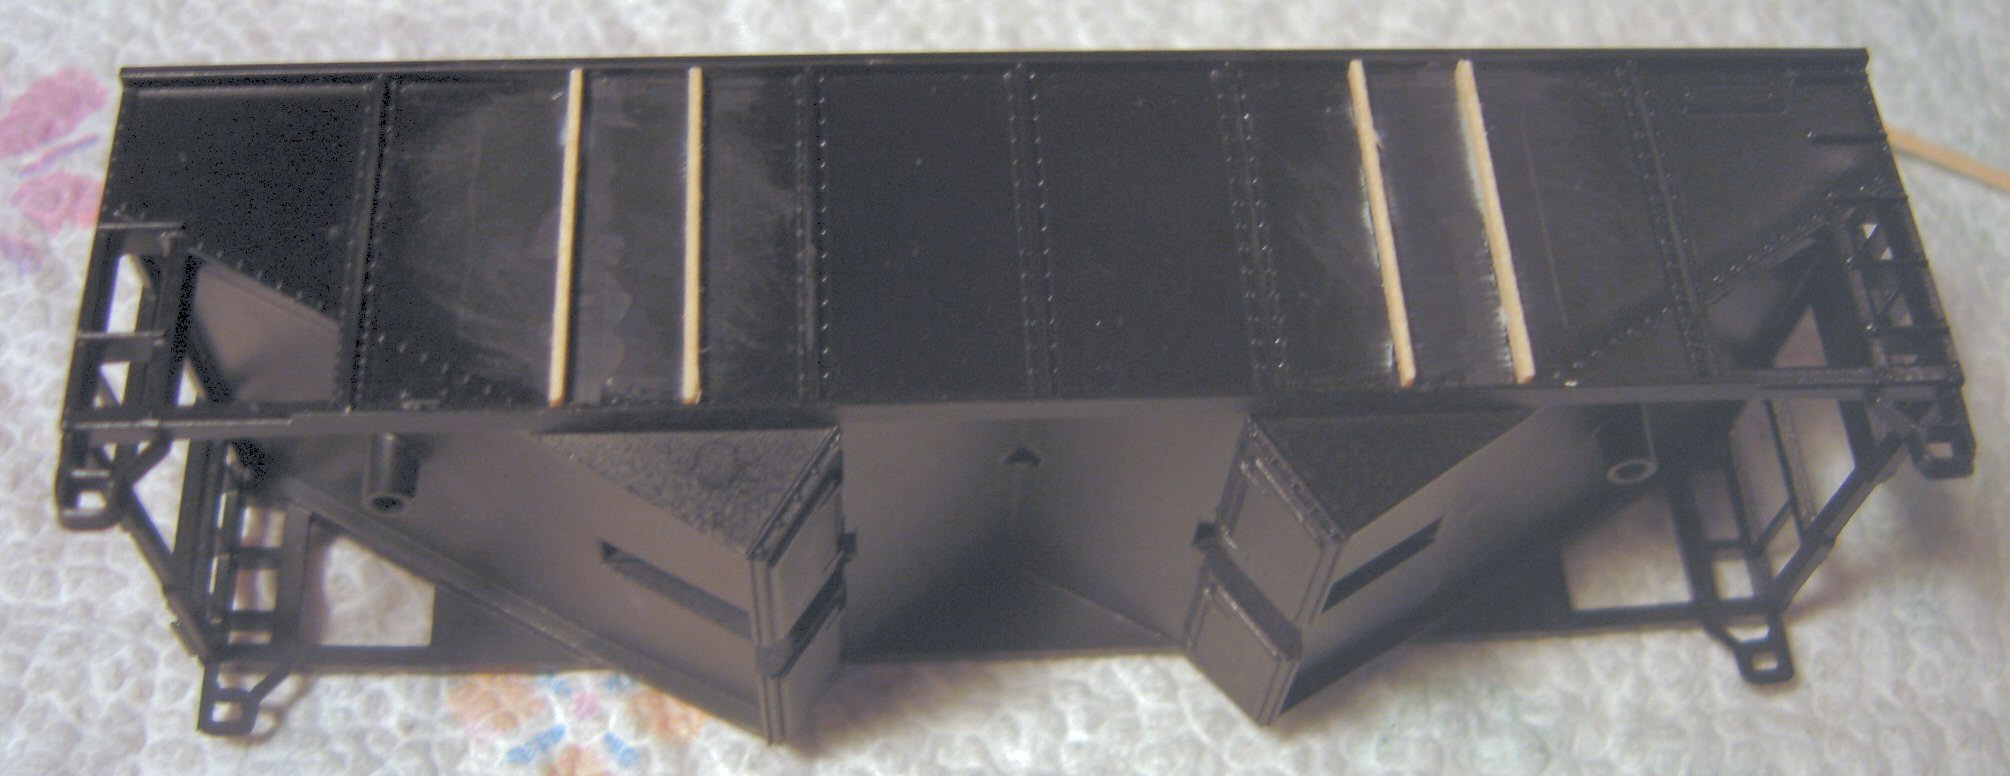
Below new ribs have been added,
they were
painted black after the glue dried.
Below is the car decaled and
ready for
assembly and weathering.