Below is a pic of the class of C&O Boxcar
that the
kit represents. It is a John Whitmore photo.
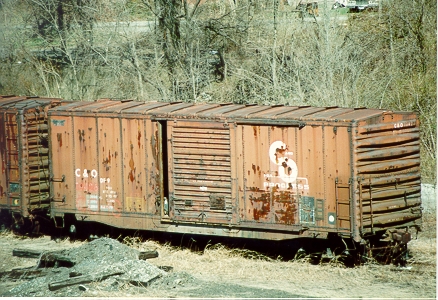
John
Whitmore Photo
How To:
1. Remove all the parts from the box.
Separate
them carefully from their trees.
2. Apply a consolidated stencil, ACI card,
and
wheel inspection dot as seen in the photo below.
3. Assemble the car.
4. Streak the car with a dry brush of white
paint.
Concentrate on the area directly under any of the white
lettering.
5. Overspray the entire car with engine
black.
6. Take an eraser and gently rub the car in
vertical
strokes down the sides of the car. Use the eraser on the
top of the
car by going across the width of the car. This should
leave the black
in the crevices but the main surfaces should look reddish.
See pics
below for clarity.
7. Seal the car with dullcoat.
8. Paint the wheel faces rust colors.
9. You are done, enjoy your 40' boxcar.
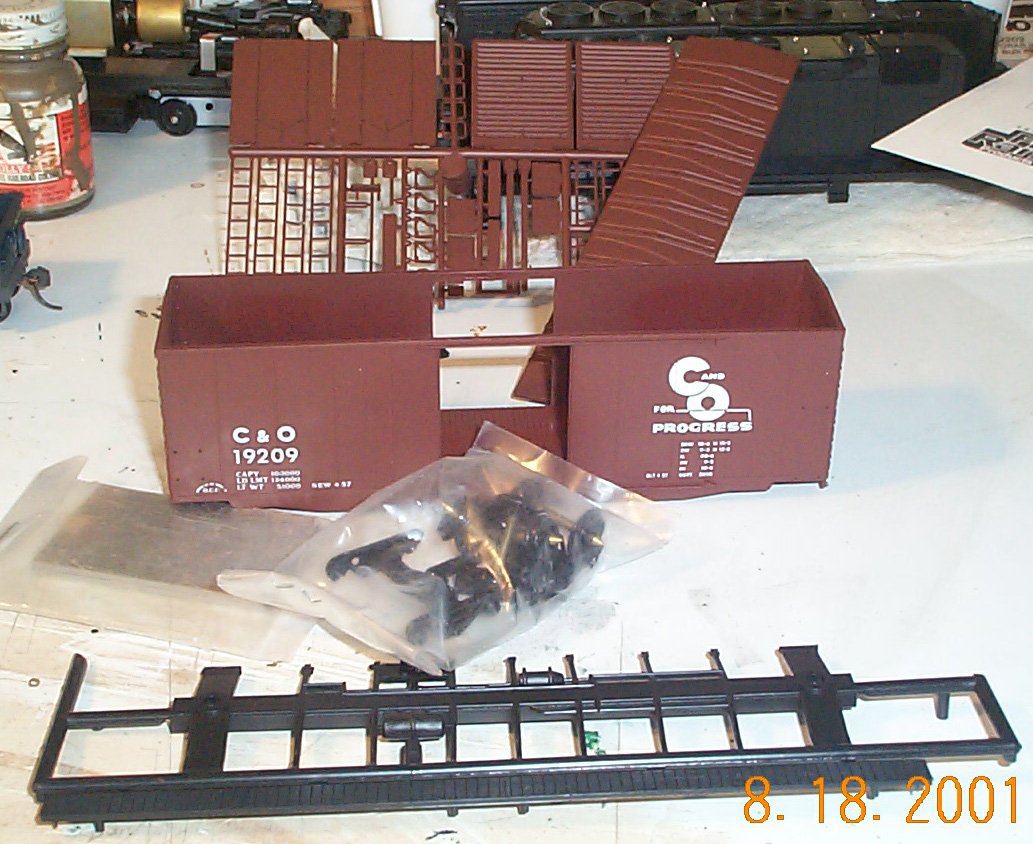
Below is a pic of the kit right out of the
box.
Notice how many parts there are in this kit compared to the five
or six
in an Athearn kit.
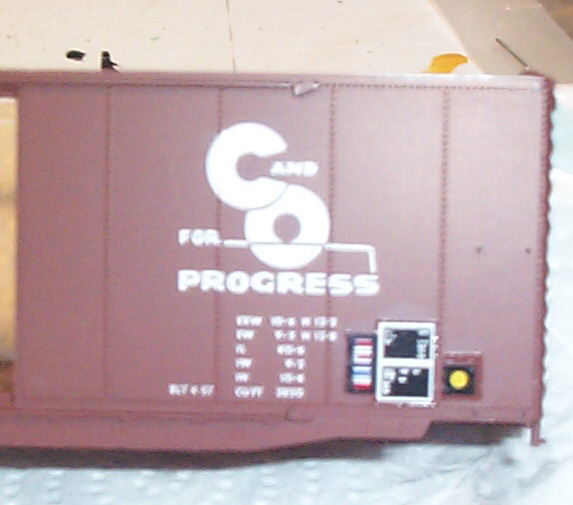
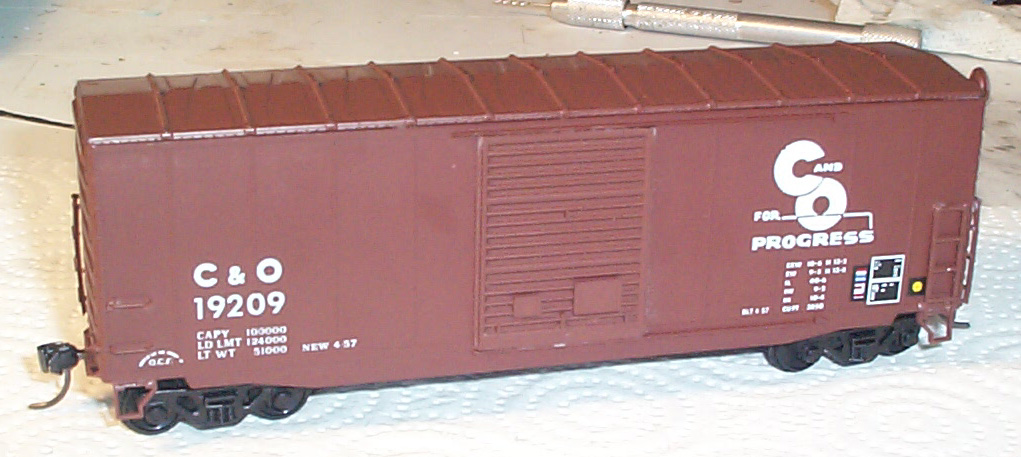
Below is a pic of the decals applied. The
decals
came from Herald King (ACI) and Microscale (wheel inspection dot
and consolidated
stencil).
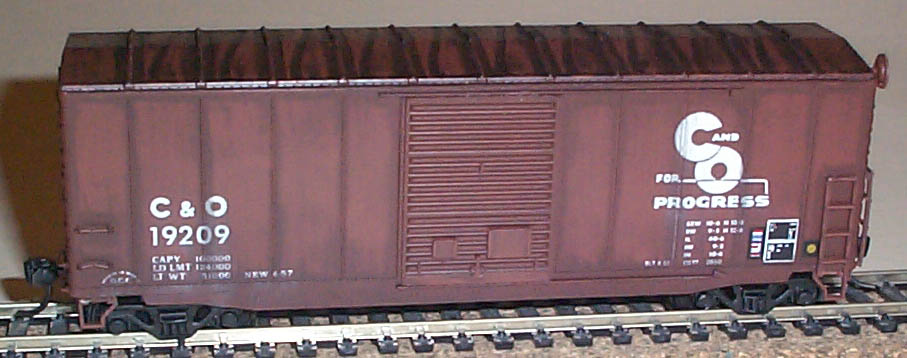
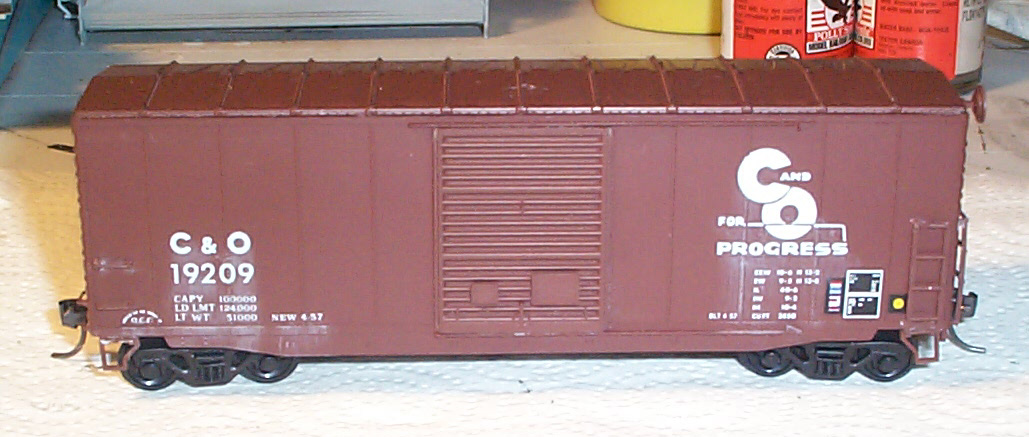
Below is the boxcar fully assembled, ready for
weathering.
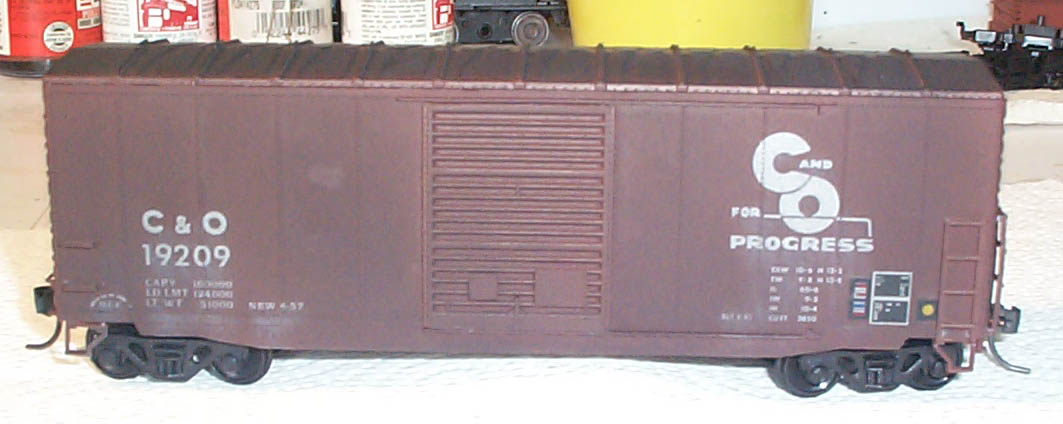
Below is a pic of the boxcar showing off the
streaks of
white paint that is characteristic of an old boxcar.
Below is the car after being oversprayed with
engine black.
Notice how much darker it looks then the pic above. Now it
is starting
to look like an old boxcar.
Below is an out of focus shot of the sides after
I put
the eraser to them. Be careful around the decals, you can
rip them
off if you erase them too much.
Below is a pic of the top of the boxcar before I
started
erasing it. It is a little out of focus but shows a good
contrast
between how dark the overspray made the car look and how
weathered it looks
after the eraser treatment.
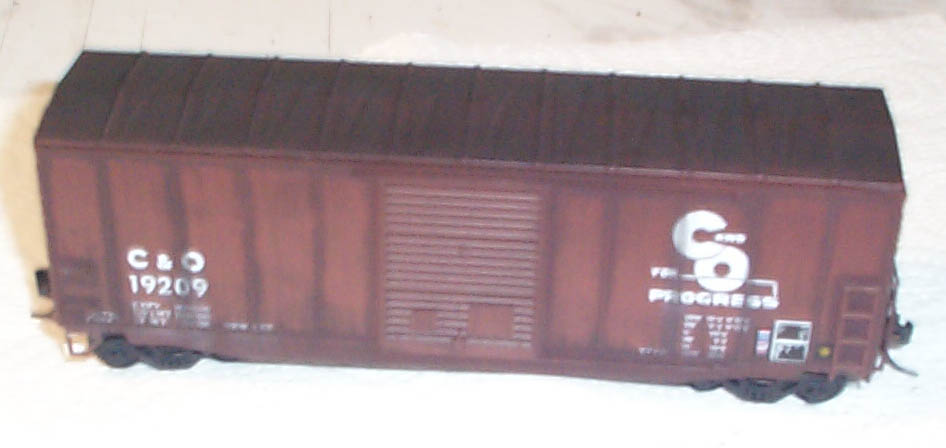
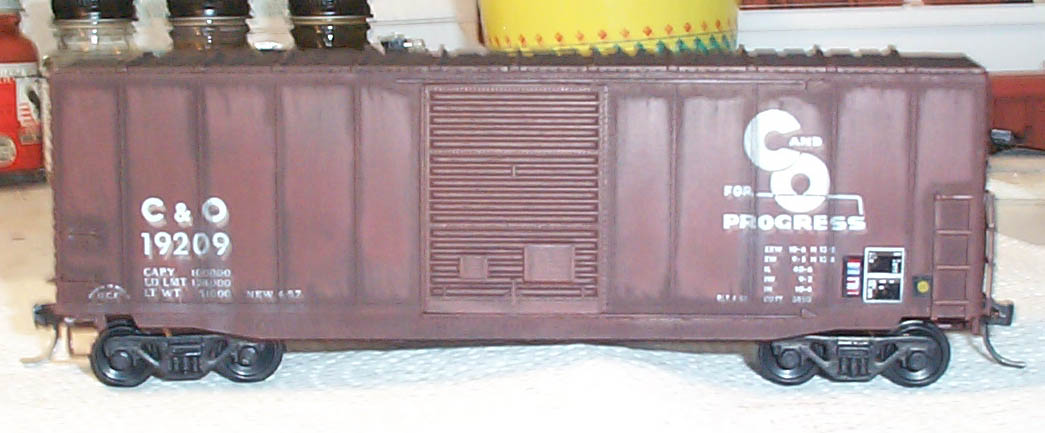
Below is the finished car. The white
streaking can
still be seen in some parts. It is very subtle like the
real car.
This is a quick and easy project that I hope you can
enjoy. Remember
almost all of your 40' boxcars need to be in predecessor
schemes, like
this one (or a B&O or WM predecessor scheme).