Below is a picture of a real FGE car. George Elwood
took this photo of a similar C&O FGE car. The Walthers kit has
a different door than this car.
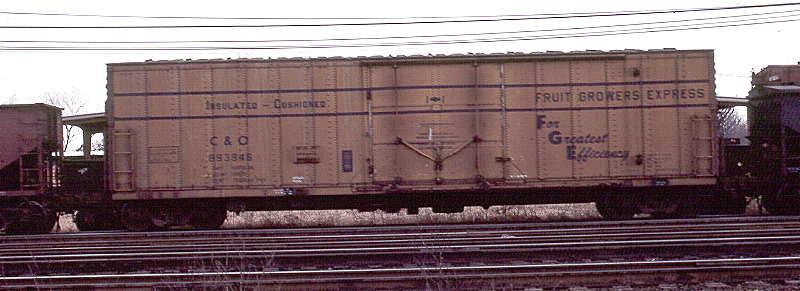
George Elwood Photo
How to:
1. Buy the Walthers 50' FGE insulated boxcar kit.
It is nearly perfect right out of the box for these cars.
2. Paint the sides Reefer Yellow.
3. Paint the ends Boxcar Red.
4. Paint the roofs Flat Aluminum.
5. Weather the roofs with rust colors. This
is done to taste, if you don't like rust, then skip this step. However,
the real roofs did rust considerably.
6. Paint the inside of the car black if it appears
translucent to you. Mine that came in yellow plastic seemed translucent,
so I painted it. The grey plastic ones looked fine, so I didn't paint
those. Also, you can paint the bottoms black if you want. I
did, but frankly don't think you'll ever notice that feature.
7. Weather the sides. I put a wash of roof
brown on the sides. I thinned the roof brown paint with water.
I wasn't happy with how light it looked, and redid the panel and rivet
lines with a mix of half black and half roof brown, thinned to a wash.
8. Before the paint completely dries, use an eraser
and remove the wash from the inside of the panels. Leave the dark
color in the grooves and rivet lines.
9. Spray the car with gloss coat and decal with
Champ's HR-70 FGE set. Use the "B&O" letters from another set,
since the Roman font from the Champ set is not correct for this car.
I used Herald Kings H-563 set.
10. Spray the bottom 1/4 of the car with a roof
brown overspray. Seal the car with dull coat.
11. You are done, enjoy your Fruit Growers Express
insulated boxcar.
Below are all three FGE kits I had at the time of this
project. I started all three, but only had decals for one car at
the time. The other two will be decaled when I get more Champ decals.
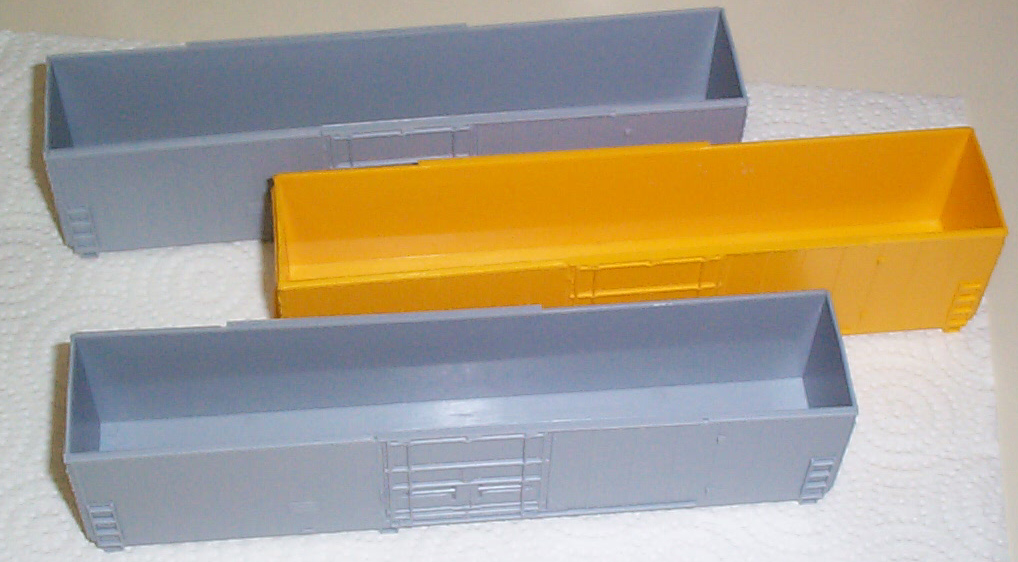
Below the sides have been painted Reefer Yellow.
The yellow plastic car barely looks like anything has been done to it at
this point.
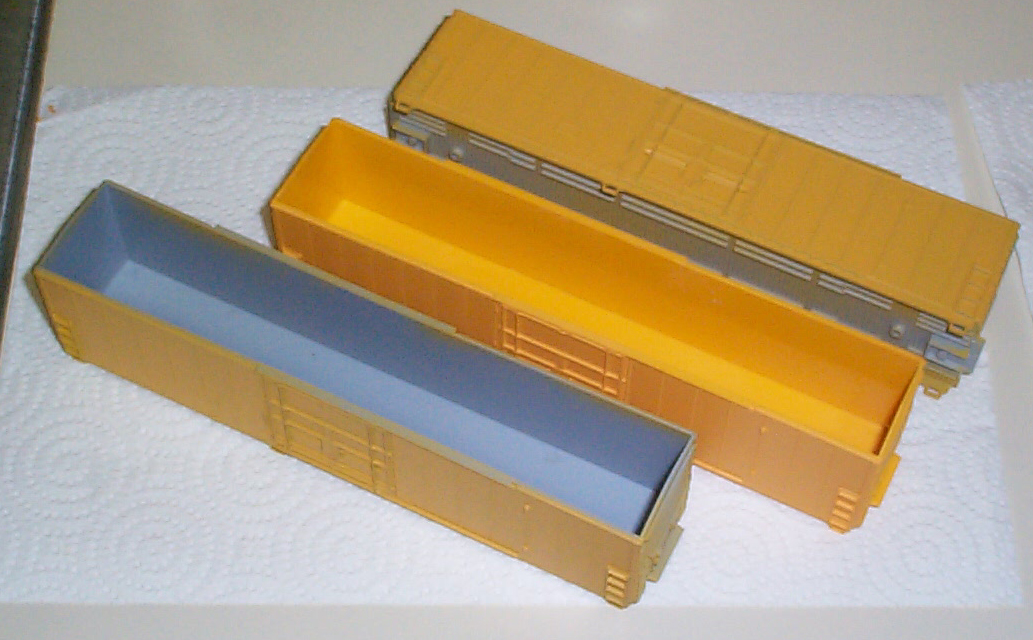
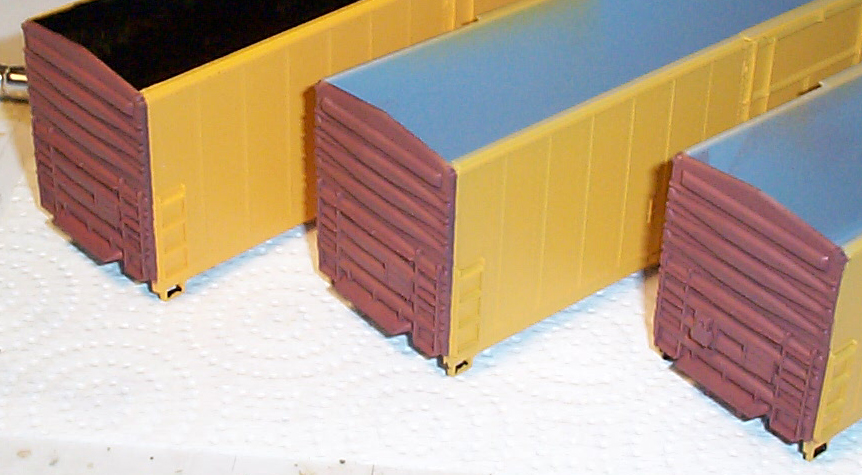
Below are the boxcar red ends. I painted these before
painting the black, but took the photo after the black was applied inside
the yellow car.
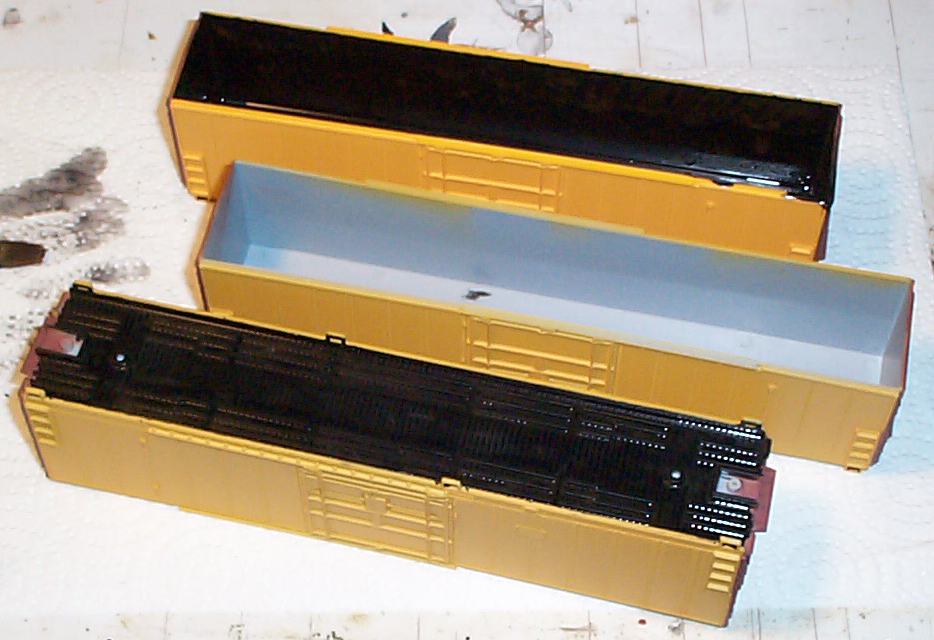
Below you see the yellow car at the top with the inside
painted black. The middle car is one of the grey ones, showing I
did not paint that one black inside. The bottom car is upside down
showing that I painted the bottoms black on all three cars.
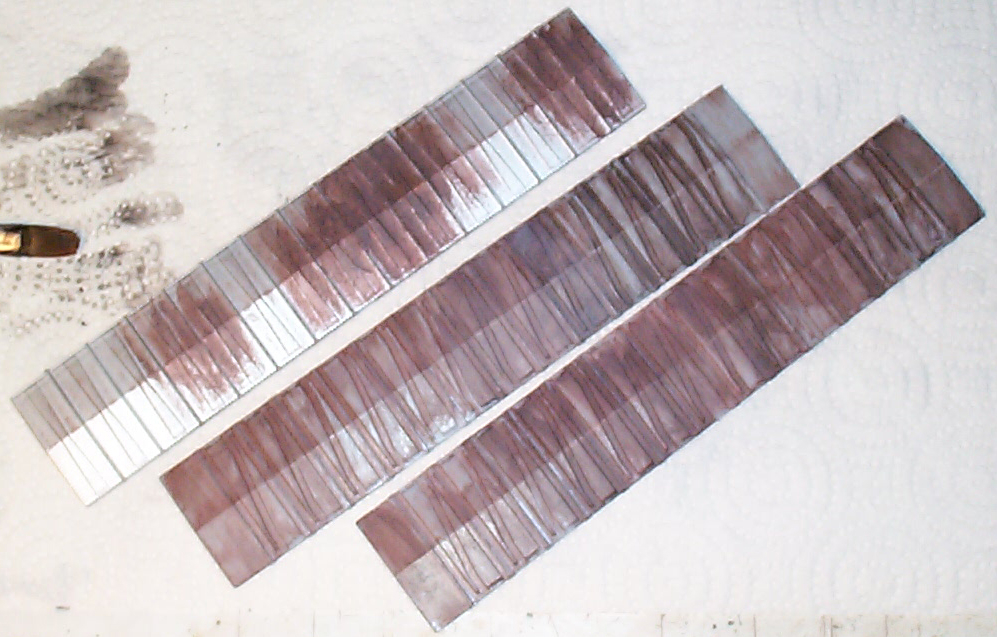
Below are the roofs, rused up and ready to go on the cars.
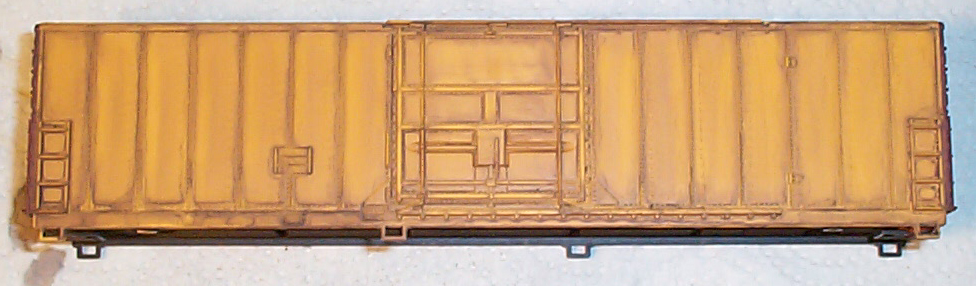
Below is the weathered car, ready for decals. You
want to weather this car first, because the eraser treatment would tear
any decals on the car.
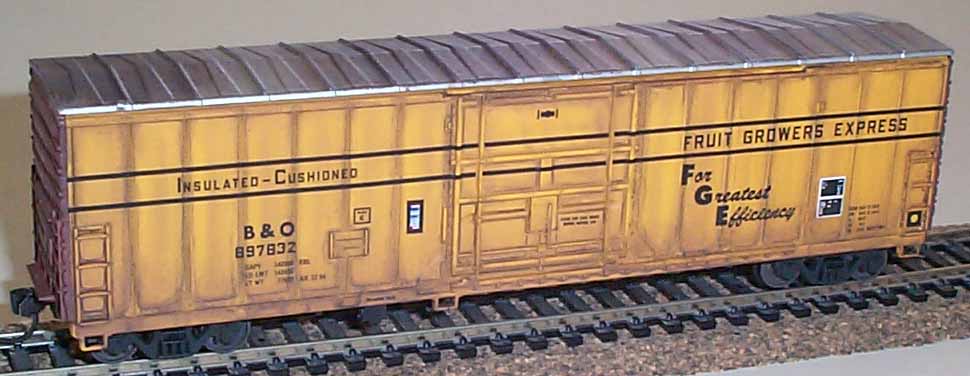
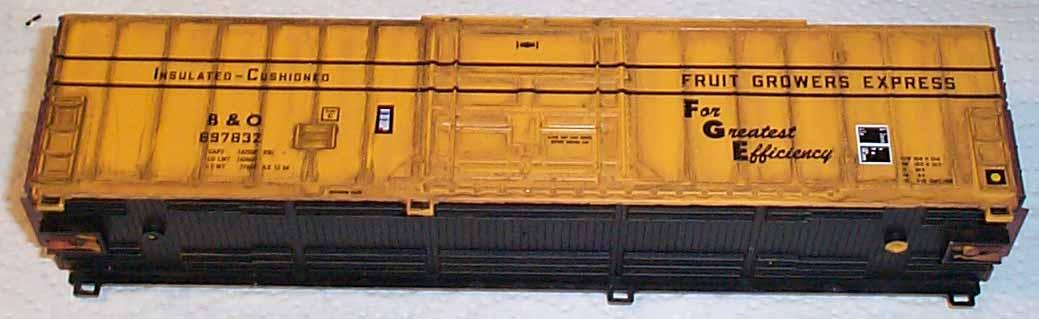
Below is the first car decaled and ready for assembly.
This is actually a more involved decaling project than it looks like.
The "B&O" letters came from a Herald King H-563 set for B&O covered
hoppers. The "B&O" letters included in the Champ set are in the
Roman type face, which is incorrect for this car. The more modern
looking "B&O" seen here is correct. Also, those black stripes
take alot of time and patience to put on. There are about 8 pieces
of black stripe decal on this side of the car alone. The wheel inspection
dot decal came from a Microscale sheet and the consolidated stencil came
from another Microscale sheet. The ACI card came from a Herald King
sheet, but any brand would do.
Below is a pic of the finished car, ready to earn its
keep.