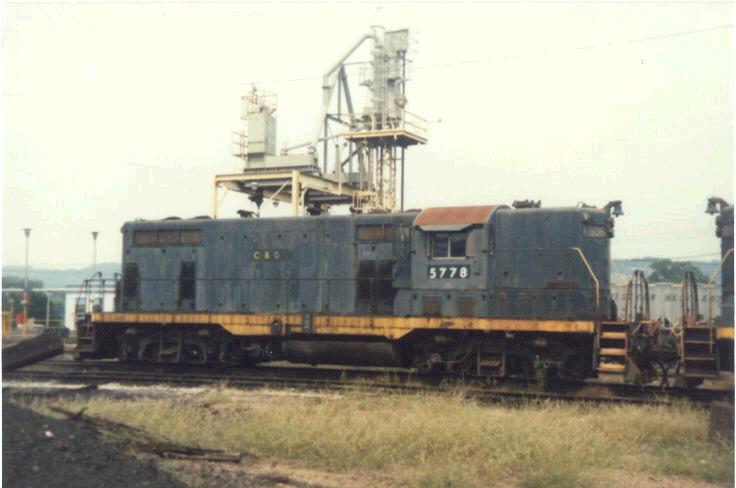
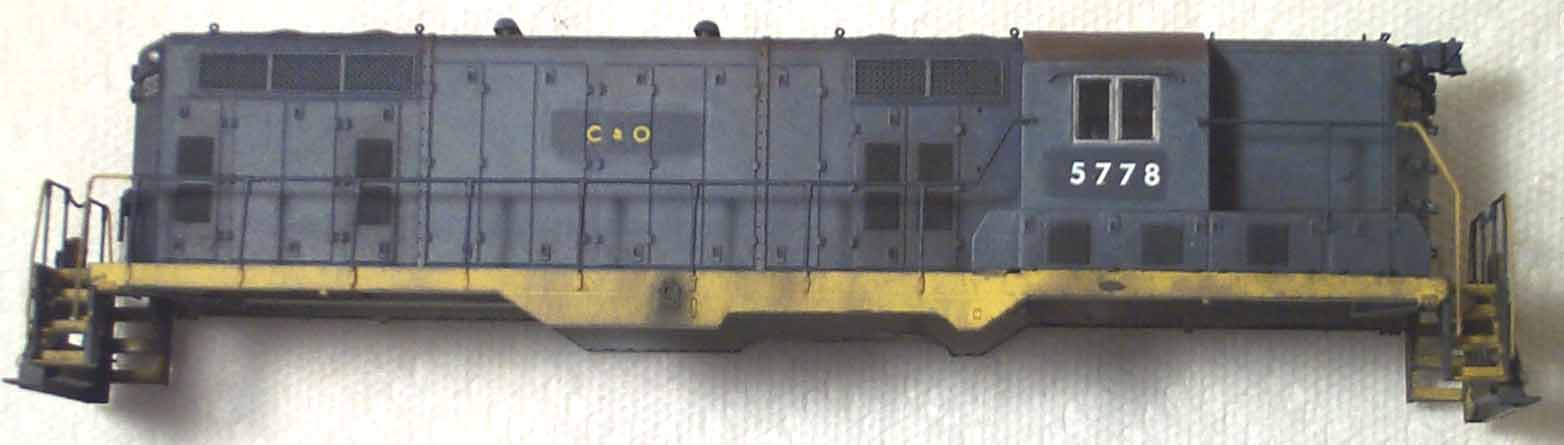
I chose 5778 for two reasons. First, it was a former South Shore unit. The South Shore was a Chicago based railroad that was owned by the C&O. When the South Shore got some new GP38-2s, they returned these GP7s to the C&O. This unit was returned with a new C&O road #, painted in white not yellow, but still had the original South Shore numberboards making it quite unique. Also, I chose this because it had the South Shore logo painted over and a very small "C&O" on the side. This was also quite rare and only seen on the units returned from the South Shore.
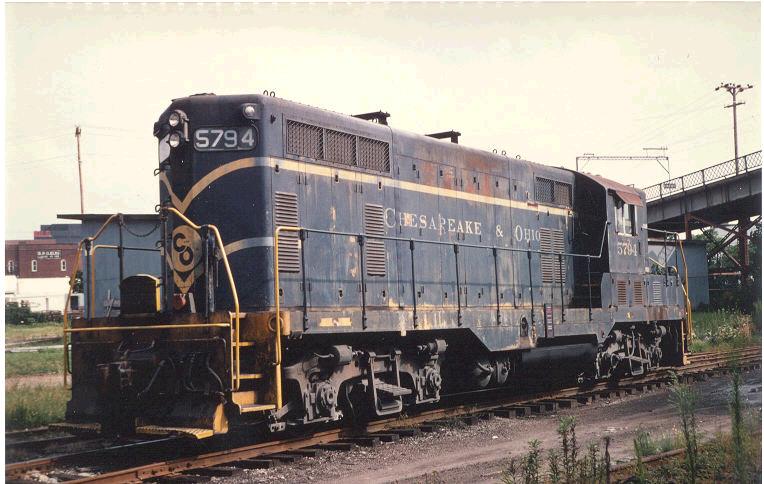
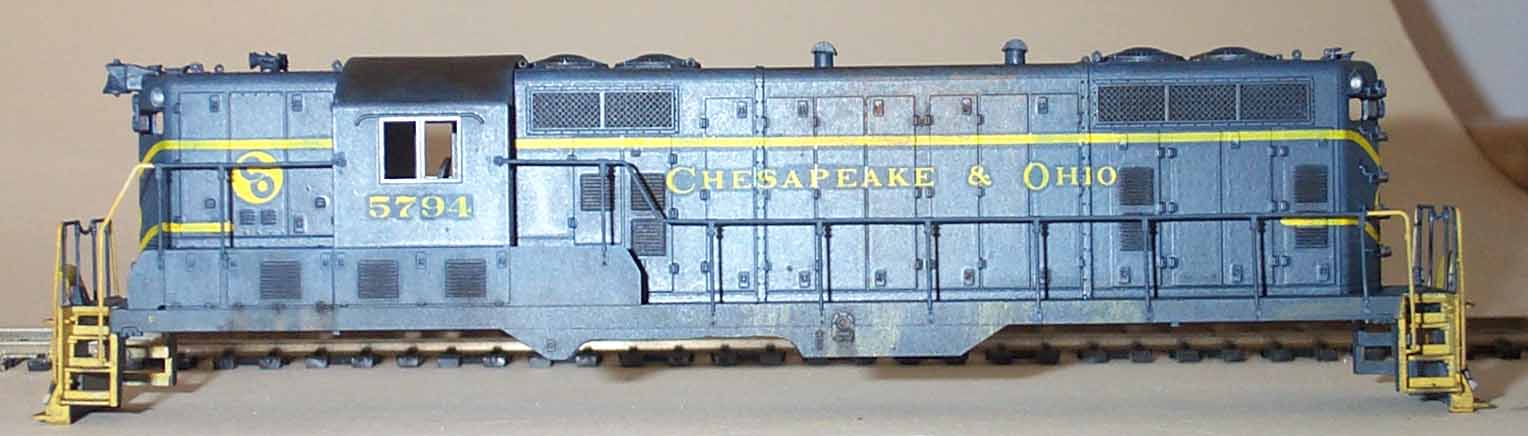
I chose 5794 because it is one of a very few units that had the stripes and roman style lettering. This was a 1950's paint job that was quite attractive, but unfortunately wasn't common in the Chessie Era.
Below are prototype pics of the two units I am doing.
Note the 5778 had the big C&O paint job. The big "C&O" letters
on the long hood were painted over and the South Shore logo applied.
Then when the unit was returned, the South Shore logo was painted over
and the small "C&O" is directly over it in this photo.
How to:
1. Remove the shells from the box.
2. Since these are undecorated kits you should
attach all of the detail parts now. I did not for this project and
it forced me to paint every thing twice.
3. To upgrade these kits the only parts I added
were a 5 chime horn and a nose mounted bell. Fill the existing bell
hole on the nose with super glue and sand smooth. The bell was a
Details West part. I have not added the ACI card to date since I
don't have the decals. This is a simple addition later.
4. Paint the appropriate yellow parts a 75% CSX
Yellow and 25% UP Armor Yellow mix. See photos below for appropriate
parts to be painted.
5. Tape off the side sill and steps on 5778 (just
the vertical and horizontal part of the step, not the sides of the step
wells). Tape off just the step wells and pilots on 5794.
6. Paint the shells C&O Enchantment Blue.
7. When the blue has been dry for 24 hours, dry
brush the blue to give it a faded appearance. I start with 75% blue
and 25% white first and work my way on successive coats with lighter and
lighter shades of blue. Put masking tape in a rectangle under the
windows and one where the South Shore logo went. This will allow
them to look "new" once the fading is done.
8. Spray the shells with Testors gloss coat.
When dry, decal 5794 with Microscale's 87-875 set and 5778 with left over
decals. For 5778, the white road numbers came from the Careful Car
Handling Caboose set and the "C&O" came from Champ's Chessie Flat Car
set.
9. Seal the decals with Testors dull coat.
10. Apply weathering chalks of rust, dirt and soot
to your liking. Note the rusted roof on 5778 above. This was
common for GP7s.note the black stains around the louvers on 5778.
This is also common for GP7s. Seal the weathering with Dull Coat.
11. I also forgot to notch the side sill before
I painted the shells. Carefully use a Dremel tool to notch the sides.
12. You're done, enjoy your pair of GP7s.
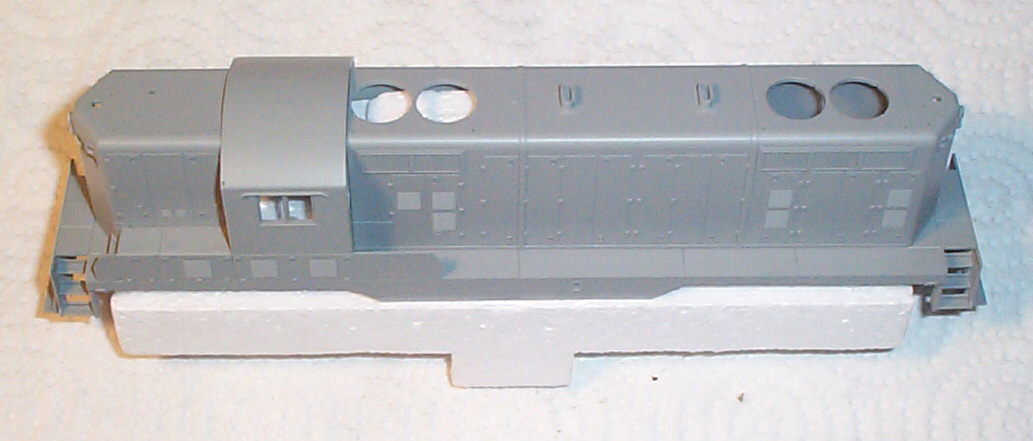
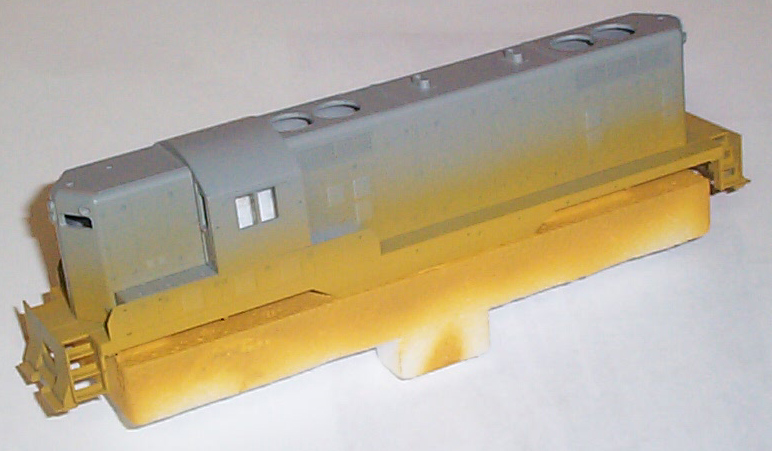
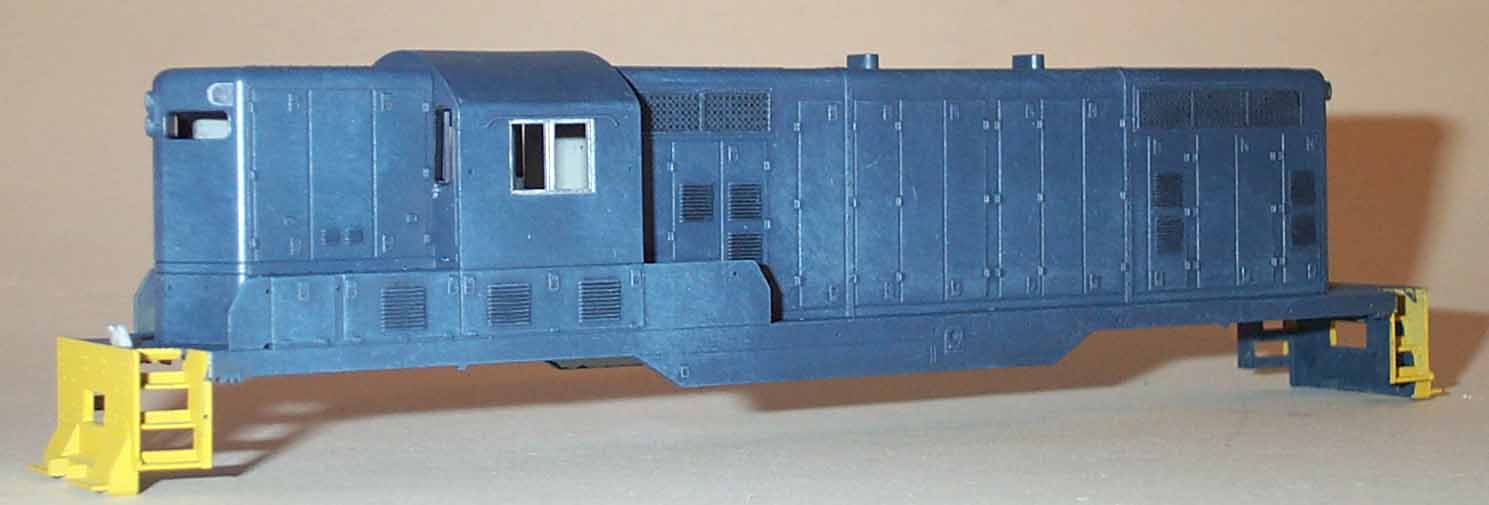
Below is the shell as it looks coming out of the box.
Note there are no detail parts on it. This adds to the difficulty
of completing this project.
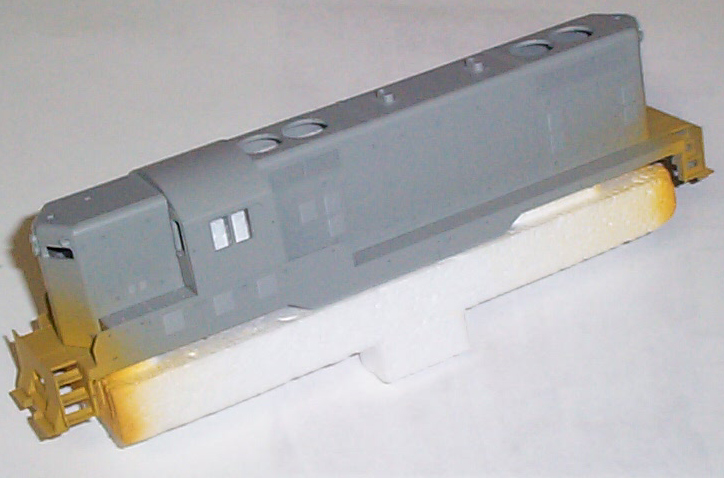
Below are the two shells painted yellow. The one
on the left will be 5778 and the one on the right will be 5794. I
used the white styrofoam inserts that come in the kit to hold the shells.
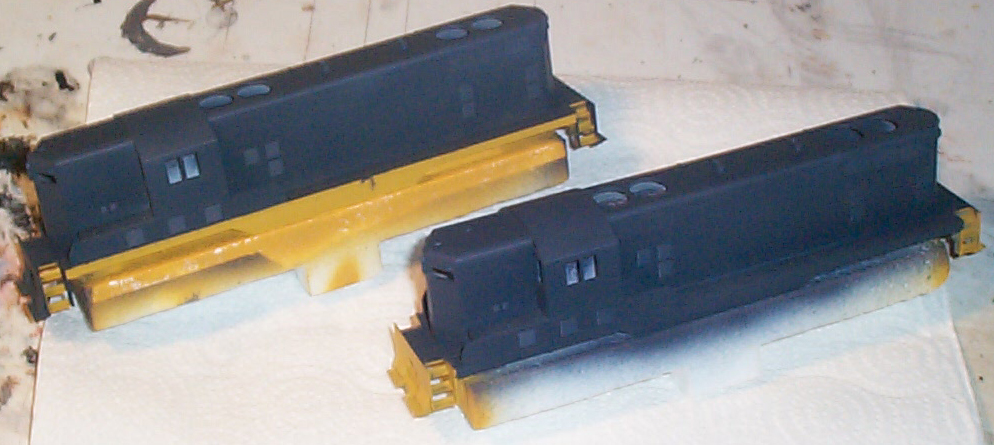
Below are the two shells with the blue painted.
The blue leaked under the tape around the fuel filler on 5778. Be
careful on yours so this does not happen.
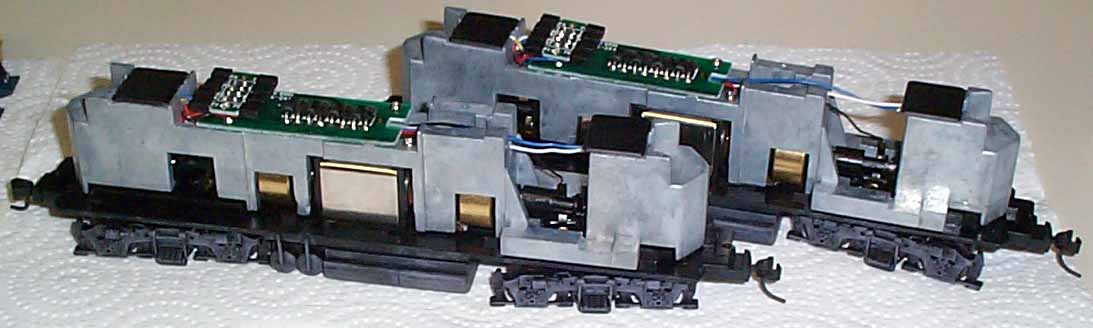
Below are the bases as they looked right out of the box.
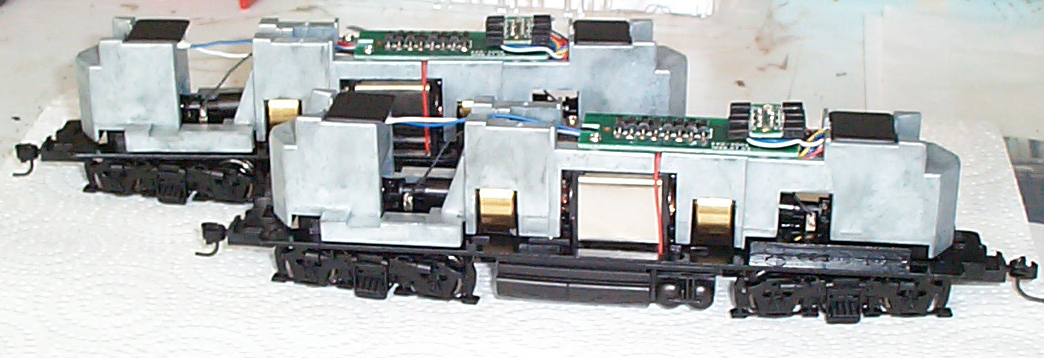
Below are the bases, weathered and ready to go.
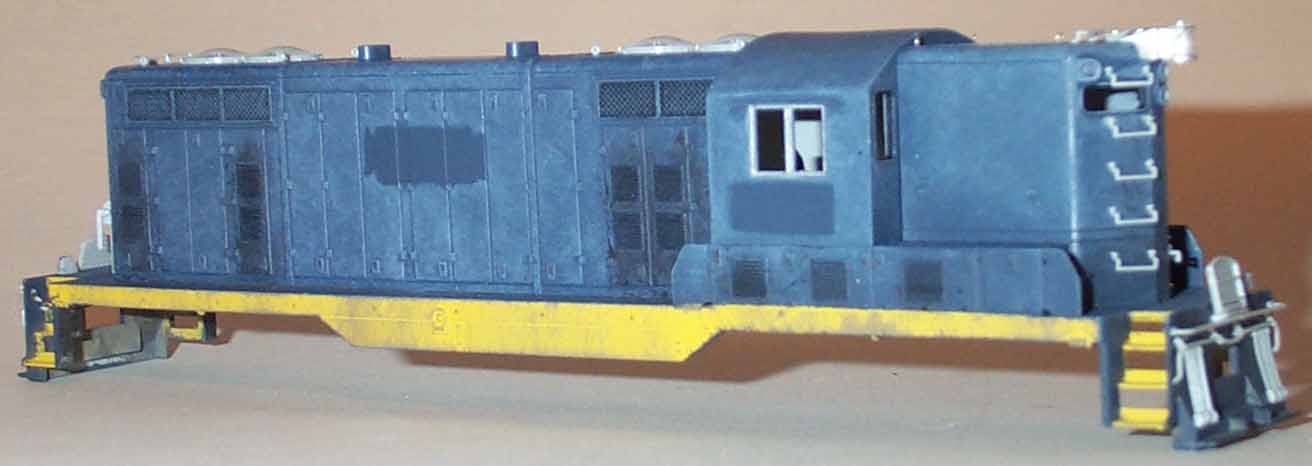
Below is the 5794 faded.
Below is 5778 faded. The patches where the South
Shore logo and renumbering under the window is clearly visable. Also,
note all the detail parts I have added (yet to be painted in this photo).
Below is the 5778 shell, weathered and decaled.
Note the side sill has been notched and all the details painted since the
photo above.
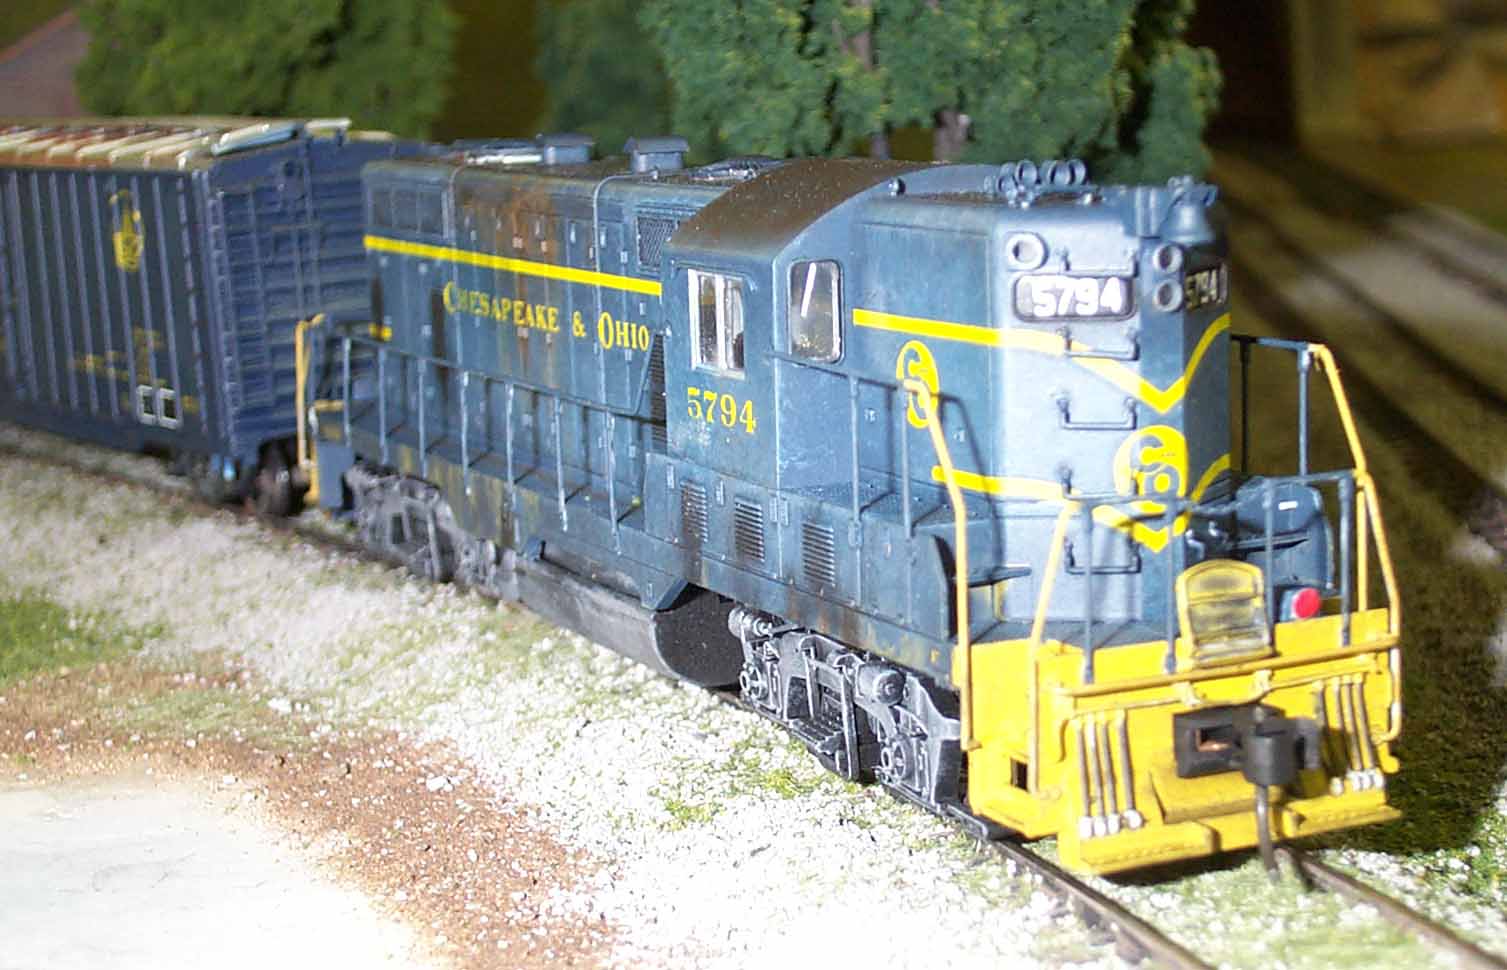
Below is 5794 completely decaled and detailed. It
just needs a shot of dull coat to hide the decal shine and it will be ready
for assembly.
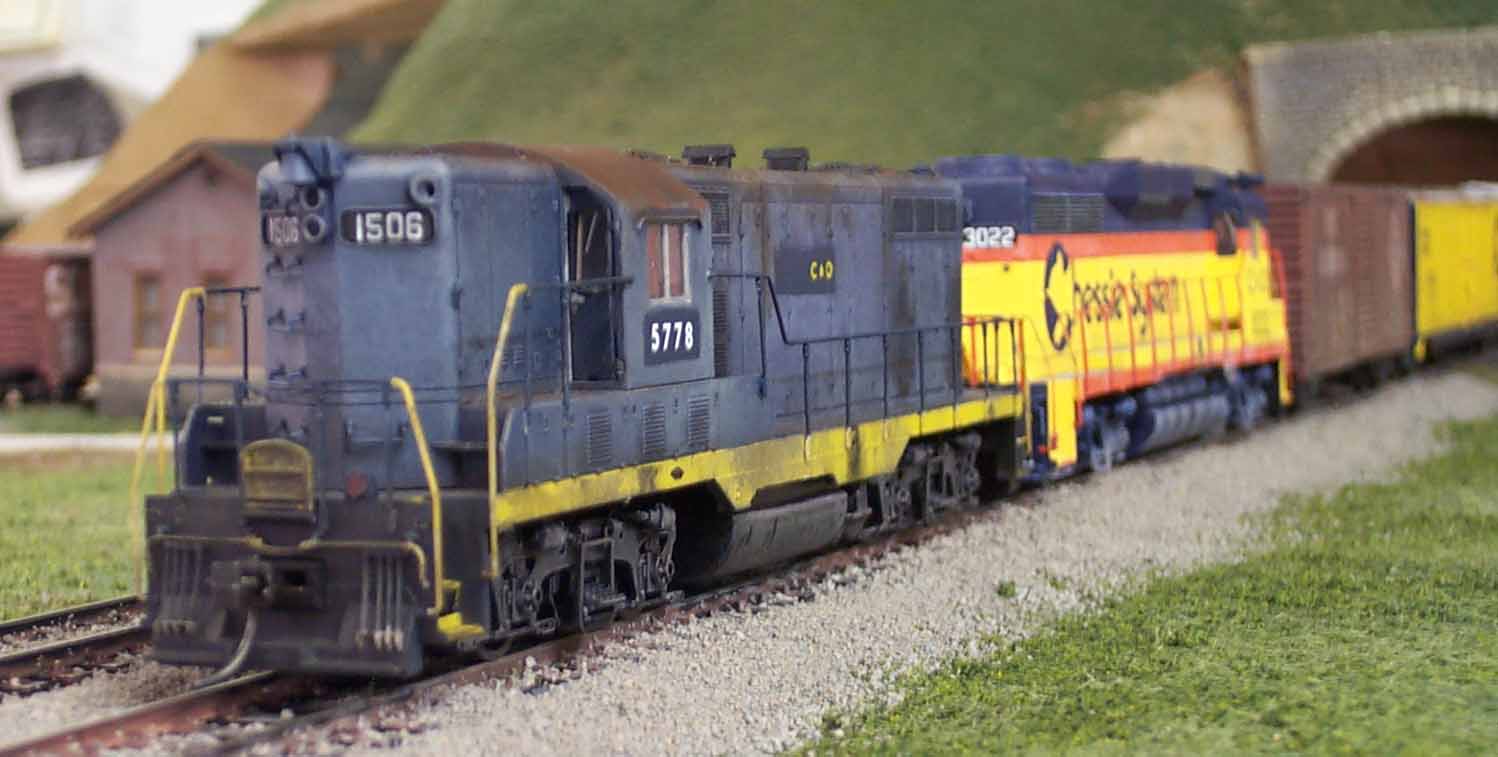
Below is a finished shot of 5778 at work. Note it
still wears the original South Shore numberboards just like the prototype
picture at the top of this page.
Below is the finished 5794.