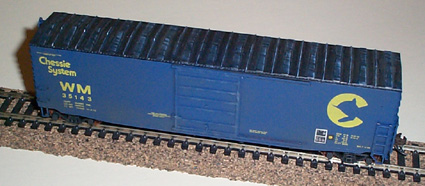
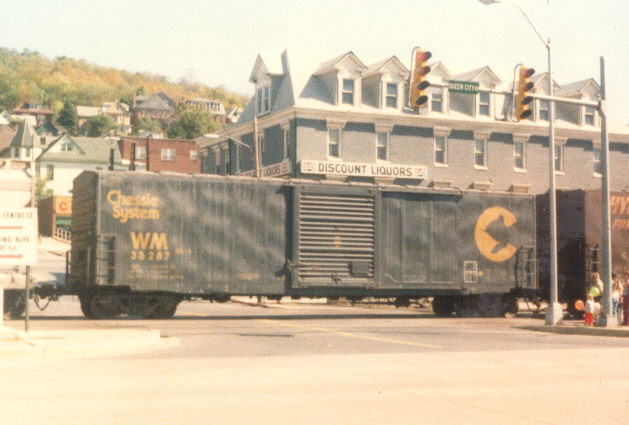
Below is a Dean Heacock pic of a WM one. Note the
Bev-Bel kit as delivered does not have the consolidated stencil (two black
squares outlined in white), wheel inspection dot (black square with yellow
circle to the right of consolidated stencils) or ACI decals. These
will need to be added.
How to make a PS1 Boxcar:
1. Assembly is critical here. There are many
little detailed parts. Take your time, cut them off carefully and
try not to break them. There are lots of parts you may not want to
include. From prototype photos I found out that most of them were
not on Chessie cars.
2. Cut the ladders in half. The roofwalks
were removed from these cars and the side ladders only went half way up
the car.
3. Apply end numbers to the car for a more protoypical
look.
4. Apply consolidated stencil and ACI decals (if
you can find them, I couldn't find ACI decals and finshed mine without
them).
5. Weather by giving a nice dark wash to the roof.
Overspray the car with a dark grey and the bottom quarter with tan.
6. Dry brush the roof, trucks, and the door for
added contrast.
7. You are done.
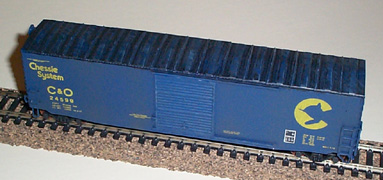
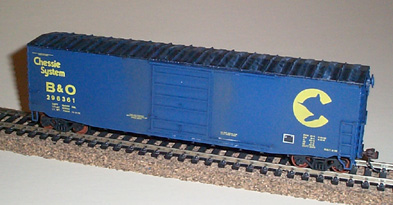
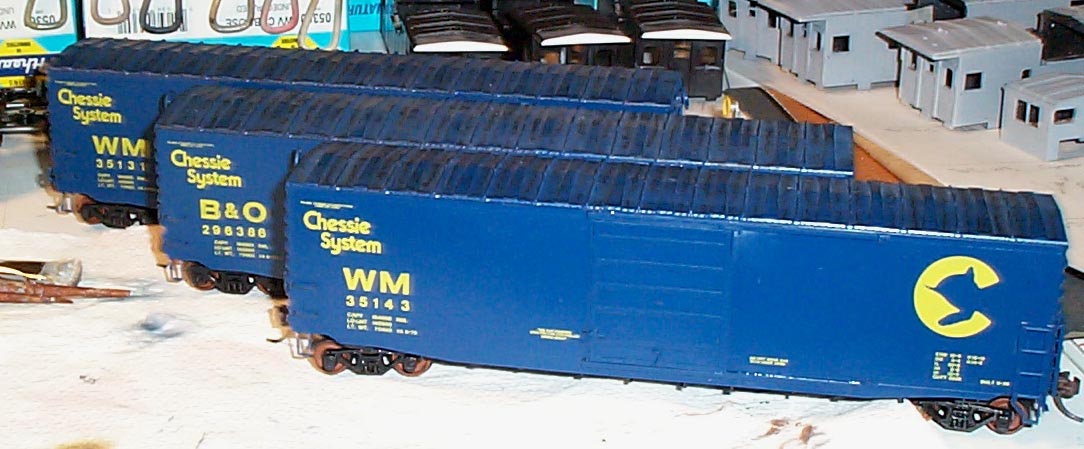
Below are pics of my PS1's in work. Enjoy.
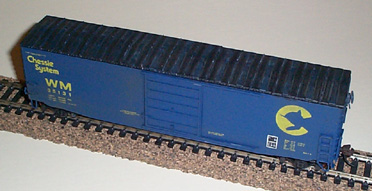
The end numbers are on the other two (not pictured) and
the B&O one. I am working on finishing putting the end numbers
on the two WM ones. See bottom pic to see what the end numbers look
like. I still need to add consolidated stencils and ACI cards, then
weather them to be done with this project.

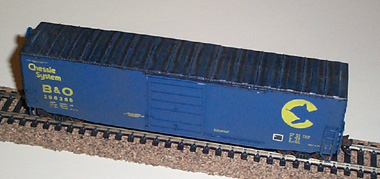
Below are the finished products. The roofs have
been weathered lots and the sides oversprayed with dark grey to make them
look less royal blue and more dark blue. The consolidated stencil
decals were added before weathering.