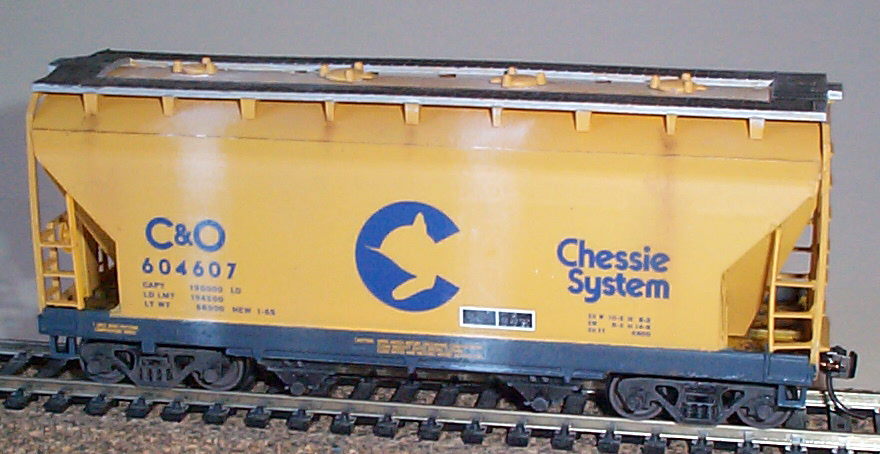
My kit came decorated with markings that are fairly accurate. However, with a dozen Front Range Small ACFs already custom painted and marked the same, I decided to strip the sides of this kit and paint it like all my others. This will keep this car from sticking out when it runs with my other Small ACF covered hoppers. This kit is a slightly different shape and size, but only the experienced modeler will notice the differences.
Below is a real small ACF covered hopper picture I took
in Nashville. I chose to do C&O 604706, which I caught in Nashville
in 2001. I should have done this car as a WM HC-41 covered hopper,
as the kit is a closer match to that class. However, with WM 604942,
604993, and 604999 already completed, I didn't need any more WM 2-bay ACF
covered hoppers.
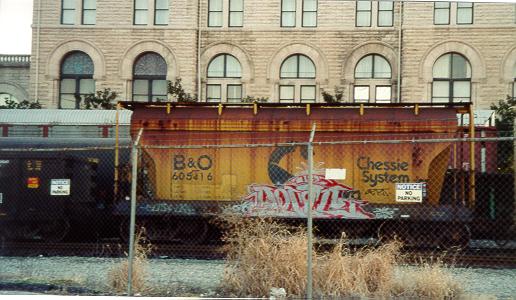
Jeff Hanke photo
How to:
1. Purchase a Ramax 2-bay ACF covered hopper kit.
Mine came decorated for Chessie, but an undecorated one would work just
as well.
2. If you decided, like I did, that the color was
off, strip the sides of the car with Polly Scale Easy Lift Off (ELO).
Apply some ELO with a Q-tip, let sit for 15 minutes, and scrub off the
paint with an old tooth brush. If you want to do a C&O or B&O
car, remove the horizontal rib and sand smooth. Keep the rib for
a WM car.
3. Rinse the sides with warm soapy water.
Set aside to dry.
4. Paint all the parts (except the bottom of the
bottom piece) with UP Armor Yellow. Make sure to paint the top of
the bottom piece yellow. Paint the bottom of the bottom piece flat
black.
5. Paint the side sill C&O enchantment blue.
5. Take the bottom piece you painted black and
yellow. Sprinkle on a diluted mixture of water and white glue on
the two ends you painted yellow. Then, while the glue is still wet
sprinkle on some brown weathering chalks. This will simulate dirt
that accumulates on the ends of the car.
6. Assemble the car as per the directions, except
the wheels, hatch covers and couplers. Spray the whole car with gloss
coat and add the decals. I used Champ's Chessie Jumbo Hopper set.
7. Spray the whole car with dull coat.
8. Paint the walk way flat aluminum. Cover
the walkway, when dry, with a wash of black paint. This will make
the walk way look more true to life.
9. Weather the sides and tops with white and rust
colored weathering chalks.
10. Seal the weathering with another coat of dull
coat. Add the wheels, hatch covers and couplers.
11. You are done, enjoy your Ramax covered hopper.
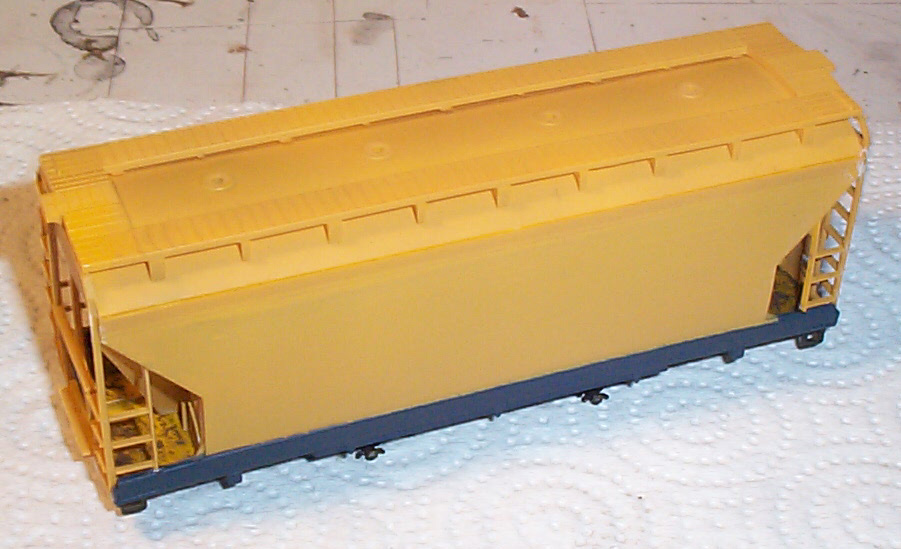
Below is what you get when you open the box. You
can build this kit if you want as marked, but I chose to strip the sides
of mine so it would match all my Front Range kits.

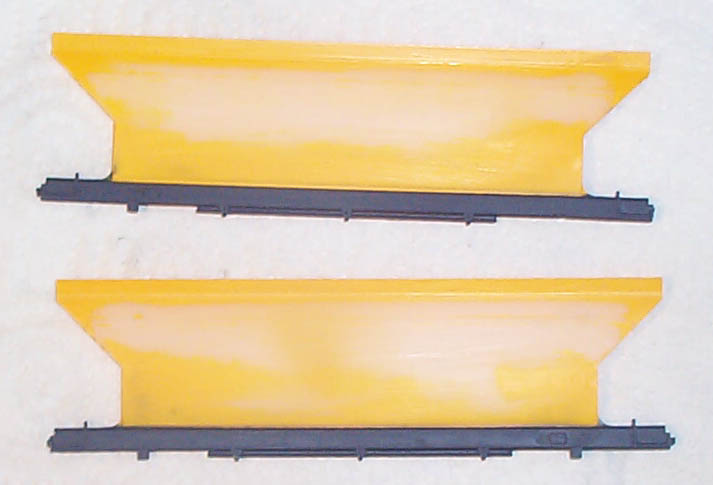
Below is a pic of the two sides. The top one has
only been stripped. The bottom one has had the rib sanded off.
After this pic was taken I sanded the rip off the top one and painted all
the pieces UP Armor Yellow.

Below is a pic of the sides with the side sill painted
C&O Enchantmen blue. Up next, yellow.
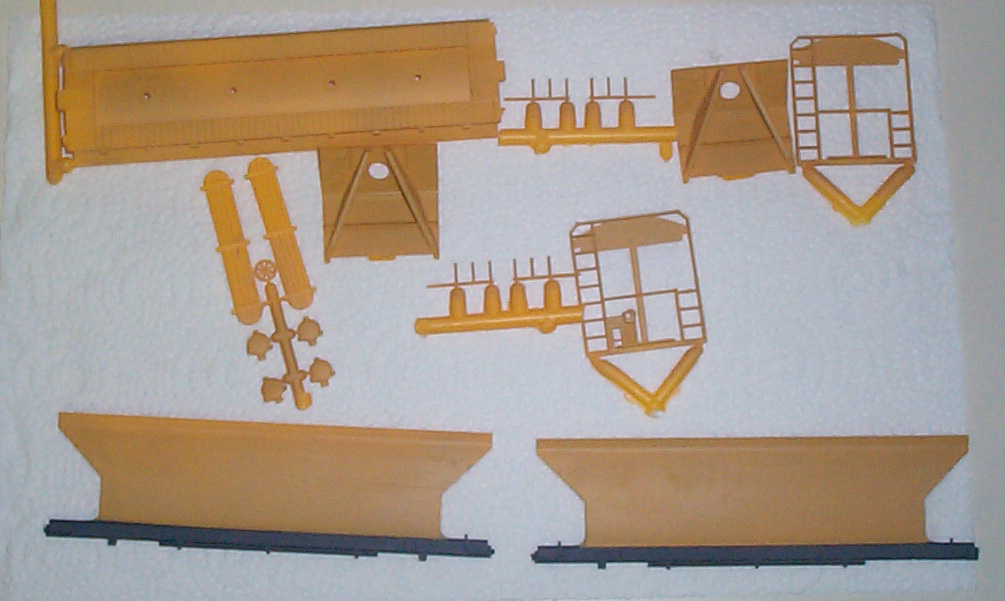
Below are all the parts painted UP Armor yellow.
Below is the car assembled and ready to be touched up
with more UP Armor yellow as needed.
Below is the car decaled and ready for weathering.
Notice the ends where the brown "dirt" has accumulated. This is normal
for covered hoppers of this design.
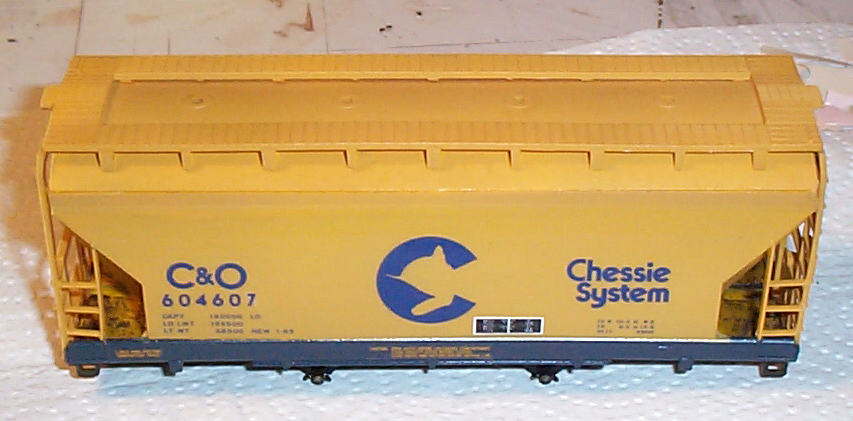
Below is the finished car ready to earn its keep.
On the East End these cars haul primarily fine white sand used for making
glass and in paints out of Berkley Springs, WV. The cars have this
streaked look to them after several years of use.