


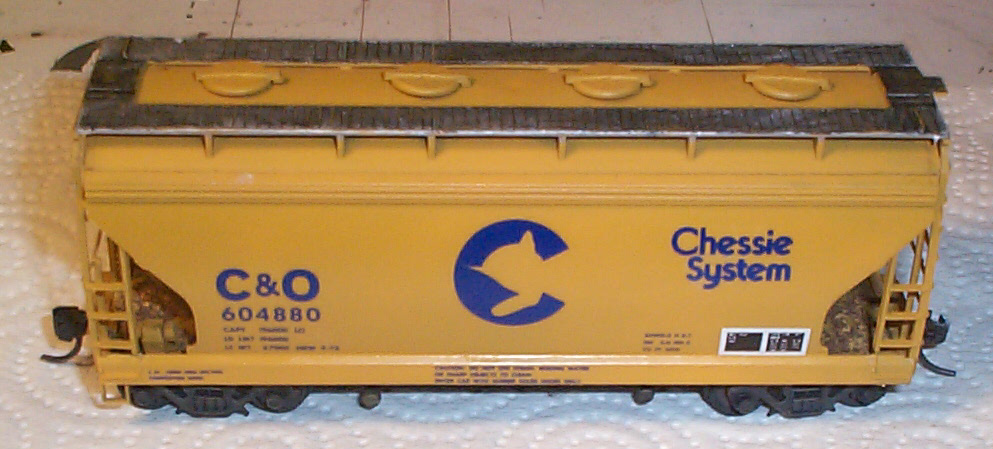
Below is a pic of the real car I decided to make after
reworking. It too is a C&O repainted car.
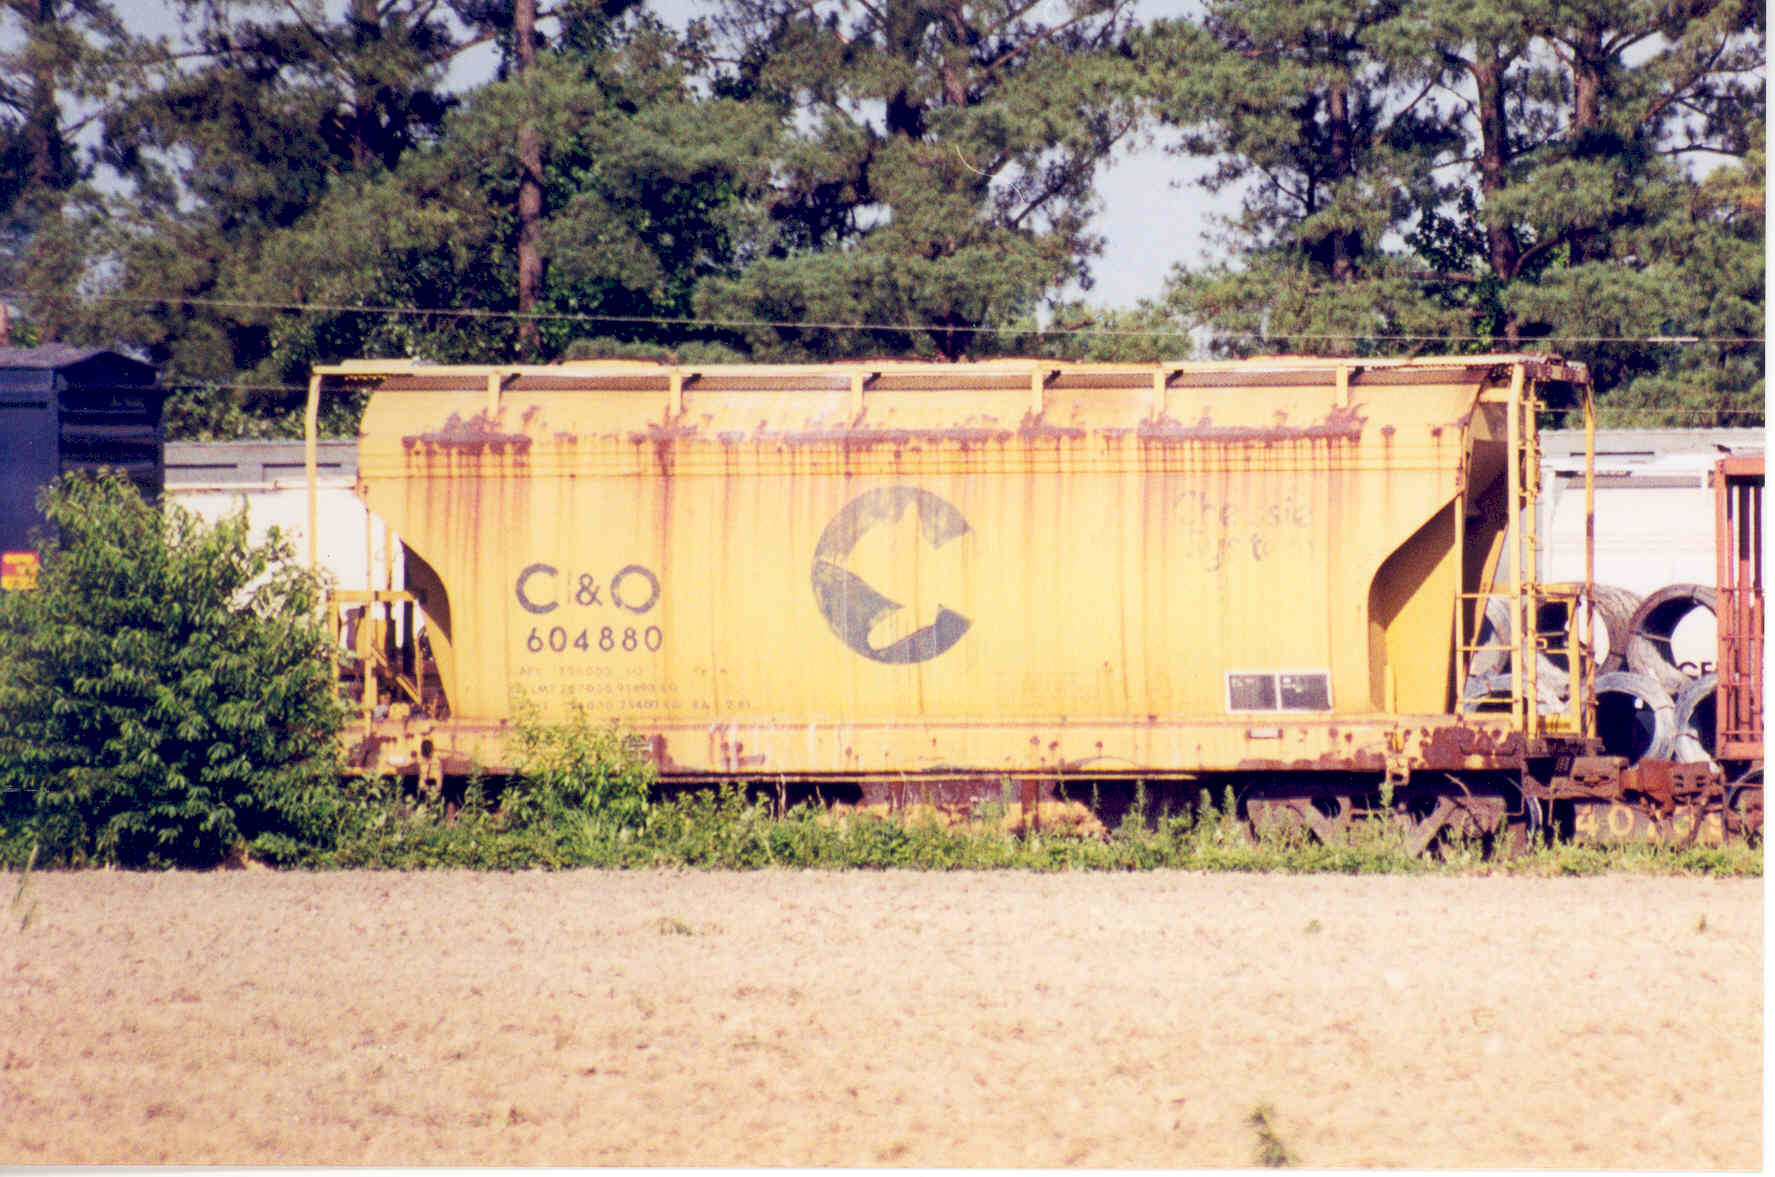
John Whitmore Photo
How to:
1. Ruin a car you really wanted to keep.
See my Decorated
Front Range ACF tips page for how I did that. Remove trucks and
couplers.
2. Strip off the old paint with Polly S Easy Lift
Off (ELO). This paint stripper is excellent. Apply with a Q-Tip,
allow to sit for 15 minutes, and scrub off the paint with an old tooth
brush.
3. Rinse the model to remove the excess ELO.
I then wash the model with warm soapy water to make sure all the ELO is
off.
4. Sand, with 400 grit sand paper, any markings
left over. Rinse again to remove the dust from sanding.
5. Sit aside to air dry.
6. Paint the car with UP Armor Yellow.
7. Spray the model with gloss coat.
8. Decal with Herald King or Champ decals.
I used Herald King for this one. Note that the placement of some
markings on a Chessie repaint are in different locations than a ACF factory
painted car.
9. Touch up the black underside, if needed.
Add diluted white glue to the end platforms and sprinkle in some fine sand
or brown weathering chalks. This will simulate the dirt that naturally
accumulated in the ends of the cars. Reassemble the car.
10. Spray whole car with dull coat.
11. Weather lightly with roof brown oversprays.
Lightly streak the sides with white chalks.
12. Seal with dull coat, you are done.
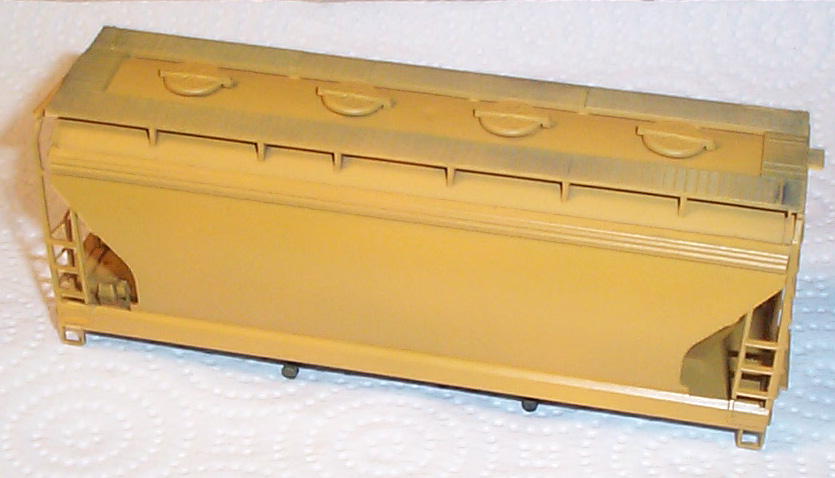
Below is the kit how I got it originally. Notice
the lemon yellow color. Chessie cars are a golden yellow.
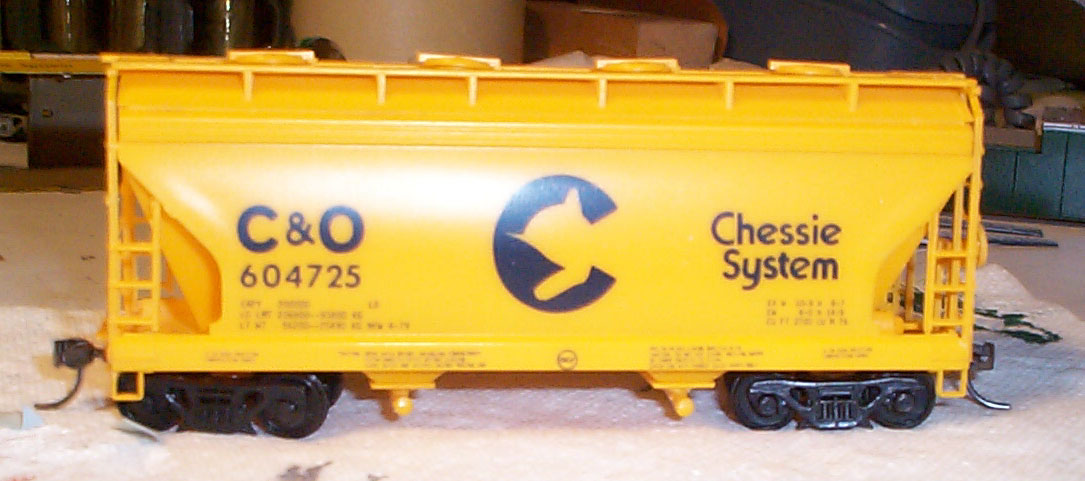
Below is the car when I finished with it. To say
the least, I was not happy.

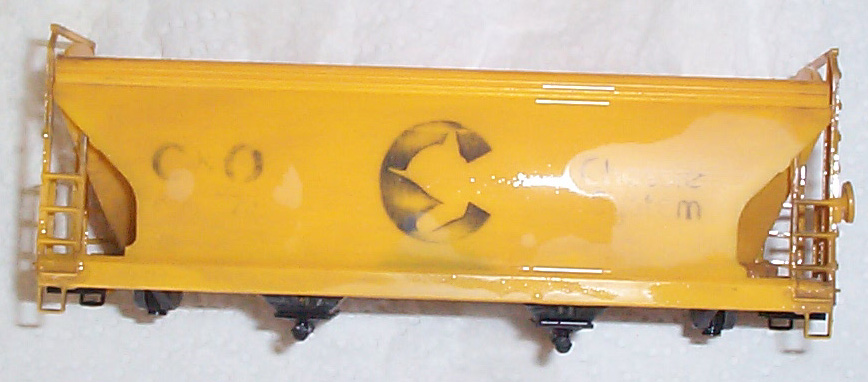
Below is the car after stripped with Polly S Easy Lift
Off stripper. The heavy lettering did not come completely off, but
will after sanding.
Below is the car, still wet, sanded and rinsed clean.
Next up painting it yellow.
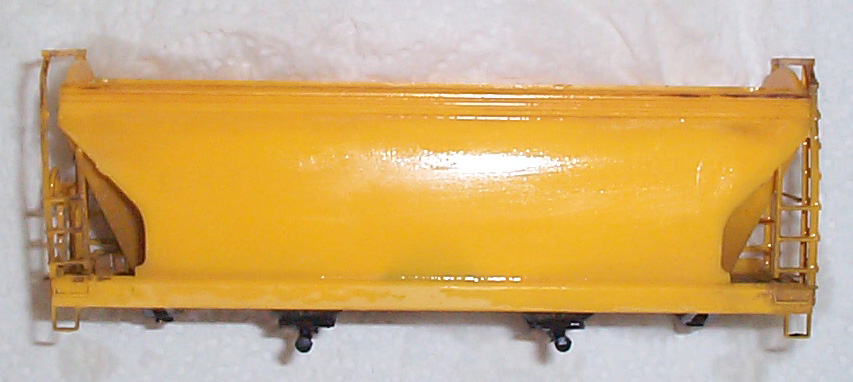
Below is a pic of the car painted UP Armor Yellow.
Below is a pic of the car decaled, assembled and ready
for weathering. I have already added the dirt to the ends in this
pic but still need to add the weathering chalks and oversprays. Note
that on this (as in the case of most repaints) the Ches-C logo and the
"Chessie System" markings are in different places than on a factory painted
car (like the ones with the blue side sill I have done). On this
car the Ches-C and "Chessie System" decals are positioned higher than normal.
Also the consolidated stencil (two black squares) are in the bottom right
corner instead of just to the right of center as on a factory painted car.
Below is a pic of the finished car. I kept the white
streaks (simulating a spilled load) to a minimum, as this car would be
freshly painted in the middle of the Chessie Era. I also kept the
weathering light, for the same reason. This car looks much better
now than it did at the start of this project. I can now run this
car equally with my other Front Range cars and it will blend in perfectly.


