It should be noted that Bowser does offer this car in the grey paint job with speed lettering. That paint job is quite common in the Chessie Era. It is the old circular logo paint job that looks like it never made it to the Chessie Era.
Below is a Dean Heacock pic of the real car I chose to
model.
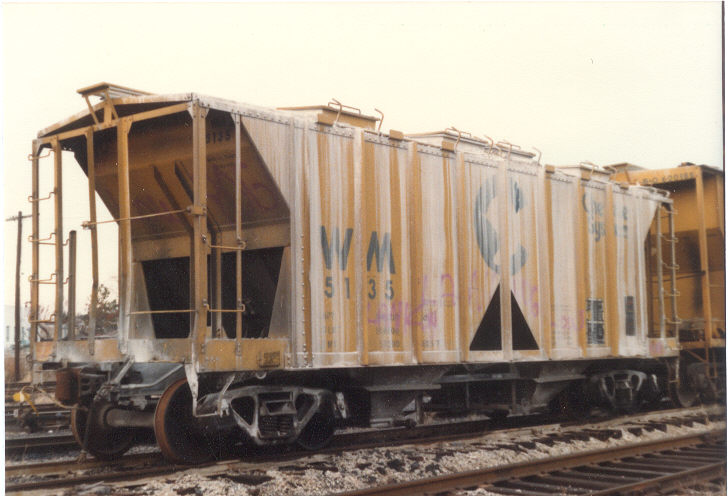
Dean Heacock photo
How to:
1. Buy a Bowser hopper with the old circular logo.
Realize this is not an "in era" car for you and decided to rework it.
2. Apply Polly Scale Easy Lift Off (ELO) with a
Q-tip to the side panels of the car. Let sit for fifteen minutes.
Scrub with an old tooth brush. Repeat the process twice. The
Bowser paint is really thick and this will require two applications to
get it all off. Rinse thouroughly with warm soapy water. Set
aside to dry.
3. Sand the side panels smooth. Rinse again,
sit aside to dry.
4. Paint the whole car Polly Scale UP Armor Yellow.
5. Paint the bays Polly Scale C&O Enchantment
Blue.
6. Brush paint the underframe black, see photo
below for clarity. Take care not to paint any part of the top surfaces
black. It should look all yellow from the top.
7. Spray the sides and ends of the car with Testors
Gloss Coat. This will provide a good smooth surface for decals.
8. Decal with Herald King decals. I noticed
the numbers on this sheet are too small, so I used the numbers off the
H-141 sheet which are for large ACF covered hoppers. The rest of
the decals came from XXX sheet.
9. Spray the car with dull coat.
10. Weather with oversprays of rail brown.
Streak the sides with white weathering chalk. Seal the weathering
with dull coat.
11. You are done, enjoy your "new" car.
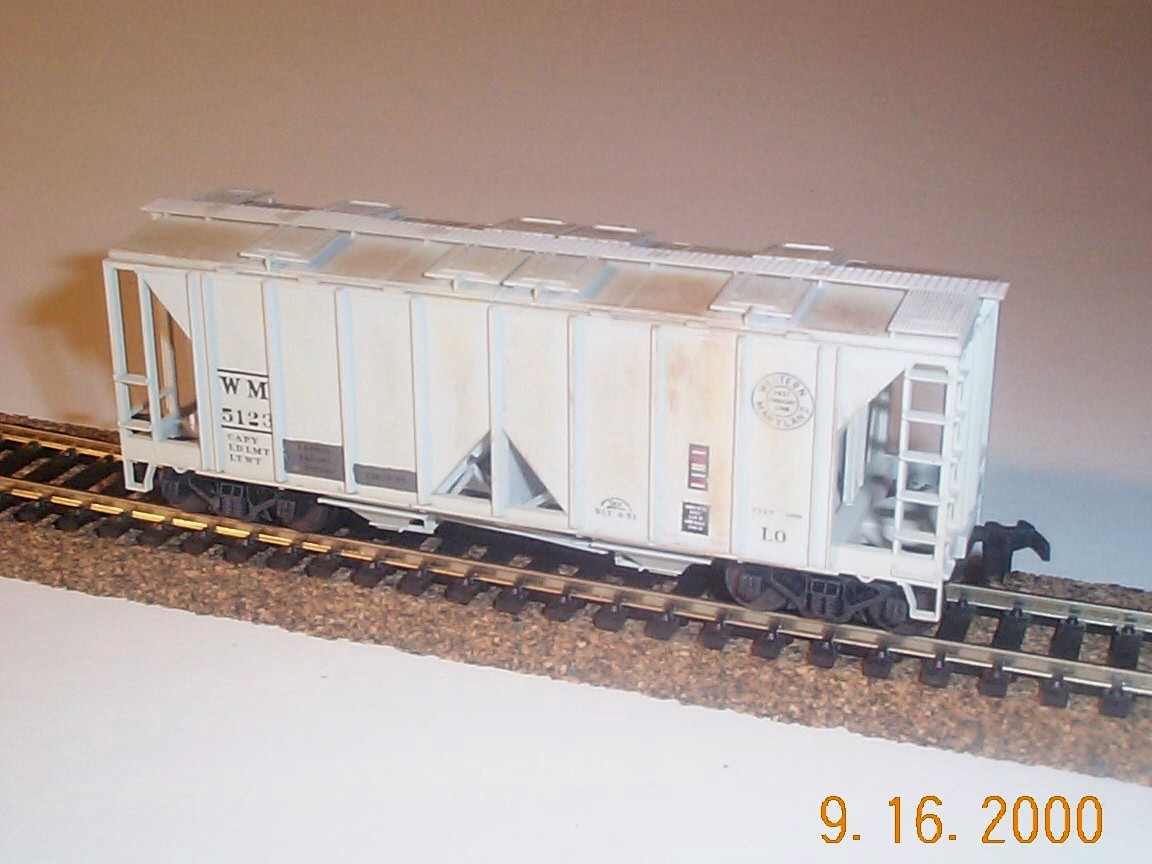
Below is the car when I first finished with it.
I added the dark grey boxes (simulating an overhaul), an ACI card and consolidated
stencil decals in an attempt to make this car look like it had been around
a while. But, since I can't confirm this circular logo paint job
existed in the Chessie Era, I decided to rework the car.
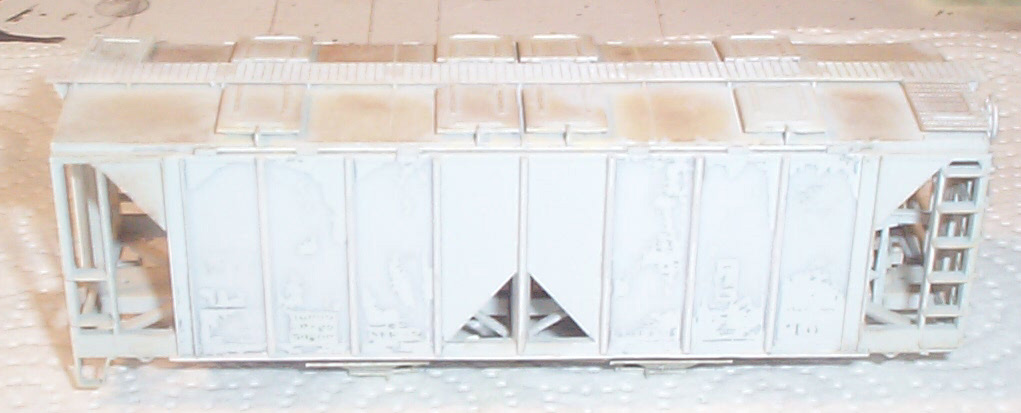
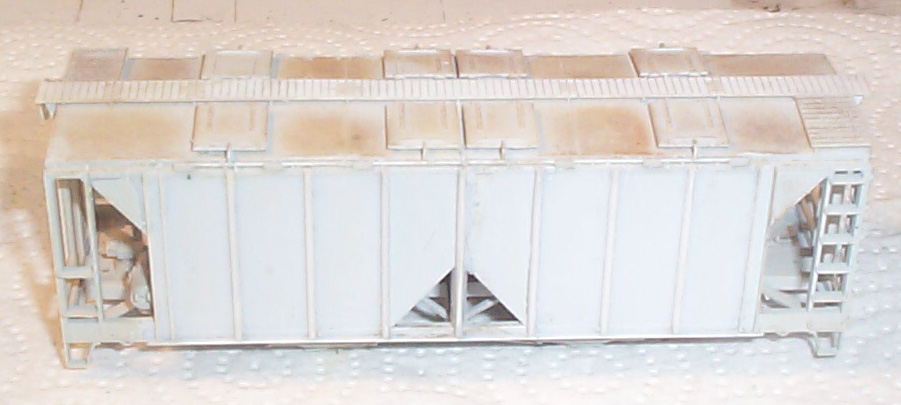
Below is the car with the side panels stripped.
The Bowser paint is quite thick, so it took alot of scrubbing to get to
this point.
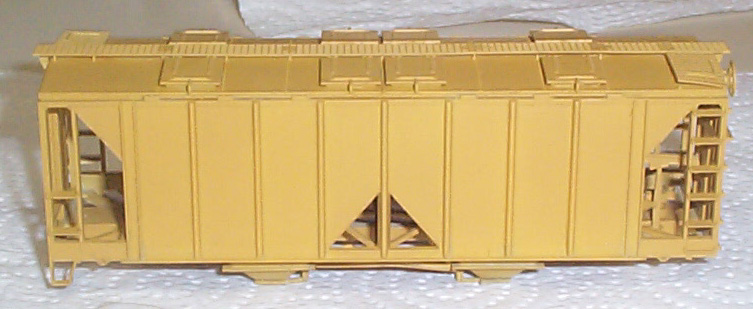
Below are the sides sanded and ready for painting yellow.
Notice the top was never stripped.
Below is the car all yellow and ready for bottom painting.
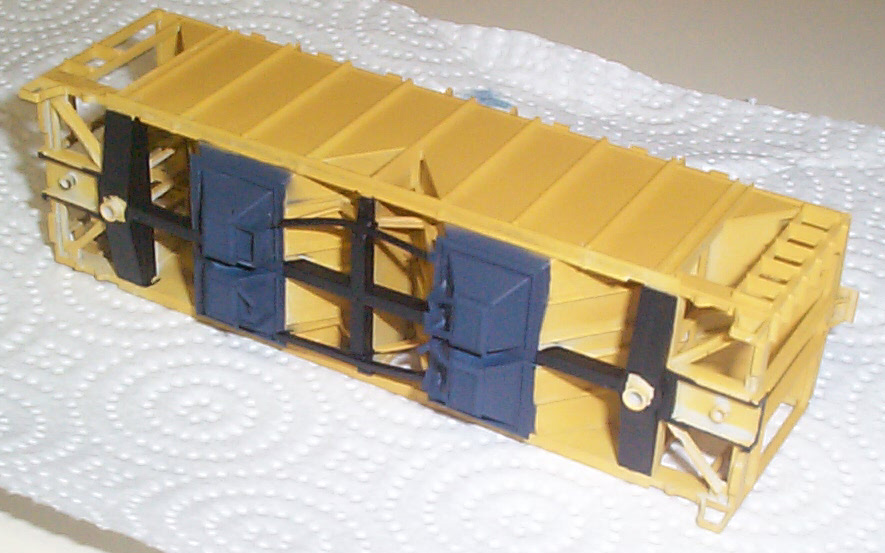
Below is a shot of the bottom of the car. Notice
the bays are painted C&O Enchantment Blue and the undersides of the
frame were brush painted black. Once, weathered this will look good,
it looks a little funny now.
Below is the car decaled and given an overspray on the
bottom of roof brown. Up next streaking the sides and top.
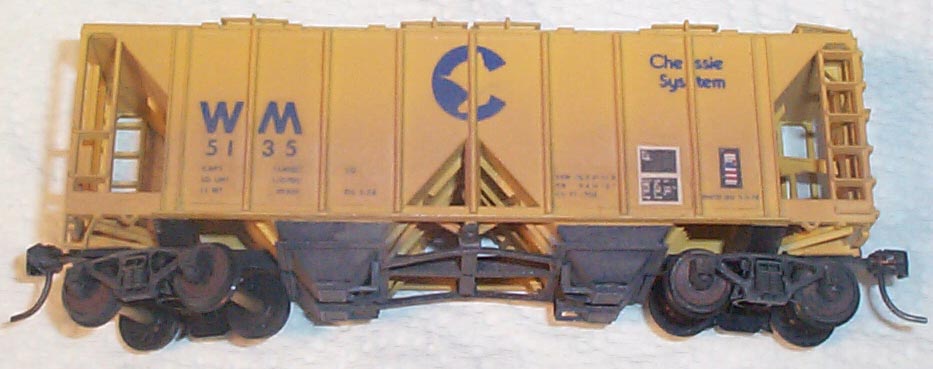
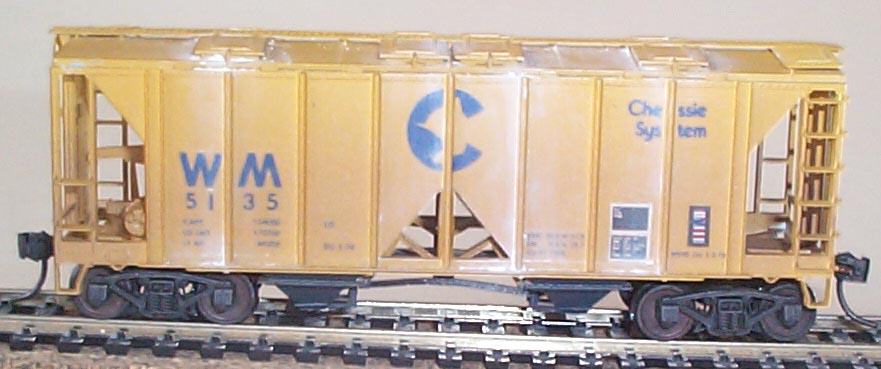
Below is the car, complete and ready to ride the rails
in a Chessie paint scheme.