Chessie coal trains on average consisted of 40% 100 ton hoppers (use the Bowser 100T Hopper for these), 40% 70 ton hoppers (use the Stewart 70T Hopper for these) and the last 20% were a collection of odds and ends. Some of this last 20% were "Moonshine" cars (see my tips page for these), some were old smooth sided hoppers, and some were little off set ended hoppers (like the one in this project).
These little two bay hoppers were very old by the time Chessie rolled around, but some of them did get painted into Chessie colors.
Below is a pic of a real 2 bay B&O hopper in the same
class as the one I did. Thanks to Kermit Geary for use of this photo.

Kermit Geary photo
How to:
1. Remove the hopper from the box and apply Polly
S Easy Lift Off (ELO) to all the lettering. I put it on with a Q-tip,
let it sit for 15 minutes or so and scrub it off with an old toothbrush.
2. Rinse the car with warm soapy water to remove
any left over ELO.
3. Sand the car where the ELO stripped down to
the bare plastic. Some of the car will still have the original black
paint and the sanding will make the transition invisible between the bare
plastic and original Athearn black.
4. Spray the entire car with flat black paint.
5. Spray the car with gloss coat.
6. Add decals, I used Herald King Chessie Hopper
decal set, but the Champ ones would work just as well. You will have
to cut the "B&O" and the Ches-C logo in half to give it the proper
look. I cut a 1/8 strip out of the Ches-C logo so the logo still
looks circular. The "B&O" letters are just cut in half and applied,
just like the real thing.
7. Spray the car with dull coat. Glue in
the weights. Paint them with an enamel primer. When dry, paint
the weights black. Add the underframe and brakewheel.
8. Spray the car with oversprays of engine black
(very dark grey color, almost black).
9. Spray the bottom 1/4 of the car with engine
black and tan mixed.
10. To add that used hopper look, drybrush the
inside with the same black and tan mix. Mine really came out well
and I plan on using this technique on all my other cars. Keep the
drybrushing to the bottom of the car and only 3/4 the way up the sides.
This makes a very realistic wearing of the paint where the coal/rocks would
be in the car. The top part of the inside edges should still look
pristine.
11. Add the trucks. Drybrush with shades
of grey. Paint the wheel faces rust colors.
12. Seal with dull coat. You are done, enjoy
your car.
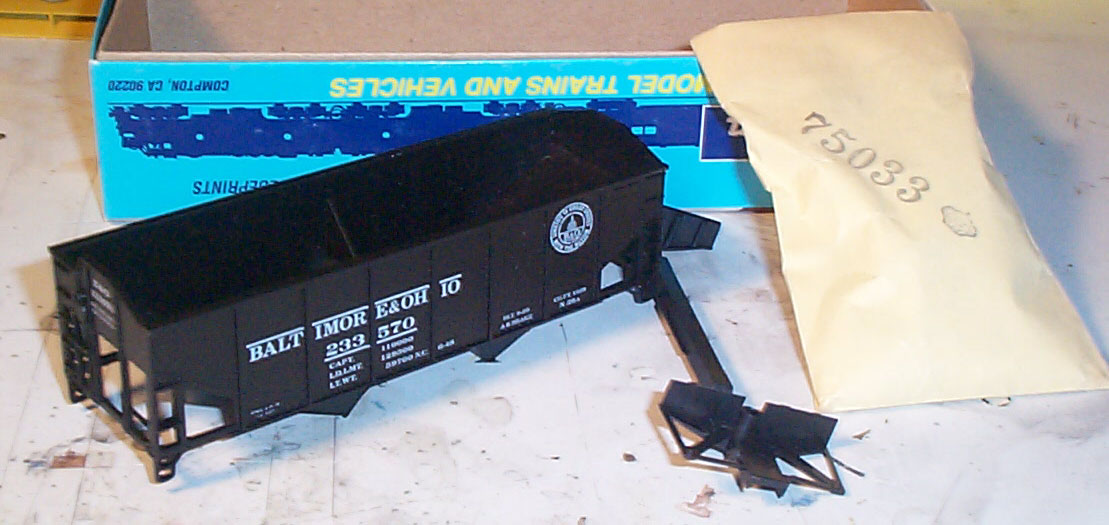
Below is a pic of the car right out of the box.
I have never seen the old 50's era circular B&O logo on a car in the
Chessie Era. So, this car needs to be redone in a more accurate Chessie
Era paint job.
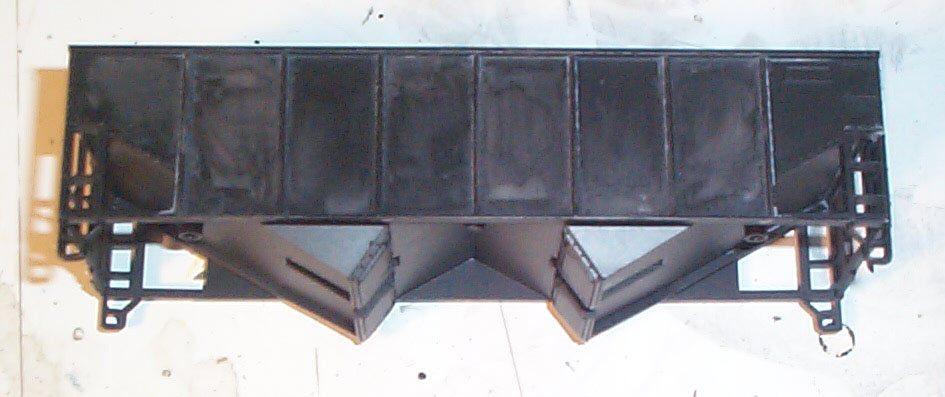
Below is a pic of the hopper after it has been stripped
of all its markings.
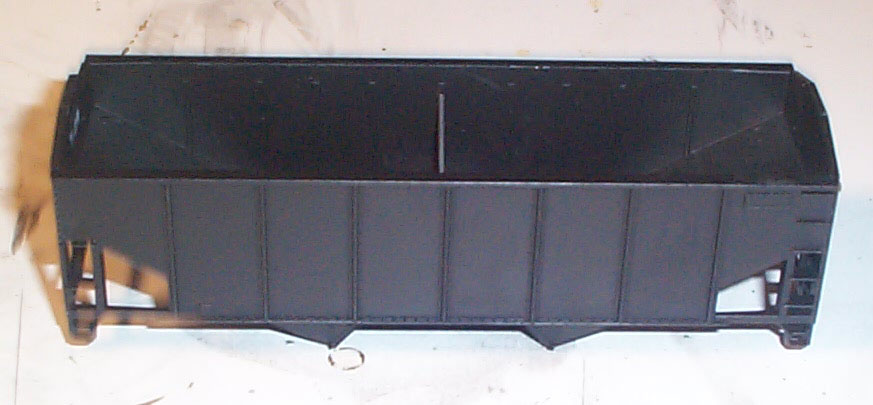
Below is a pic of the hopper painted black. Ready
for decaling.
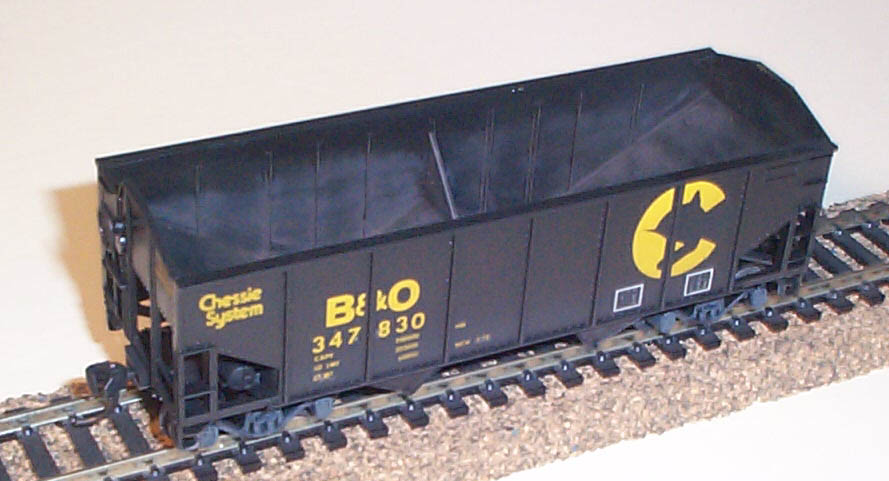
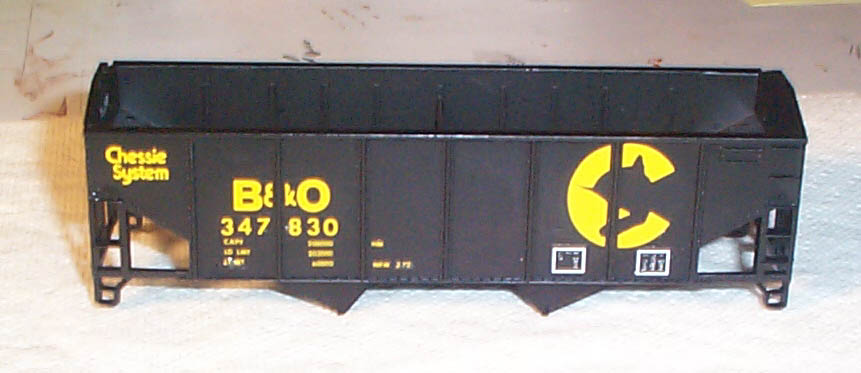
Below is the hopper with new Chessie decals.
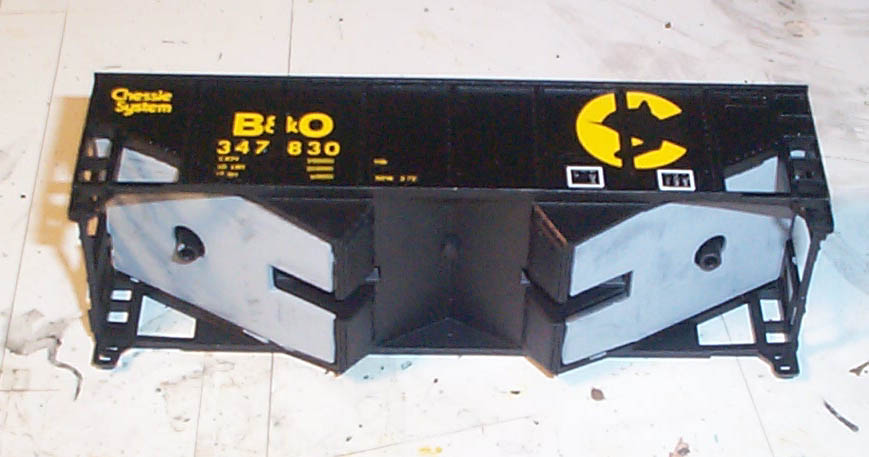
Below is a pic of the hopper with the weights added.
They have been primered and will be painted black.
Below is a pic of the finished car.