


Below is a George Elwood photo of the real unit I modeled.
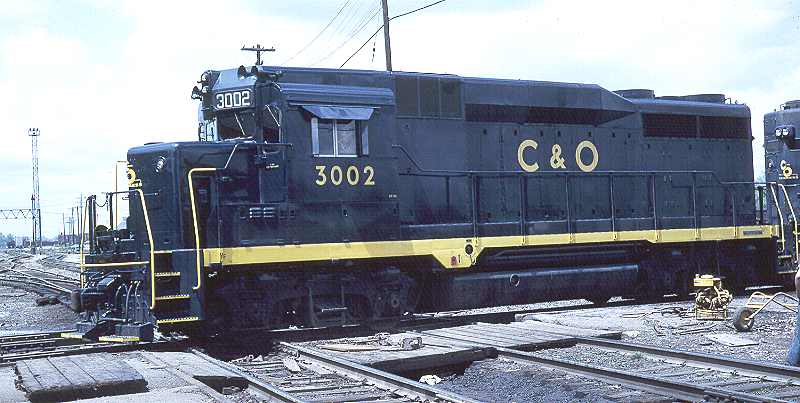
George Elwood Photo
How to make a Spectrum GP30:
1. Take the shell off the base.
2. Glue on the battery box cover, on the left front
of the shell. Glue on exhaust on top of the long hood.
3. Take the two horns and glue them in the slots.
Super glue them from the inside of the shell. Let them dry.
Then shave them off with a sharp knife. This will leave the pegs
filling the holes perfectly. Sand smooth.
4. Drill two new holes just ahead of the pegs you
sanded smooth for the two new horns.
5. Wash the shell with warm soapy water, rinse
thoroughly, set aside to dry.
6. Tape off the yellow sill area and paint the
shell C&O Enchantment Blue.
7. BASE: While the blue is drying you can weather
the base. Start with roof brown and streak the trucks and fuel tank.
Streak next with dark grey. Use several successively lighter shades,
unitl you are drybrushing with almost white. Do trucks more than
the fuel tank.
8. Tape around the yellow sill and paint it CSX
Yellow or Reefer Yellow. Both are good estimates of the C&O yellow
color.
9. Tape over the yellow sill you just painted and
paint the bottom edge of the shell and the long tube running along the
bottom of the shell C&O Enchantment Blue.
10. Spray the whole body with gloss coat.
11. Decal the kit like the above photo using the
Microscale B&O/C&O Hood Locomotives sheet. Do not put on
the numberboard decals yet.
12. Paint all of the vents and fans black.
Don't worry about being precise, just make sure all the crevices are filled
with black paint. Paint the numberboards black too.
13. Spray the flat black numberboards with gloss
coat and apply the numberboard decals.
14. Spray the entire locomotive with dull coat,
this helps in weathering. The dry brush will leave a nice effect
on dull paint, it won't on glossy paint.
15. Drybrush the vents with straight C&O enchantment
blue. Then drybrush the engine with successively lighter shades of
blue, unitl you are using almost pure light grey or white. Use less
and less of each lighter color. You should drybrush medium blue alot
compared to white. You want the white to be the final little bit
of highlighting.
16. Streak under the battery box with roof brown
and black. Do a little streaking along the whole yellow sill.
17. Paint the hand rails yellow where they should
be. Paint the step edges yellow too. See the pics for clarity.
18. Attach the hand rails. Drybrush the yellow
parts with blue to show some wear.
19. Attach the horns. I used a three chime
from an Athearn GE kit and the two chime is actually a three chime horn
from a Walthers kit that I trimmed off the rear facing third horn.
Glue them in from inside the shell.
20. Spray the whole locomotive with dull coat to
seal in all the weathering.
21. Put the "glass" in for the windows.
22. Snap the shell on the base. You are done,
enjoy your GP30.
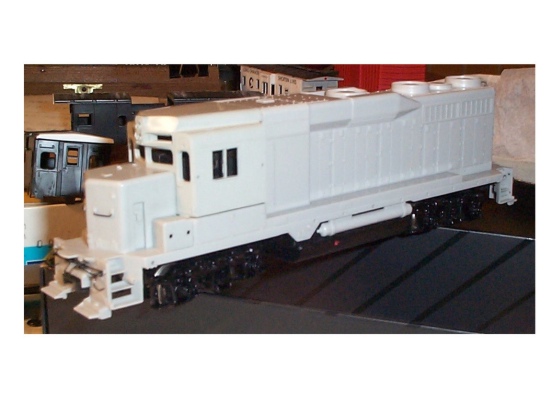
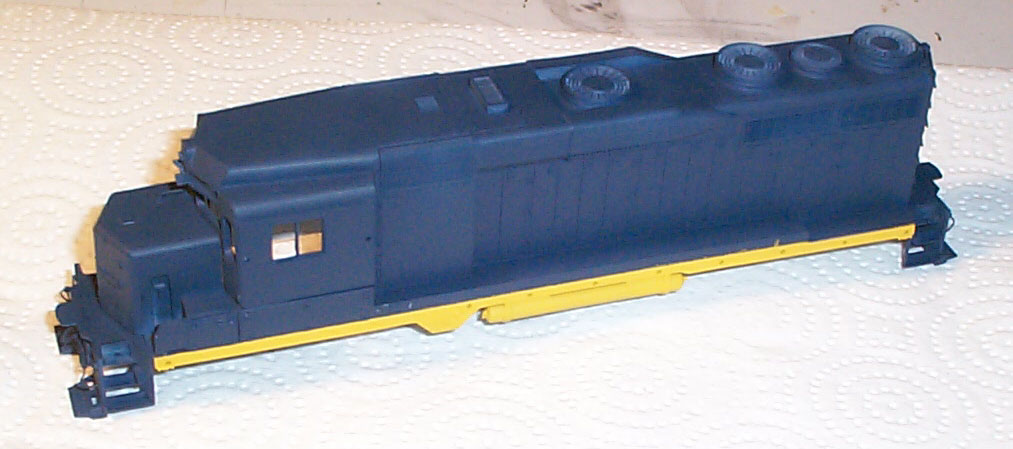
Below is a starting pic of my GP30.
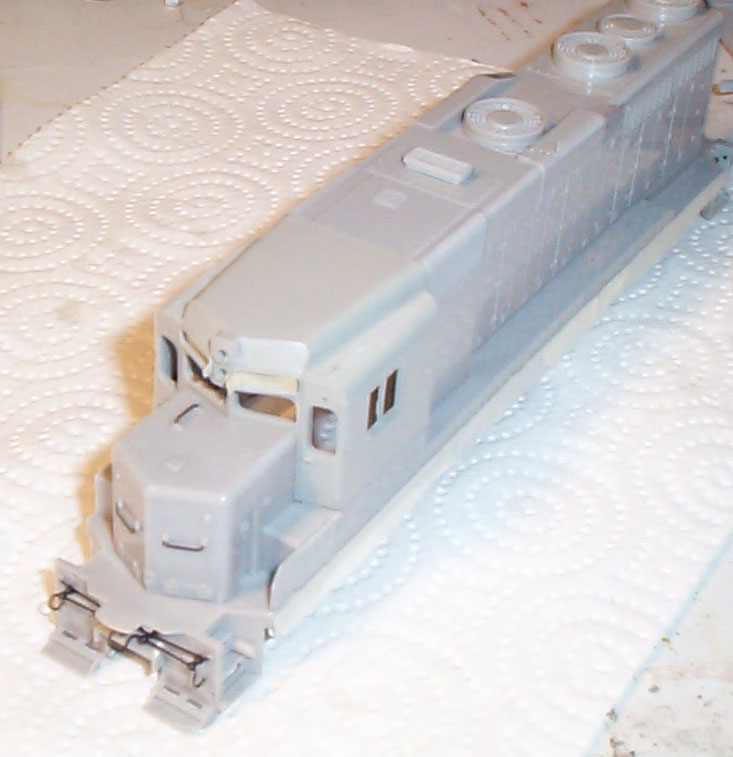
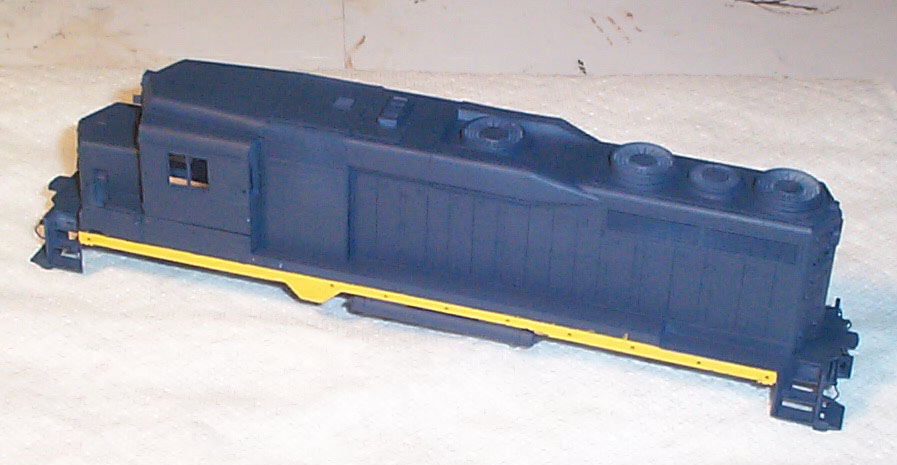
Below is a pic with steps 1-5 done. The new horn
holes are barely visible in front of the old pegs location. The right
pic is after the body has been painted blue. Notice the long tube
below the sill is not painted yet. For ease of taping I taped over
it when I taped the sill. This tube will eventually be dark blue.
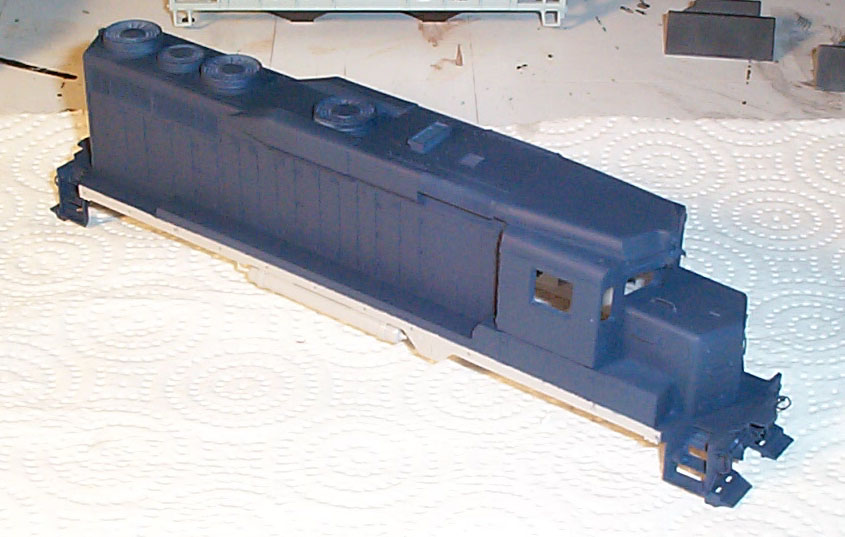
Below is a pic of 3002 with the side sills painted yellow.
The second pic is the inside and long tube have been painted blue.
You can just paint all the blue at once, but that makes taping around the
yellow sill more difficult. I just painted it twice since I was painting
blue on multiple projects at once. It was just easier for me.
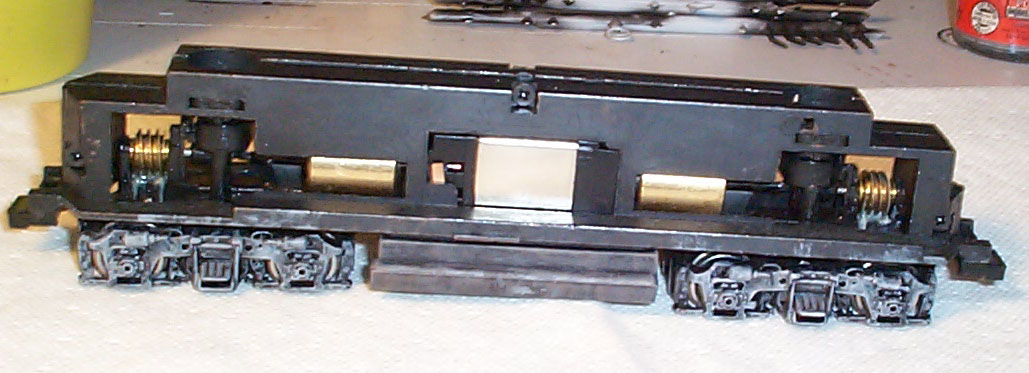
Below is the base for 3002 complete and ready to run.
I did not paint the trucks or fuel tank blue. They are actually blue
when originally painted, but the road grime gets on them so quickly, that
they actually appear dark grey to light grey in all the photos I have seen.
So, keeping them black, and drybrushing them shades of grey makes for a
very prototypical look.
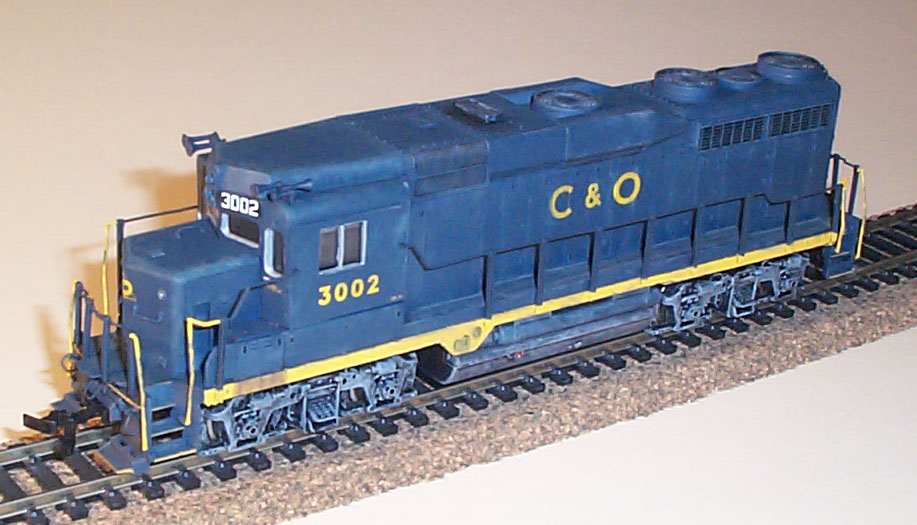
Below is 3002 with the decals applied (minus the numberboard
decals). The vents have all been painted black and drybrushing is
about to begin. In the back ground you can see the front hand rails
have been painted yellow where they need to be.
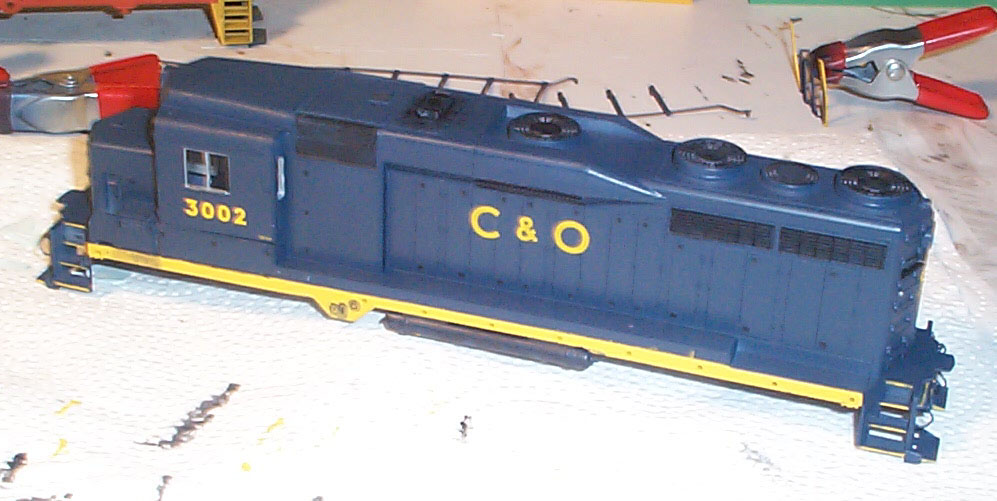
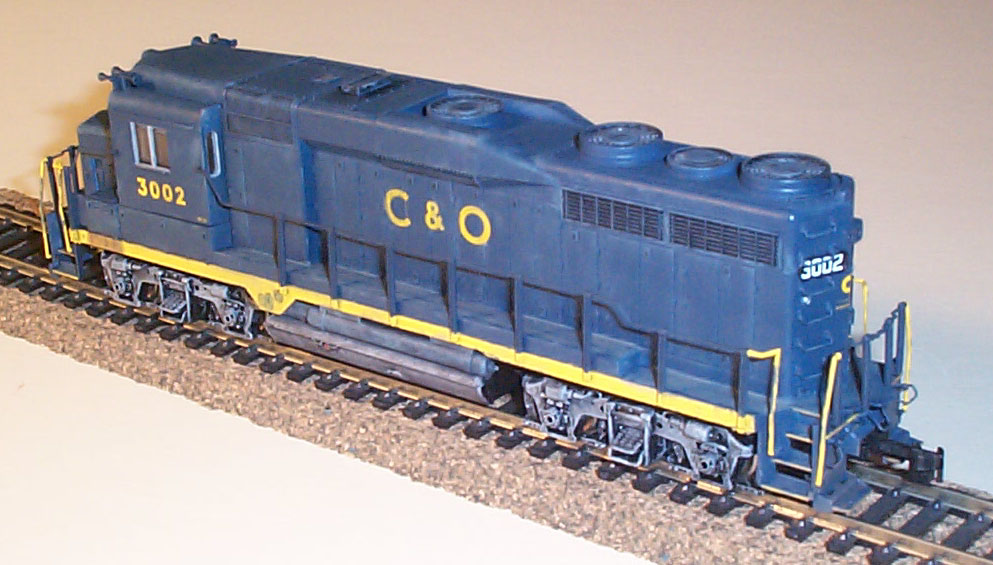
Below is a side view of 3002. Notice the yellow
handrails have been slightly weathered to show where people handle them.

Below is a semi-top view of 3002. Notice the streaked
area under the battery box. This is always the case with locomotive
batteries.
Below is a back view of 3002. Notice the C&O
logo is on the back too.
Below is a top view that shows the horn placement and
fan detail nicely. By painting the fans black first, and drybrushing
the raised detail, they really look like they are deep. Also notice
the slight wear on the walkway. Dirt and dust does accumulate there.


