The Front Range (or sometimes sold under the McKean brand name) ACF covered hopper is the best kit on the market for Chessie's small ACF covered hoppers. Front Range is unfortunately out of business, but you can still find their kits on eBay and at Train Shows.
Below are two pics of HC-44 class ACF covered hoppers.
The first shows how they looked in the Chessie Era. The second is
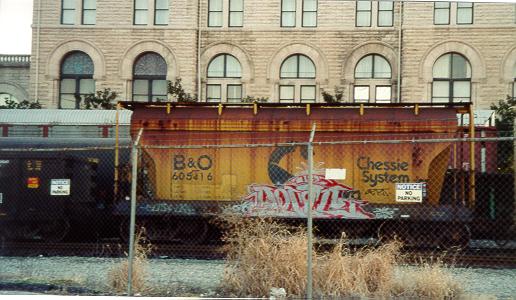
a pic of the exact car I am doing. My pic was taken in 2000 shows
much more rusting and streaking then any normal HC44 had during the Chessie
Era.
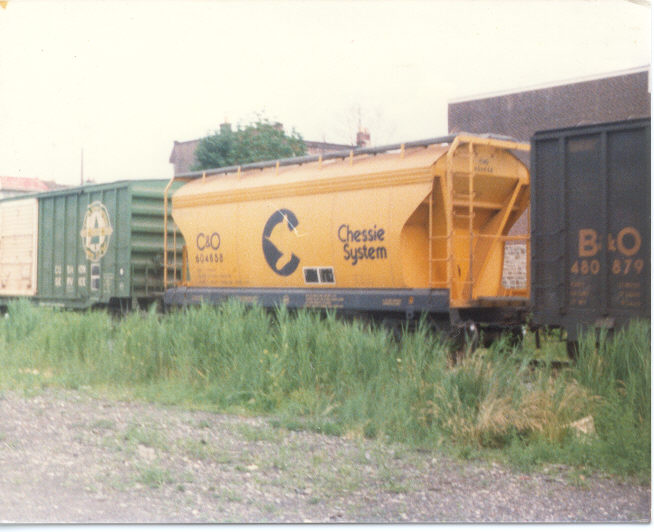
Dean Heacock photo
Jeff Hanke photo
How to:
1. Remove the kits from the box. My kits
were bought second hand so they already had the ends glued on. If
you find this to be the case with your kit then it is best to make WM kits
out of them. If not, a modification to better approximate HC-44s
can easily be made. This involves cutting the shell some, and will
not be done with this article. See a future article on this in the
coming months. Mine also came with 8 half ounce weights (4 total
oz.) glued into them. This is a good idea, since the Front Range
kits tend to be very light. You can see the weights in one of the
pics below.
2. Paint the tops and shells UP Armor Yellow.
No need to paint the bottom of the shell it will eventually be blue and
black.
3. Paint the stripe along the bottom C&O Enchantment
Blue. Only the side sill needs to be painted, the bottom will be
painted black.
4. Paint the bottom of the car black. There
is some debate whether or not the bottoms of these cars were blue or black.
I paint them black since it makes a better base color to drybrush over.
The bottoms of these cars quickly accumulated road grime and dust.
That lead to a dark grey or even light grey looking bottom. The black
base, when drybrushed with light greys, looks very prototypical.
5. Spray the cars with gloss coat
6. Apply decals as per the prototype picture above.
I used the Champ Chessie Jumbo Covered Hopper set for the B&O car and
the Herald King Large ACF Covered Hopper set for the WM car.
7. Paint the walkways black. When dry, lightly
sand them (with 400 grit sandpaper)to expose the raised detail. Drybrush
the raised detail silver.
8. Drybrush the bottom of the car and the trucks
with dark grey and light grey. Attach the trucks and couplers.
9. Spray the bottom 1/4 of the car with an overspray
of light grey and tan. This simulates some road grime. I didn't want
to over due the weathering on these cars. Not every car is filthy,
so make sure some of your cars look relatively clean.
10. You are done. Enjoy your covered hoppers.
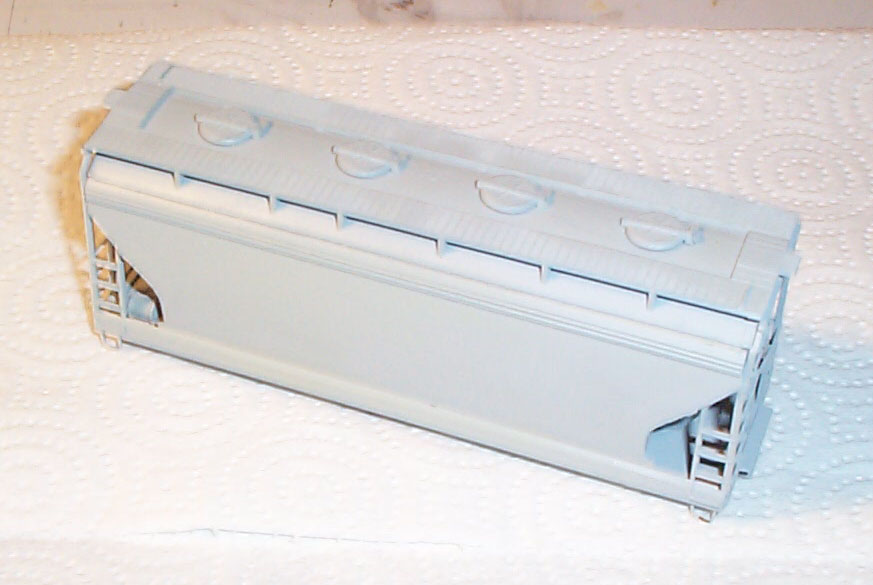
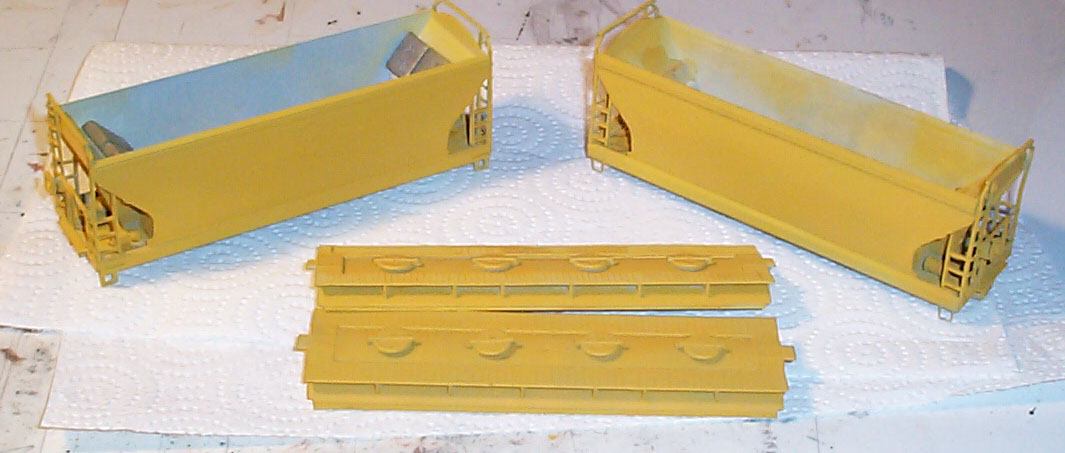
Below is a pic of one of the ACF's right out of the box.
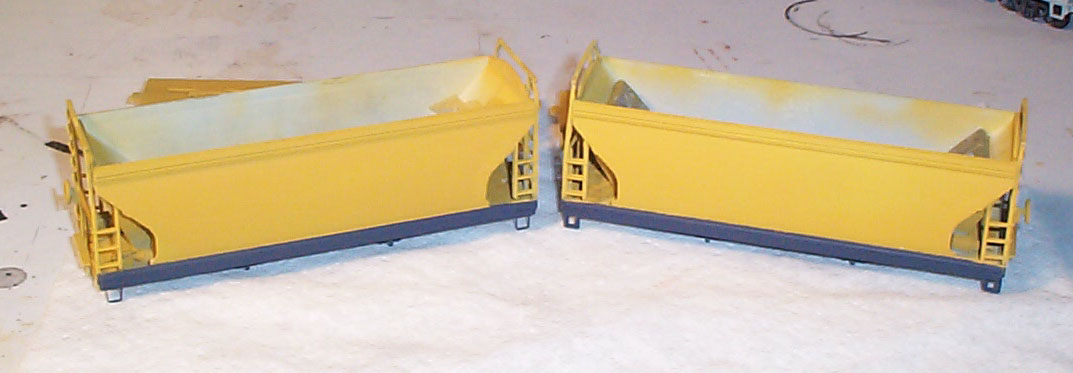
Below is a pic of the two ACFs painted UP Armor Yellow.
Below is a pic of the two ACFs with the blue stripe painted
on.
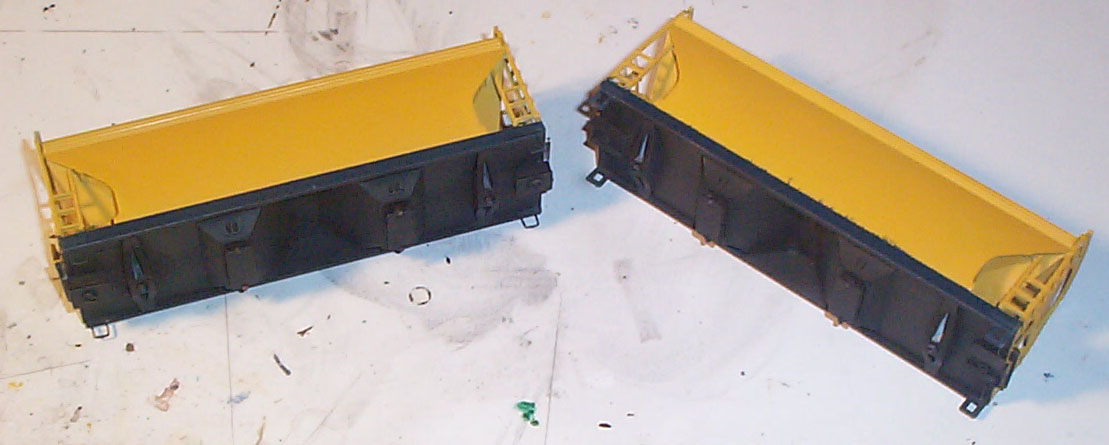
Below are the two covered hoppers with the bottoms painted
black. Feel free to paint yours blue if you want, I just like the
look of the black better. After drybrushing it looks more realistic
to have the black base instead of the blue.
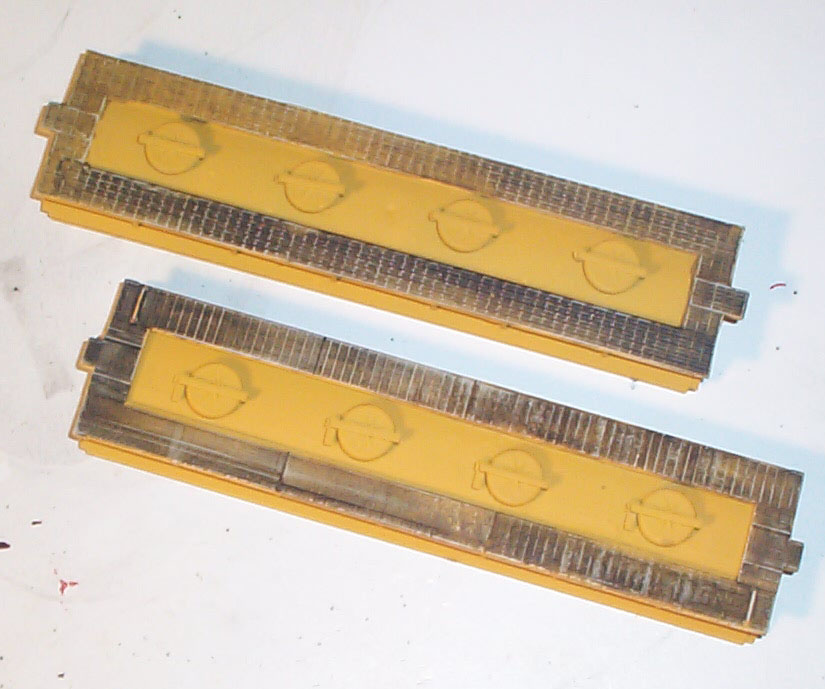
Below is a pic of the two tops, they have been painted
black and had the raised detail slightly sanded. Next up is to drybrush
the walkways silver.
Below is a slightly out of focus view of the two cars.
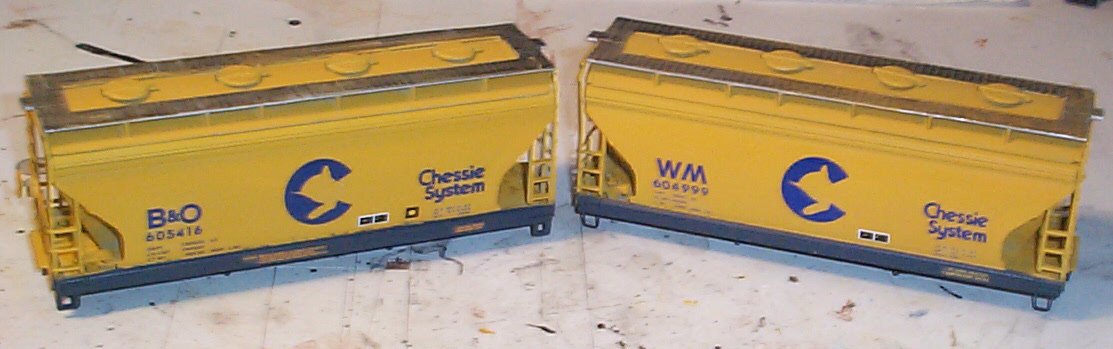
The walkways have been drybrushed silver and all the decals have been applied.
Notice that the B&O car has a wheel inspection dot and the WM does
not.
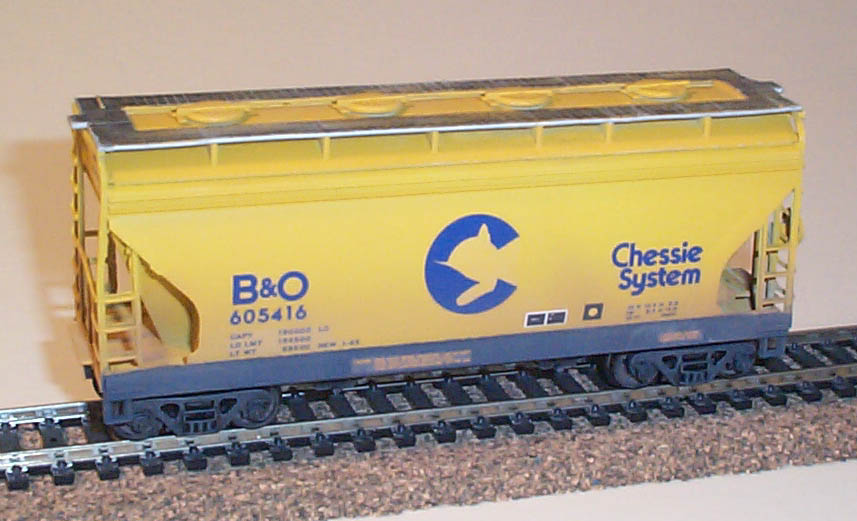
Below are the finished pics of the two ACFs.