Athearn makes a fairly good kit of such a hopper. You will need to paint a few things the right color, and it will be ready to hit the rails. The "Western Maryland" logo should stretch all the way to the end of the car. If you want to extend the lines with black decal strips, that would look more accurate.
Below is an actual pic of a grey WM hopper. It is
a Dean Heacock photo of a similar class of grey WM hopper. It is
not exactly like the one I am doing, but it shows the grey paint job.
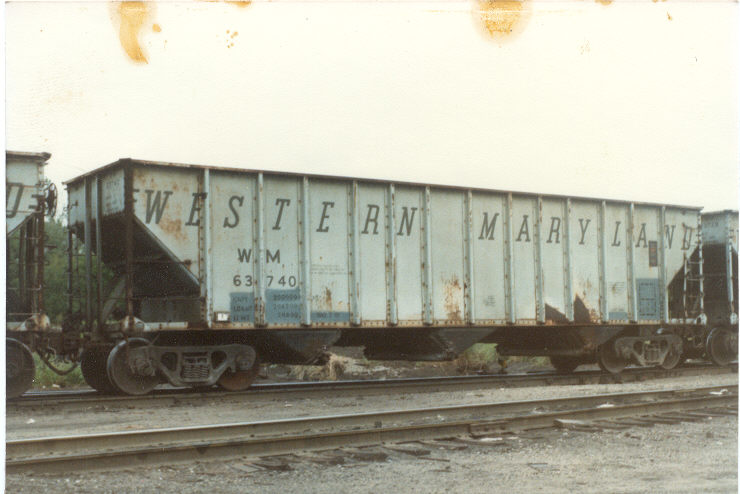
Dean Heacock photo
How to:
1. Remove the kit from the box. Spray with
gloss coat.
2. Add the consolidated stencil decal on each side.
3. Spray with dull coat.
4. Super glue the weights to the bottom.
Paint them with enamel grey primer. Primer is so close to the real
color of the hopper you may or may not want to repaint it with reefer grey.
5. Paint the brake wheel, hopper doors and frame
reefer grey.
6. Assemble the car as per instructions.
Paint the wheel faces rust colors.
7. Weather with drybrushing of reefer grey mixed
with white. This should give the lettering a nice faded look.
Streak the sides with rust. Dry brush the bottom of the car with
dirt and rust colors. Drybrush the inside with rust and grey colors
mixed with a little black.
8. Overspray the bottom 1/4 of the car with tan
and light grey to simulate road grime.
9. Seal the car with dullcoat.
10. You are done, enjoy a unique WM hopper.
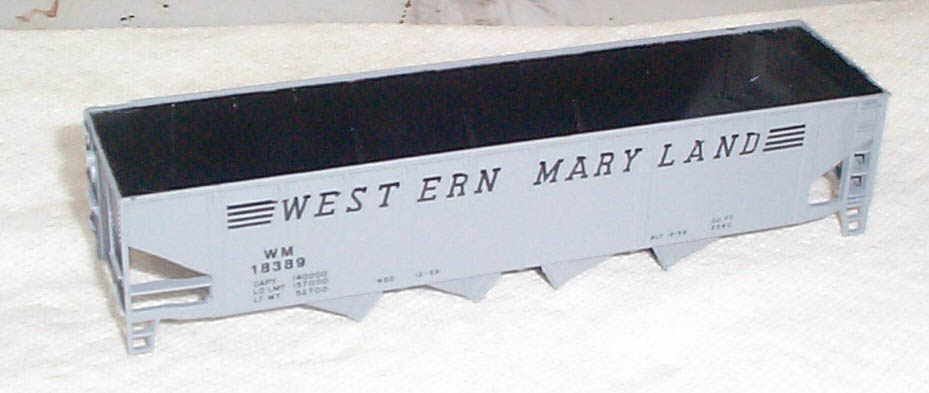
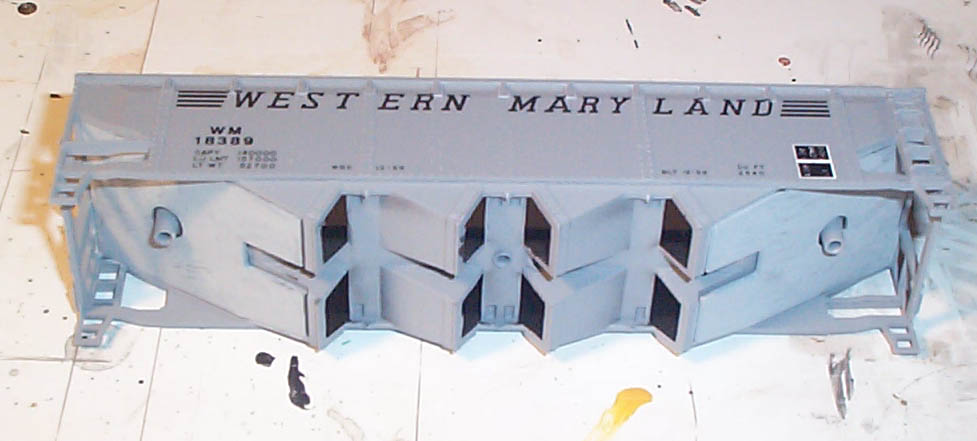
Below is a pic of the WM hopper right out of the box.
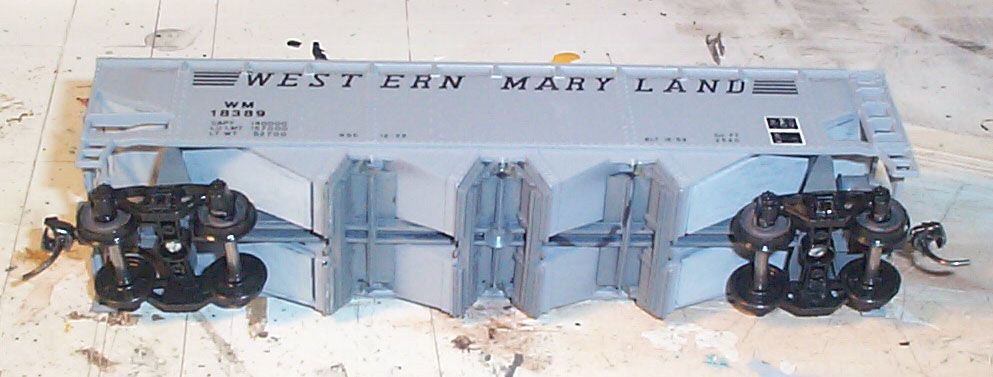
Below is a pic of the WM hopper with the weights added
and primered.
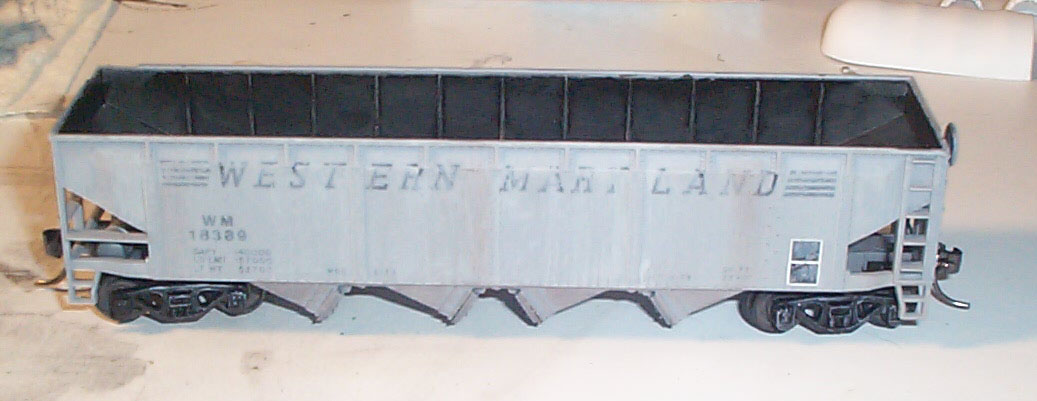
Below is a pic of the WM hopper fully assembled and ready
to get weathered. Notice that the grey door and frame are a little
darker than the hopper. This won't matter once it is weathered.
Plus, all of these parts are on the bottome of the car, so they won't be
seen much. The wheel faces have also been painted rust colored at
this stage.
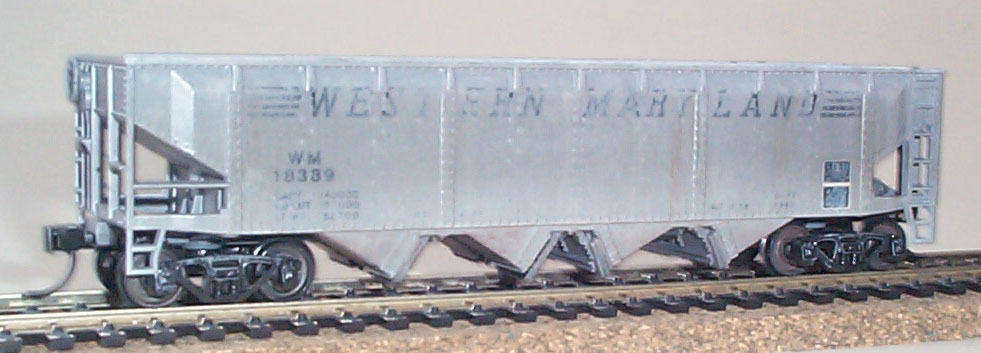
Below is a pic of the WM hopper after it has been streaked
with shades of light grey and rust.
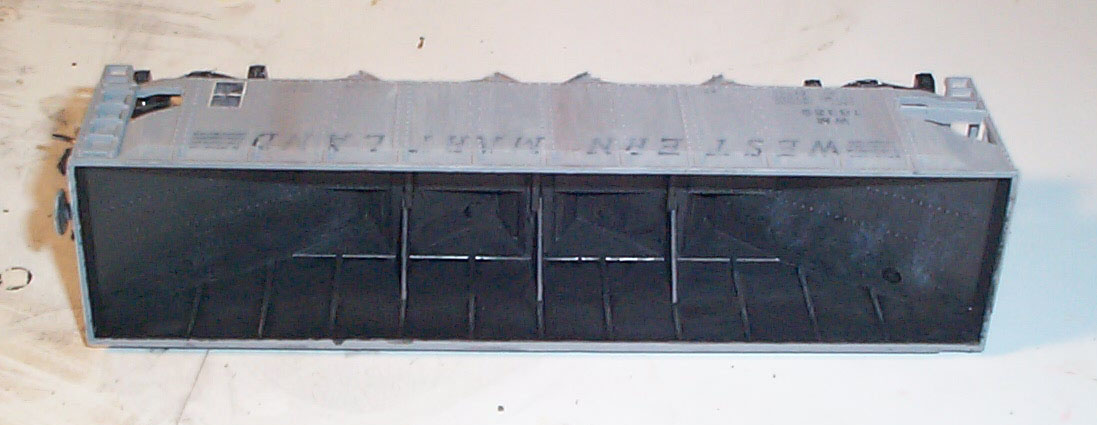
Below is a pic of the WM hopper with the inside weathered.
The pic shows how drybrushing a mixture of black, light grey and rust colors
bring out the interior surface detail nicely. This is a good representation
of how hopper insides look after years of service. They are not solid
black, like you might think.
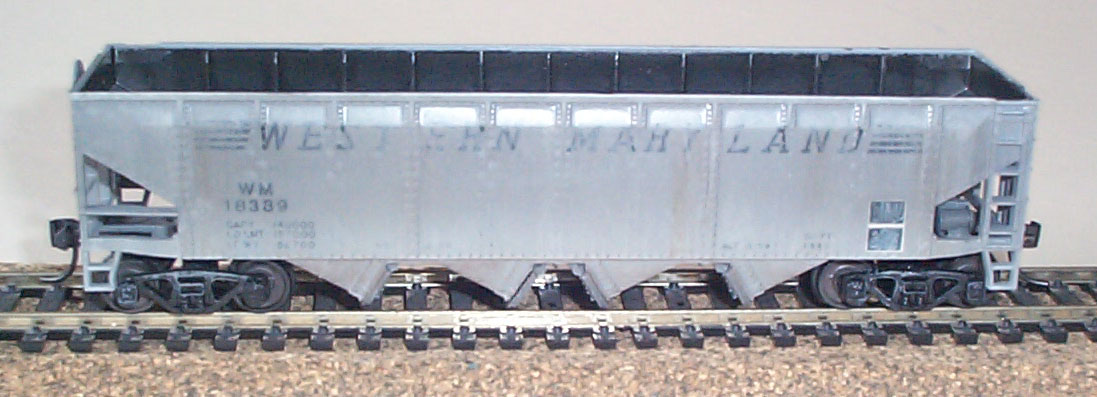
Below are pics of the finished hopper. This hopper
project is not intended to produce a perfect WM grey hopper. It is
intended to show you how to hide the inaccuracies of the Athearn kit and
make it acceptable. The flash on the camera made this car appear
glossier than it really is. Your hopper should have a flat finish.