


The kit I got was purchased as a second hand kit at a train show for $2. It was painted boxcar red already and had dry transfer markings for the Louisville & Nashville (L&N). This project can just as easily be done with an undecorated Athearn kit.
Below is a pic of the real red MofW gon I am doing.
(( Need to insert pic here)) Click on this link
for now (http://gelwood.railfan.net/other/wm/wm950448n.jpg)
to see it on the fallen flags site.
How to:
1. Purchase an undecorated Athearn gondola kit.
2. If you get one second hand, like mine, strip
off all the old markings. My markings for the L&N were dry transfers
and came off easily with masking tape.
3. Paint the car special oxide red.
4. Paint the areas around the number repaint and
the consolidated stencil black on both sides. Also paint a black
rectangle on each end for the numbers.
5. Spray the car with gloss coat.
6. Apply Herald King WM gondola decals. I
got mine at the same train show I got the kit. You can find them
occassionally on eBay.
7. Apply spare roman font numbers "950448" on the
black squares. Apply the consolidated stencils on the black squares
painted earlier. I use Champ decals, but any would do. Also
apply the wheel dot inspection decal. I use the Microscale one.
8. Spray the car with dull coat.
9. Lightly streak down from the white letters with
white paint. See prototype photo for the exact look.
10. Weather lightly with dark grey along the bottom.
Weather the inside of the gondola heavily with rust, black, and tan colors.
11. Assemble the car as per the directions.
12. Paint the wheel faces rust colors.
13. Put just enough diluted white glue on the inside
of the gondola to cover the bottom. Sprinkle in fine dirt.
I use the sweepings from under the door mat. Only use the dirt that
is the consistency of baby powder. This is a wheel carrying gondola,
so it won't have as much trash in it as a regular gondola would.
You can actually add wheels in this car if you want it to look like it
is carrying a load.
14. Spray the whole car, inside and out with dull
coat. You are done, enjoy your gondola.
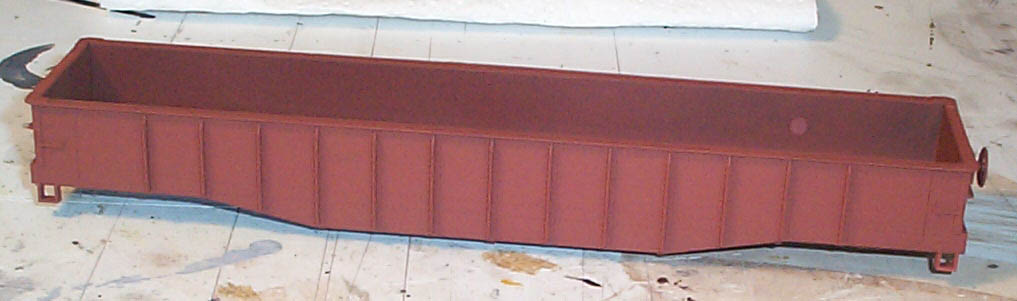
Below is a pic of the car out of the box. Some of
the old L&N lettering is still visible.

Below is a pic of the gondola repainted special oxide
red. I did not bother to repaint the interior since it will be rusty.
The original box car red color (seen above) is too brown for the WM color,
but once I dry brush and weather the inside, no one will ever be able to
tell that I didn't paint it.
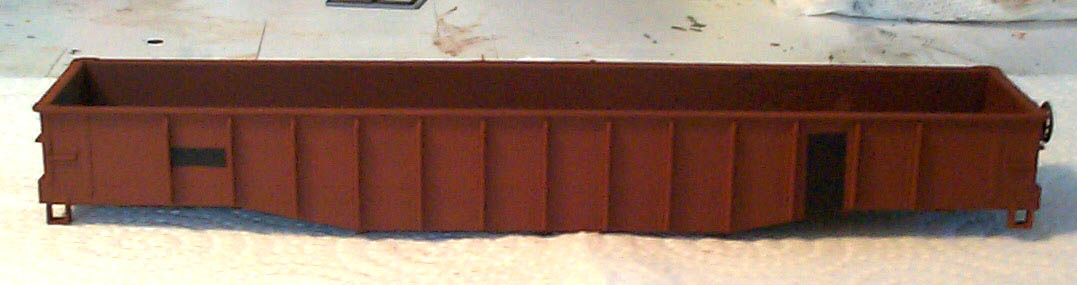
Below is a pic of the two areas on each side painted black.
The one on the left will eventually have the road number on it and the
one on the right is the background for the consolidated stencil.
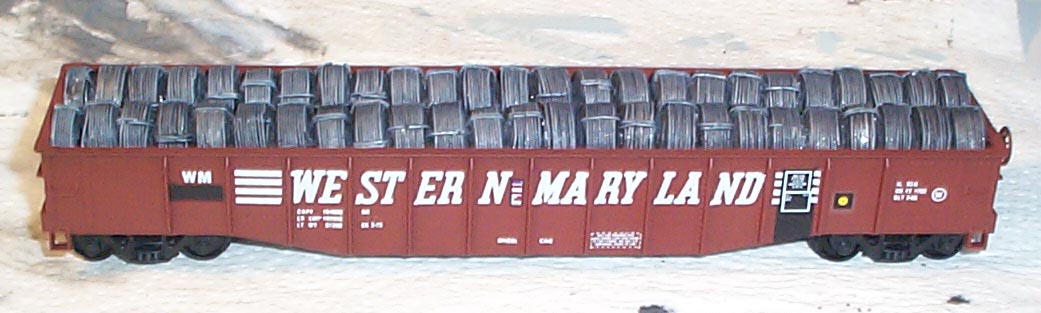
Don't mind the coil load in the car, but the pic of the
car itself shows the car with the decals on (except the road #).
I took this pic to demo how to make a coil load for another project and
just used this MofW wheel car as a stand in.
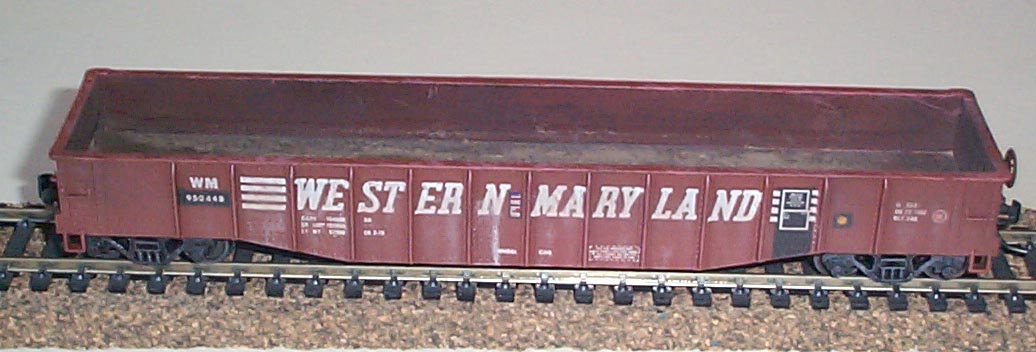
Below is the finished car. Note that there is no
coil load. This car was used exclusively to haul railroad wheels
around the system. You can barely see where it says "Wheel Car" at
the bottom middle of the car. Keep the dirt light on the inside of
the car, as this gondola is not in normal service and did not get loads
of trash and garbage in it, like a regular gondola.


