 |
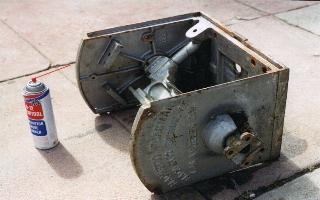
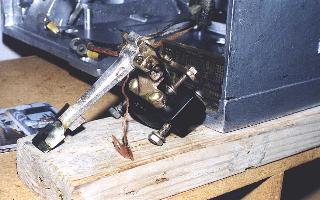
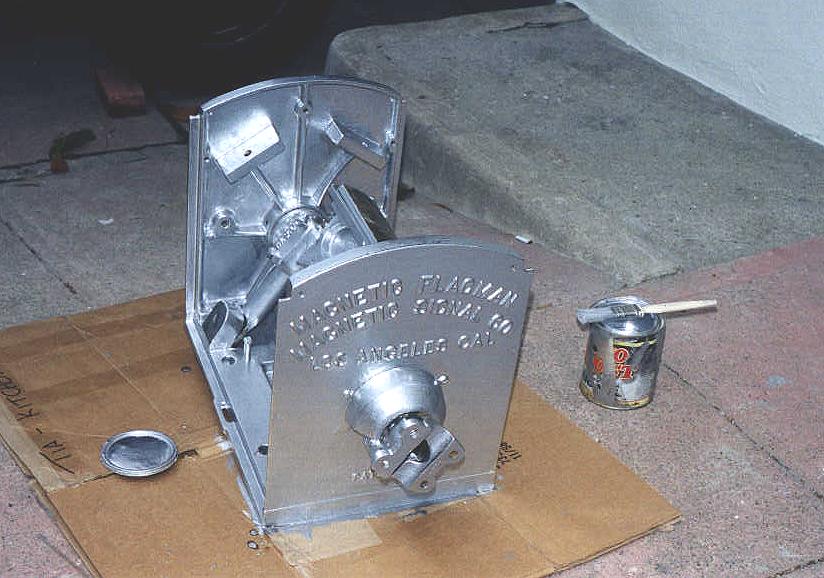
Carb cleaner worked miracles on
the grease build-up! It also lifted some of the old paint. Paint thinner
can also be used as a de-greaser. |
|
|
 |
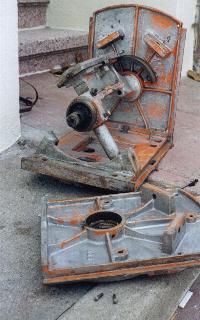
Next, lots of scraping, wire brushing
and cleaning. Lots of time can be saved if you have a bead or sand blaster.
I wasn't so fortunate. Jasco paint remover does a good job of removing
all paint as well. |
|
|
 |
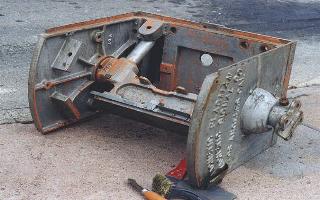
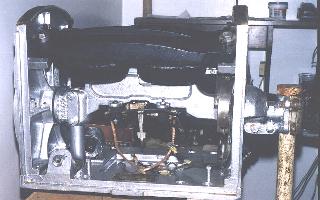
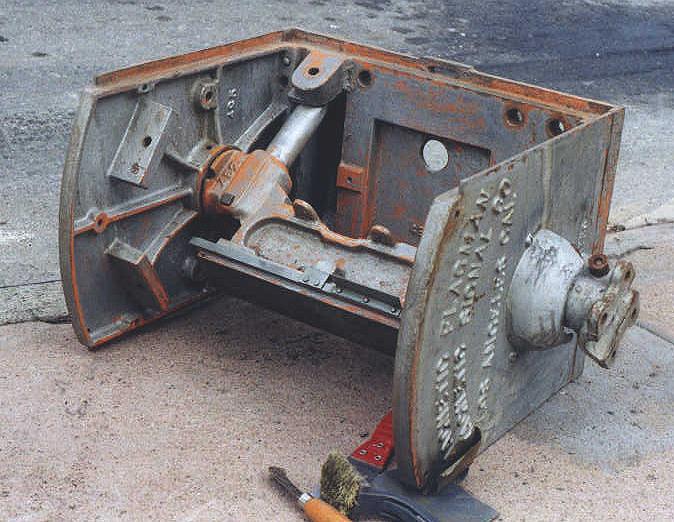
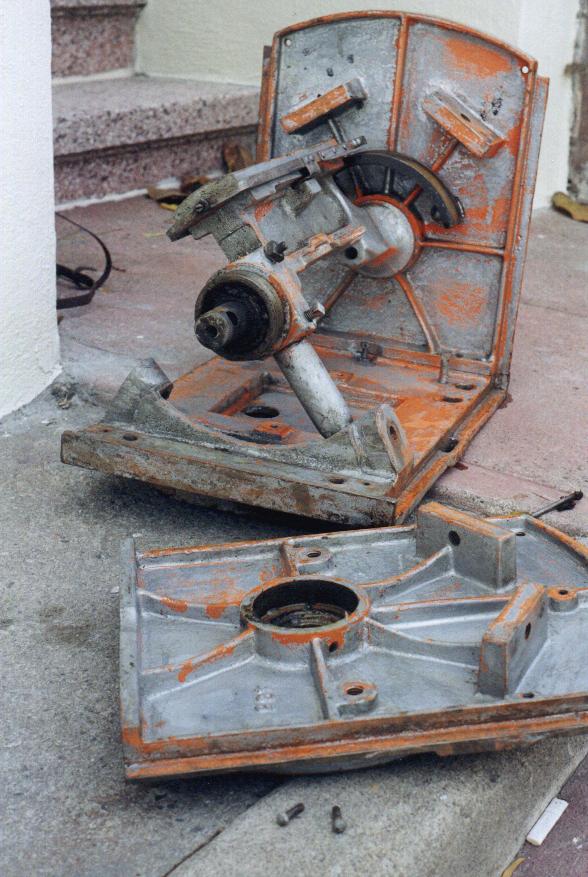
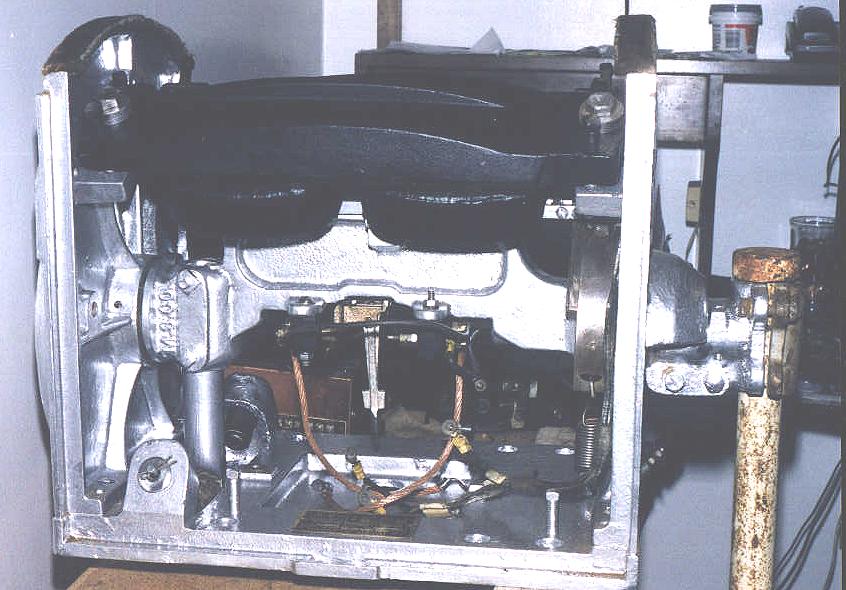
The front and back face plates
are also removable. There are pins that hold them in place, in addition
to the bolts. The rear plate came off with no problem. In order to remove
the armature from the front face plate, the flag holder casting would need
to be removed. I just didn't have the tools for that. The roller bearings
on this one were in good condition, therefore it was not necessary to get
that deep into it. In the photo above, you can see the roller bearings
at the end of the armature. Re-grease with a heavy bearing grease. |
|
|
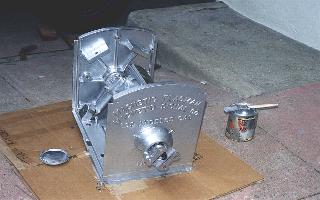 |
First coat of silver oxide. I chose
not to strip this one down to bare metal. I left the original primer on
it, and just painted over it. Had I sandblasted it, then it would need
a coat of primer first.
Note:
On more recent projects I have
found that it is better to remove ALL paint, prime with a good rusty metal
primer, then apply your silver paint. Lately I've been using a rust-proof
aluminum spray paint, then applying a light coat of Krylon Bright Silver. |
|
|
 |
Movable finger contact after disassembly
and polishing. |
|
|
 |
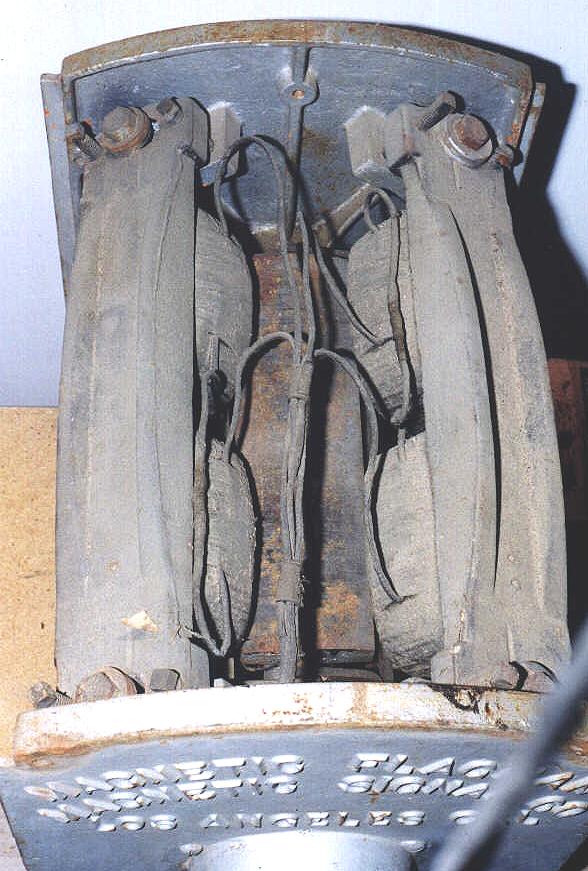
After replacing magnets, bracket
supports (under armature) and movable finger contact. Notice that the flexible
ribbon cables have been cleaned up. |
|
|
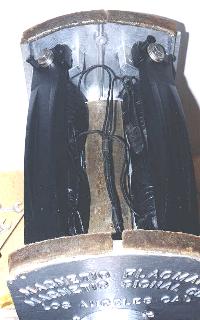 |
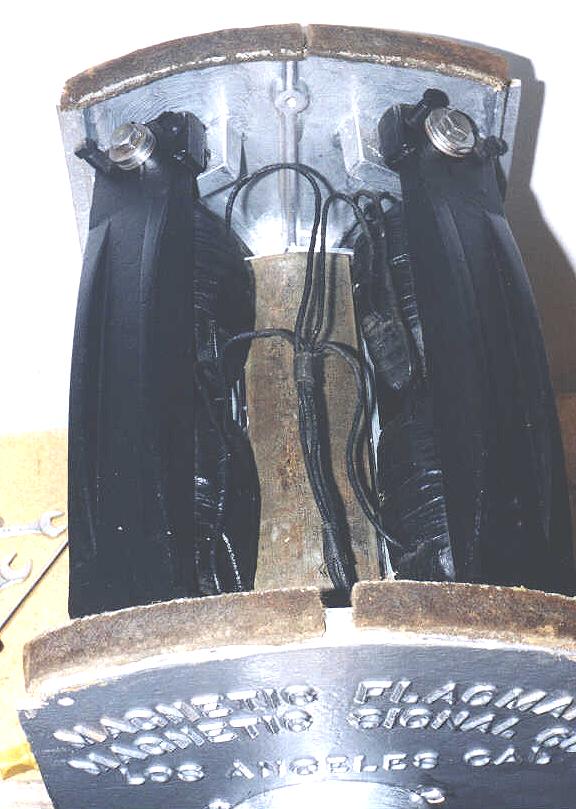
Close up of repainted magnets...
Compare with
the first photo!
Those are the original felts on
top of the face plates. Make sure that they are there before replacing
the roof. |
|
|
 |
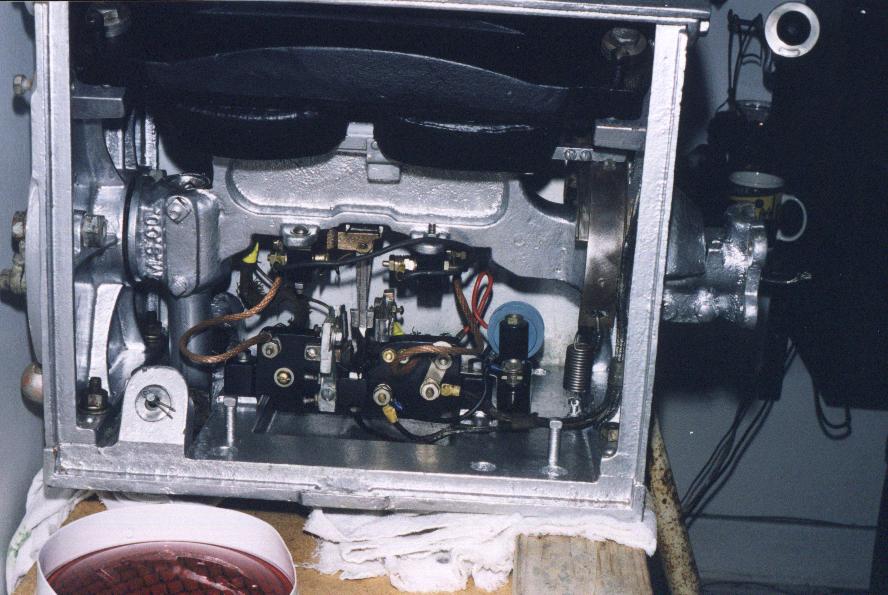
The terminal board has been replaced,
re-grease where the lower part of the finger contact makes contact with
the terminal board (the "diamond"). This is where that loud "click" sound
comes from. Make sure that the stationary contacts have been cleaned up.
This is where the magnets get their juice to run. If the contacts are still
dirty, the wigwag won't operate properly. |
|
|
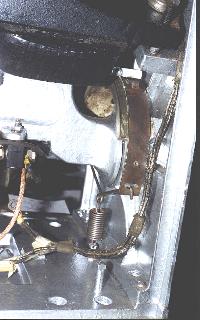 |
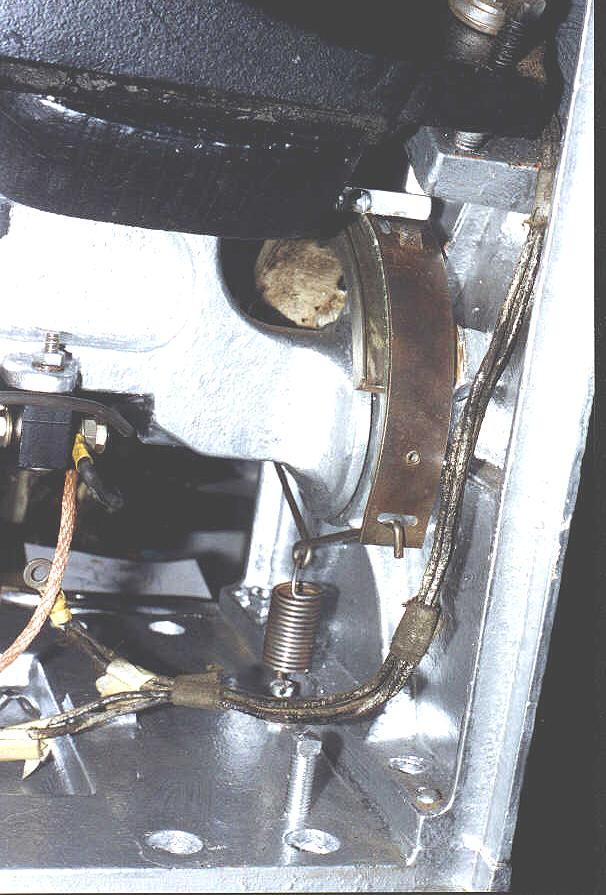
The brakes...cleaned up.
To tighten them, just adjust the
screw that holds the spring in place. The banner should come to a near
(but not dead) stop when power is cut off. |
|
|
|
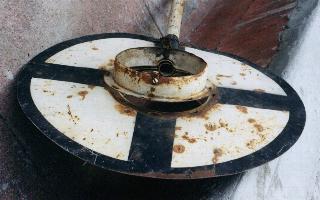
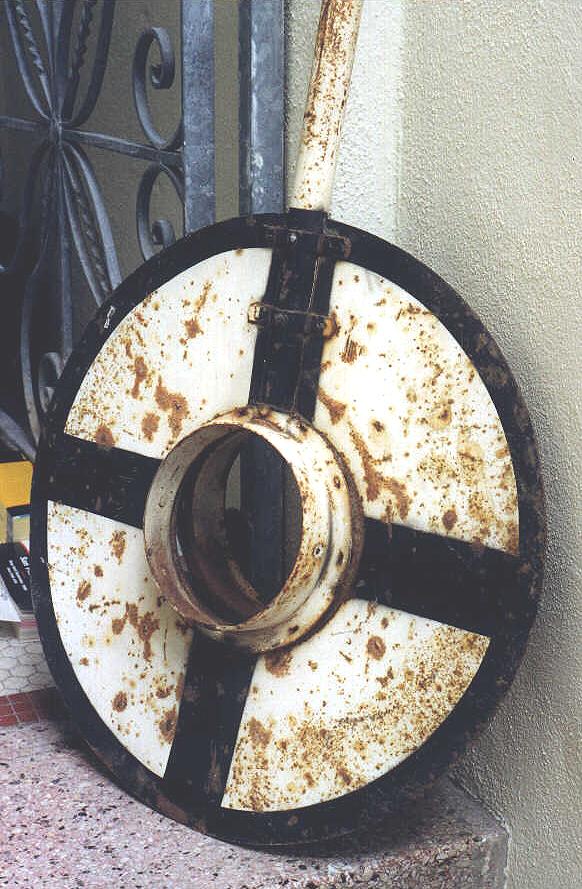
The Banner...
|
|
 |
If you think that the motor box
restoration is a lot of work, wait 'til you get to the banner. This will
be the most noticeable part of your restoration effort. Take your time
with this part of the job. |
|
|
 |
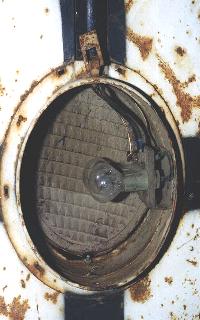
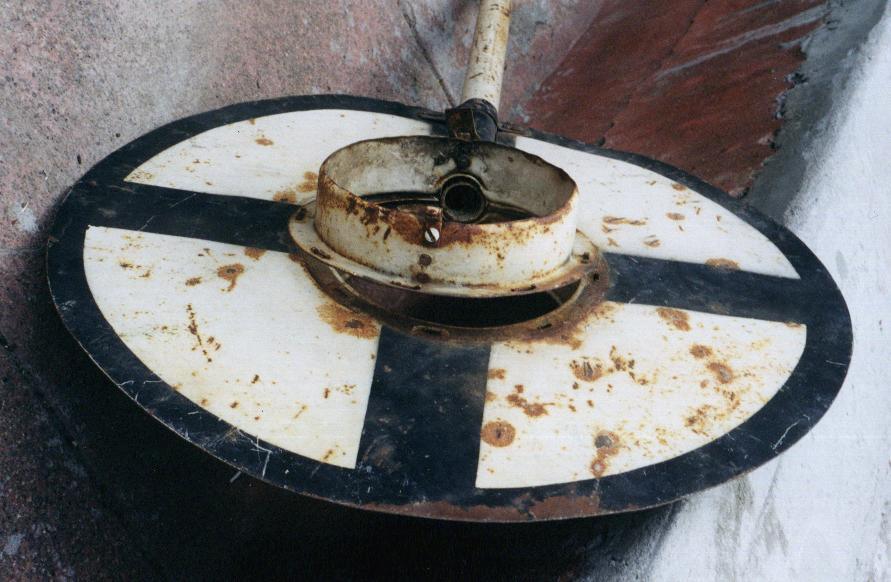
The biggest problem with this banner
was that the light housing was starting to separate from the disk. They
were held together by metal stampings (similar to split rivets)...no screws
or welds. Rather than inserting nuts and bolts to hold it together (the
way you are supposed to), I chose to use PC-7 metal epoxy. It worked great.
Just make sure to let it dry over night. By using epoxy, I was able to
maintain the original appearance of the banner. |
|
|
 |
You may have to spend some time
hammering out dents and bullet holes! Do this before applying the epoxy.
If the light cups were bolted on, then you should disassemble them at this
point.
|


