


|
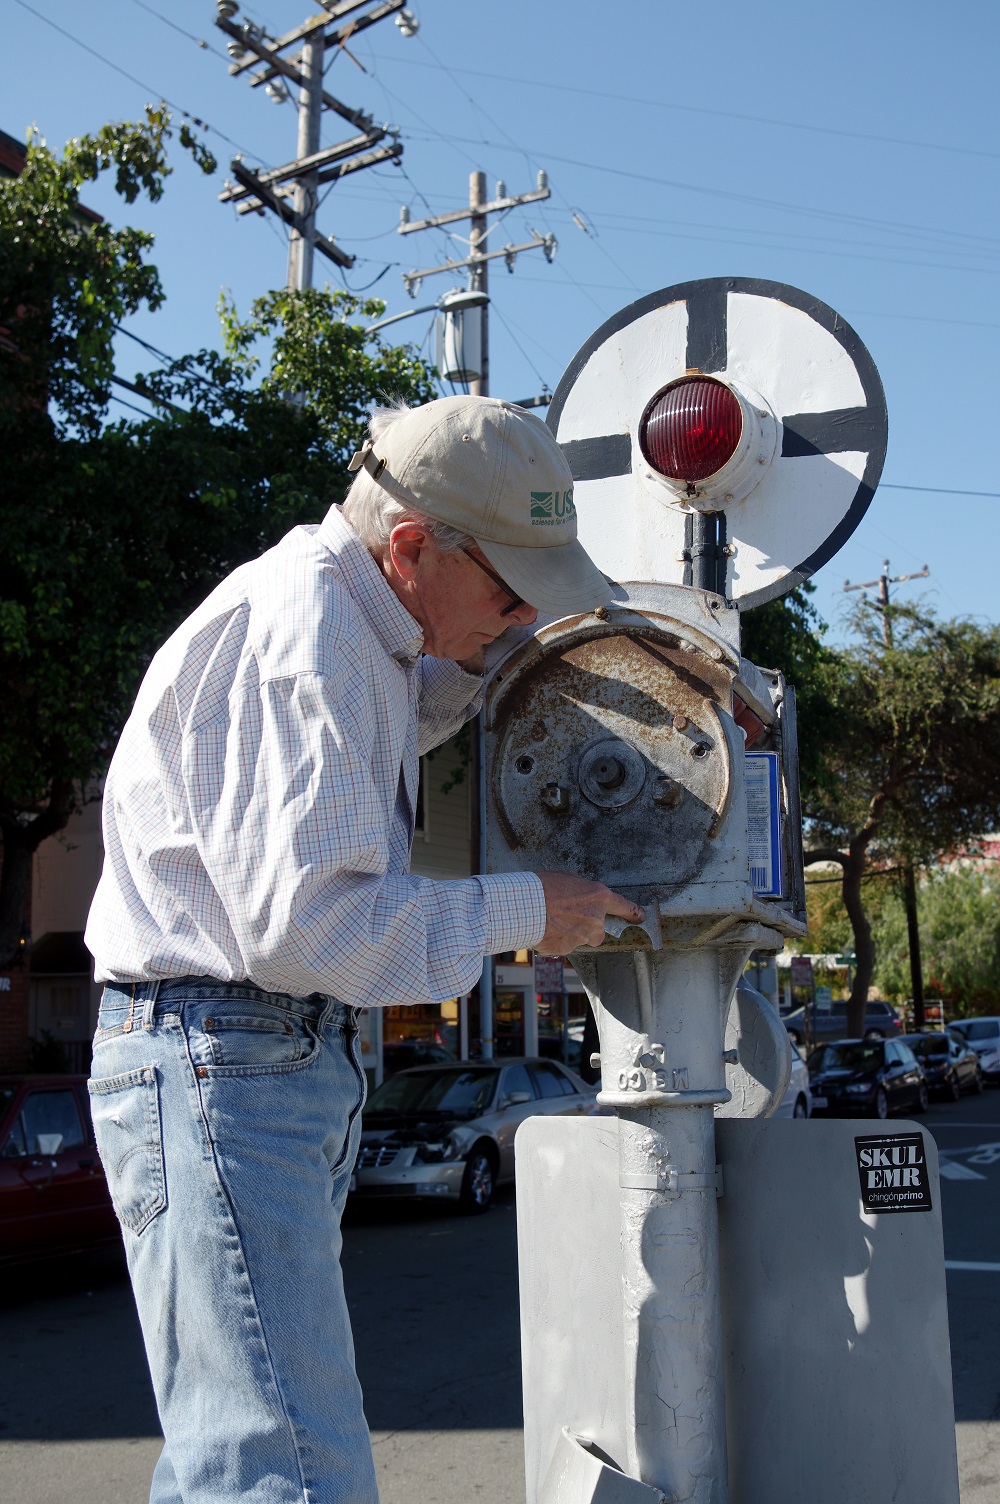
On 9/29, me and Don showed up at
the site to remove the "guts" to both wigwags. Guts - being all electrical
and brake components. I also swapped out the bell cover, side doors and roof
castings with my own so that I could work on restoring all of these parts
off-site. I was able to locate some replacement parts that are either missing
or too worn out, such as the brake arms (missing on both wigwags), a new
finger contact and one stationary contact for the south wigwag, a door lock
latch, and a lens hood. Thanks to Dave Newell and Matt Lasayko for making
these parts available. Below are some photos of the parts being removed and
restored...
|
|
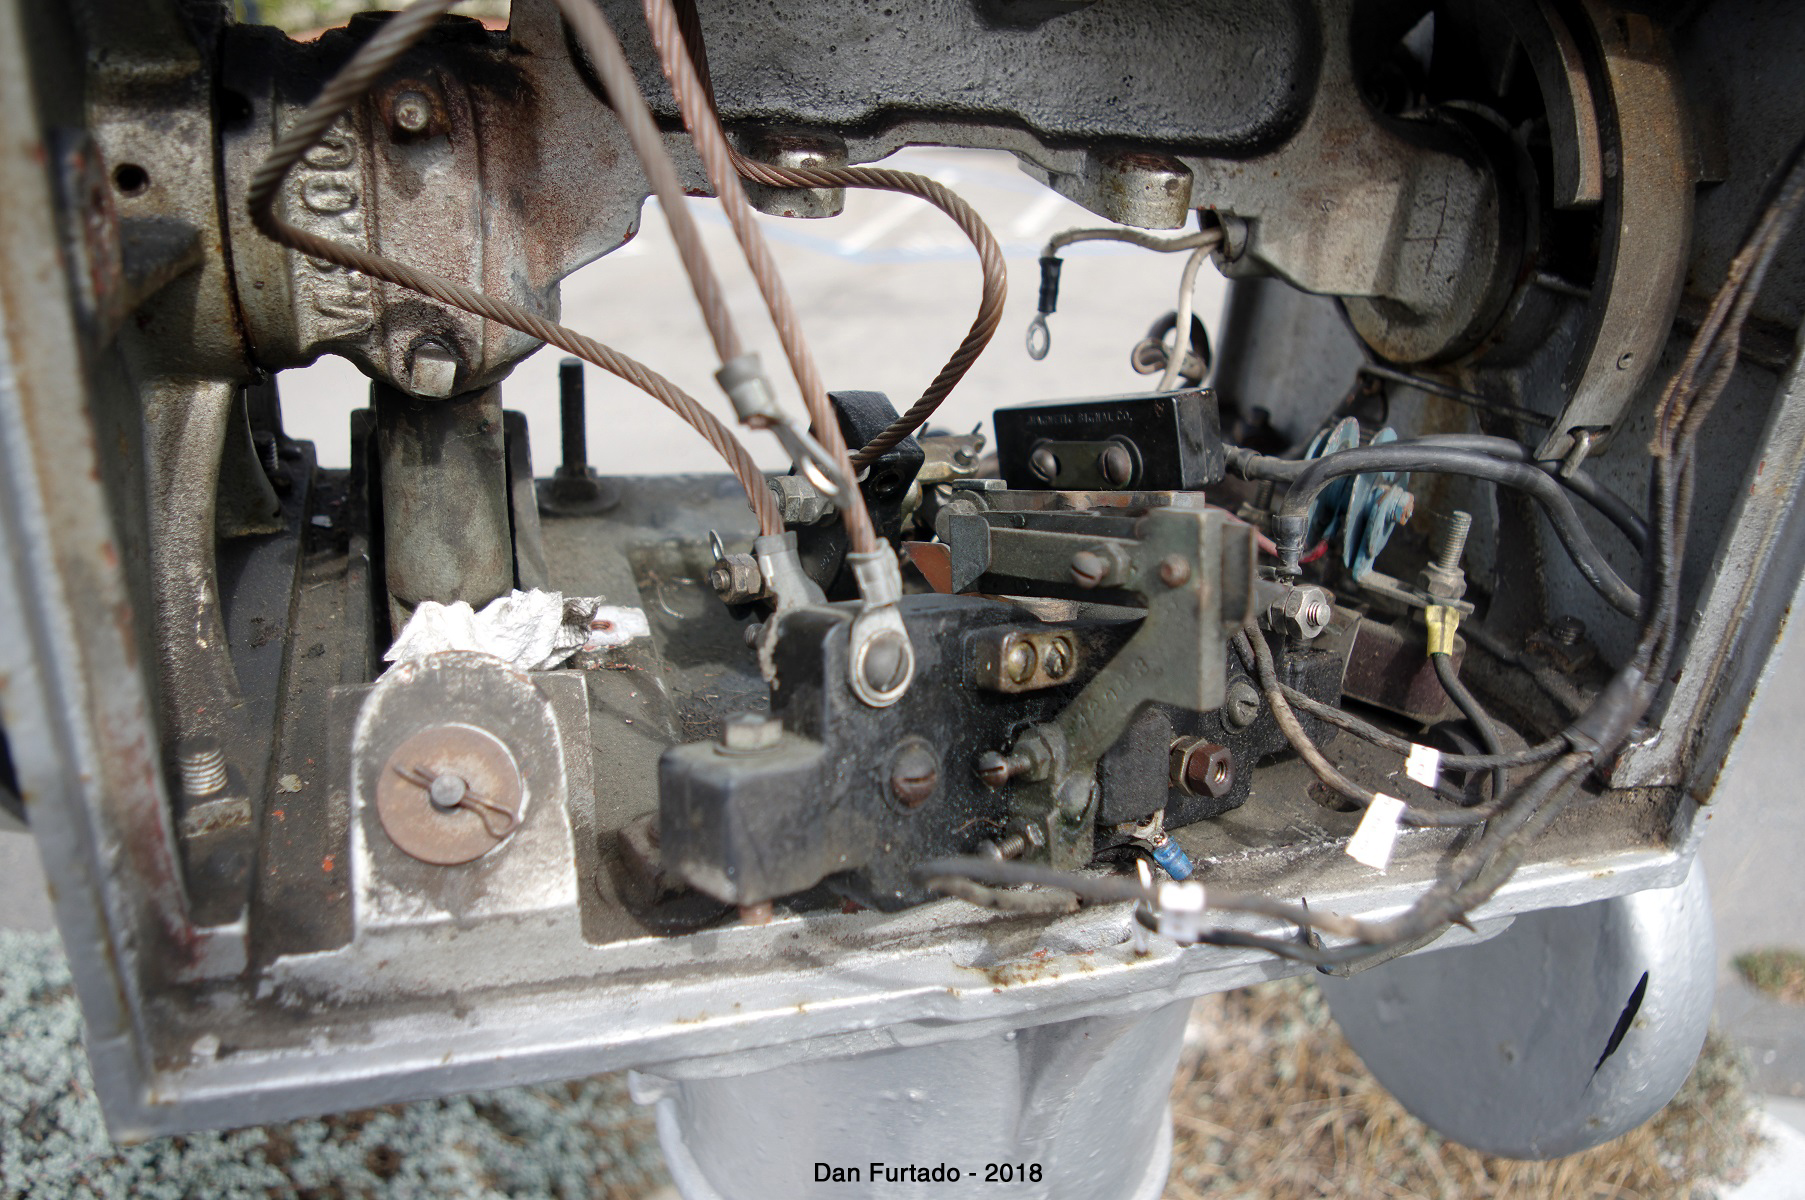
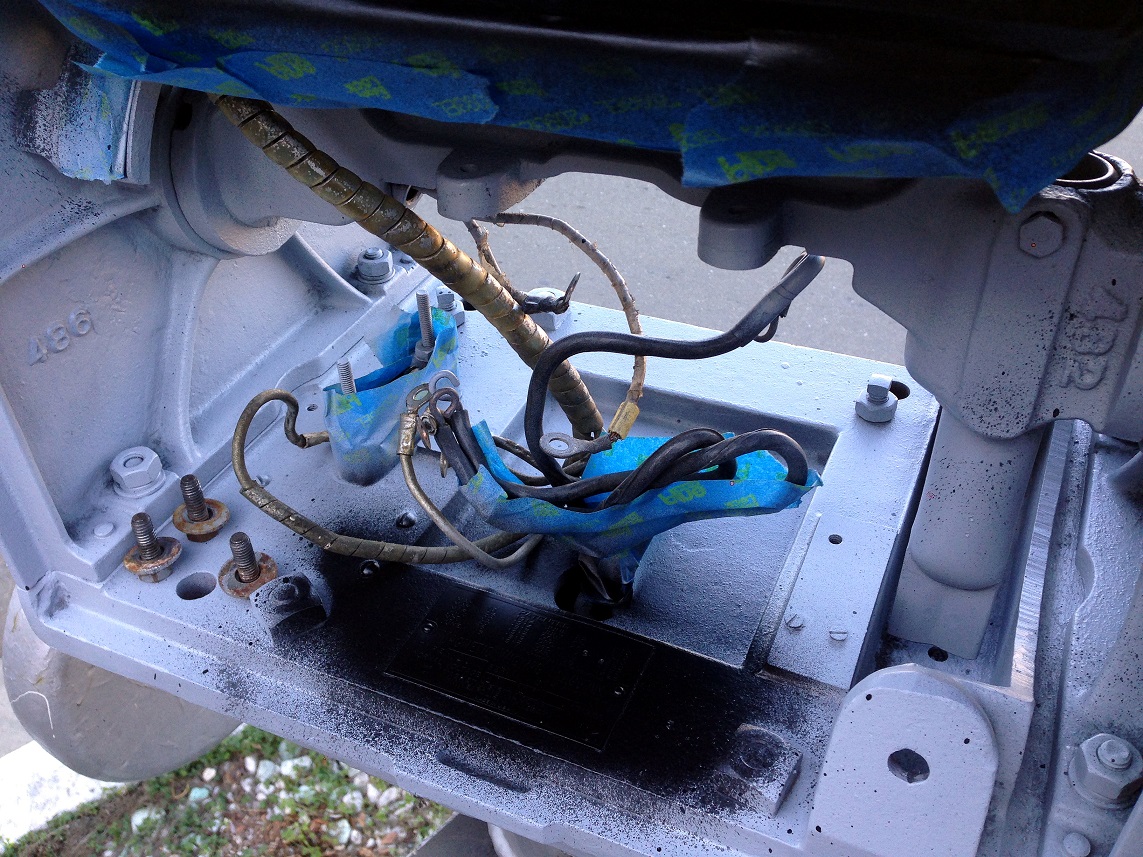
Main terminal board on the south wigwag on its way
out. Upper terminal blocks that were attached to the armature have already
been removed.
|

|
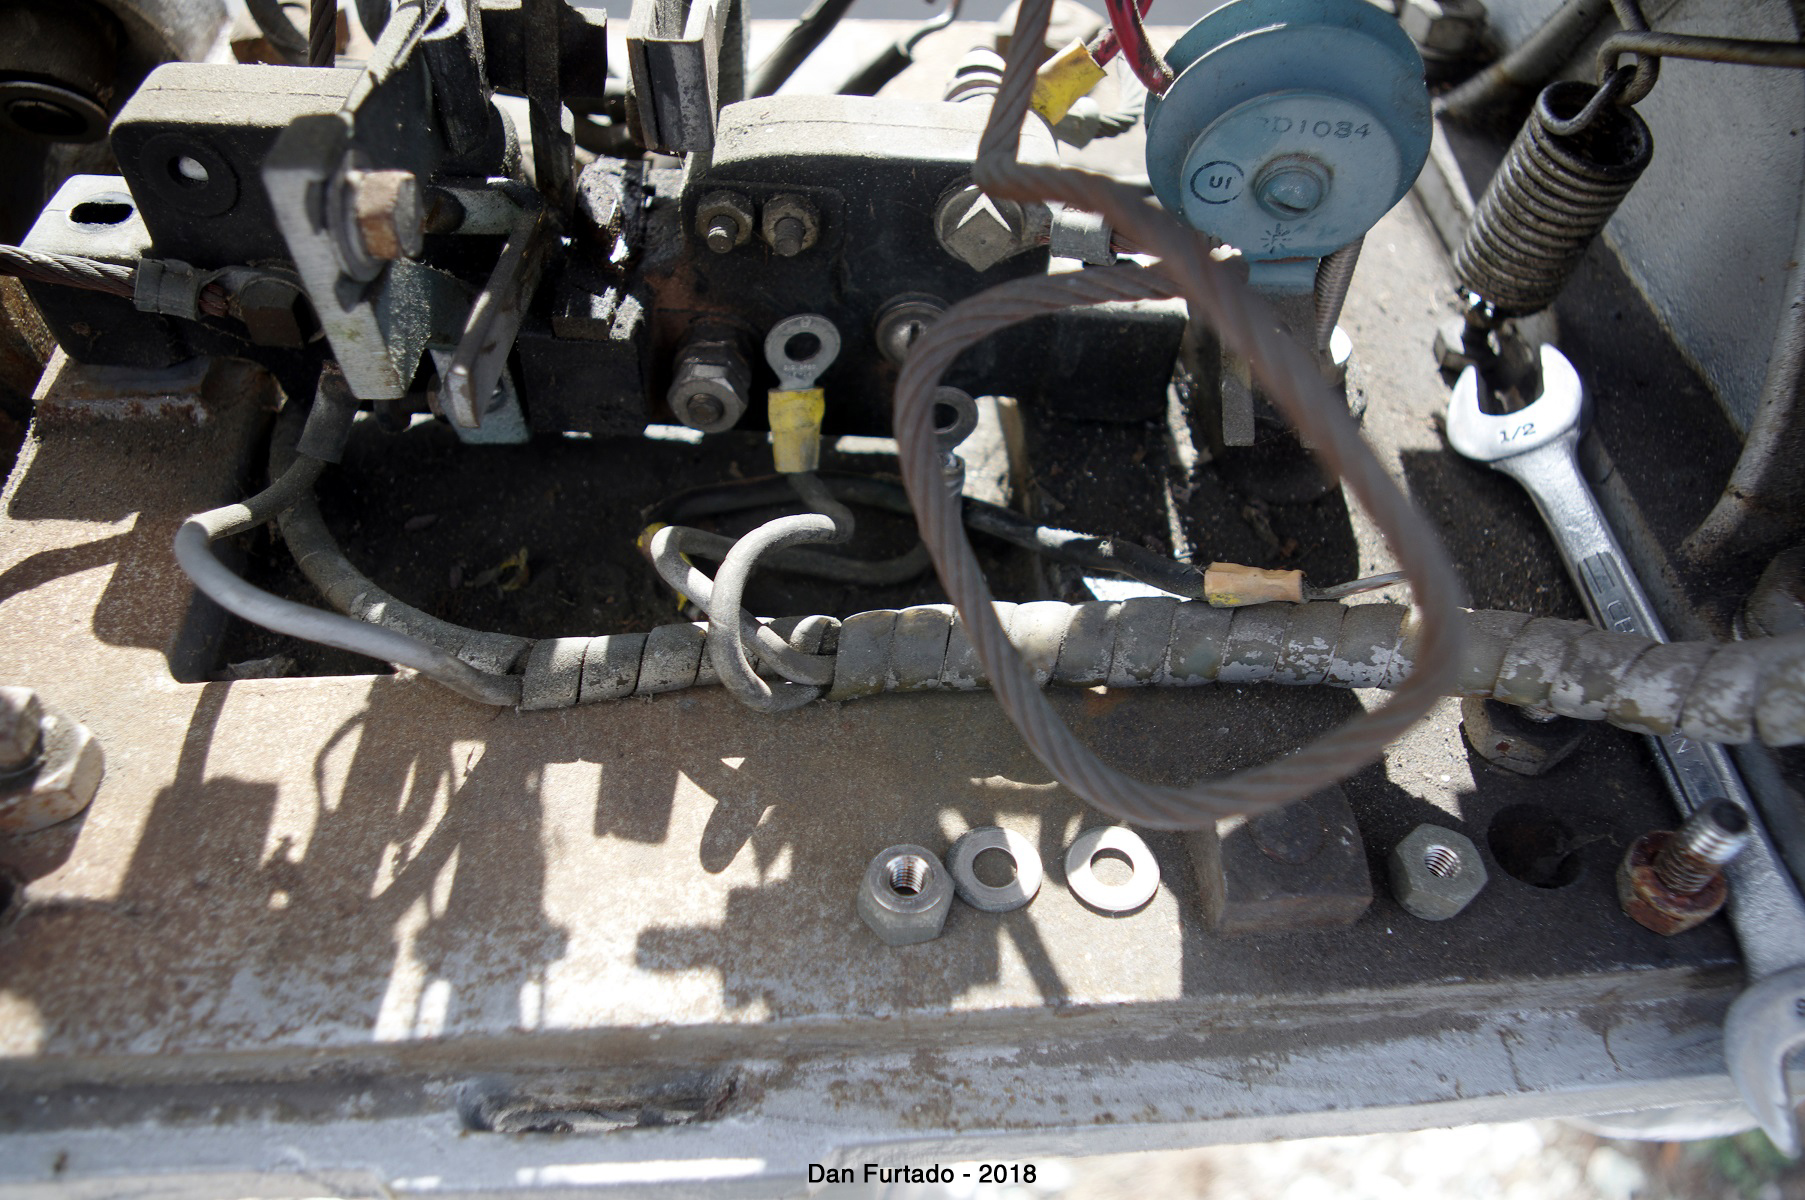
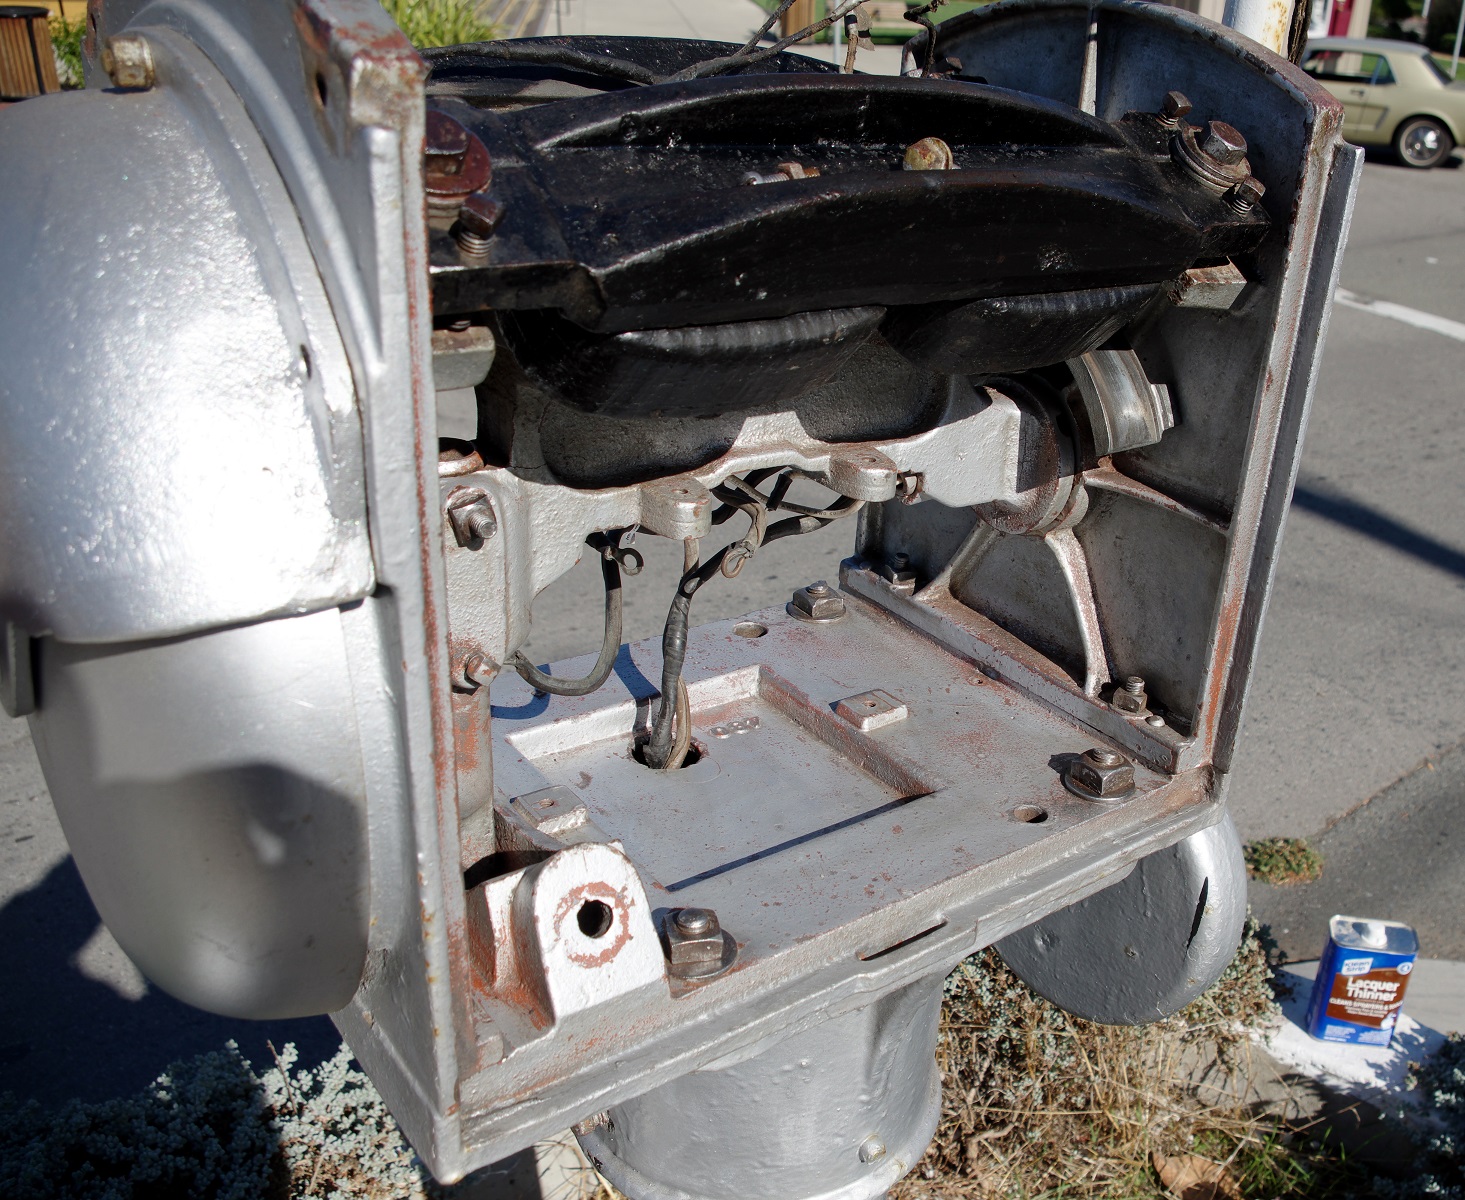
All electrical components except for the magnet wires
and power leads are out. This will need to be thoroughly cleaned and repainted
in aluminum paint. Magnets will be painted black.
|
|
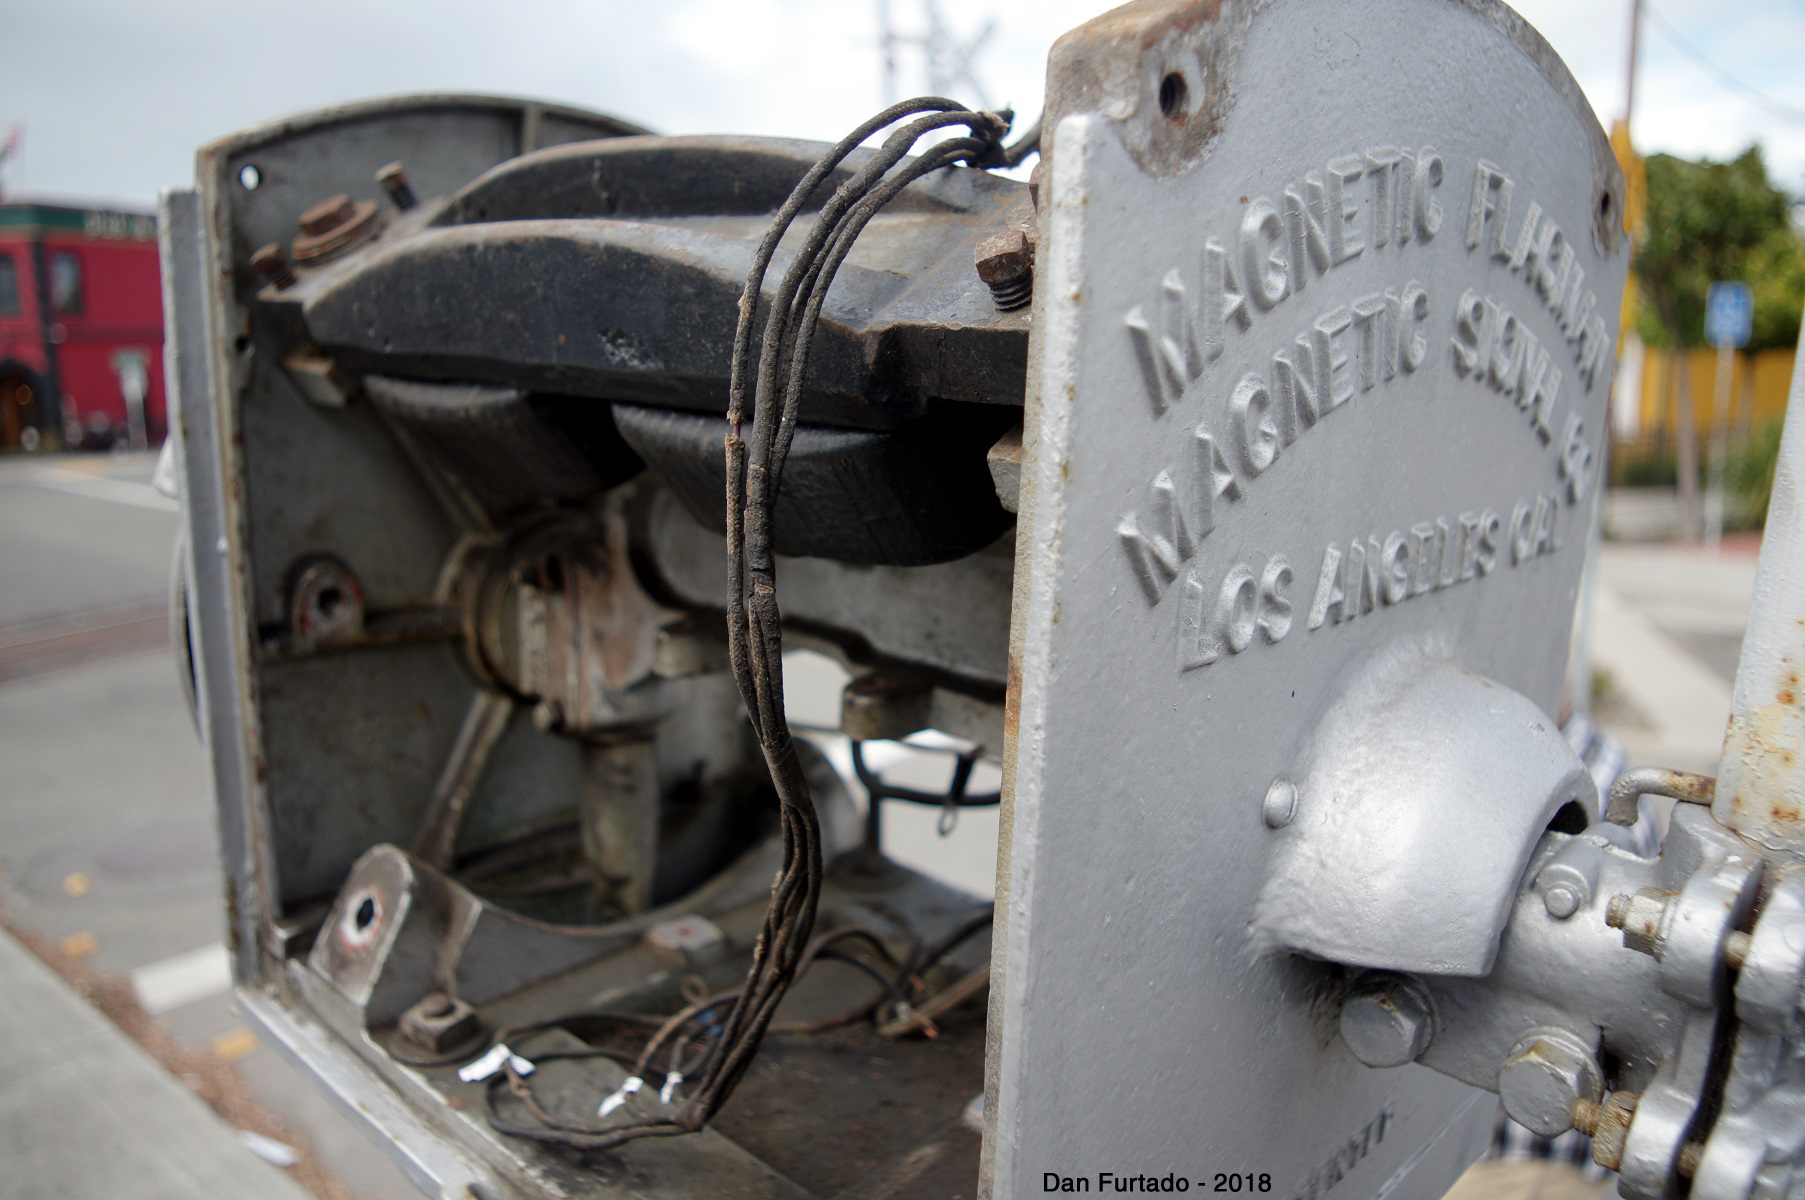
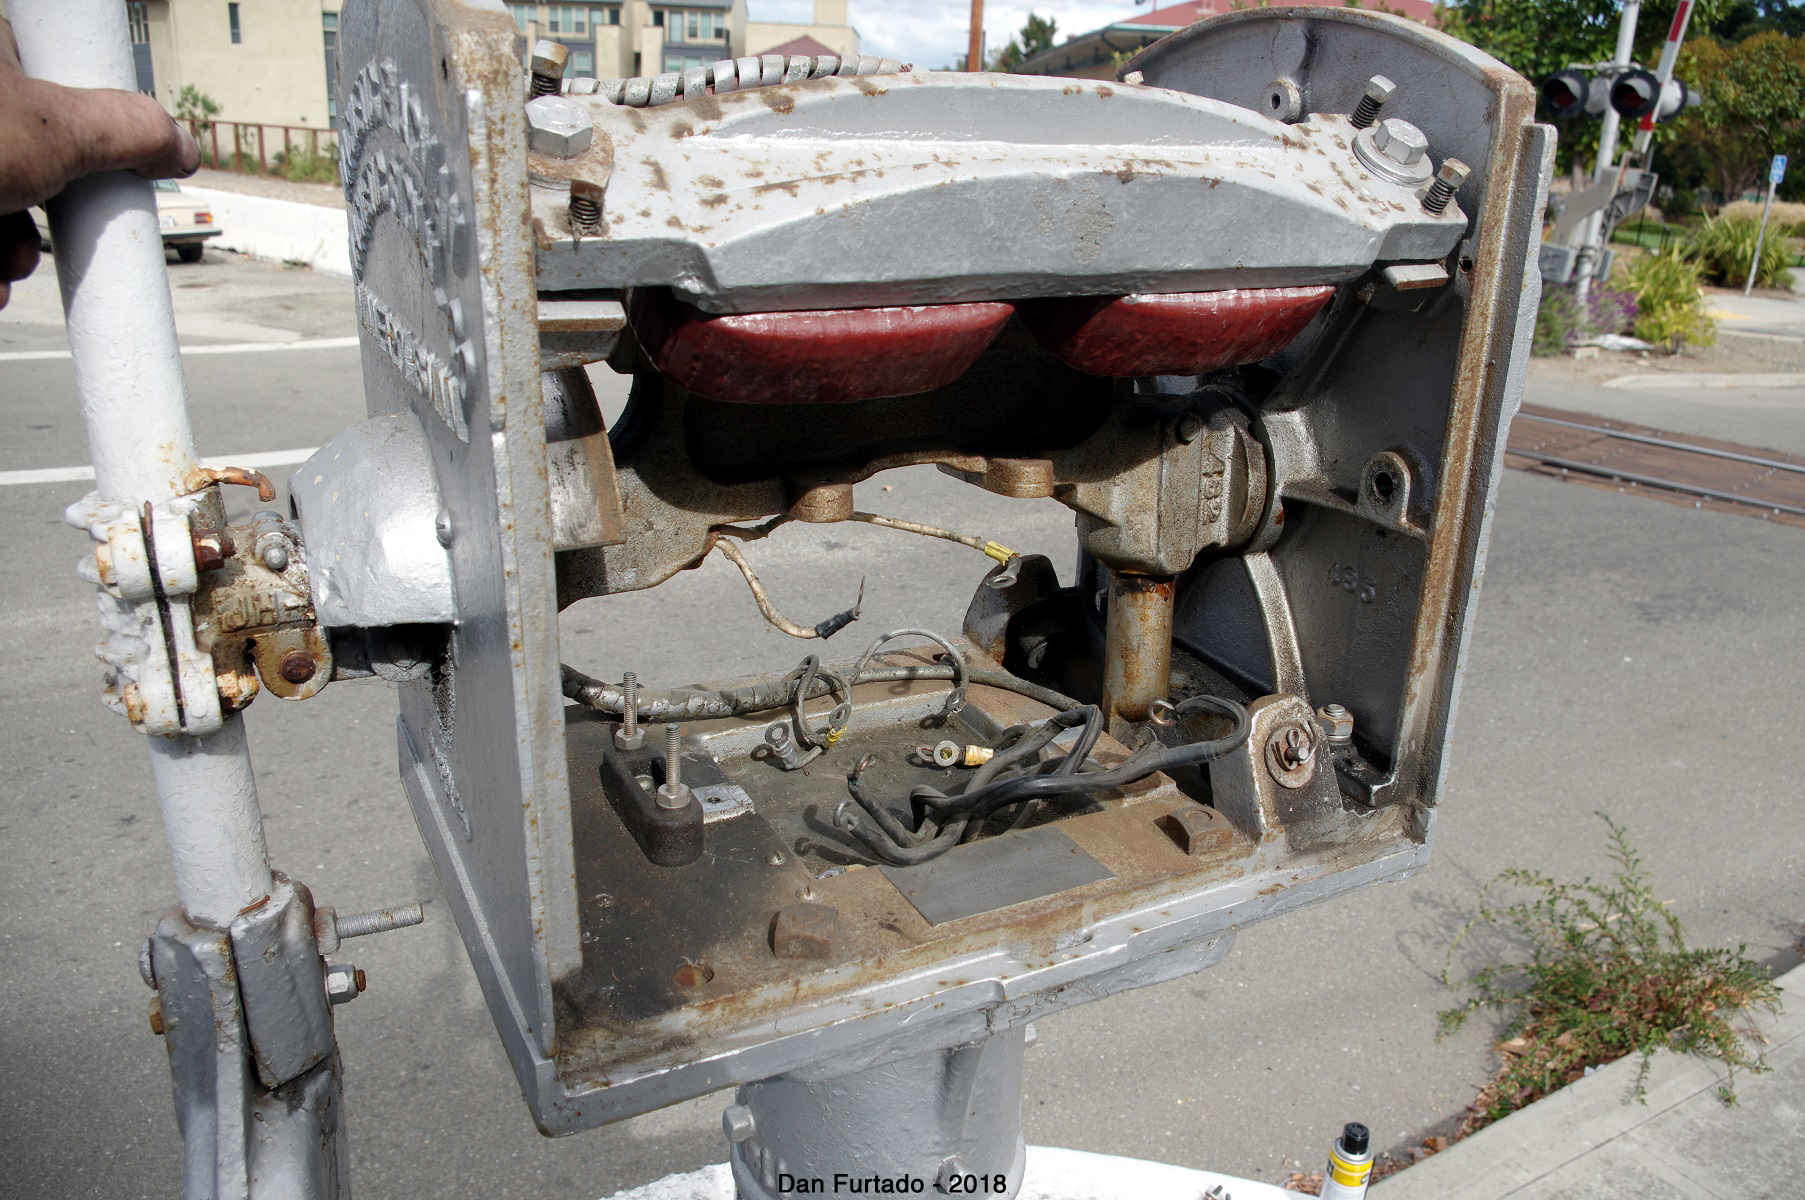
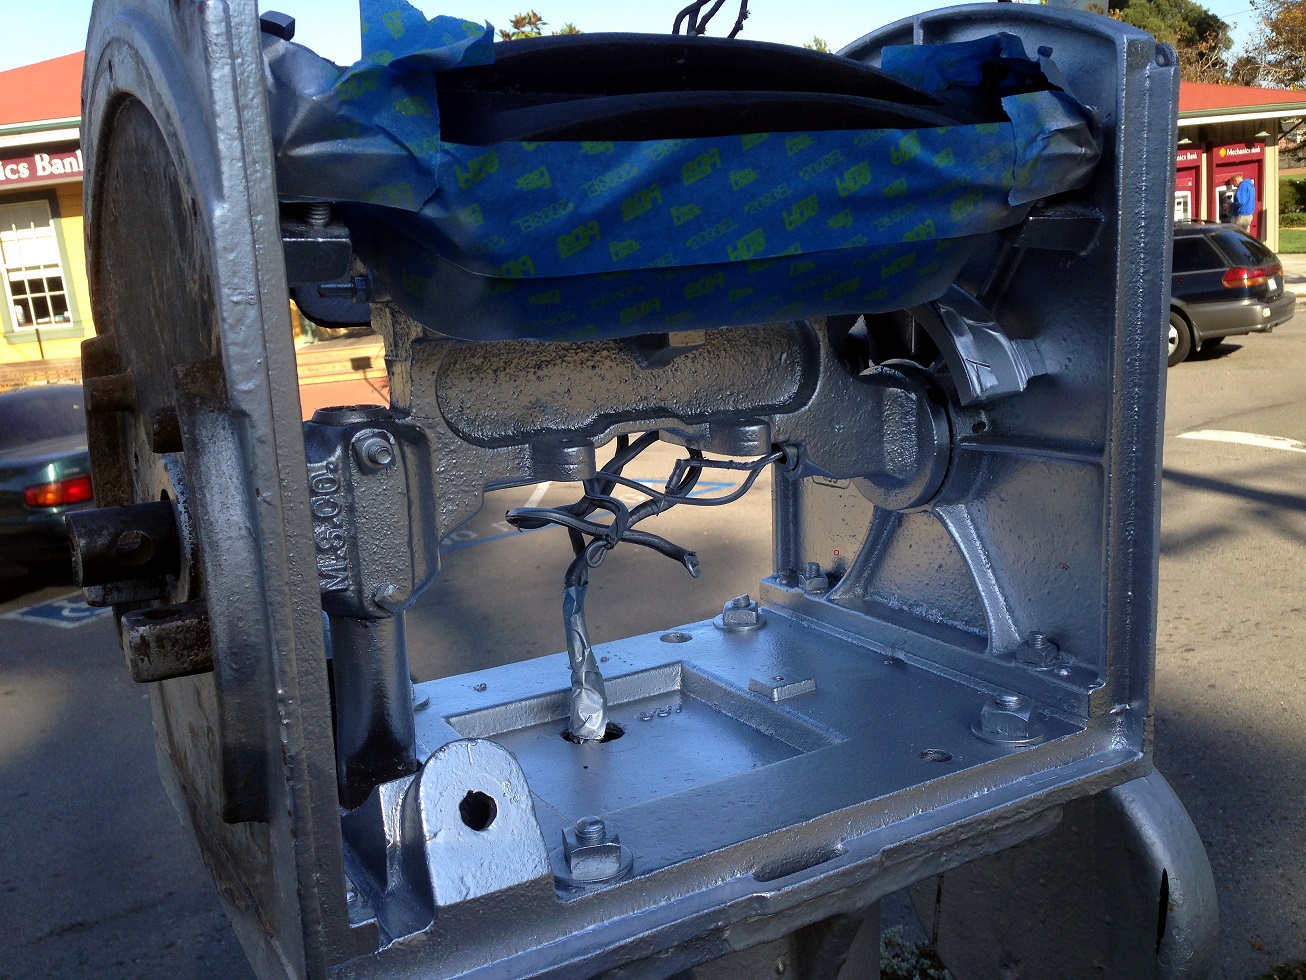
Another view of gutted wigwag. Magnet wires will
need a little work too.
|
|
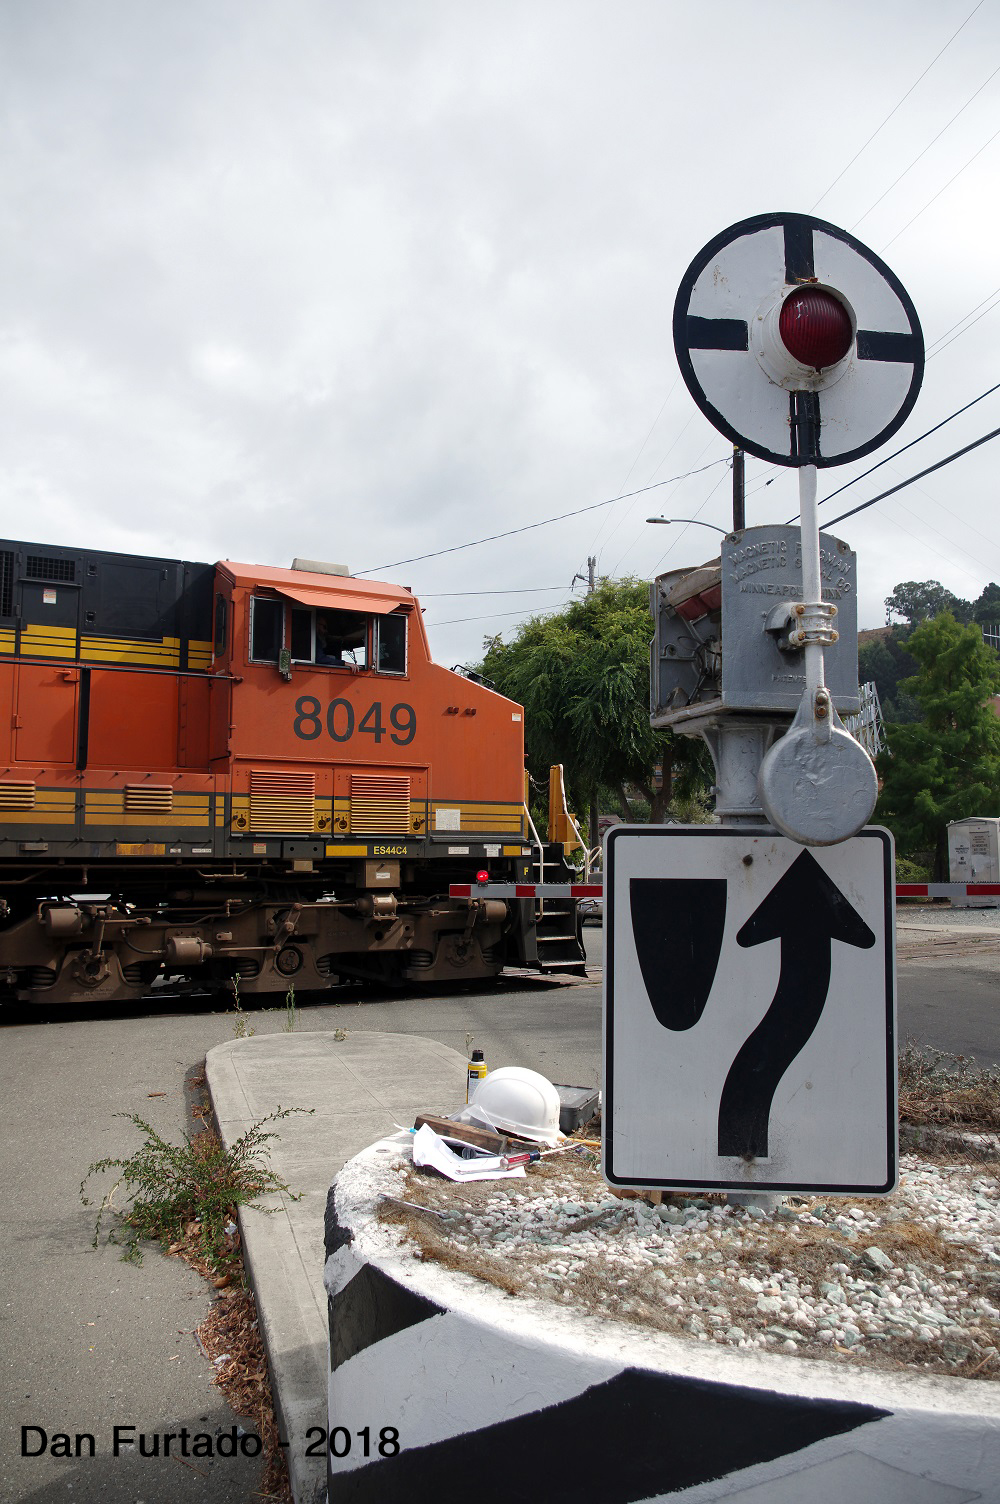
After starting on the north wigwag we decided to
take a break to allow BNSF to do their switching move across Richmond Ave.
|
|
Disconnecting wires to free up the main terminal
block for removal.
|
|
North wigwag with electrical parts removed.
|
|
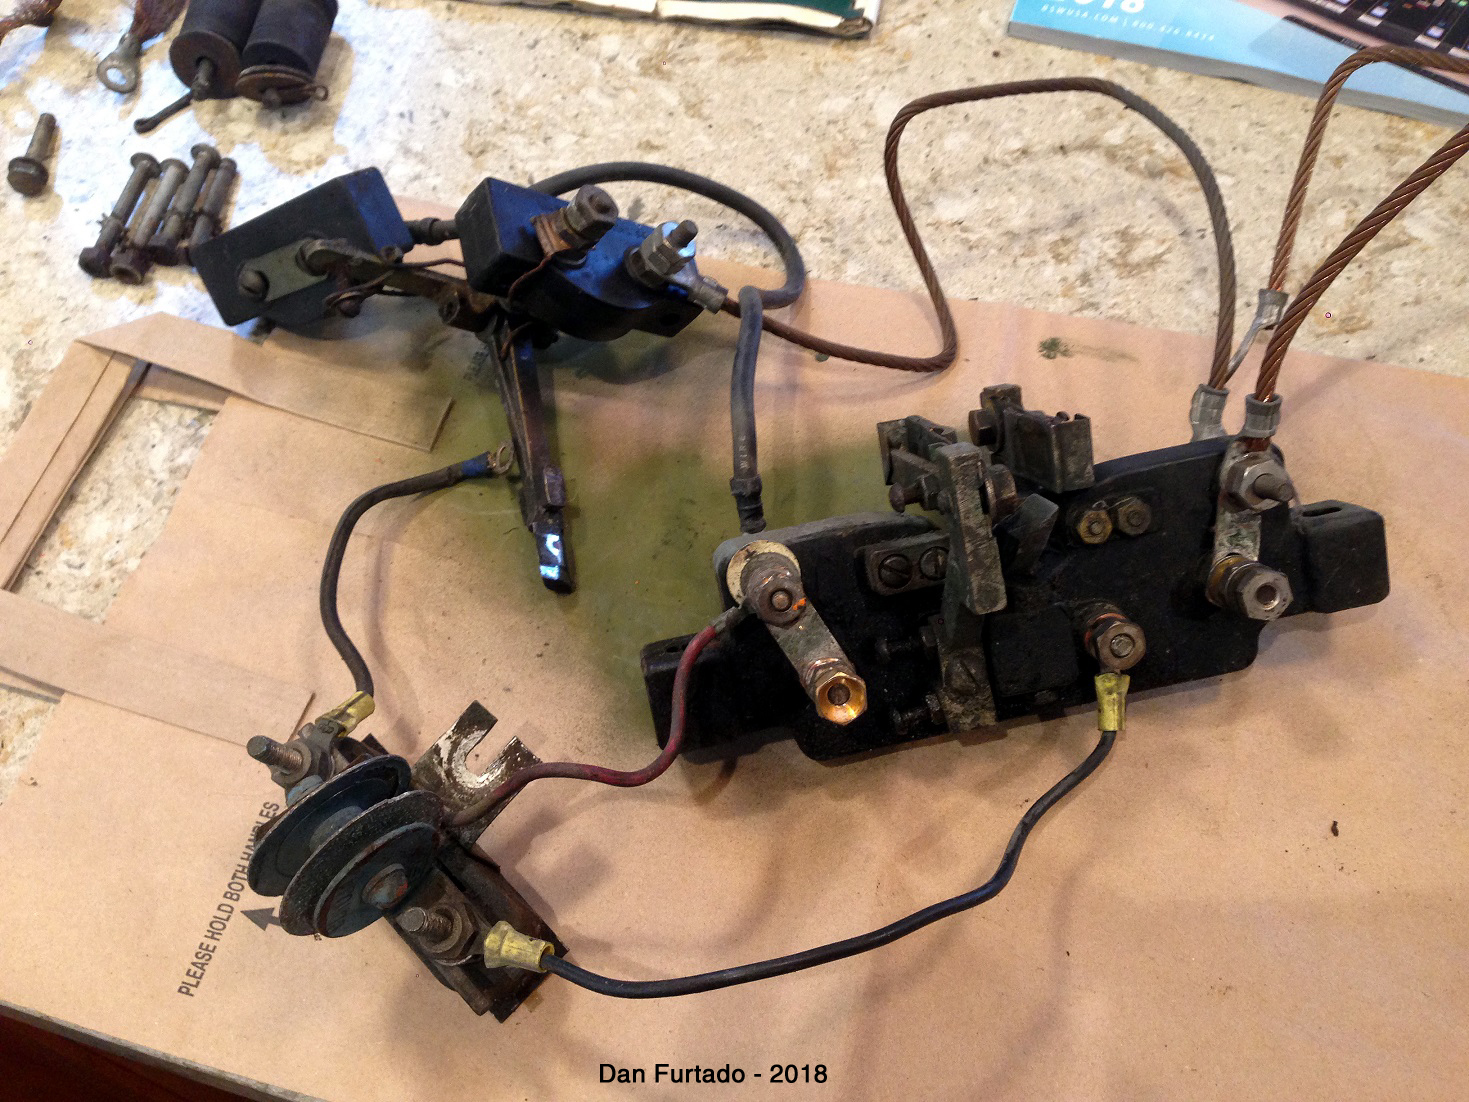
Terminal blocks, rectifier and movable finger
contact before restoration. This is from the south wigwag. |
|
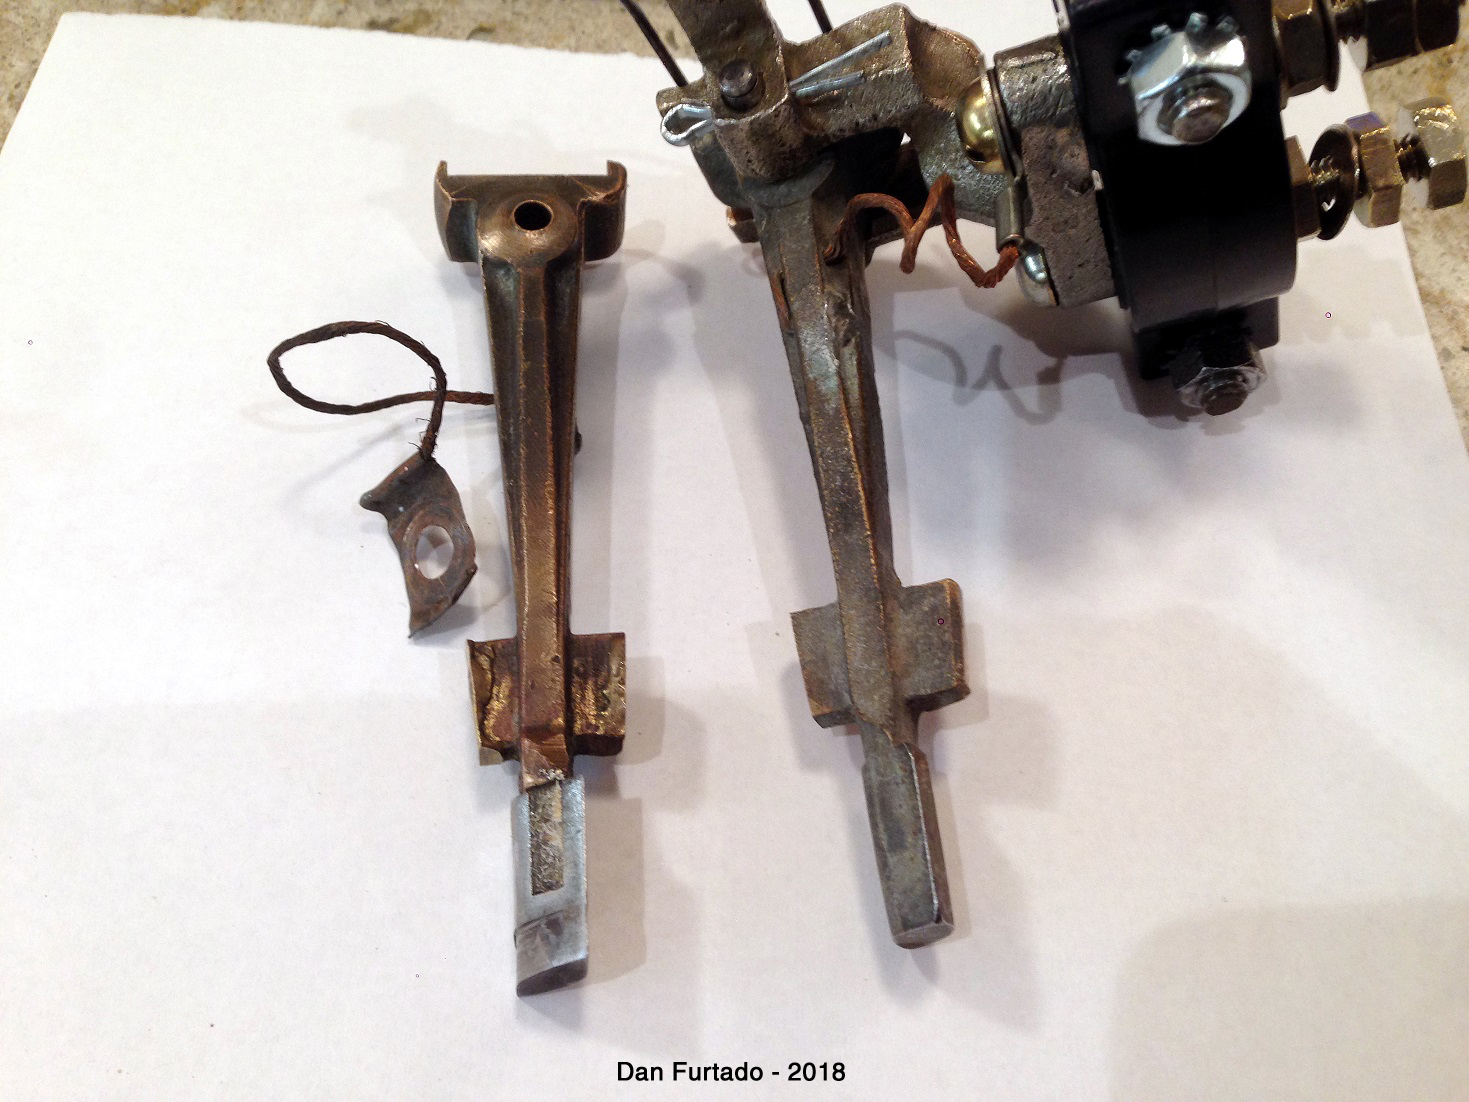
I was able to locate a replacement movable
finger contact for the south wigwag. The contact on the left is what was
there at the time it was retired. You can see how much wear it has compared
to its replacement on the right. |
|
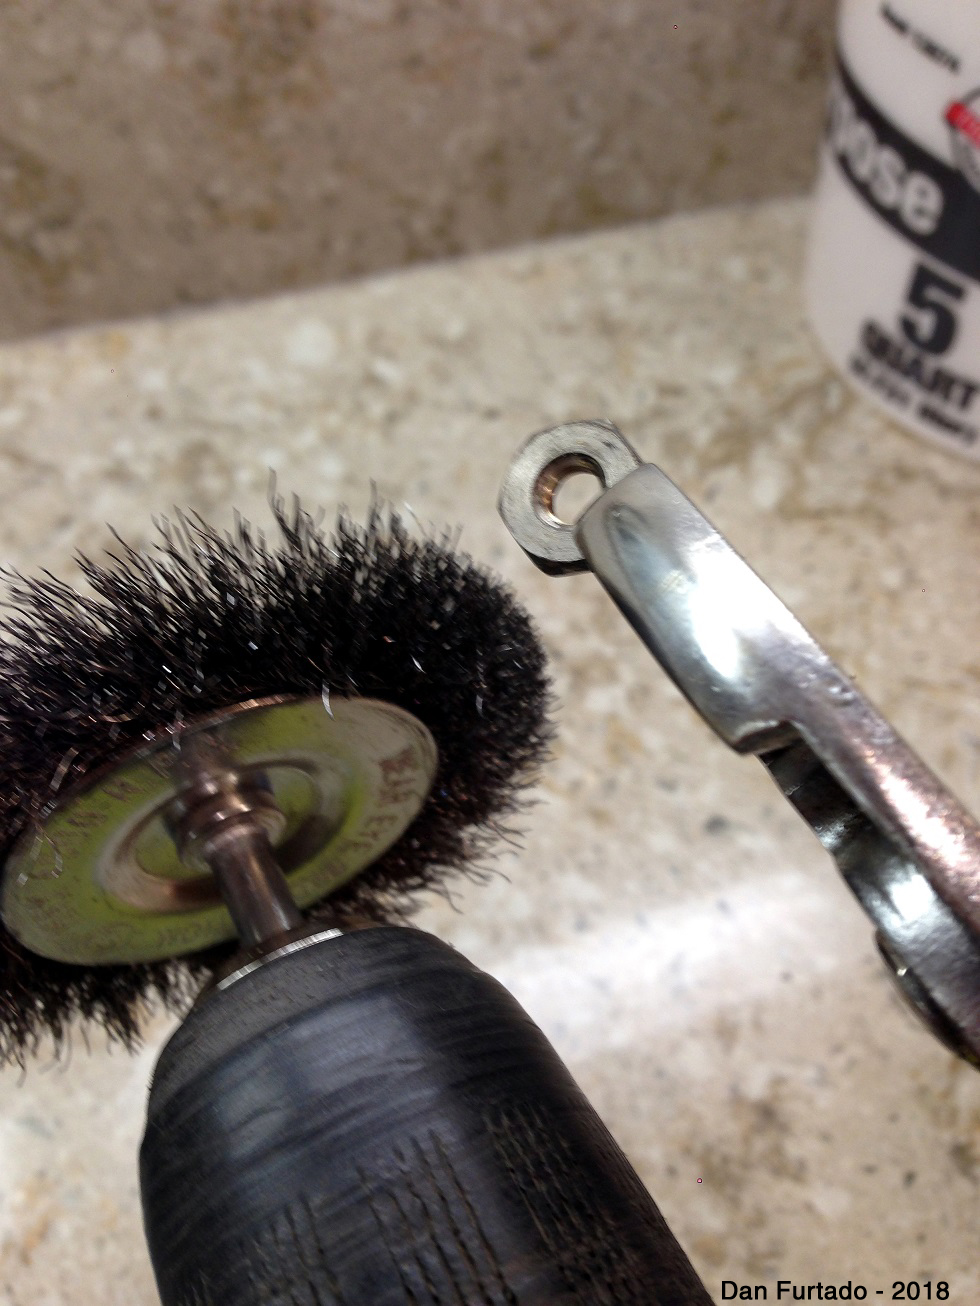
Every single nut, bolt and washer was cleaned
and polished using lacquer thinner and a wire wheel. |
|
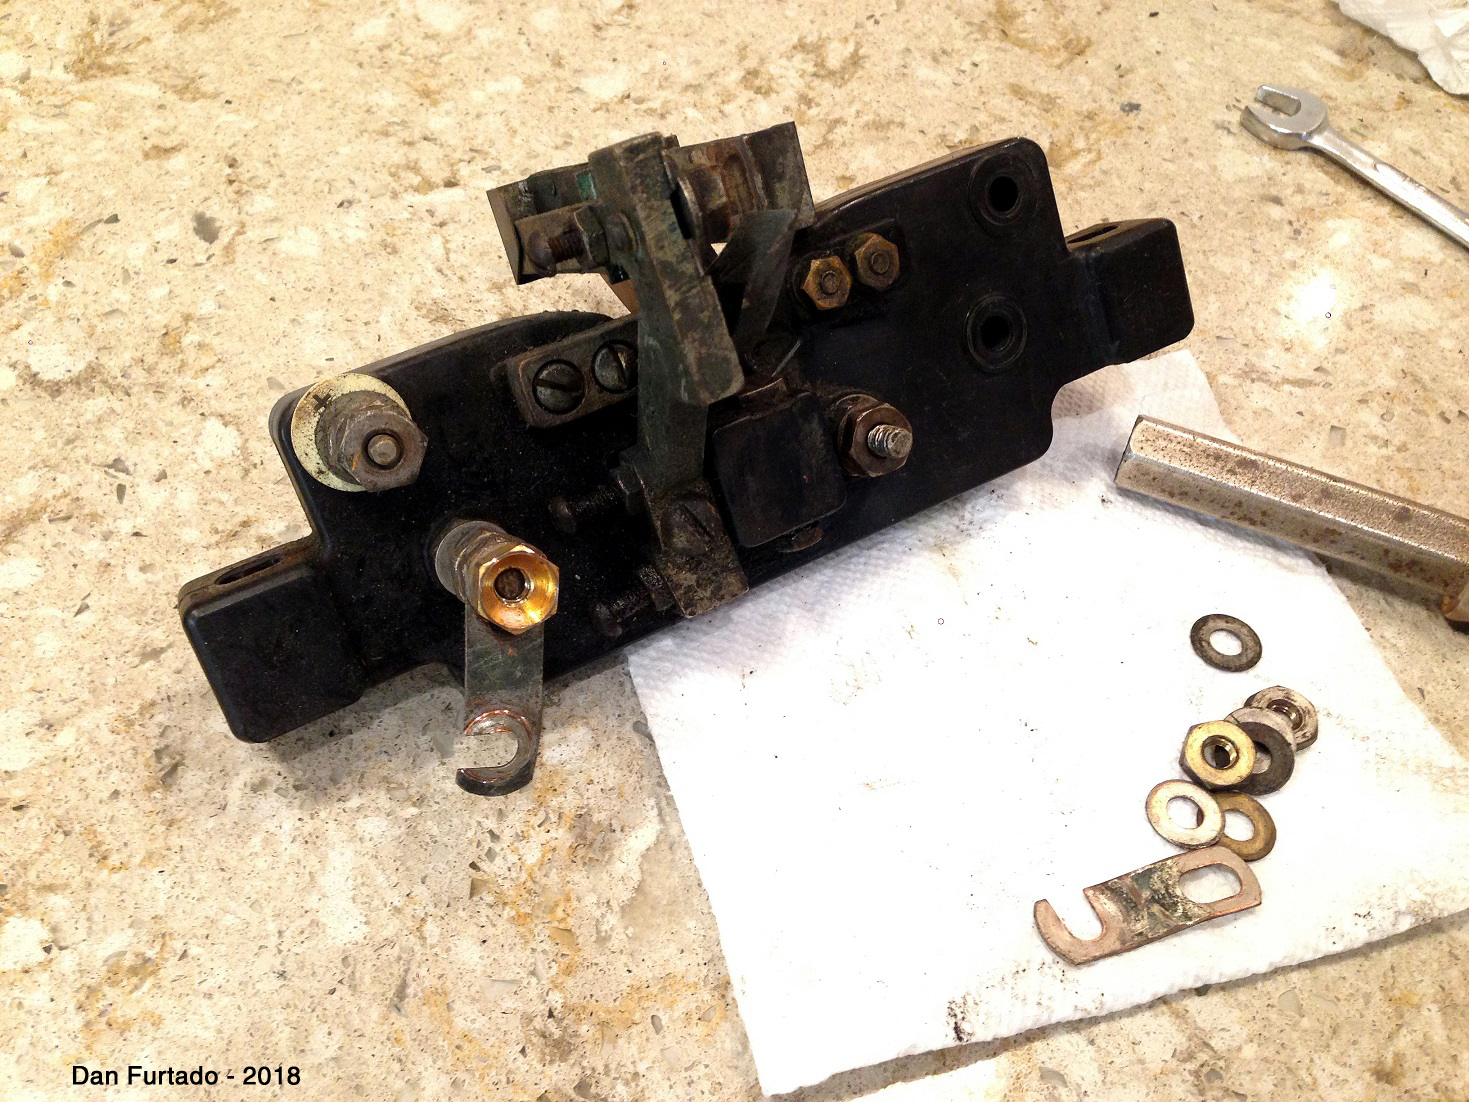
Main terminal block slowly being disassembled
and cleaned. Each component is cleaned, as described above. The stationary
contacts can be seen on top of the board. One of the contacts was badly
worn and will be replaced with a new reproduction that I made. |
|
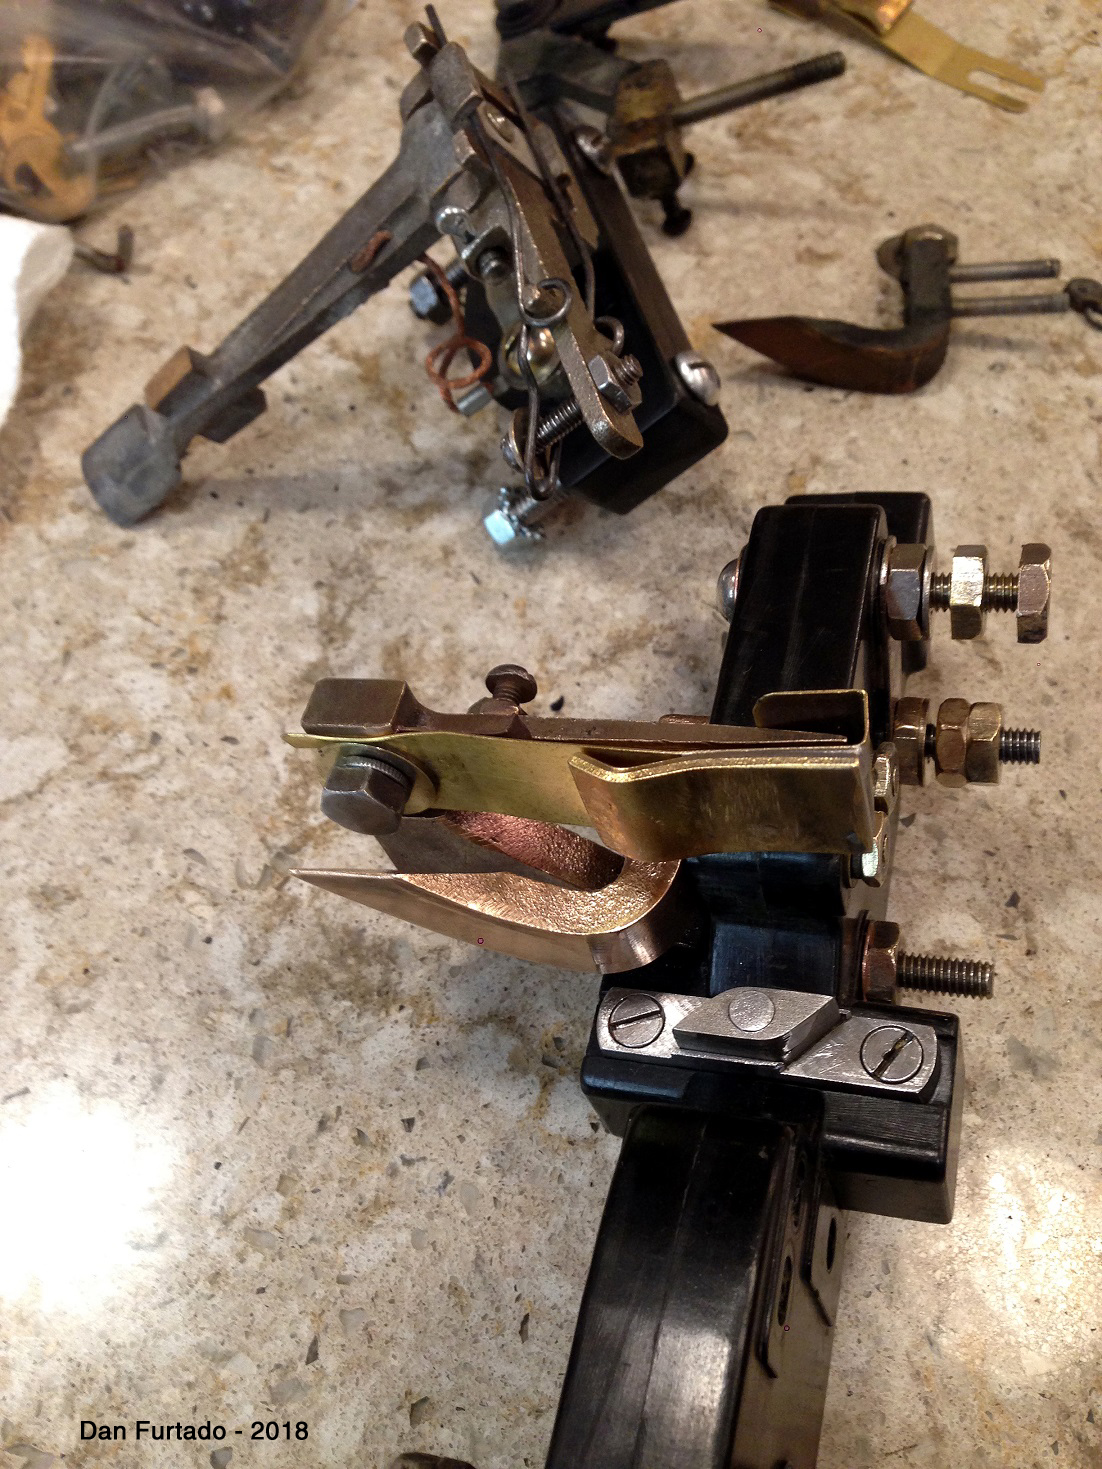
Movable finger contact (above), ready to go.
Main terminal board is half finished. You can see the reproduction contact
is in place. |
|
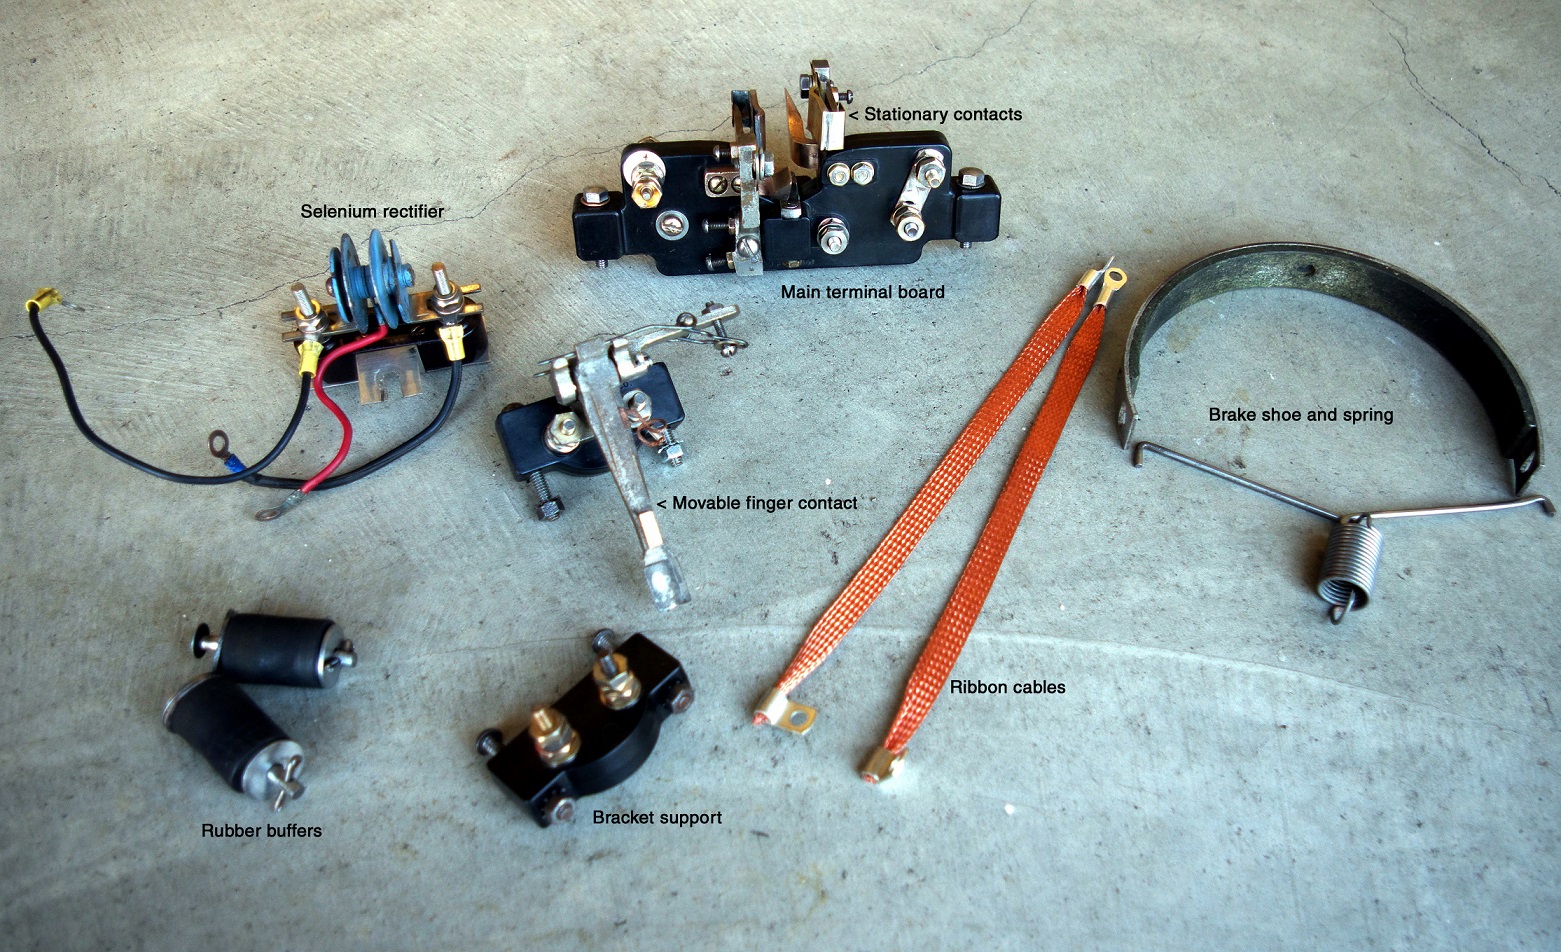
Restored components of the south wigwag.
I also made exact reproduction ribbon cables that will be used in both
wigwags. |
|
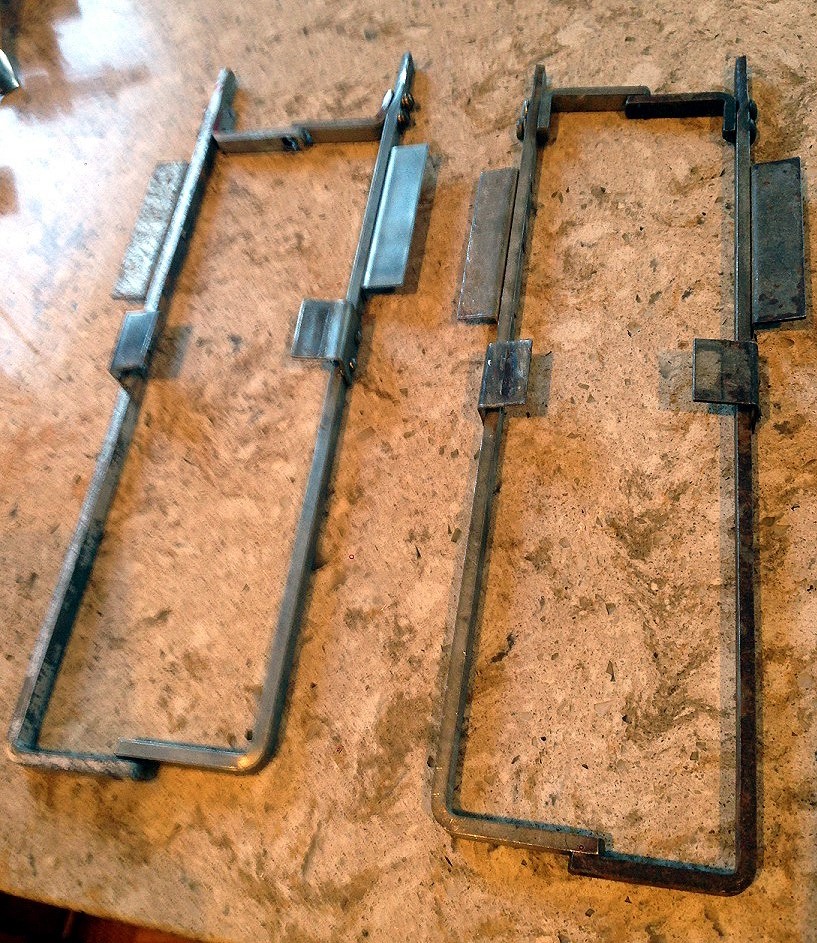
These are the brake arms that I was also able
to locate. Both wigwags were missing these. They attach to the top of the
armature. These keep the wigwag banner from swaying in the wind, which could
result in failure. This would only matter if they were still being used to
protect the crossing. A second reason... to discourage people from trying
to swing the banners. This prevents them from swinging (very much)
when not in use. |
|
At home I worked on the door gaskets and felts. The
doors on the north wigwag have rubber gaskets (something I've only seen
on Santa Fe wigwags) while the south wigwag uses the more common felt strips
for weather-stripping. Here I am removing the silver paint from the rubber.
The gasket was scrubbed afterwards.
|
|
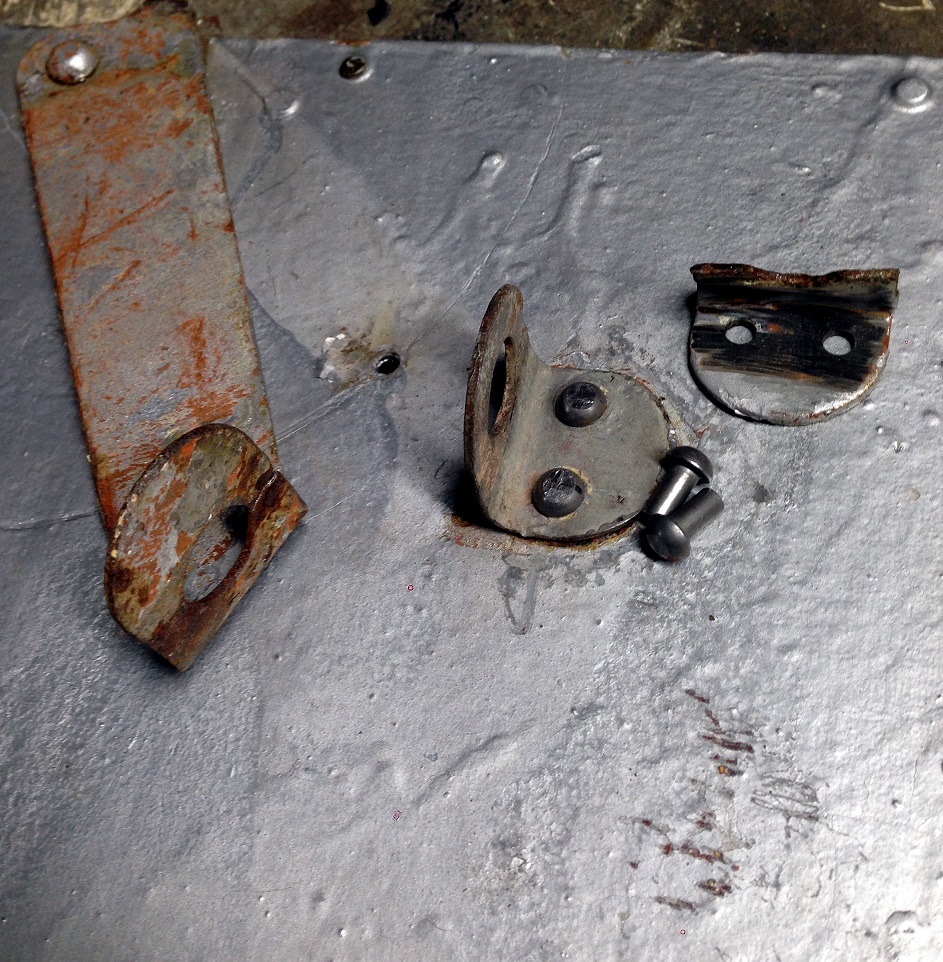
One of the doors on the south wigwag has a bad door
latch. The old one (or what was left of it) is seen to the right. I riveted
in a replacement using the rivets that are shown.
|
|
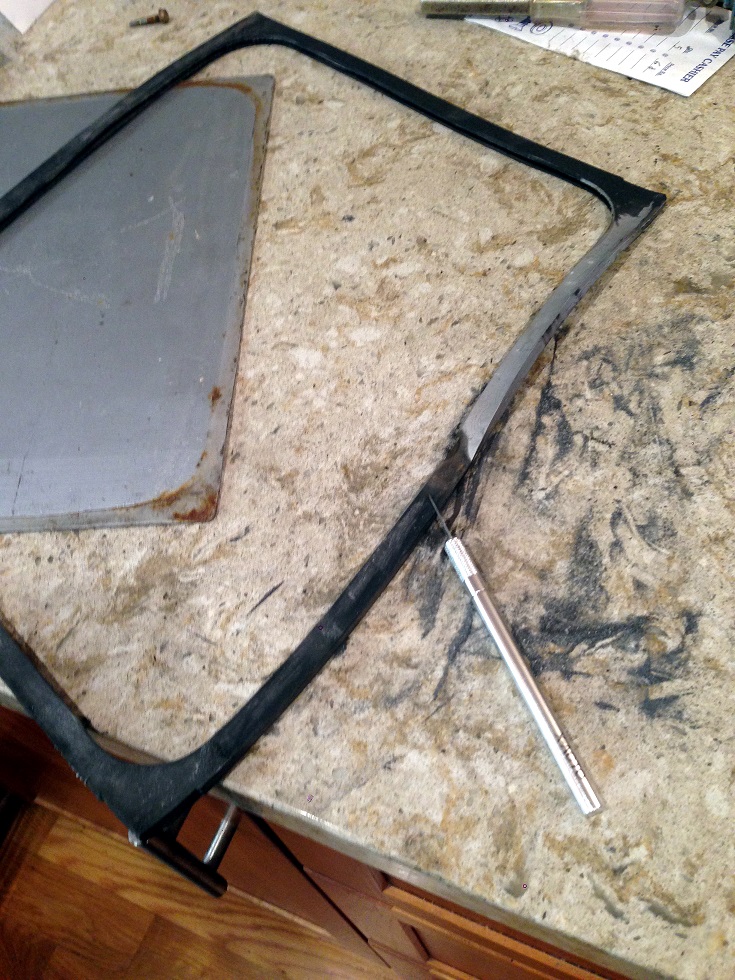
I later discovered that the long latch is damaged
beyond repair. I was able to locate a replacement, and is in the mail as
I'm writing this. There is a crack in the metal on the left side - hard to
see in the photo.
|
|
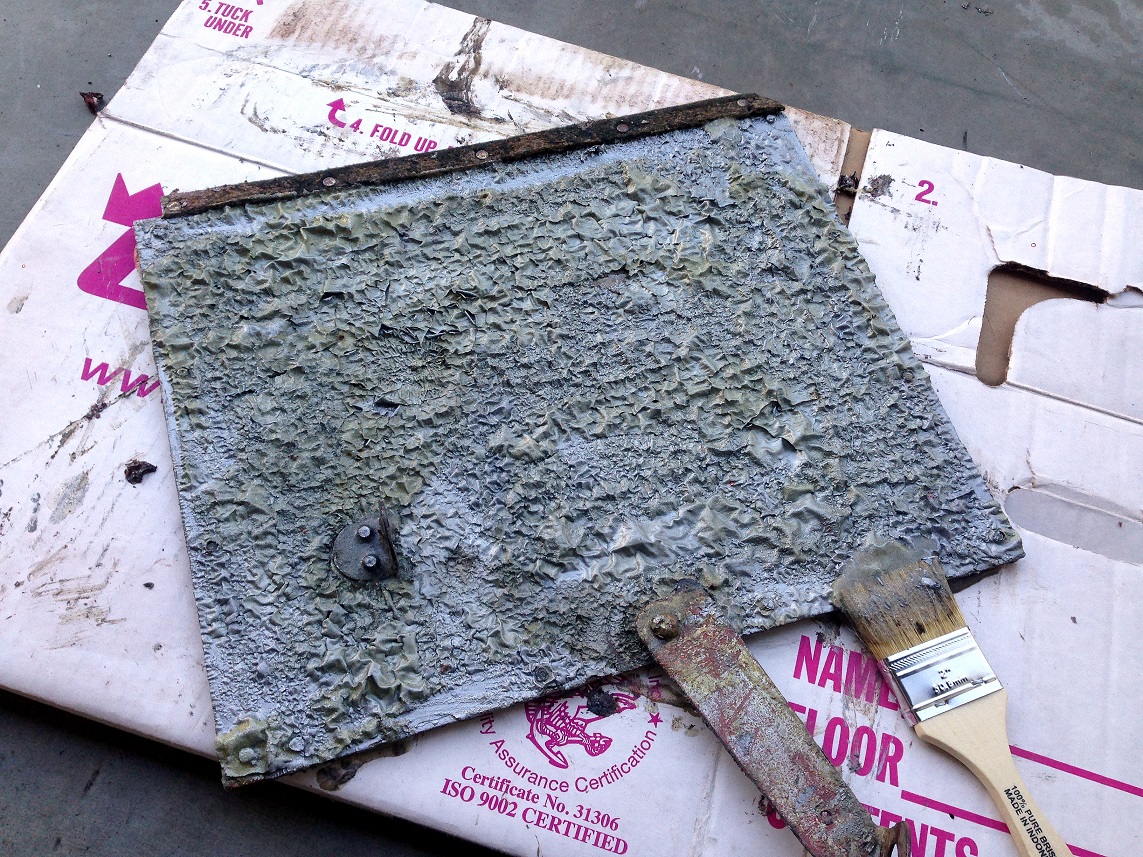
One of the south wigwag doors being stripped
to bare metal. There were many layers of paint that had built up over the
decades. |
|
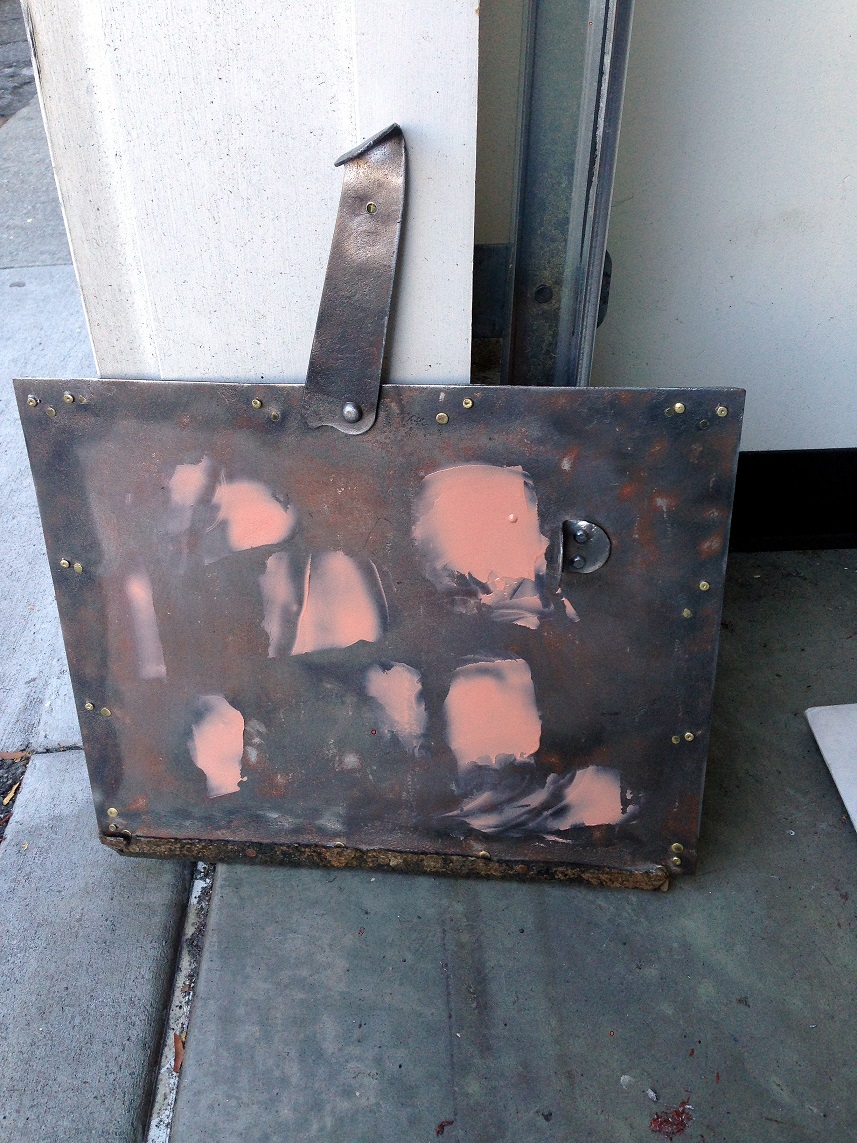
I decided to fill a few areas after pounding out
as many dents as possible.
|
|
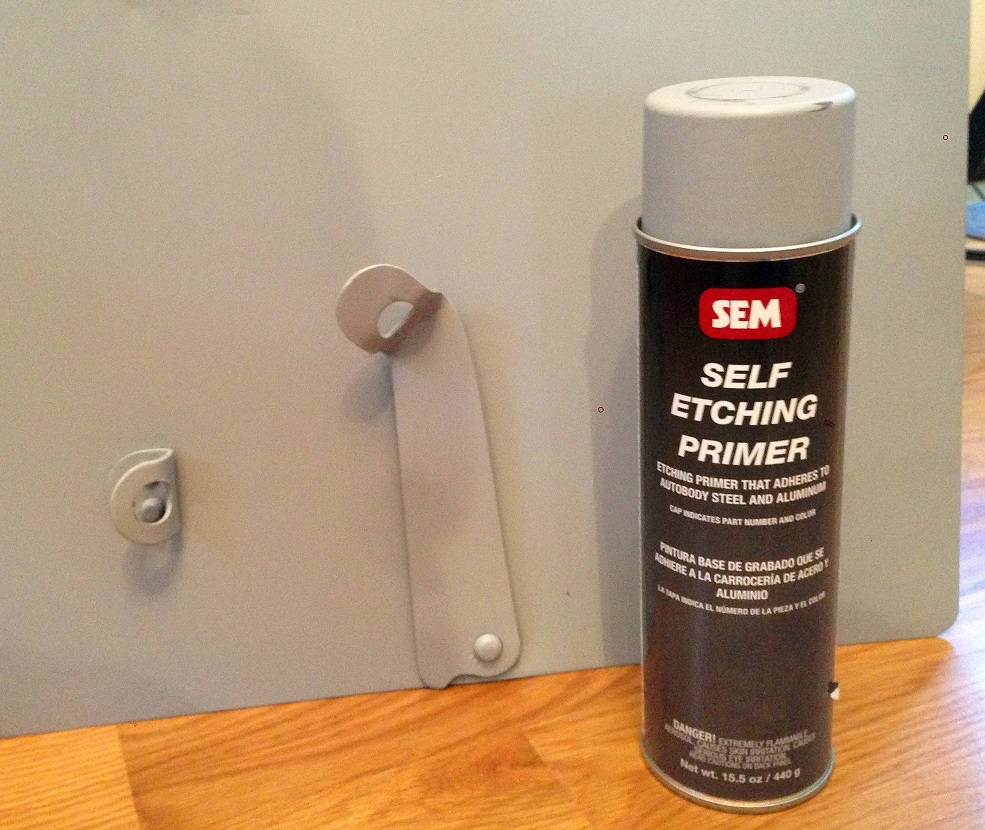
I am using a self etching primer on the metal parts,
as seen here with one of the doors from the north wigwag.
|
|
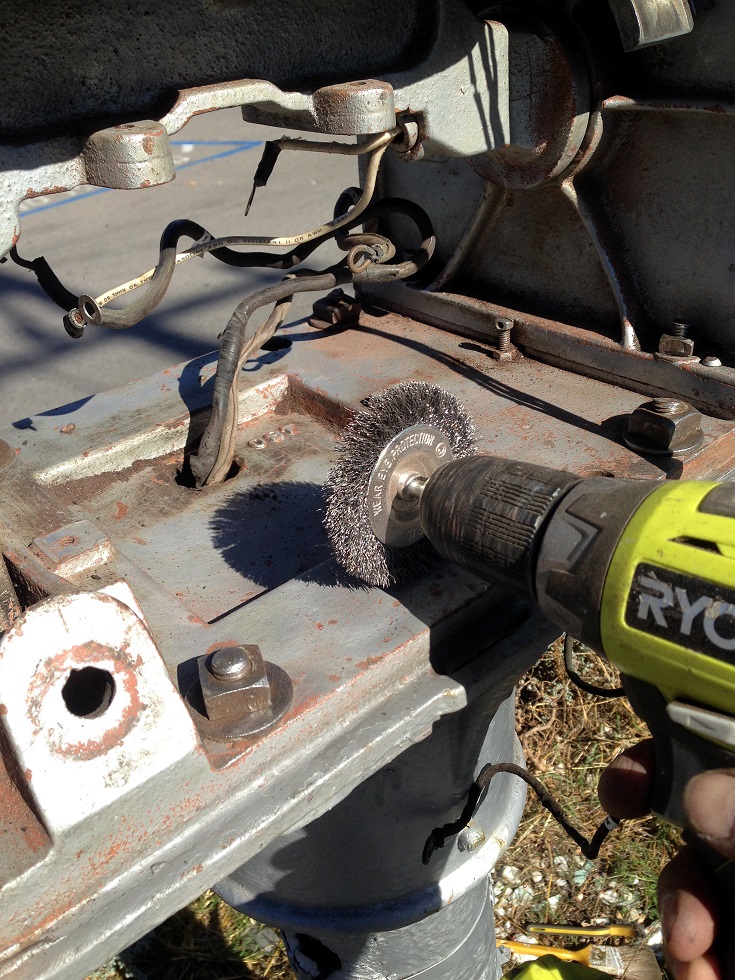
Interior side of the bottom casting being cleaned
up with the wire wheel. I chose not to strip the inside panels to bare metal,
as I normally would when restoring wigwags. This would be very difficult
since I do not have the option to completely disassemble the motor boxes
on this job. |
|
Here the inside is cleaned up about as good as
can be expected. Bare metal parts were treated with Rust-Mort to convert
the rust into a paintable surface. |
|
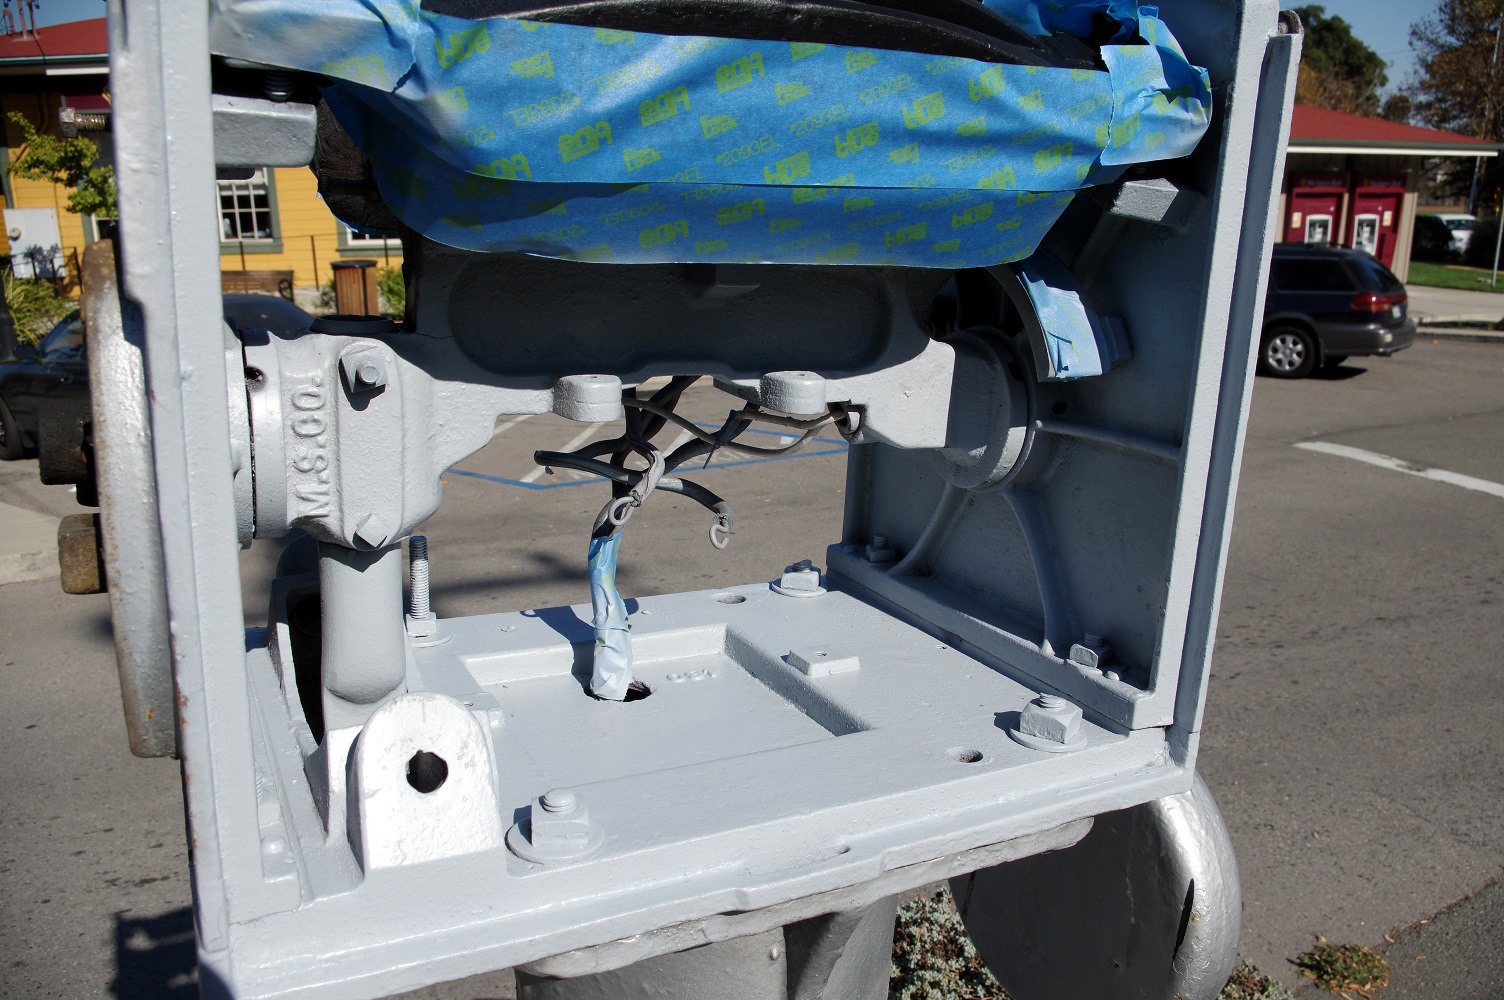
On 10/21 work continues on the interior of the wigwags, as well as the rear casting where the bell mechanism goes. Here is the south wigwag with a coat of primer. I have already repainted the magnets with black paint. |
|
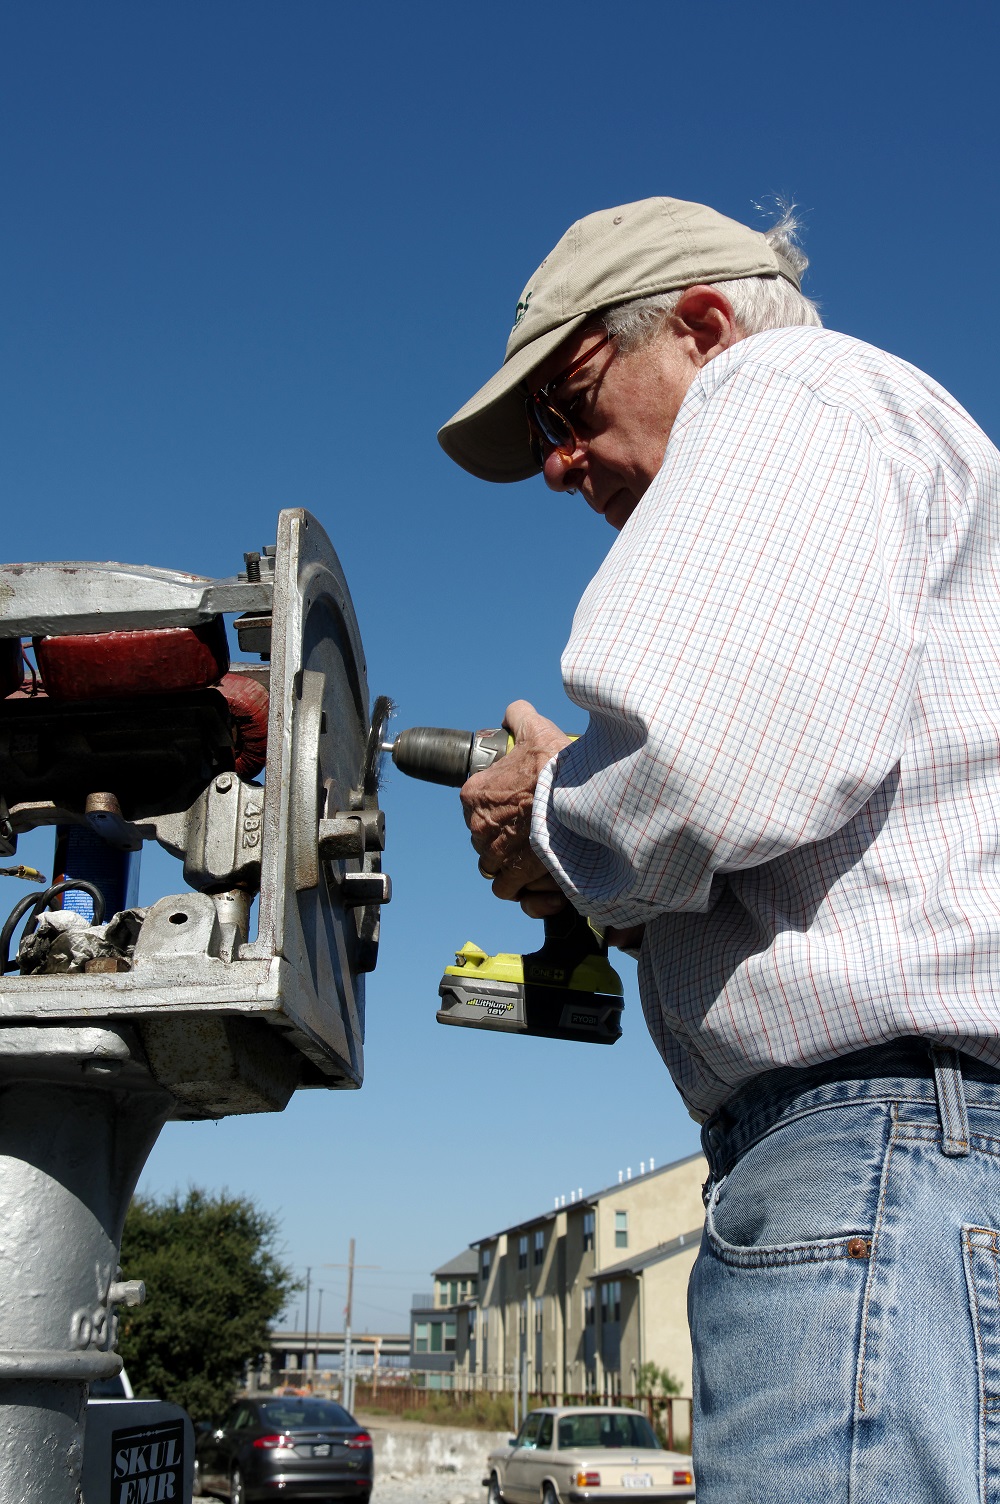
Don Woodrow works on the rear casting to ready
them for paint. Here he is scraping the built up grease and cleaning with
lacquer thinner.
|
|
Don follows up with the wire wheel to get as much
rust off as possible. After cleaning, they received a coat of Rust-Mort
to treat the remaining rust (although very little was left).
|

|
This is the back side of the south wigwag. Ready
for Rust-Mort, then paint. The restored bell striker mechanism will be installed
after painting.
|

|
The north wigwag still has its builder's plate.
This is being restored as well. First I removed the corrosion that had accumulated
over the years. The last patent for the Magnetic Flagman was in 1926. This
unit is serial number 11890. It was built in Minneapolis (instead of Los
Angeles) making it a late production wigwag. These run off of 8-10VDC.
|
|
I then applied a coat of black paint. I'll come
back later and carefully sand the high points of the plate so that the letters
show through. This is how they originally appeared.
|
|
Quickly losing light, I applied the first coating
of aluminum paint. This will be followed by one more coat next week. Then
the electrical components and brake mechanism can then be reinstalled. |
10/21/18


