


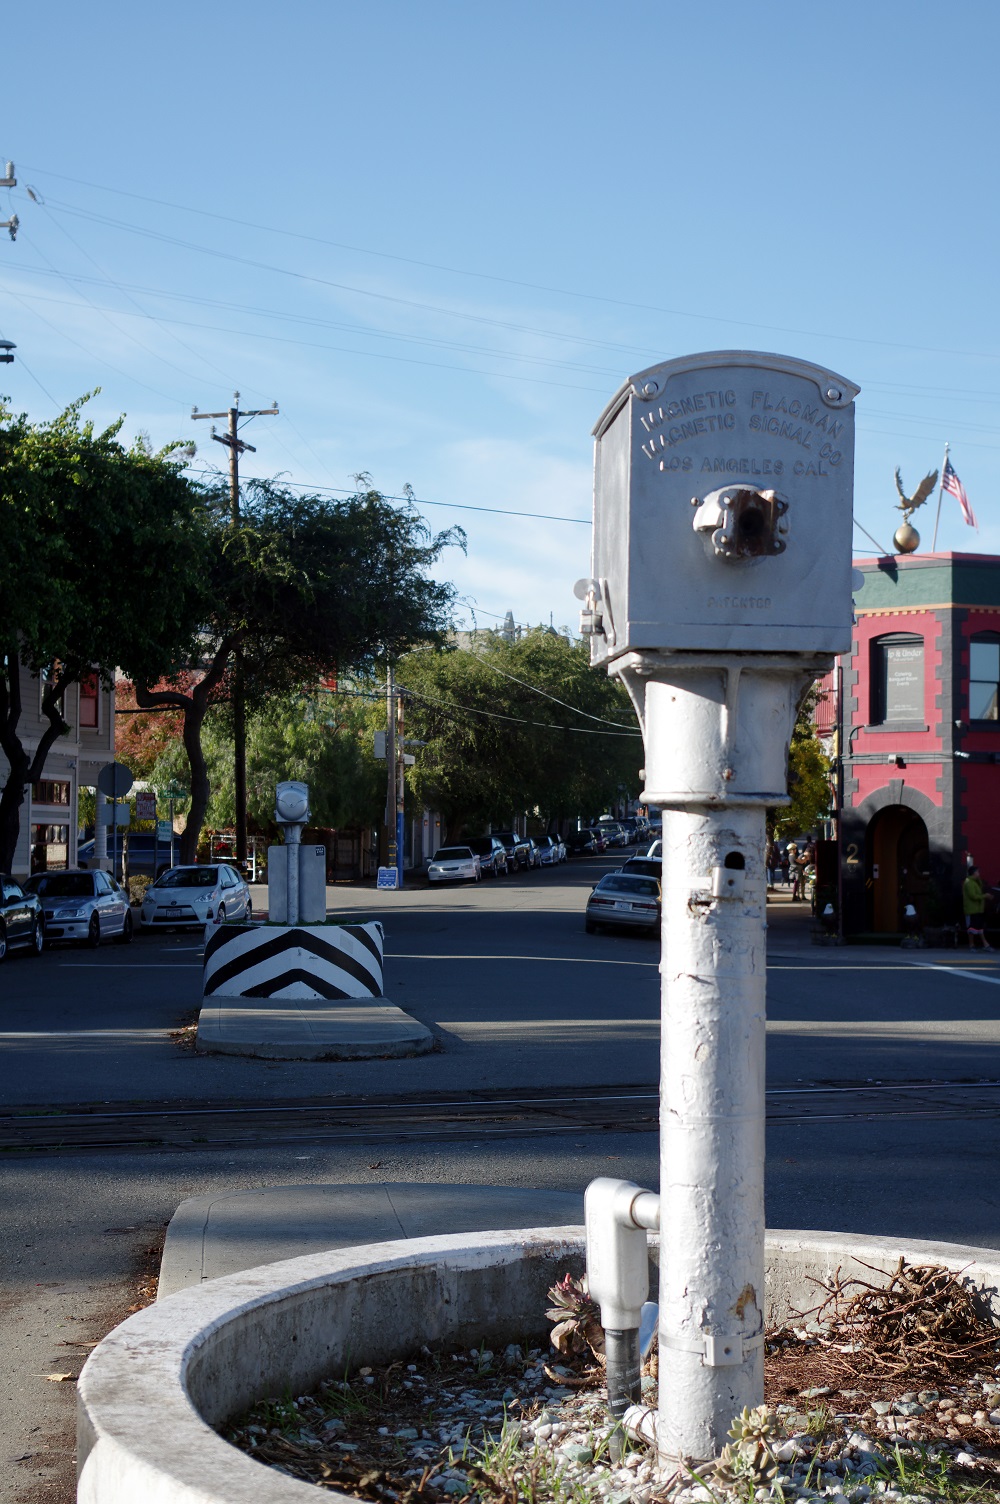
Banner-less wigwags on 11/25/18. Both banners were removed for restoration. |
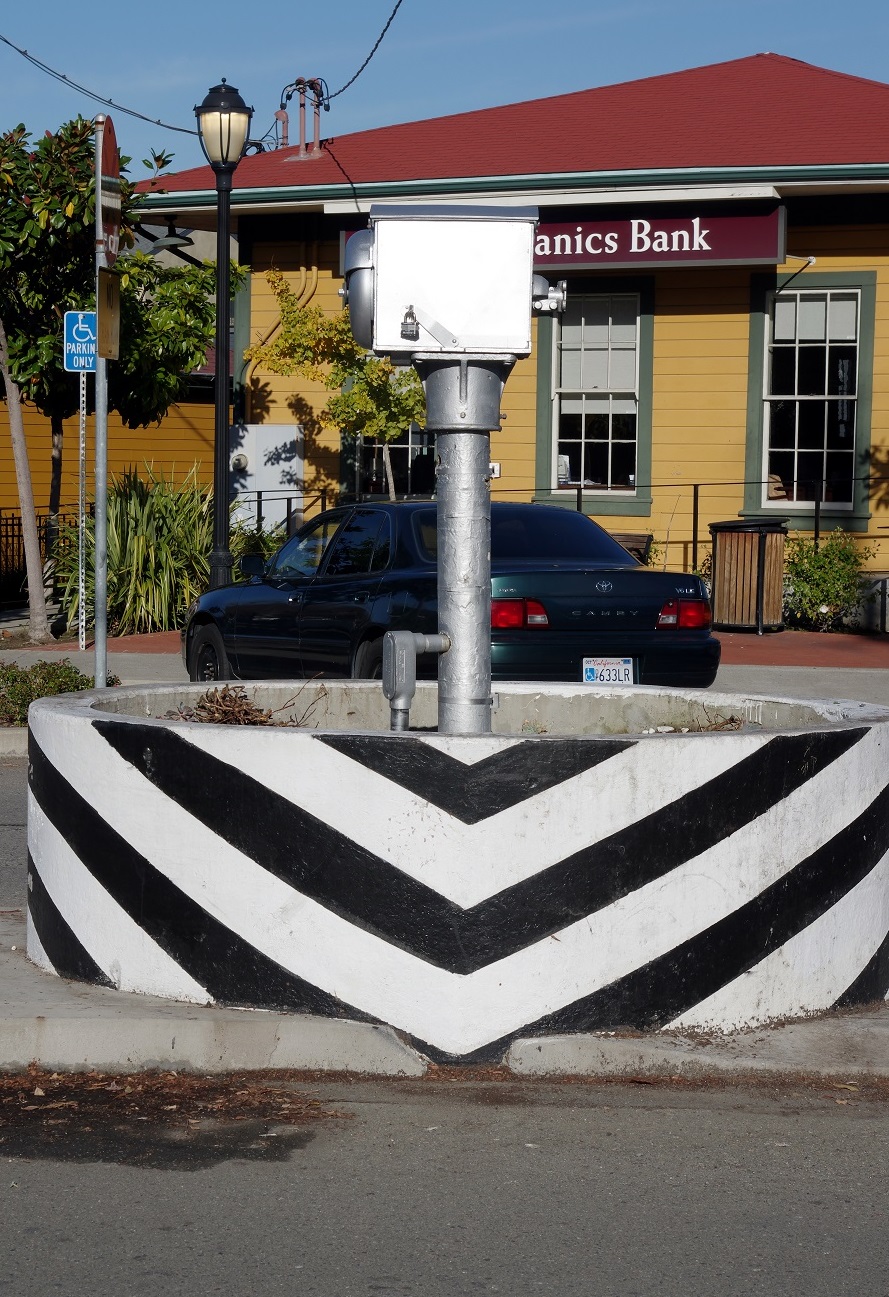
After removing the south wigwag banner, we loosened up the pedestal that that the motor box is mounted on and leveled out out the box. It was noticeably tilted forward. |
|
On 11/25, me and Don removed both wigwag banners
so I could take them home and begin the restoration process. Both banners
have multiple layers of paint, rust, and are missing parts. Many of the
smaller parts (like the lens hood clips) are badly rusted. I will be replacing
those parts with new ones that I made. I located a replacement lens hood
(and lens) for the south wigwag. This part of the job will take me a couple
months. I'll post updated photos here as the project progresses.
|
|
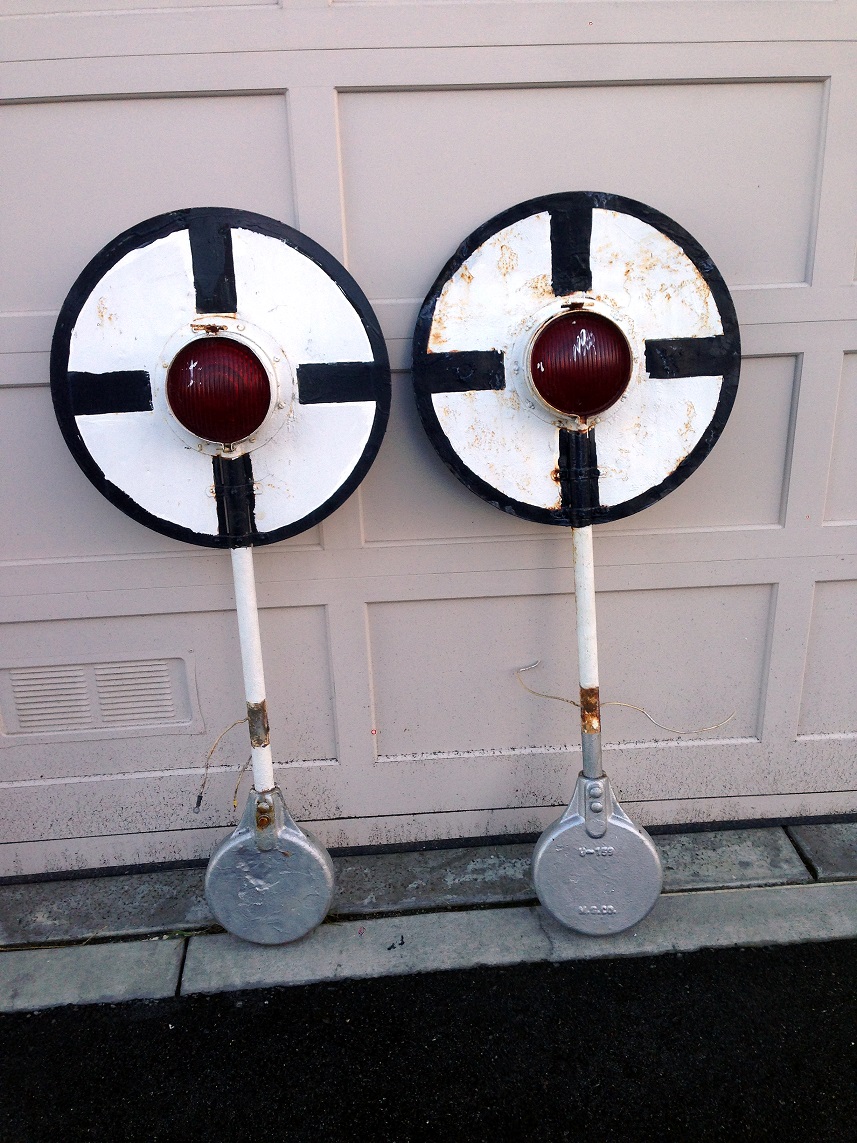
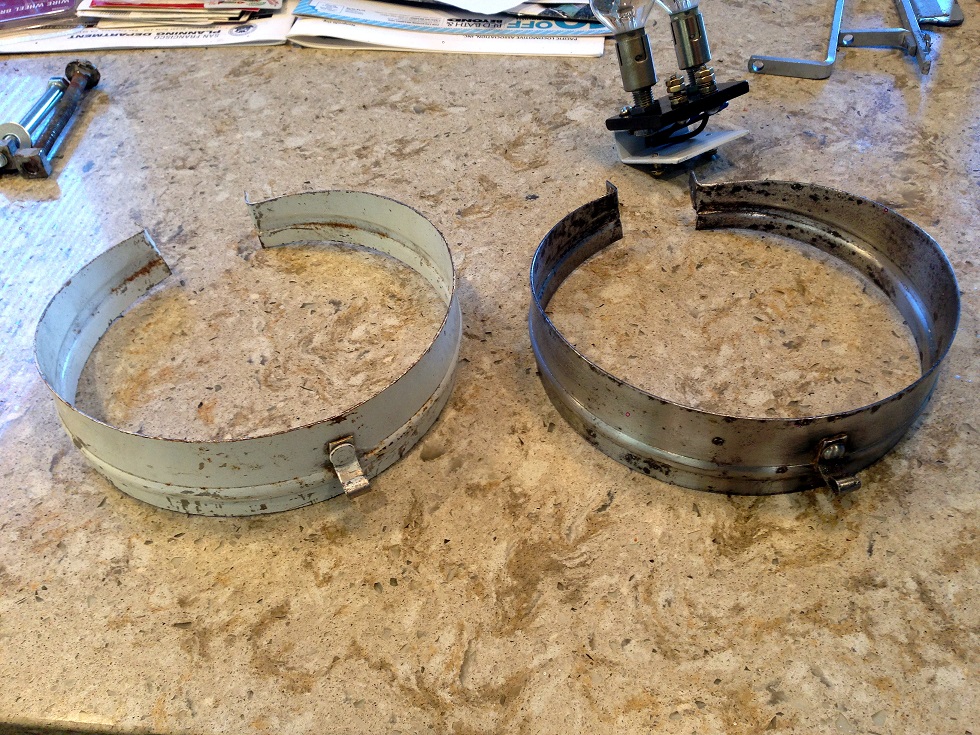
The two banners together after I got them home. North
on the left, south to the right. The south wigwag banner is in really poor
shape. Not only is it badly rusted and missing parts, it's pretty beat up.
|
|
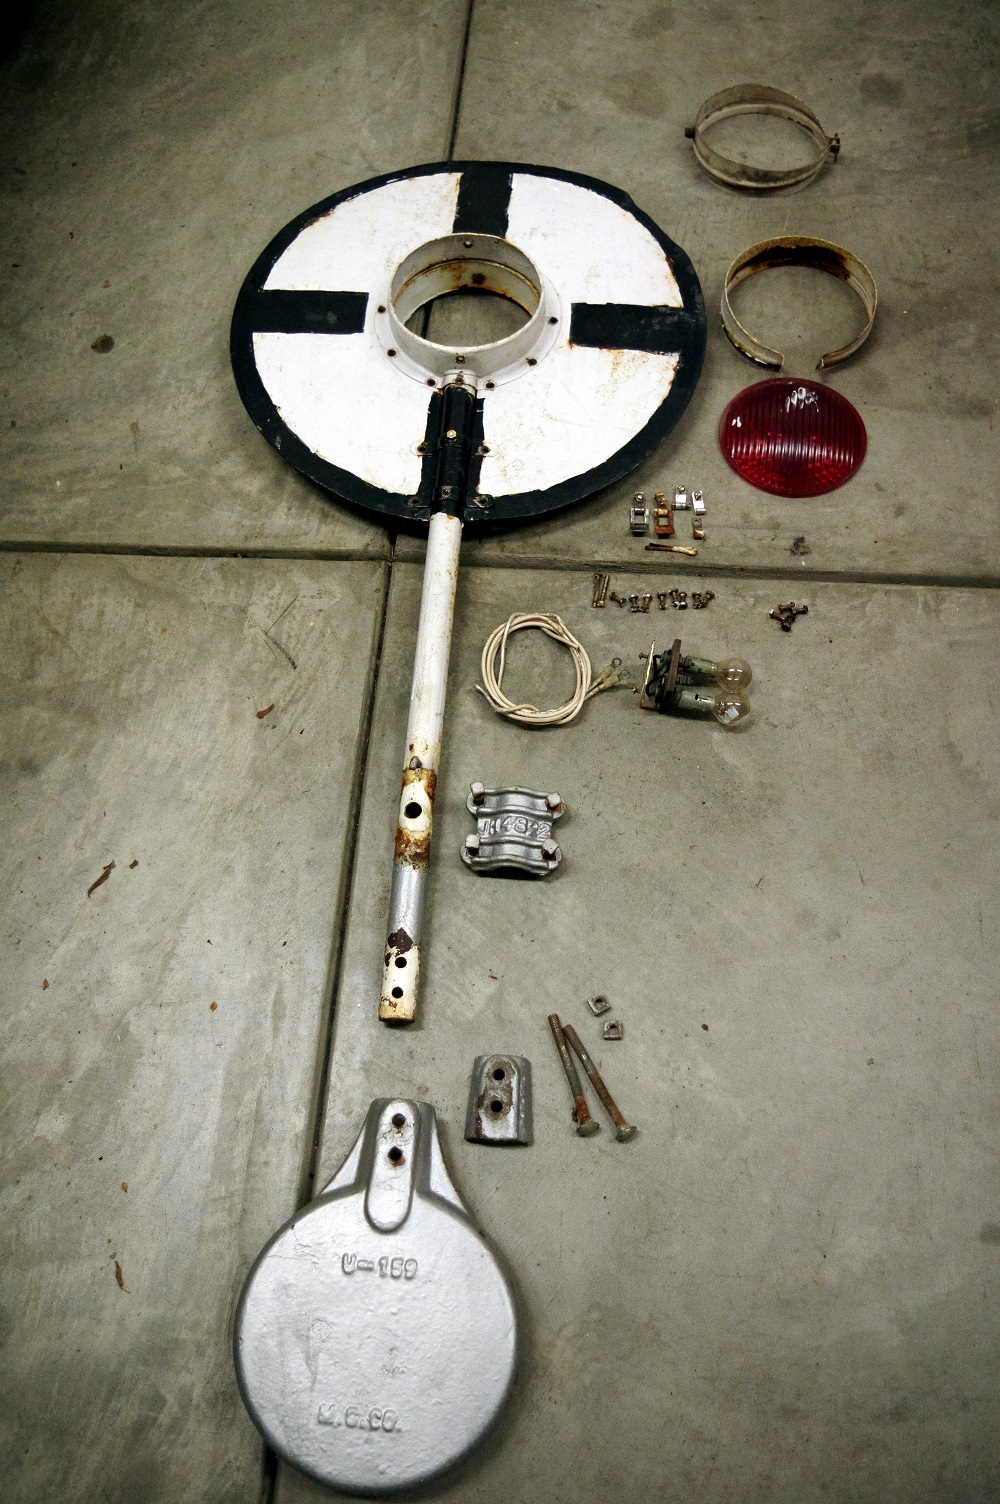
South wigwag banner - deconstructed.
|

|
The remaining lens hood. The hood on the back (and
lens) were missing. As you can see, it's pretty rusty.
|
|
The original lens is on the right, after cleaning
up by wet-sanding. I used Rust Mort on what little rust was left to
convert it to a paintable surface. The replacement hood is on the left.
Two lenses and hoods are needed (one for each side).
|
|
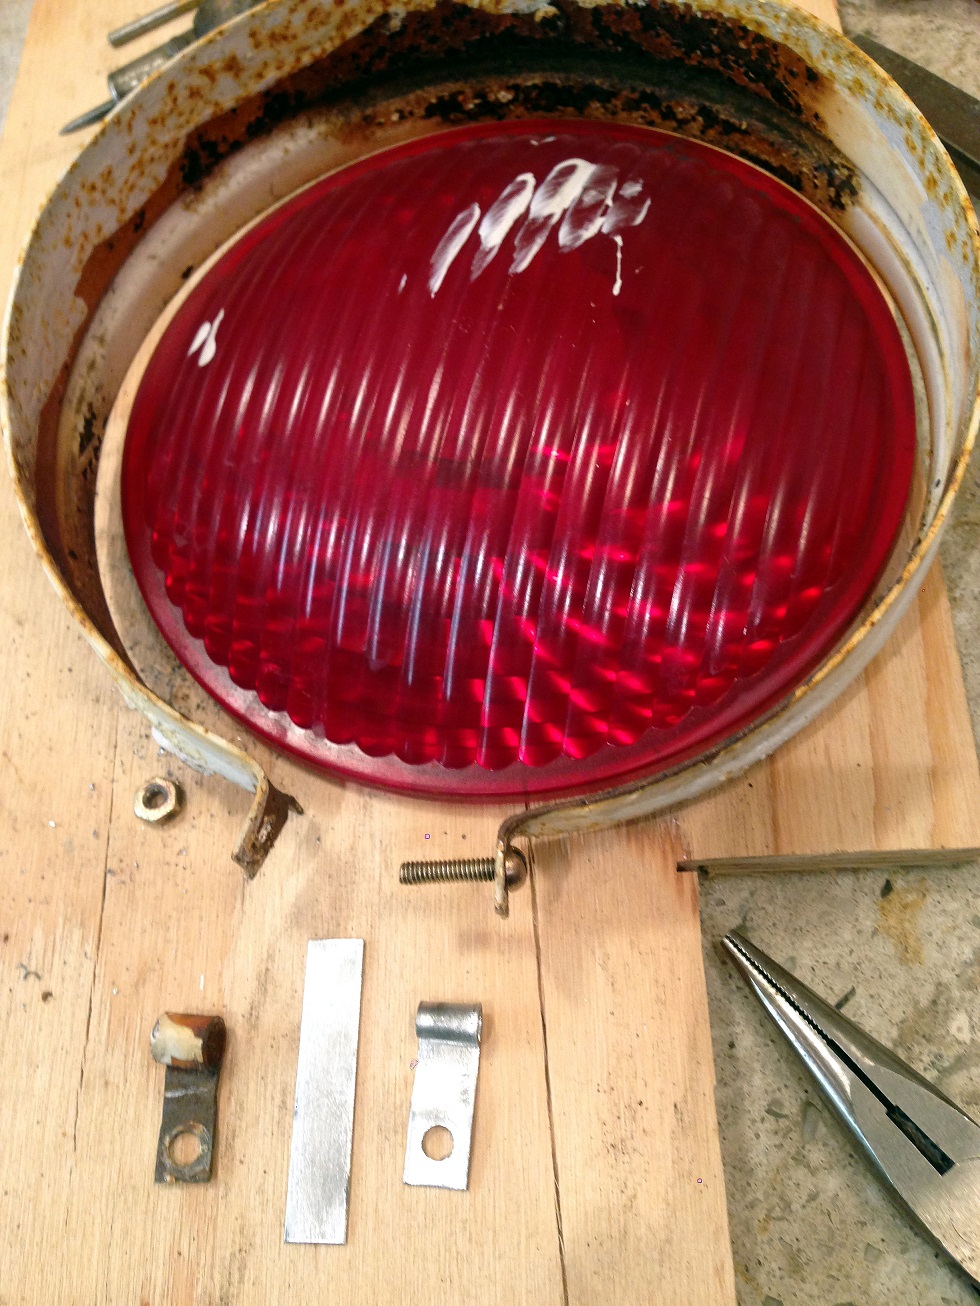
Lens hood and lens. I will either try to clean up
these lenses or order new replacements. Depending on budget. Also shown
are the clips that attach the hood to the banner. The original clip is on
the left. A piece of sheet metal to make a replacement clip (center) and
a new clip I made (right). They're not very difficult to make.
|
|
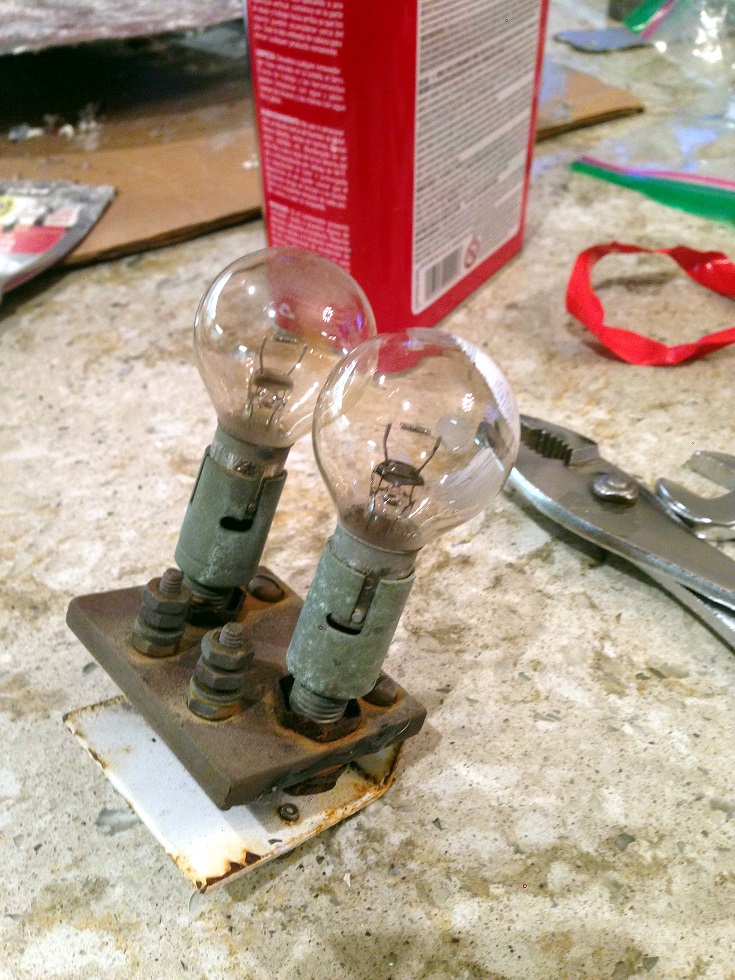
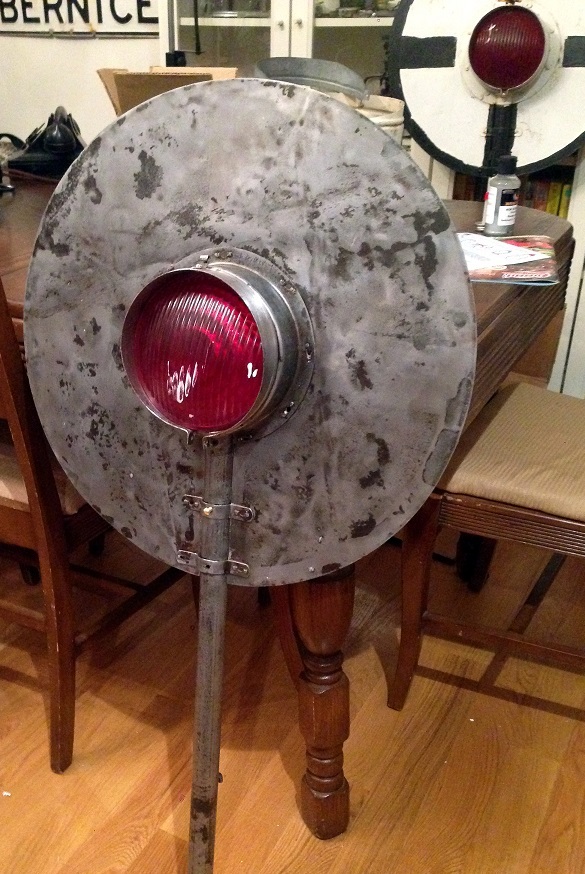
This is the lamp assembly before restoration.
|
|
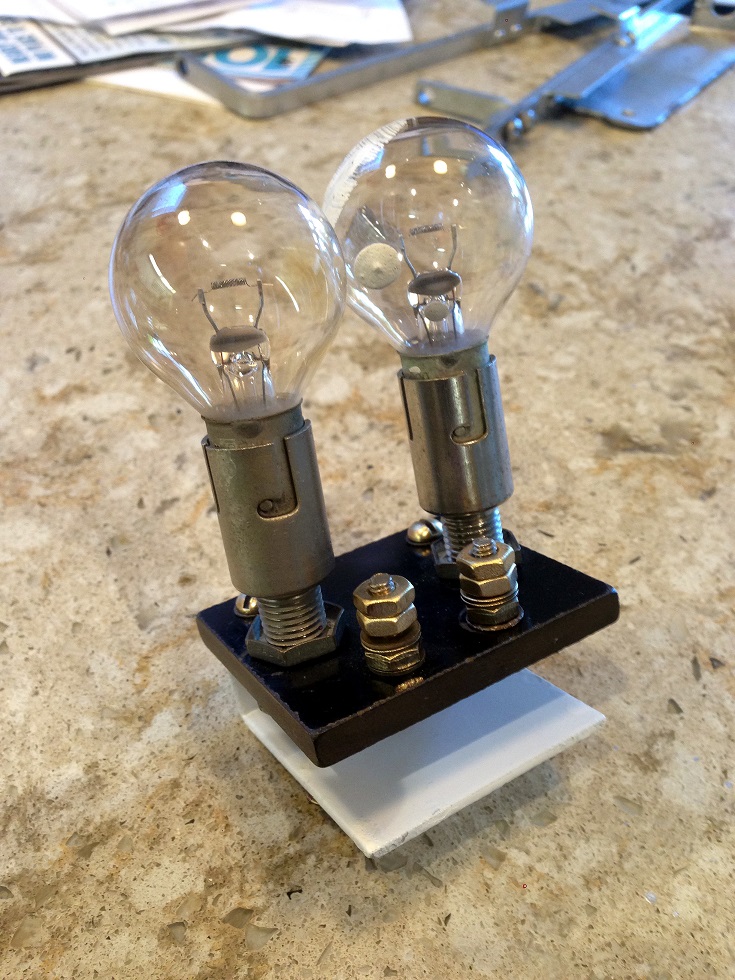
And after. |
|
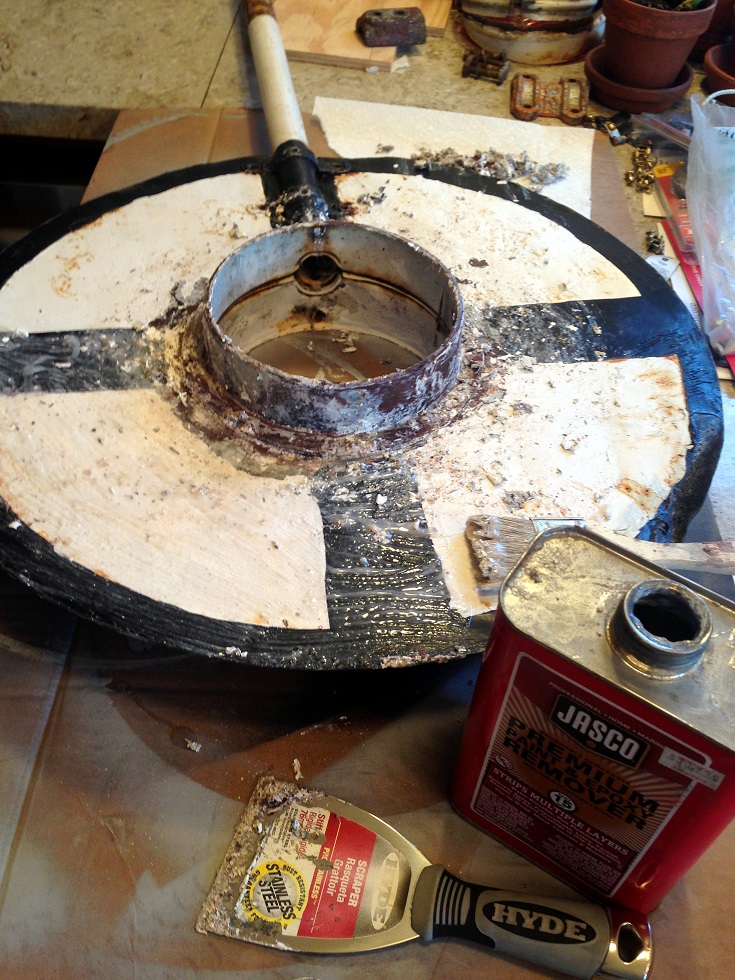
Paint stripping begins.
|
|
Side one almost complete (as far as chemical stripper
goes).
|
|
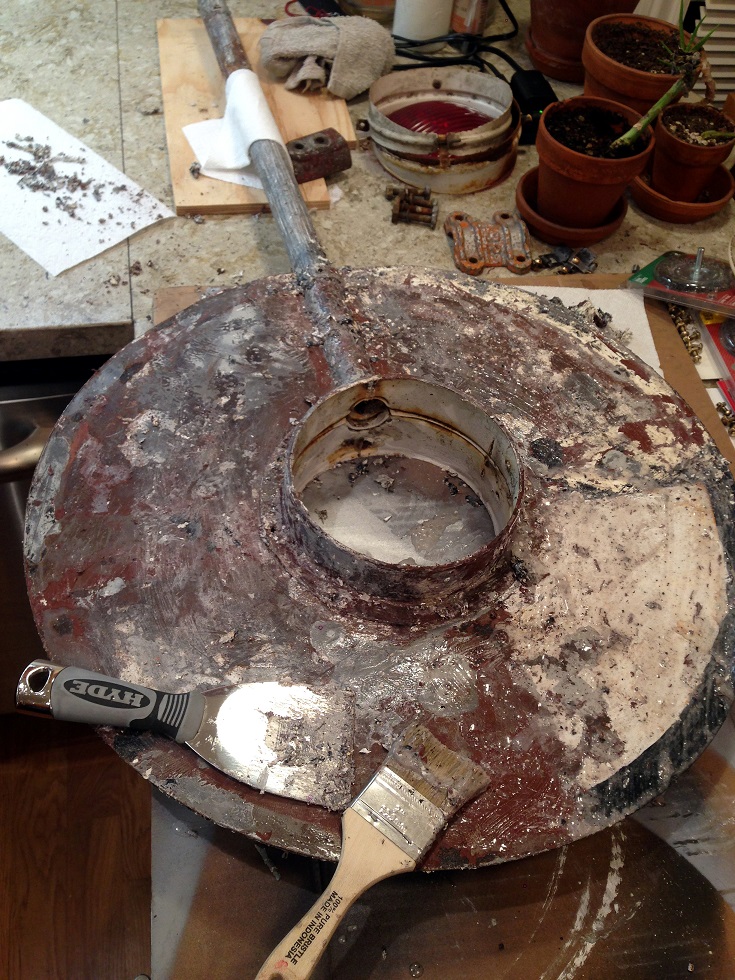
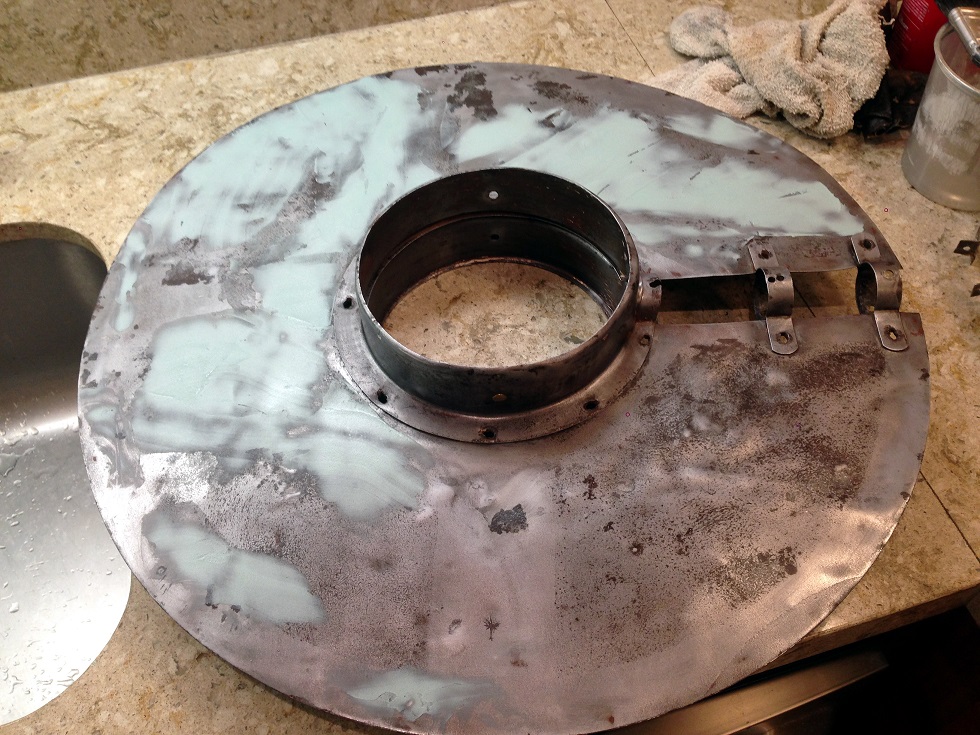
After stripping with Jasco, the banner gets sanded
and cleaned with a wire wheel to get as much rust off the sheet metal as
possible. This is where I spent some time pounding out as many dents as I
could. After that, I applied Rust Mort to treat what little rust remained.
|
|
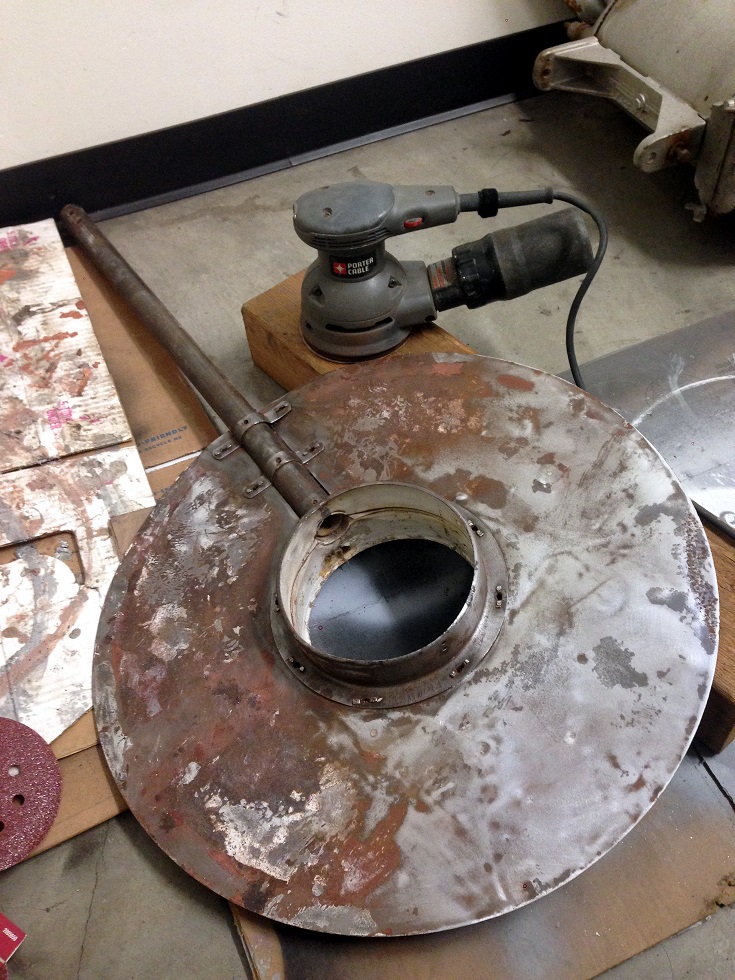
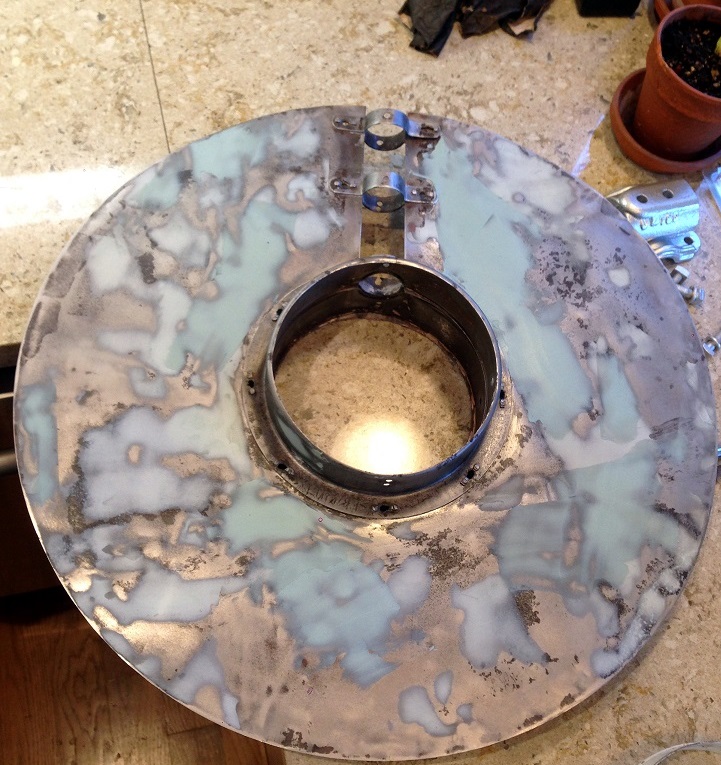
The banner pipe finally loosened up and I was able
to remove it. This made the banner disc much easier to work with.
|
|
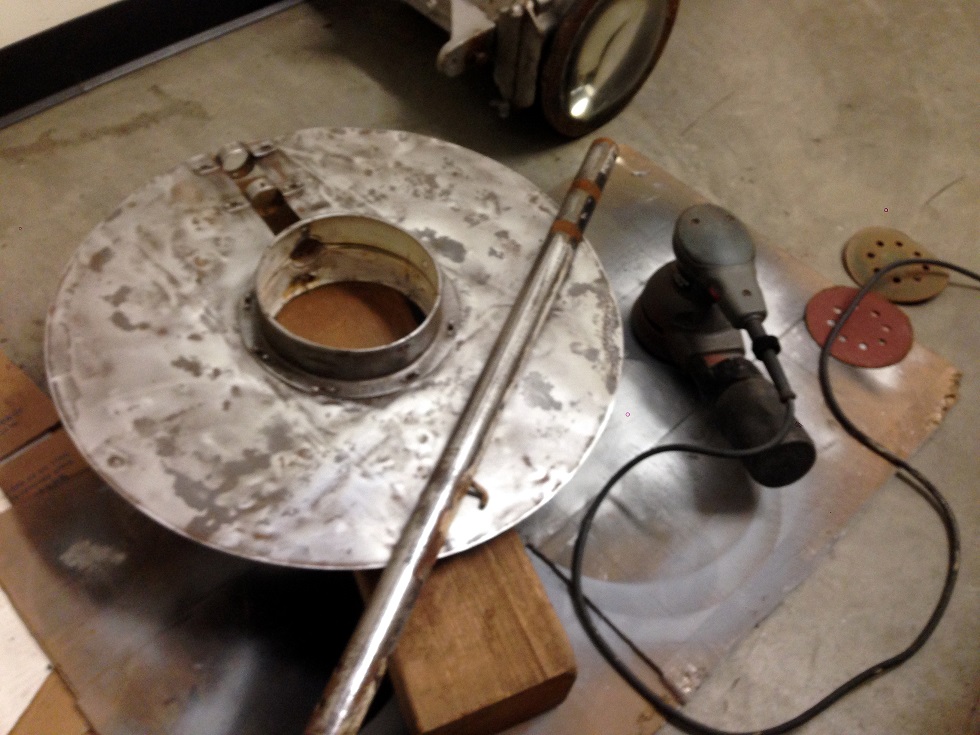
Bare metal wigwag banner, ready for automotive body
filler. I'll try to make it look better than it does here, but it won't
be perfect.
|
|
Applying body filler.
|
|
Quite a bit of filler went into this. Next...
primer. |
12/8/18


