


 |
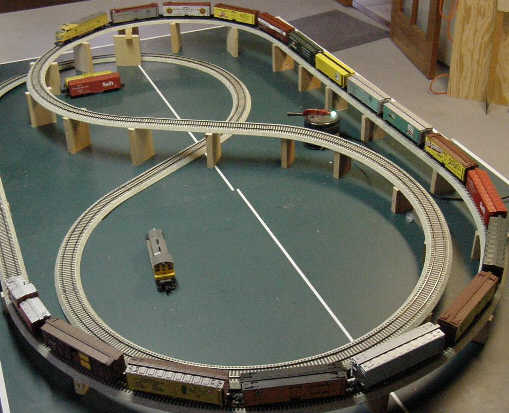
1) I used the ping pong table to lay out my track design. I cut
1x4 and other wood scraps to make the inclines. (They are not part of the
final product.) As you can see the the gradual incline allows for long
trains.
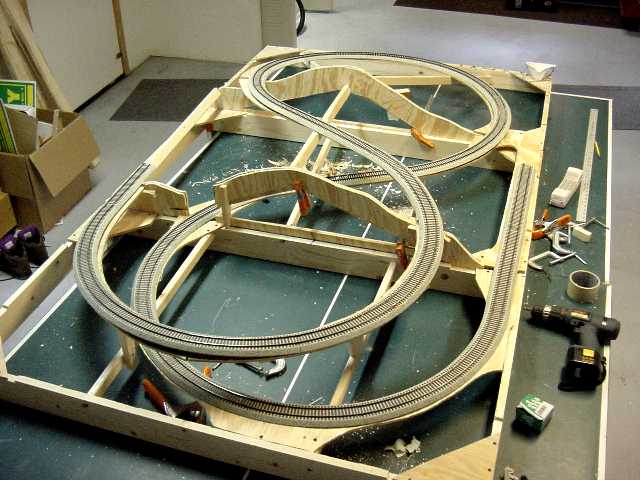
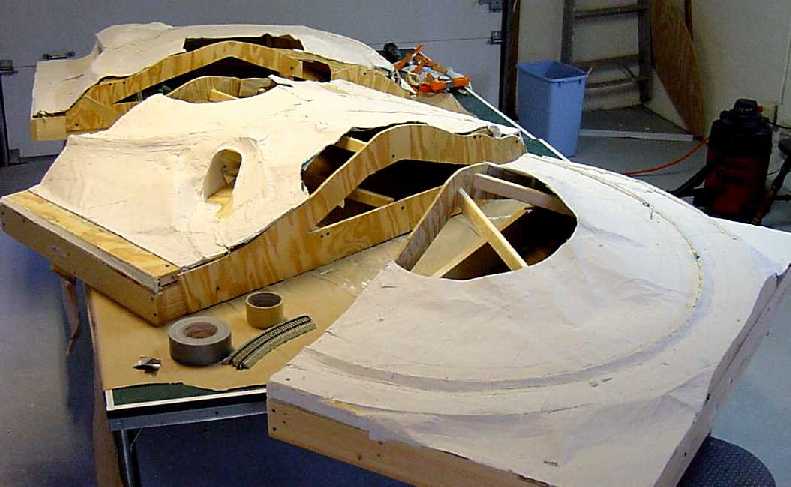
2) I used the track sections as a pattern to make a plywood sub-roadbed that is mounted via risers to a 1x4 frame. This is a modular layout so I am using three 30x54 sections. |
 |
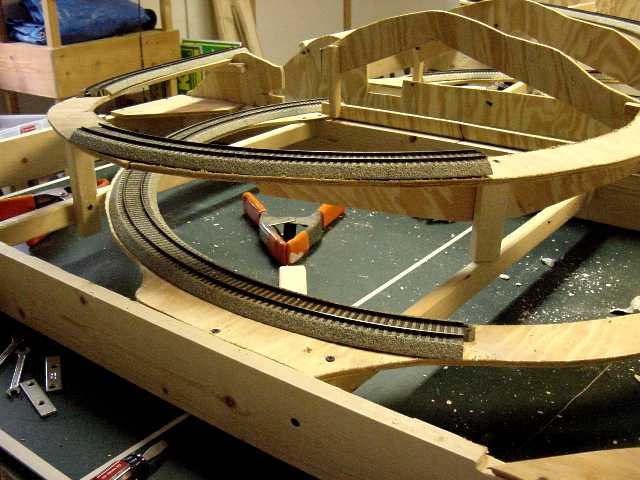 |
3) The plywood is supported by 1x2s and plywood that is secured to
the 1x4 frame.
4) Track fit check on the frame. |
 |
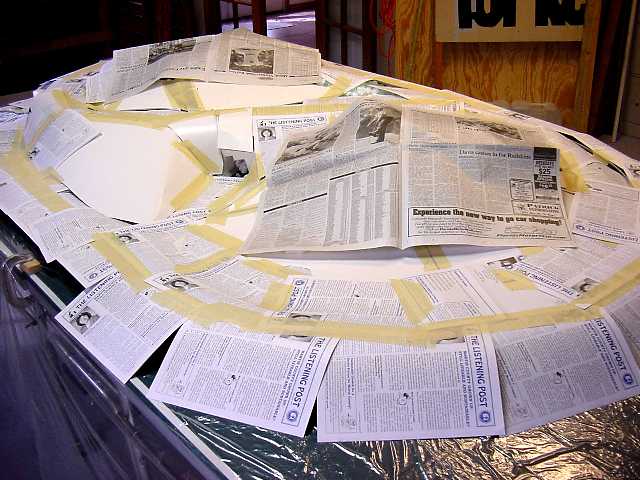 |
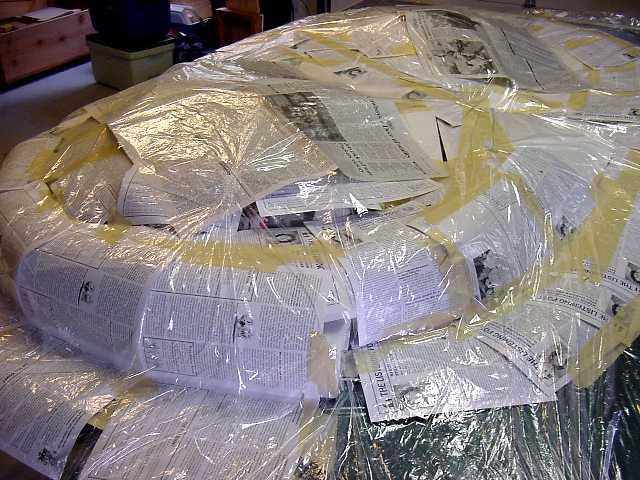
5) Remove the track , and drape stiff paper, fill voids with popcorn
and newspaper wads define the form.
6) A layer of thin plastic is used to seperate the final conour from the junk you use to define it. |
 |
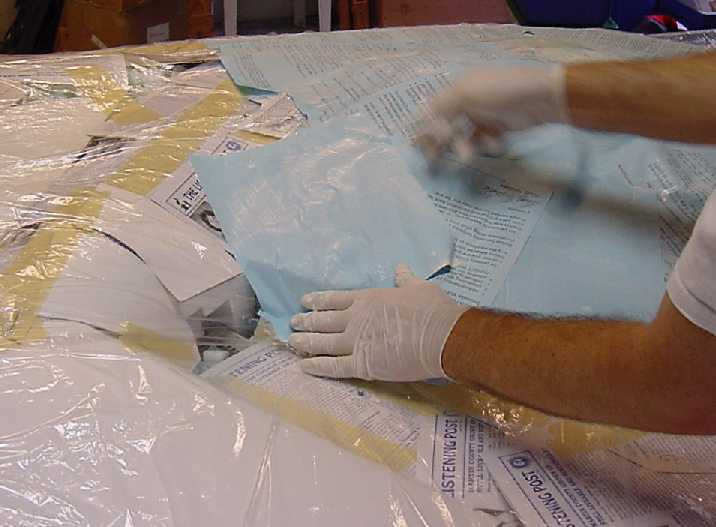 |
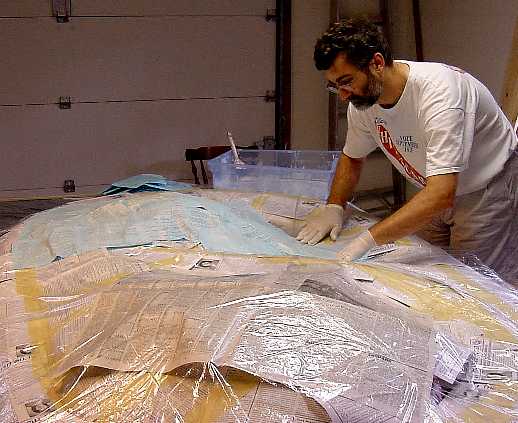
7 & 8) Using paper dipped in joint compound, and overlapping as you cover...remember the track sub-roadbed are the only important surfaces. |
 |
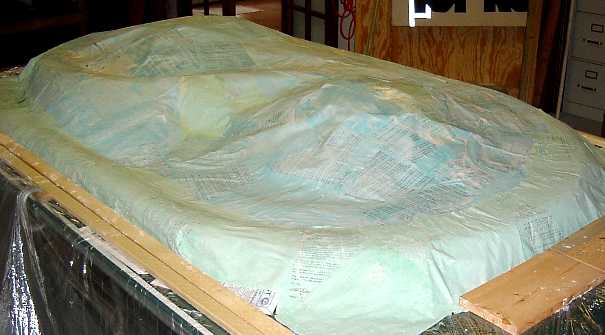 |
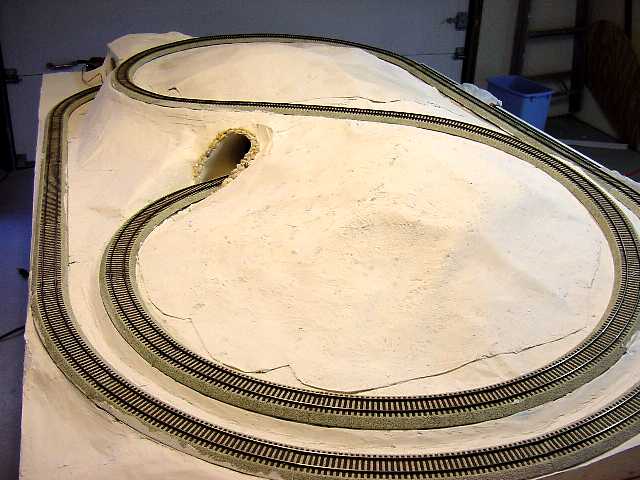
9) Basic shape. (Not shown is the application of several coats of joint
compound.)
10) To make a cover for the access hole, a thin layer of plastic protects the form while fibergalss and resin is overlayed. |
 |
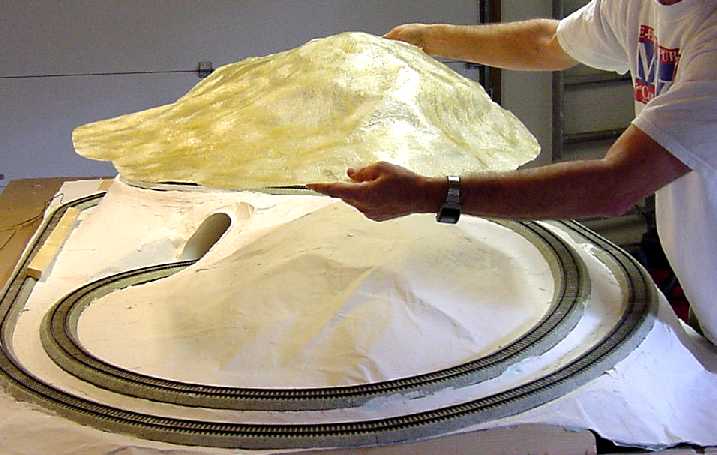 |
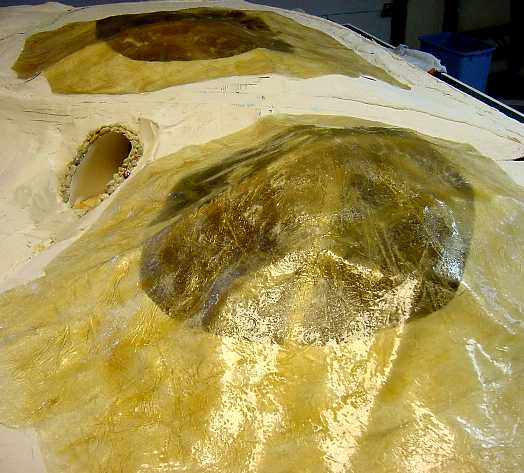
11) After it hardens, the glass cap is trimmed.
12) I then cut access holes in both mountains. |
 |
 |
13 In addition to in-tunnel access the access holes allow the modules
to be connected inside the contours from above.
14) With the caps in place and a coat of joint compond the layout is taking shape. |
 |


