


 |
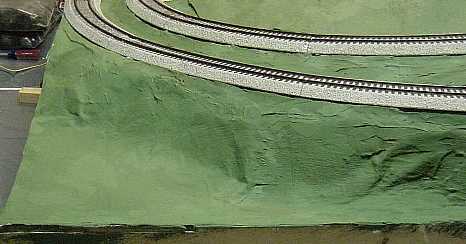
At the onset I must confess that I have no experience in this type of scenery. Bill Porter was generous enough to make the one hour trip to my home to instruct me in the fine art of scenery. He also supplied most of the supplies. Thanks Bill! This is one corner of my portable layout. It is joint compound on paper, on top of plywood and 1x2 supports. At this point it has been painted with latex paint, in a camouflage pattern, using several shades of green. The paint has been allowed to completely dry. |
| Using white (not the yellow stuff) glue and the classic Hostess Cupcake pattern. Apply a generous layer of glue. The amount of area you choose is based on how much attention to detail you can bring to bear on a larger area, and how much of a hurry you are in. | 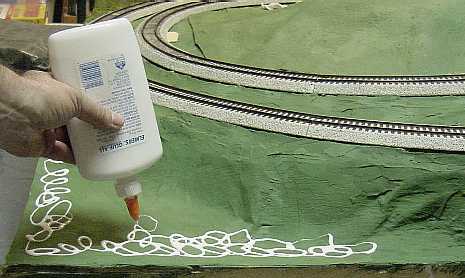 |
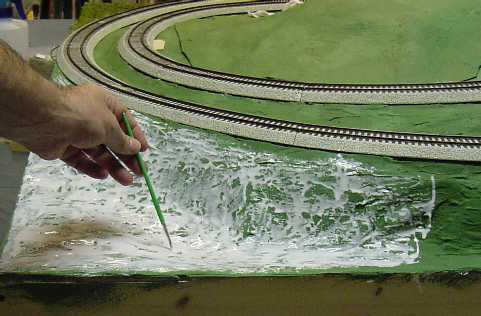 |
Using a paint brush, maybe a slightly larger one than this, spread the glue as evenly as possible. |
| Chopped up foam is applied to form groups of bushes. | 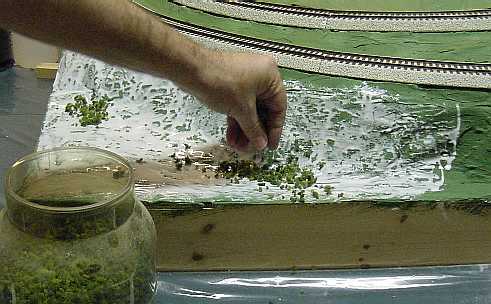 |
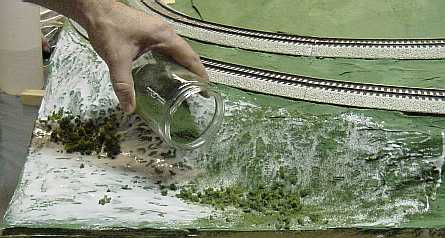 |
Flocking is applied over the entire area. Several colors and textures are used in hopes of creating a more natural appearance. |
| After several layers of flock, a light MIST is applied. This is water with a bit of detergent added. This allows the glue to soak up through the layers of flocking. | 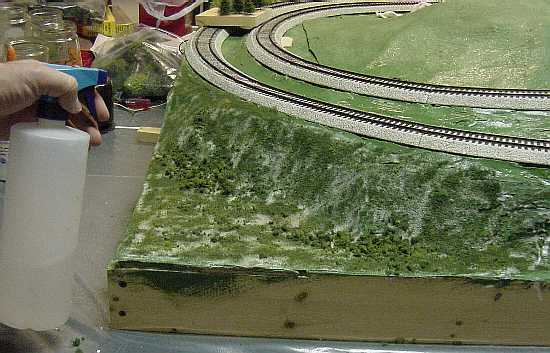 |
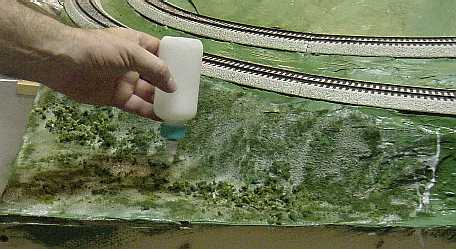 |
To further unify the scenery, a 4 to 1 , water/glue mixture is 'dropped' onto the scenery. |
| Another round of flocking is in order. Followed by another light 'MIST' | 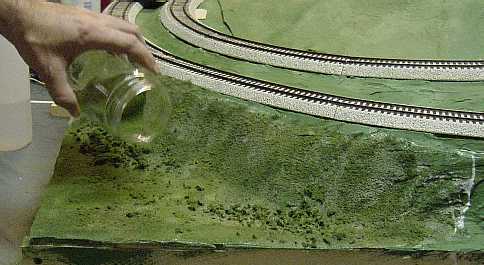 |
 |
Using a brad as a drill bit , make holes for your trees. Then pit a drop of glue on the trunk, as it is inserted. |
| With most of the trees in place the corner is almost finished. The wet glue is still visible through the scenery. | 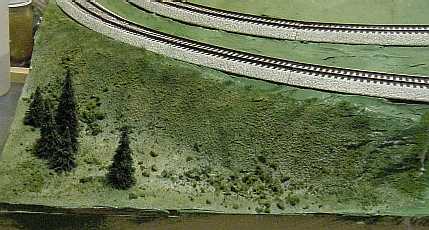 |
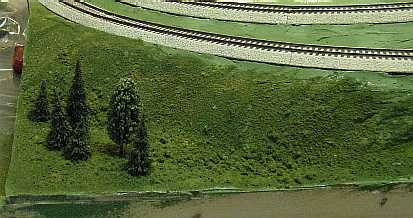 |
After an overnight drying the scenery is 95% dry and (to me) looks great. Thanks Bill! Now just need to do the other 80% of the layout. |


