


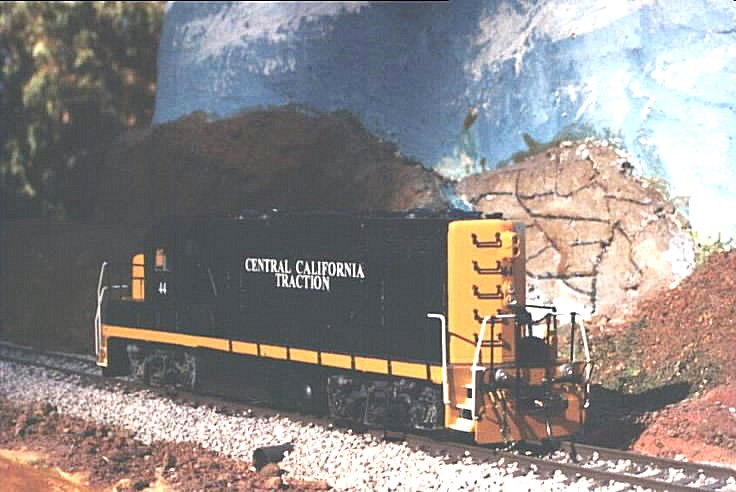
Central California Traction
Modeling the 44 in HO Scale
By Walt Freedman
Base unit. Proto2000 Undecorated GP-7 Phase II with dynamic brakes - Item # 23015
Cab: Cannon Thinwall EMD kit TC-1501 $5.95, windows/glazing CW-1505 $2.95
Paint: I used Pollyscale - Steam Power Black and Reefer Yellow (right for ATSF yellow).
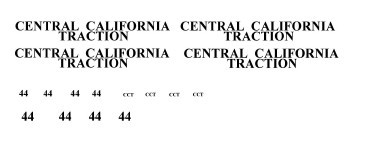
Decals: Made my own lettering/numbers on an ALPS MD-1000 printer except for the numberboard white/black-border
background - I found suitable ones on Microscale 87-904 "EMD & GE Number Boards 1985+".
E-mail me: Walt Freedman, if you want my home-mades ($2 + SSAE for about 2-1/2" x 5" size with spares - see example of my decal - actual printing is white).
Nose weight: Carefully cut about a 1/8" slice off top of nose weight to allow nose piece to fit. A fine-tooth
razor saw works fine. If you want working low nose lights (I used MV lenses - see below), you'll have to carve out the
front of the nose weight too to allow room for the bulbs).
Nose - P2K hi-nose section: Cut off grooved section at rear of nose that locates the original P2K cab, Cut off at bottom - second groove up to maintain lowest section w.steps. Save this.
Cut off grooved section on front of long hood (locates rear of original P2K cab) a little at a time to fit cab width
(just a tight friction fit). Then by trial and error, a little at a time, cut more off bottom of remaining top piece of
nose to align with middle of horizontal solid piece of cab front below the windows.
Acc glue to the lowest section with steps. Fill/sand - I use NAPA 6394 red oxide filler and wetsand with 600, then
1550 grit wet/dry sandpaper. Tip: Moisten with spit while sanding smooth.
Sills: Carve off lower sill projection with #11 knife.
Pilots: .01" styrene pilot ends - steps carved off .01 styrene "plate" to cover d/b fan hole.
D/B vertical grill projectionss carved off with #11 Xacto and filled with NAPA 6394 red oxide.
Relocated horn - filled hole.
DA 2212 coupler lift bars ends acc'd onto P2K lift bar with ends cut off
OMI #9316 marker light etched frames
DA 1508 MU hoses
DA 1502 drop steps
A-line 29210 sun shades
DA 101101 brass lift rings - none on short hood roof.
DW 103 SP headlight set for rear - one part in package
DW 114 twin sealed beam nose and lower rear
DW 148 Pyle twin for cab
MV 27 for lower nose headlights
MV 26 for rear lower lights
MV 300 lenses for ditch lights (used marker light housings from Cannon 1103 81" low hood) and front marker lights.
Miniatronics 1.5v 1.2mm lamps - 2 cab high front, 2 rear (replace existing P2K lamps and light tubes - reuse P2K
circuit board) 2 more bulbs if you want working nose lights. You will need to carve out the nose weight to accomodate these.)
I did not try to install working ditch lights.
Styrene to fill gaps at walkway level at cab bottom. Use
P2K part cab rear left, scratchbuild small step for cab rear right - 0.02" styrene or other of choice).
Assembly tip:
Cab goes on last - its just a slide friction-fit. Leave enough wire lead on front bulbs to insert bulbs into top headlight
holes before installing cab. Fan immediately behind cab needs to be carved out a little at the front edge to seat the
cab.
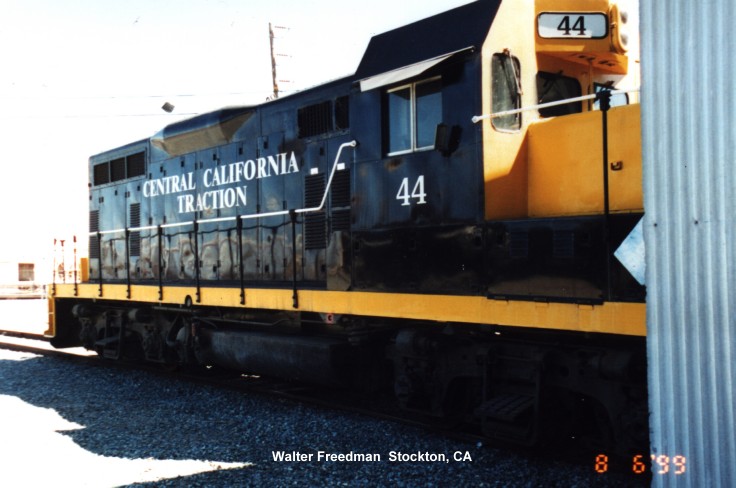
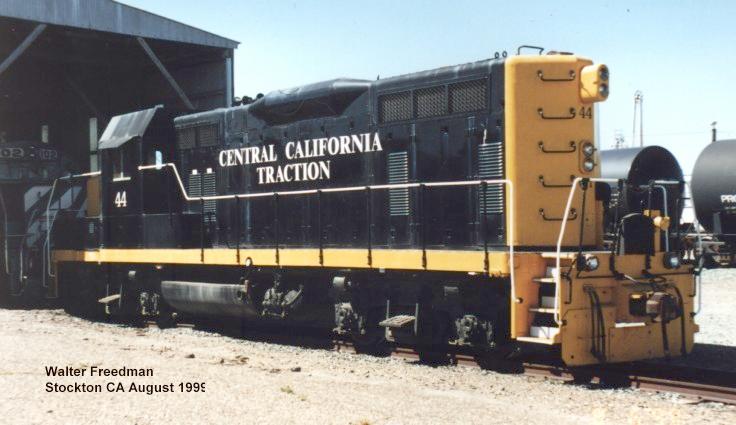
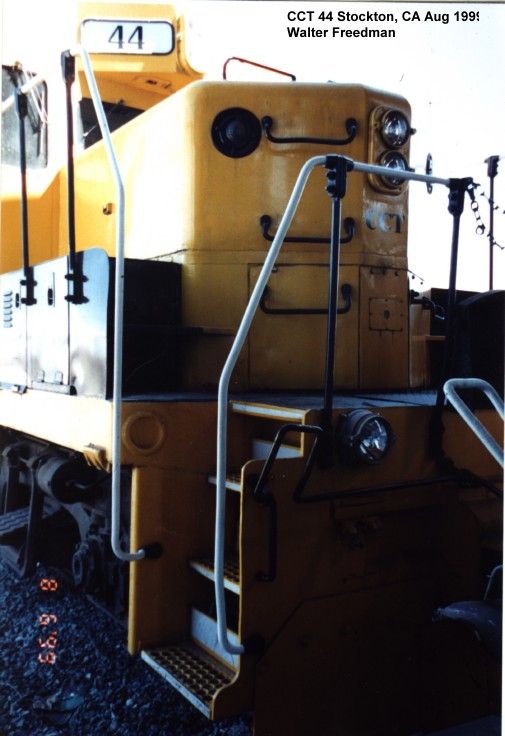
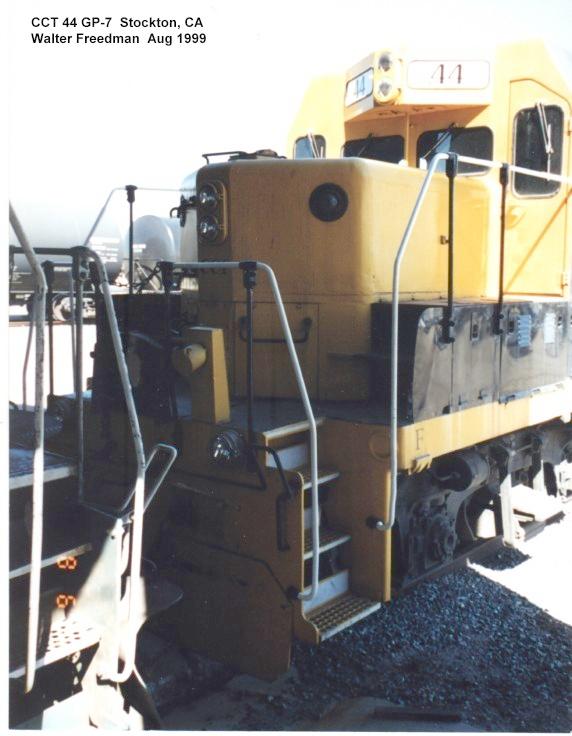
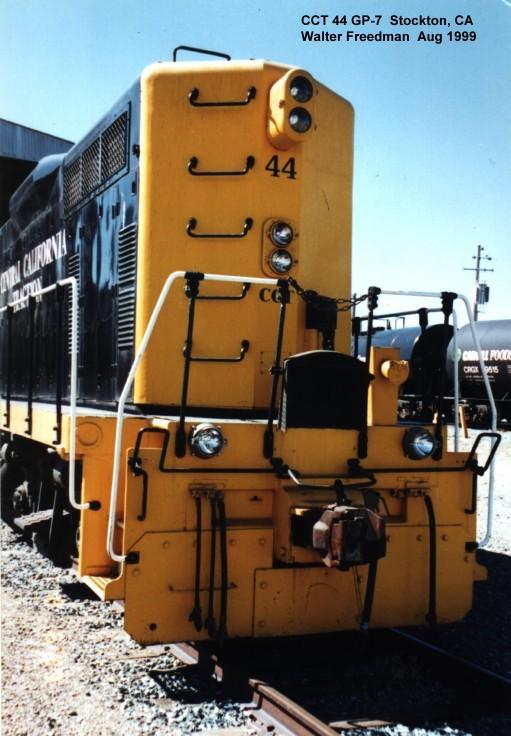
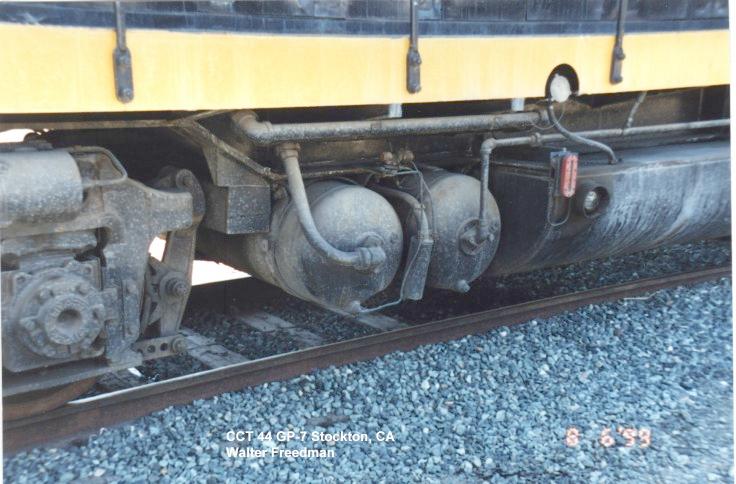
Prototype Photo Walkaround of CCT 44
All photos by Walt Freedman

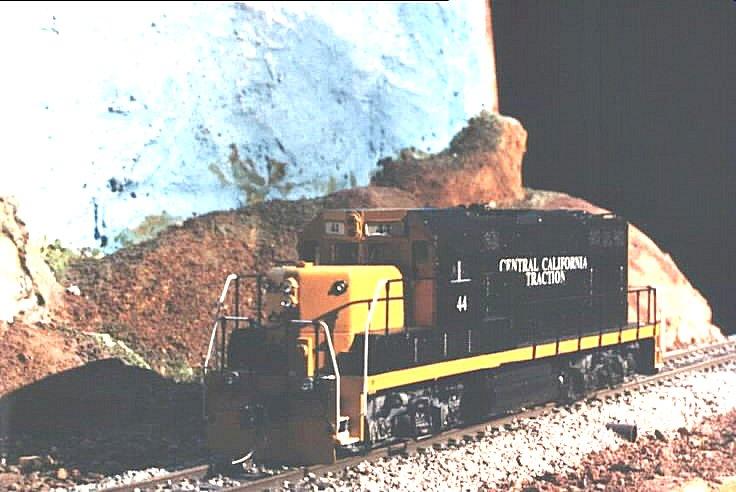
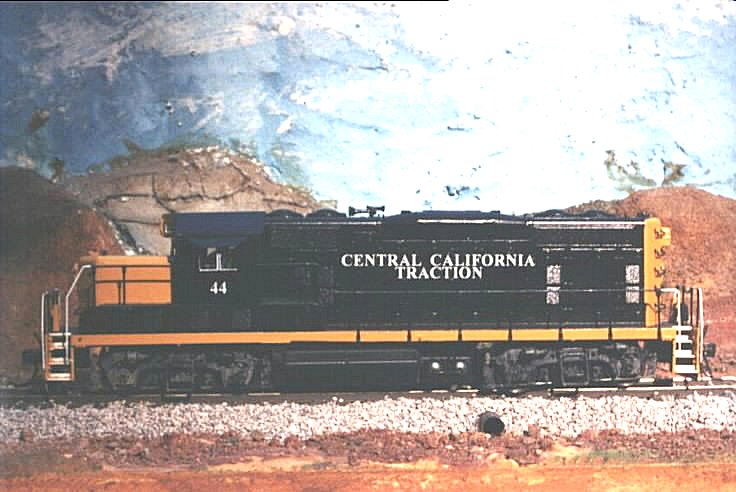
And the Finished Model!!!
All photos by Walt Freedman
Back to: CCT Information


