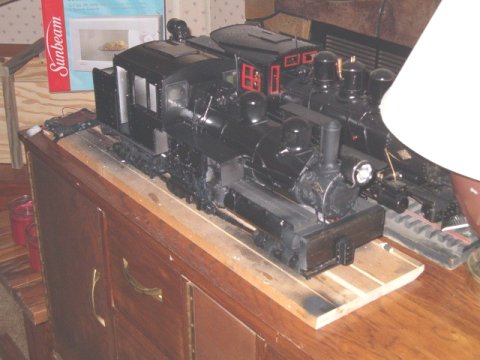
Fig 34 |
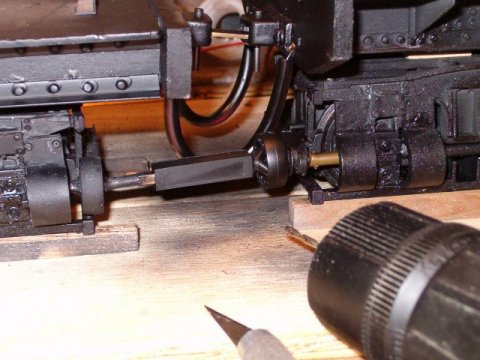
Fig 35 |
| The smokebox was masked off
while the boiler and cab assemblies had a coat of gloss black applied while
the smokebox recieved a graphite treatment. Figure 34
The Lima builder's plate is a white metal casting made by Jeff Saxton (yes
that Jeff Saxton).
The sliding sleeve joint on the driveline between the No2 and No3 truck was an easy fix as I had done this particular trick on No7. First I remeoved the rear cap from the driveline on the No2 truck. Having an extra Bachmann crankshaft, I sliced the universal off and rounded it down. A peice of brass tubing fits over the end of the driveshaft on No2 truck, and then slide theuniversal in the other end. Drill through it and pin it in place and voila! Figure 35 I was lucky enough
to find some really great looking scale chain at the local hardware
store. I soldered a brass eustecheon pin into each end link and drill
a hole to accept them. The result is this really super looking safety
chain Figure 36
|
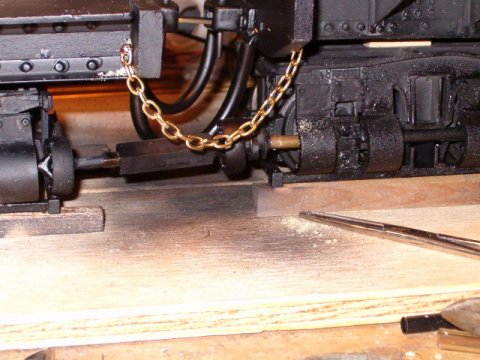
Fig 36 |
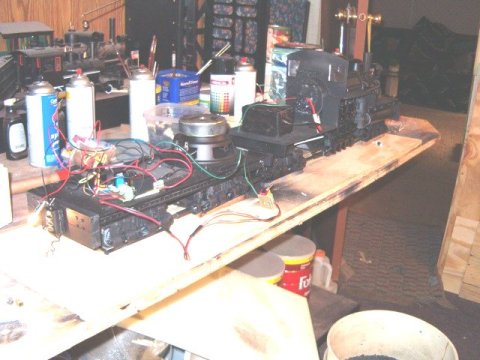
Fig 37 |
Now onto the hard part,
installing electronics. As I installed the headlights and trucks
I ran all the appropriate wiring, now to bring it all together. I
use the EVO throttle from Action RC and a Futaba reciever that I purchased
online at Tower Hobbies. The EVO throttle has reversing headlights
built into the design. Figure 37
Although I generally don't go in for sound, in this Queen of the Fleet, I opted to put in the Sierra SoundTraxx card meant for the Aristo 2-8-2, I chose this one cause of its deep mellow whistle. After the snowplow pilot was
installed, I was able to fit Bachmann knuckle couplers in the standard
WCNG locomotive pocket and applied working cut levers. From there
it was just a matter of applying appropriate stenciling and assorted detail
painting. Just slip in a 12 pack of NiMH AA cells and we're off to
work!
|
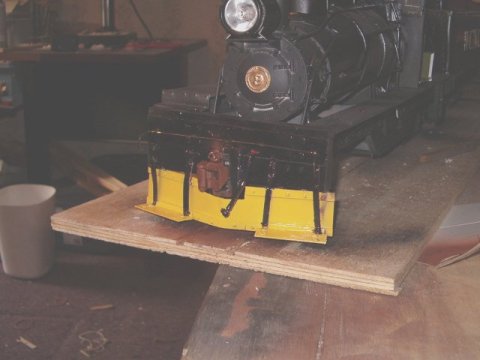
Fig 38 |
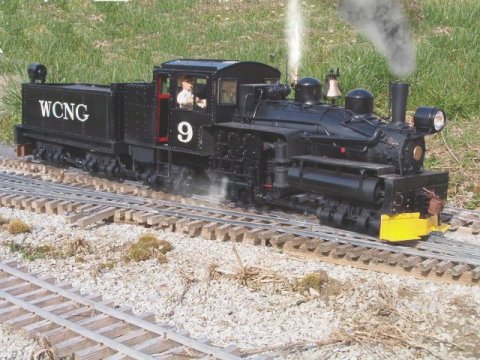
Fig 39 |