
It all started when I purchsed a Bachmann
Outside Frame 2-8-0 Consolidation (Affectionately known as Connie). After
careful examintation, I decided that I can do a little something in 7/8
scale with it. Since turntables are absent on the WCNG it would have
to recieve a trailing truck for backing movements. So why not add
a whole new superstructure, bigger boiler, bigger firebox to justify the
trailing truck.
|
There she
sits,all pristine, straight from the box. (Figure 1) Looks
scared doesnt She?
|
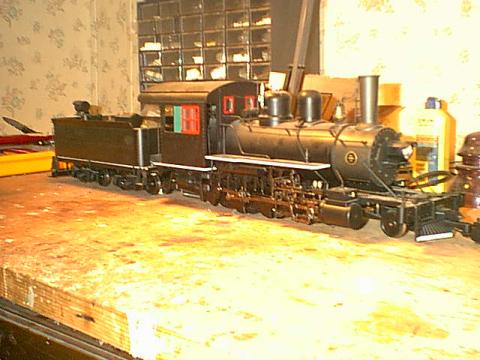
Fig 1 |
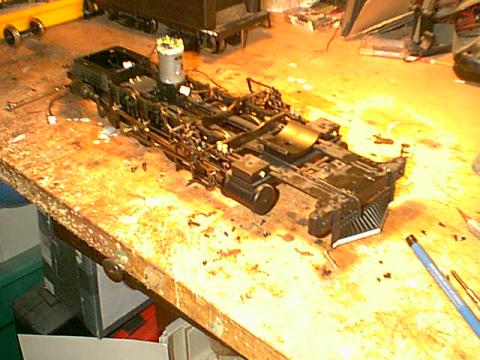
Fig 2 |
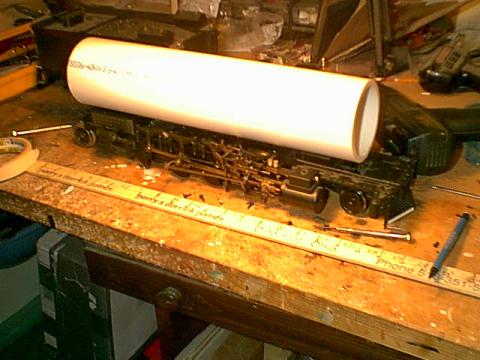
Fig 3 |
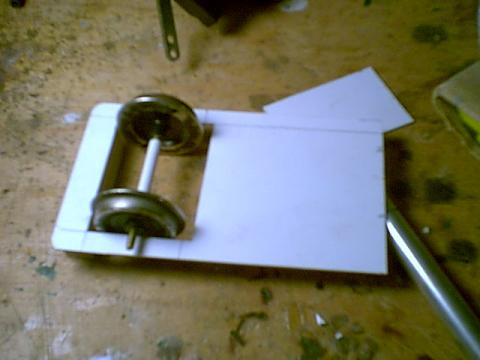
Fig 4 |
Yea, trailing behind in more ways than one.
I had intended
to be a lot farther along by this time, but the real world has this habit of butting in all the time. I have managed to find the time to cobble up a trailing truck, so the conversion to a 2-8-2 (Connie to Mickey) is official. Fer those interested, remeber that I removed the ash pan and all the electronics leaving the firebox an open square. I secured a piece of wood cross ways in the the firebox to serve as an anchor for a trailng truck. Remeber, in addtion to improving tracking while moving in back motion, the purpose of a traing truck is to support a larger, wider firebox. In instances like this the ashes dropped though the frame of the truck into the ashpit. I took a piece of .040 styrene and cut it to a rough outside dimension. Then I cut an opening in it big enough to accomodate the wheelset, yet close enough that the axle ends won't let the wheelset fall through. (Figure 4) Once this was established, the styrene card was futher cut and formed.
|
| Once I was this far along, I thought I 'd check the dimensions
to see how
it looked. Looks good so far!!! Figure 5 With that much done, it was time for journals.
I cut a couple
Once the glue was dry, I started building up the rest
of the truck.
|
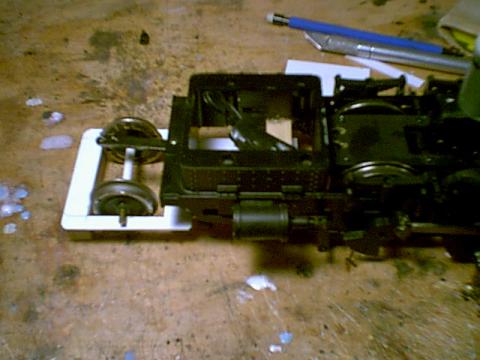
Fig 5 |
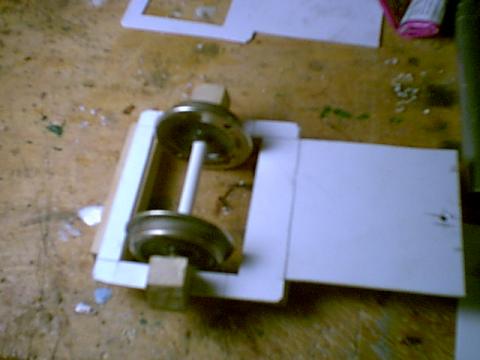
|
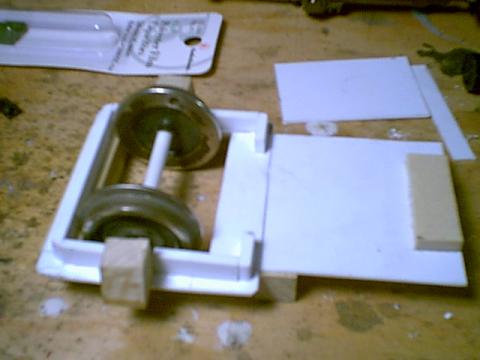
Fig 7 |
After all this came the easy part. I glued
the top on and then added som journal cover castings that I made in house.
A few bits of styrene made up mounting plates then I added some nifty spring
castings that I resurrected from a previous project. Once those were
in place, the trailing truck was basically done
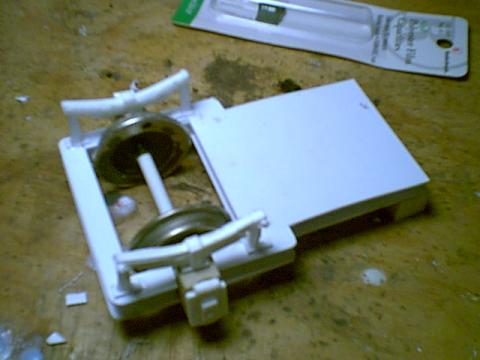
Fig 8 |
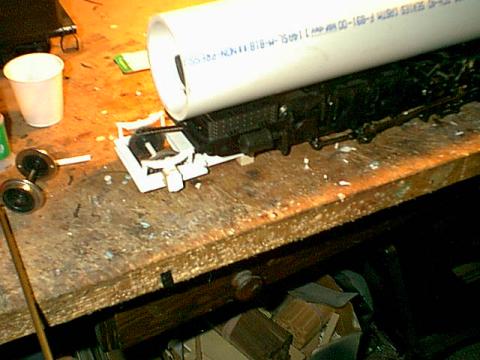
Fig 9 |