| I decided to use my old reliable standby for smokebox
rivets. 1/2 X 18 brass escutcheon pins! Figure 16 I laid the
pins out in 1/4 intervals starting in a place where a little devieance
wouldn't be noted in the end, the bottom! I did the same for both
fore and aft rings of rivets, an just staggered the spacing for the third
one.Figure 17 Now with that done, lets go to work on the stack
Take yer basicpiece of half inch PVC, and round out the bottom so it sits flush with thecurve of the smokebox. Once done, trace the outline onto a piece of sheetstyrene and cut 1/16 of an inch outside the oultine (just like on the domes). With this glued in place wrap a piece of half round styrene aroundthe cab stack, cut to length, and glue in place. Figure 18 . |
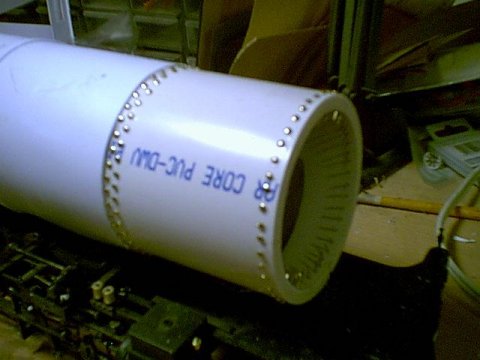
Fig 16 |
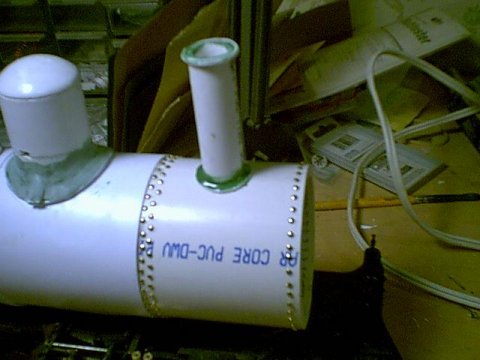
Fig 17 |
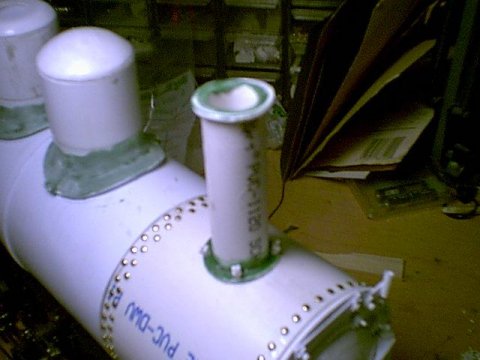
Fig 18 |
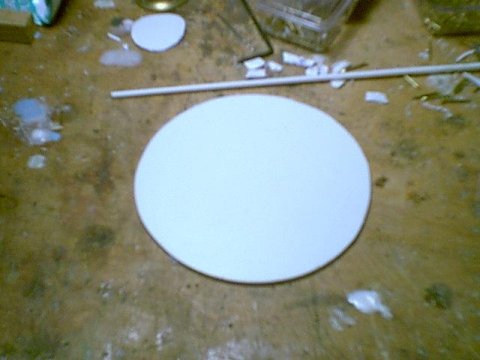
Fig 19 |
A little Squadron green putty around the base
of the stackfor a soft taper, and a tad at the top to cover up the few
imperfections. Then using a few bits of styrene rod, tubing, and sheet
I cobbled upsome convincing bolts to hold the stack on! Figure 18
Now we got a stack all nice and tidy, lets give the gal a facelift! I started by tracing the diameter onto a sheet of .080 styrene thensanding it smooth around the diameter. I have long looked for an easy way to make a rounded, convex smokebox door. I finally found it in the plumbing sectionwhile shopping for the domes. The answer was a 2" PVC plumbing capwith a rounded end. I sanded off the molded on lettering, then a quicktrip through the bandsaw gave me a really cool smokebox door. Figure 20 |
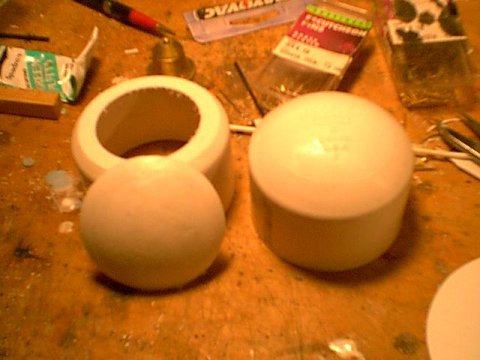
Fig 20 |
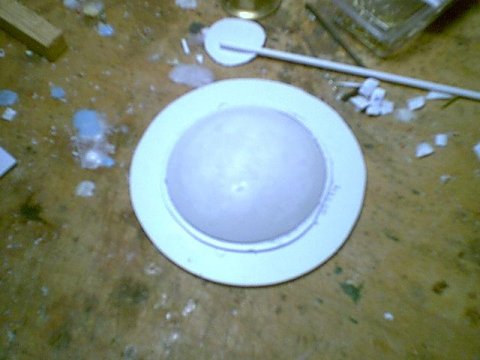
Fig 21 |
| I made the smokebox flange
by tracing the outside of thedoor onto .040 styrene and then cutting to
the outside. I thenglued it to the blank smokebox front,
and slapped the rounded door on top! Figure 21
From here the fun begins! Detailing!!! I started with squares
of .040 styrene at 1/2 inchintervals around the perimeter. These
were then drilled out to accepta piece of styrene rod to represent the
bolt itself. I added the boltplate for the headlight bracket and
the flag holders at this time too. Figure 22
After fabricating the hingeand
the smokebox dogs, there was a sort of a questiona bout securing the front
but allowing access to the inside of the boiler later. I solved this
by taking five of the bolts around the perimeter and drilling all theway
through the piece into the boiler itself. I then inserted a pieceof
styrene rod in and secured it with CA. Figure 23
|
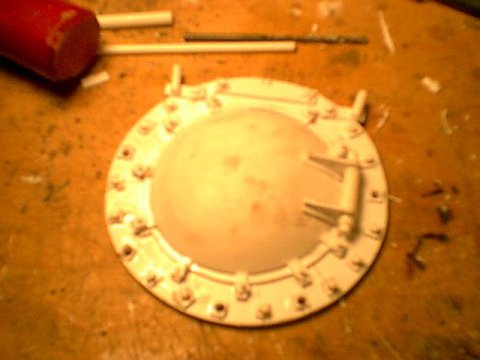
Fig 22 |
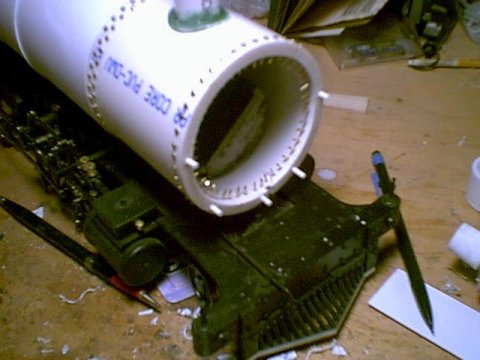
Fig23 |
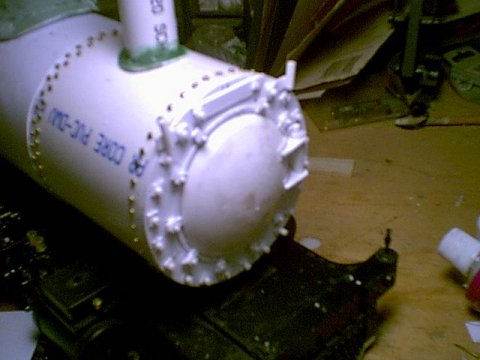
Fig 24 |