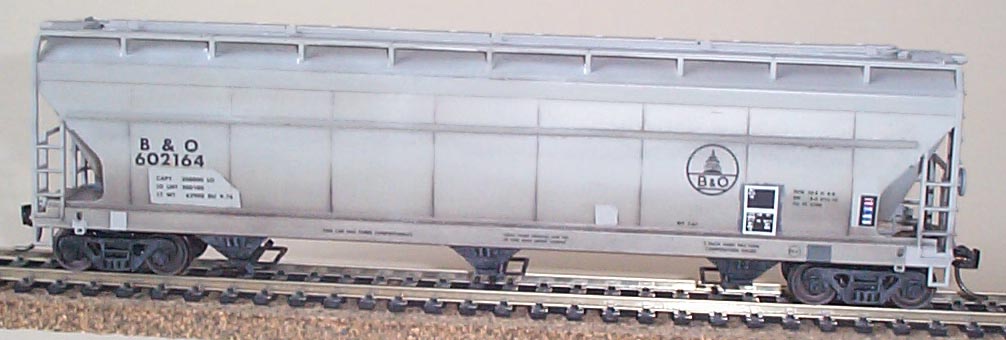
Below is an actual pic of an HC-24 class covered hopper.
Photo
How to:
1. Purchase an undecorated Accurail 3-bay ACF covered
hopper kit.
2. Using a sharp chisel blade remove the two small
ribs that run the length of the car (on the top of each long side).
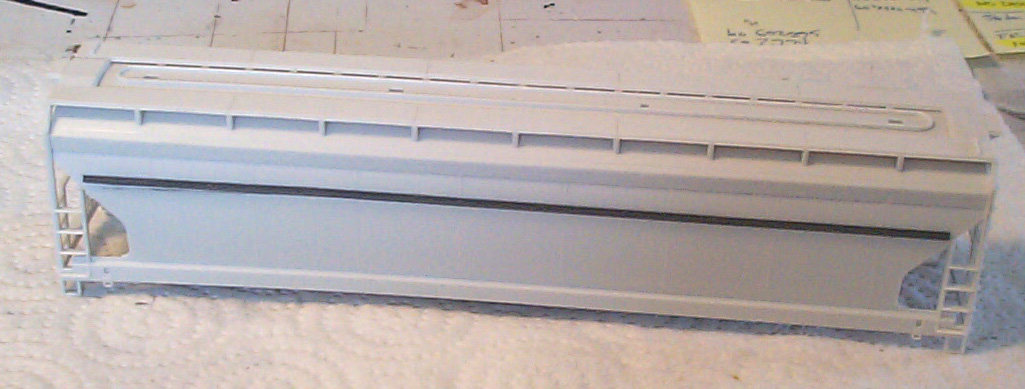
3. Add a strip of plastic along each side to represent
the rib on the covered hopper (the dark grey piece in the photo below).
4. Paint the shell, ends, roof hatches, and brake
gear light grey. I use Tamiya Light Grey, but Polly Scale SP Lettering
Grey works too.
5. Paint the bottom piece flat black. Also
paint the area where the consolidated stencil will go flat black.
When you mask off this area use rough edged tape to simulate the messy
job done on the real car. I just tore the tape down the center and
used the torn side of the tape for the borders of this area.
6. Cover the areas shown below with masking tape.
Spray the car with dull coat. When dry, apply weathering chalks in
brown and black colors. Don't forget to weather the ends or the two
end pieces that come separately. Remove the masking tape. Seal
the weathering with gloss coat.
7. Decal the car with Herald King H-563.
I got the ACI card from the Herald King ACI sheet.
8. Seal the decals with dull coat.
9. Assemble the car as per the directions.
10. Streak the side and top with white weathering
chalks. Seal with dull coat.
11. You are done, enjoy your HC-24 covered hopper.
Below is a pic of the kit coming out of the box.
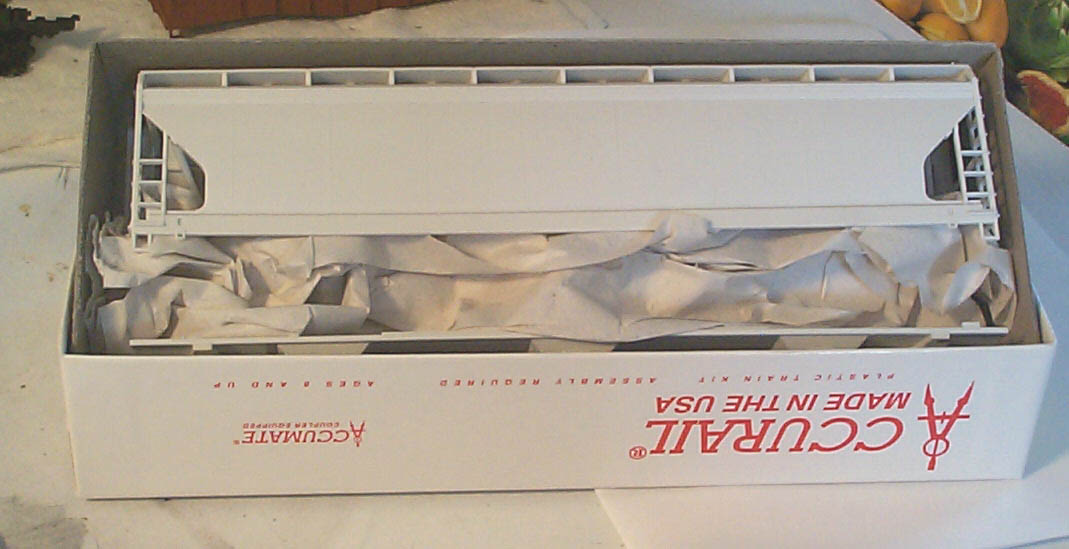
Below is a good angle to see the ribs that will be removed.
The run the length of the car on the small vertical surface below the roof
walk.
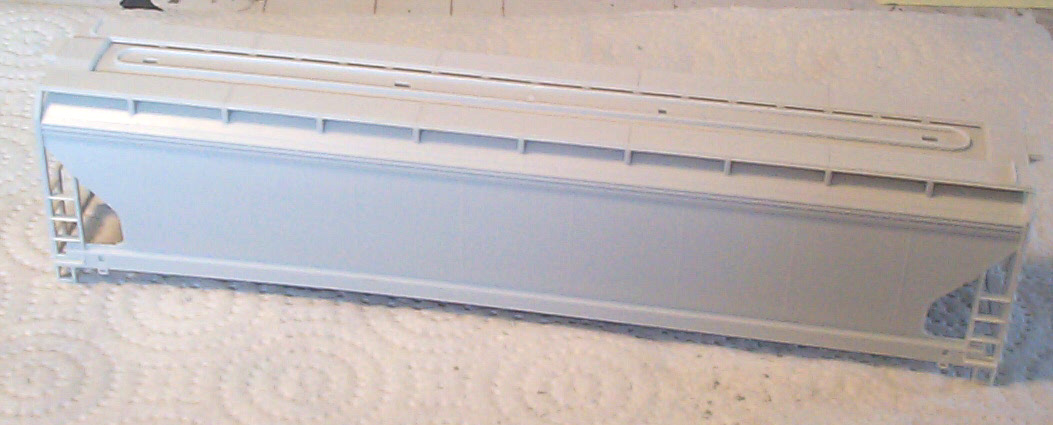
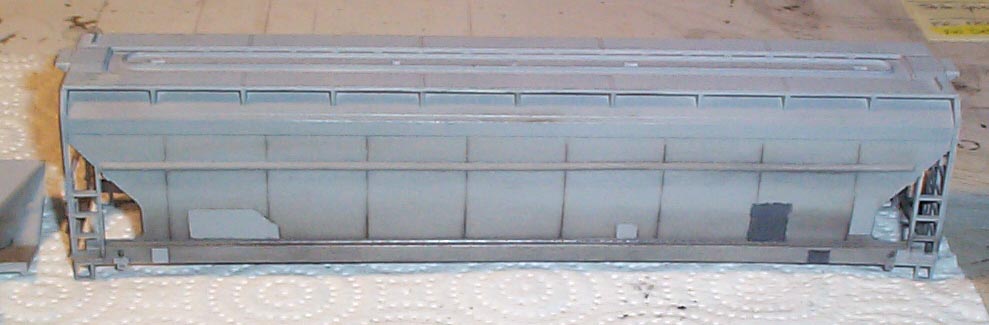
Below note that the two ribs are gone from the pic above.
The dark grey piece simulating the rib actually has a "L" cross section.
When putting it on the car it should lay so that the "L" lies flat on the
car giving the rib a triangle cross section. This rib should not
look like a shelf, but a little mountain ridge.
Below is a pic of the car painted Tamiya Flat Grey (XF-19)

Below is a shot of the car after the black areas have
been painted and the car weathered. Note the areas that were covered
up with tape look like freshly painted "patches".
Below with the car decled, you can see how the capacity
decal under the road number looks new. Also, the area around the
consolidated stencil (two black squares), looks like it was applied quickly.
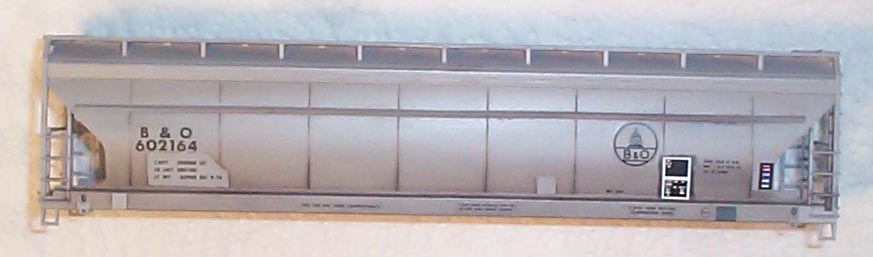
Below is the finished car.