Banner Restoration -page 2
|
|
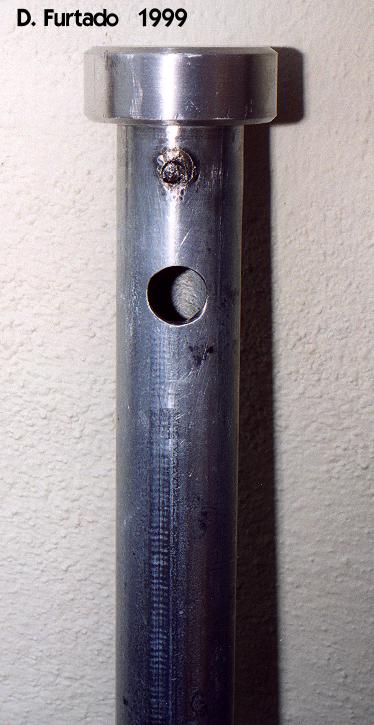
This is how the pipe looked when I got it back from the shop. They did a very nice job installing the pipe plug on the new pipe. The hole below that is where the light wires pass through. Take the measurements from the old pipe, the hole should be 1/2" diameter, and 2" down from the top of the pipe to the center of the hole. |
|
|
|
|
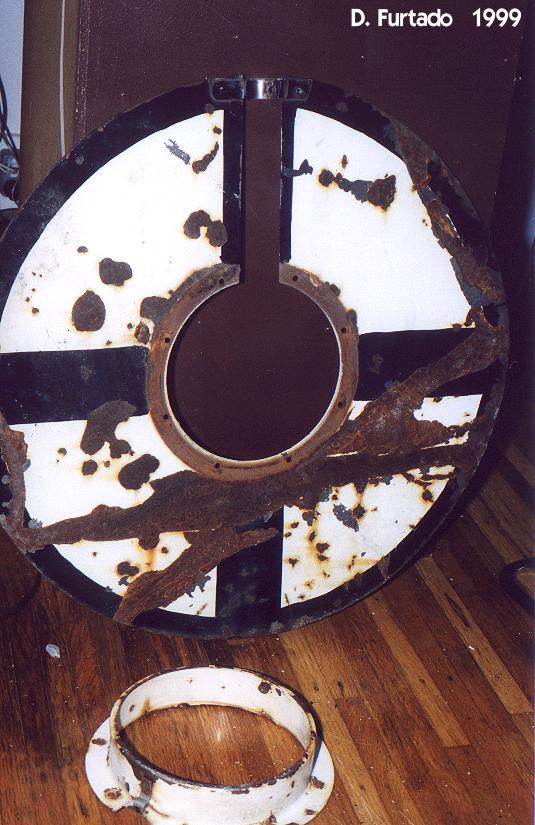
Banner with light cups (housings) removed. On this banner, they were attached with small nut/bolt assemblies. This is a newer style banner, probably produced between 1940 and 1960. The earlier banners were stamped together. (a type of split rivet) This banner uses one pipe strap instead of the two found on earlier banners. The pipe strap uses small rivets where it attaches to the banner. The banner is attached to the pipe with two rivets, one at the strap and one at the top of the light housing. |
|
|
|
|
|
|
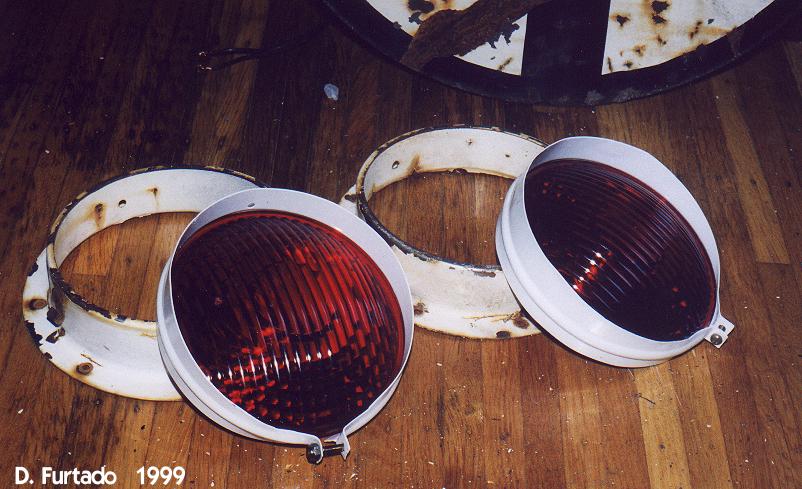
Light cups and lens hoods. The hoods were stripped, pounded back into shape, sanded, primed, and painted with Krylon gloss white enamel. All nuts and bolts were cleaned with a wire wheel. |
|
|
|
|
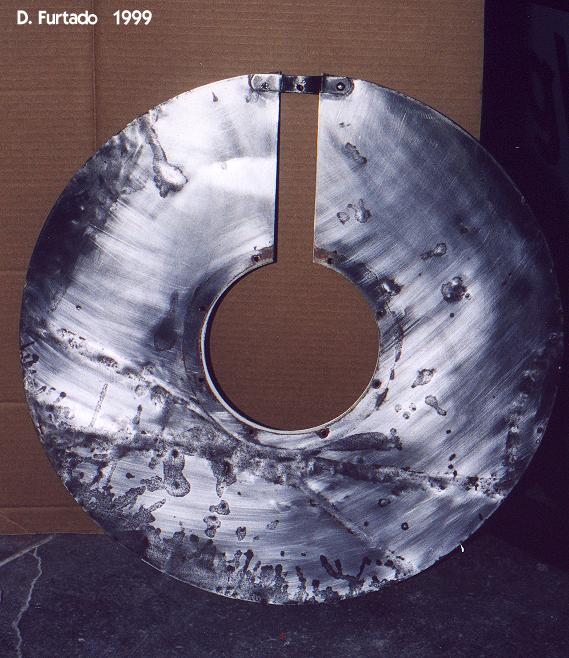
Paint from the banner was stripped using Jasco paint stripper. All paint and rust must be removed. |
|
|
|
|
|
|
After stripping, I sanded it, and pounded out any other dents that I missed. It's pretty much impossible to get these perfectly straight. It was very common for these to go back into service with new paint, yet still retaining a few imperfections. If I wanted a new banner, I would have had a new piece of sheet metal cut for this. We don't want it to lose too much "character" anyway. |
|
|
|
|
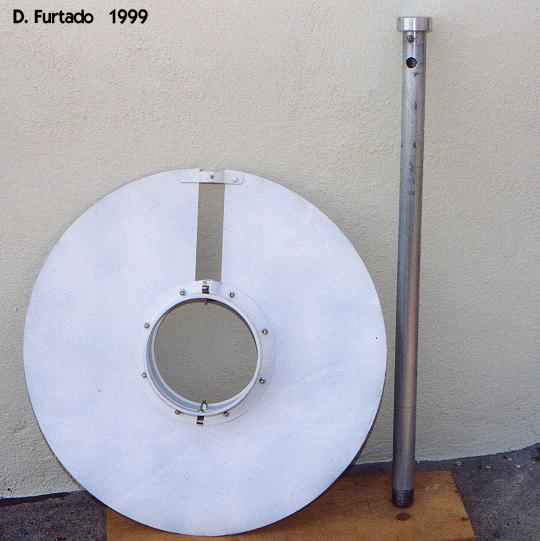
New banner pipe next to reassembled and primed banner. I used Krylon white sandable primer. The pipe had to be cleaned with a degreaser first before sanding and final cleaning. New galvanized pipe comes with a layer of oil to prevent rusting (I'm assuming). All oil must be removed before painting. I recommend using some kind of rusty metal primer if your banner will be displayed outside. Both Krylon and Rustoleum have good heavy duty primers for this. |
|