


 |
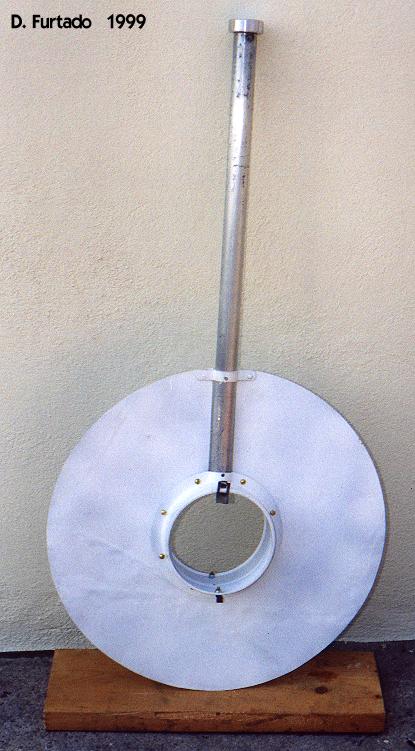
Banner reassembled and primed. Original style rivets were used to replace the old ones that attach the banner to the pipe. See reference on page 1 for a supplier for these. |
|
|
 |
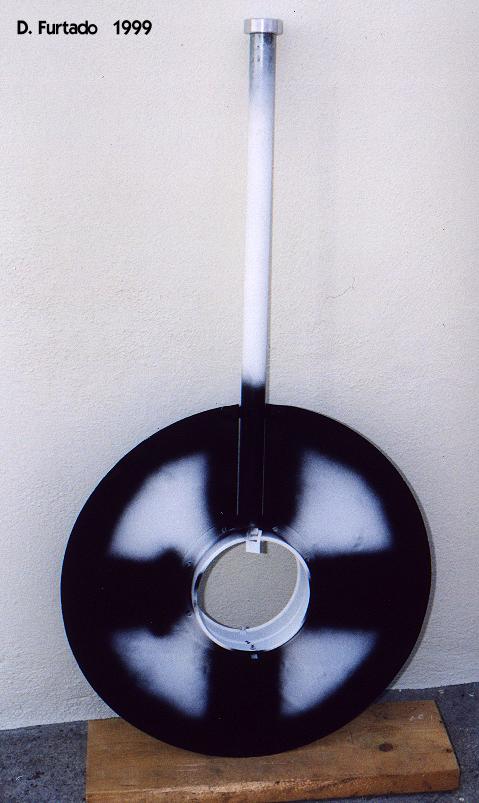 |
This is where I had to make a decision.
Either paint the banner white first, then draw out the lines and brush
paint the black stripes (The way they used to do it at the signal shops
when they went in for rebuilding) or try to achieve a "like new" appearance
as they appeared when new from Magnetic Signal Company. Originally they
were finished with baked enamel, giving them a "porcelain" look.
There are probably some paint shops out there that can do that, but I'm sure it's quite expensive. So I opted for the next best thing, to spray the black lines instead of brush painting them. First, spray the black paint (I used Krylon semi-flat black) in the general area where the stripes go. The stripes that form the X are
2.5" (2 1/2 inches)
|
|
|
 |
 |
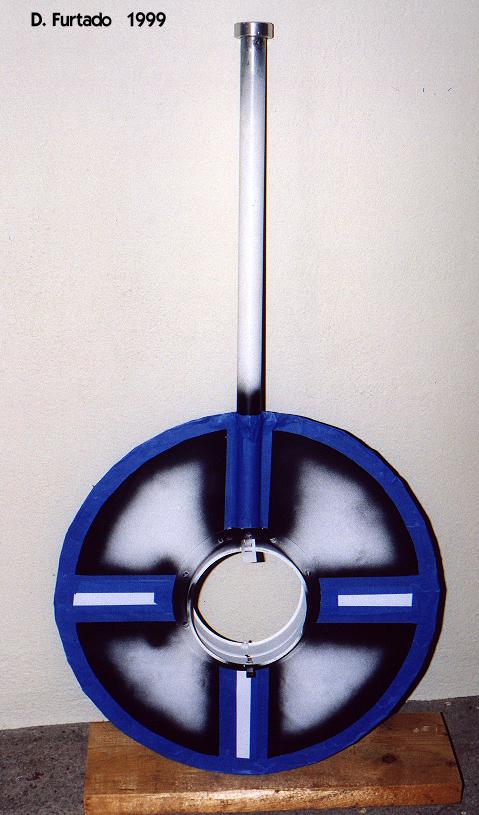
Moment of truth! This is the scariest part of the job...removing the masking tape. |


