


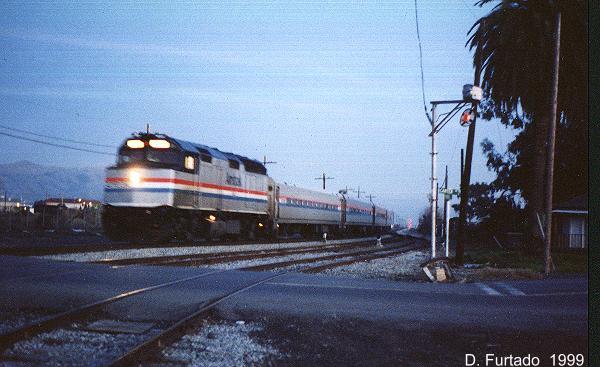
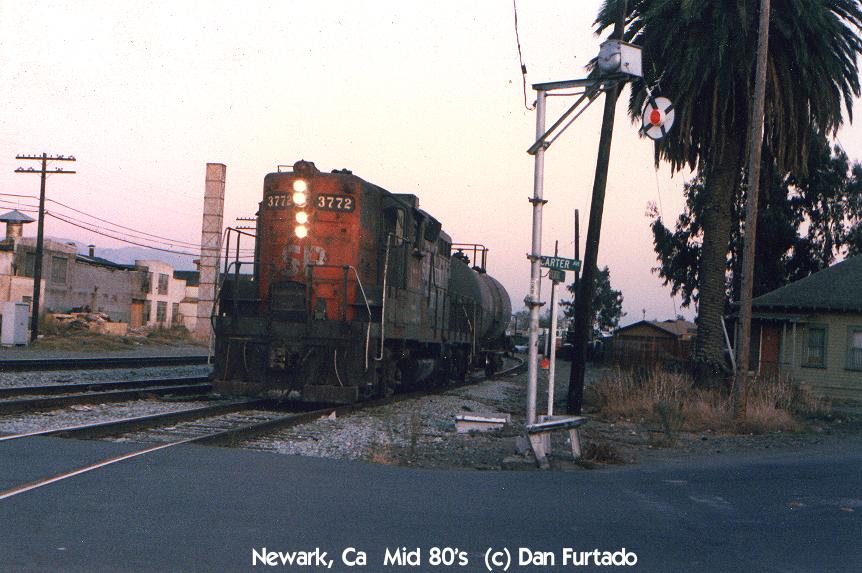
| Recently I acquired a second wigwag. I was told that this one came from the Carter Ave. crossing in Newark Ca. and was removed in 1994. After comparing some photos and video that I shot over the years, I'm convinced this is true. I have noticed from the photos that I have that this wigwag has seen a couple of replacement banners during it's last few years in service. The banner that it was retired with was in very poor shape...badly dented and rusted, and had a flex pipe (rubber hose spliced) banner. Flex pipes were added to wigwag banners in more recent years to minimize the damage caused by trucks passing beneath the banner. The only problem with this modification is that it seems to confuse the motor a bit, resulting in a jerky swinging motion, and slows it down a bit too. At first I thought the motor box may have been to blame for this, so I replaced the banner with a rigid pipe banner from my other wigwag, and it operated perfectly. So the challenge here was to figure out a way to restore the banner back to it's original condition with a rigid pipe, not to mention straightening it out. |
Click on any photo for larger view.
 Click here for other pictures of this signal. |
 |
| The following is simply an account of how I restored this banner. It may be used as a restoration "guide", but you will need to have some basic knowledge of restoration. Hopefully this will help eliminate some "surprises" you may encounter along the way. |
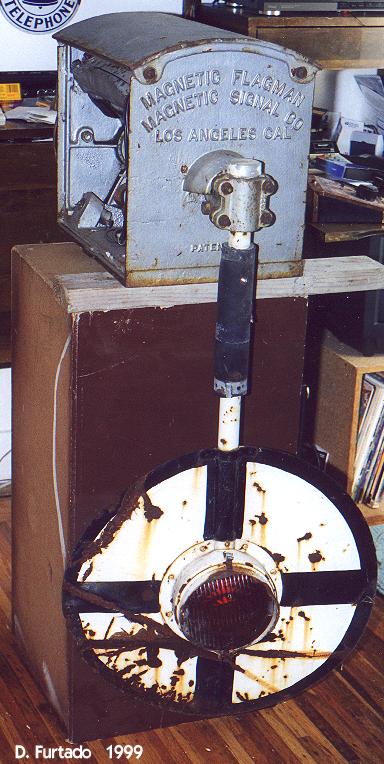 |
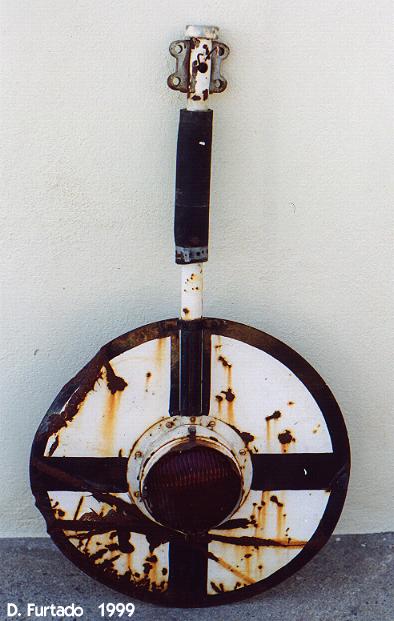
This is what it looked like when I got it. Pretty rough! But it still worked. Very jerky operation when modified this way. The splicing also made the banner pipe several inches too short, which affects how the armature is counterweighted with the banner. | |
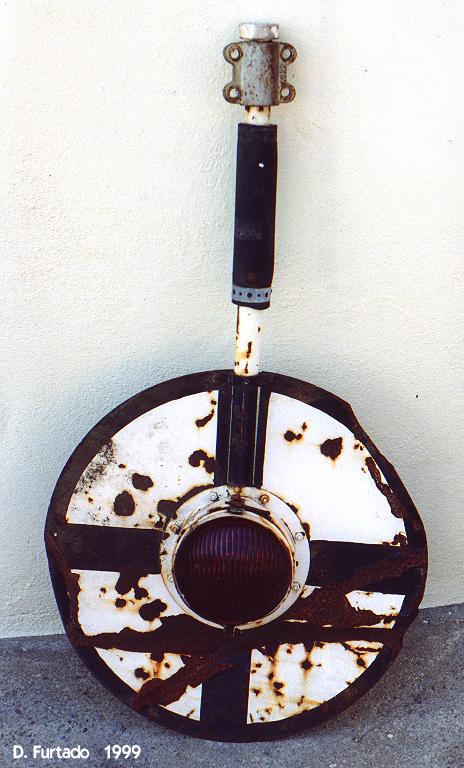
Banner with flex pipe modification. Extremely rusted banner as well. The lenses are the plastic "ribbed" type manufactured by General Signals as replacements. The original lenses were made of glass, and produced by both Corning and Kopp. Adams and Westlake was another manufacturer. |
Back view |
|
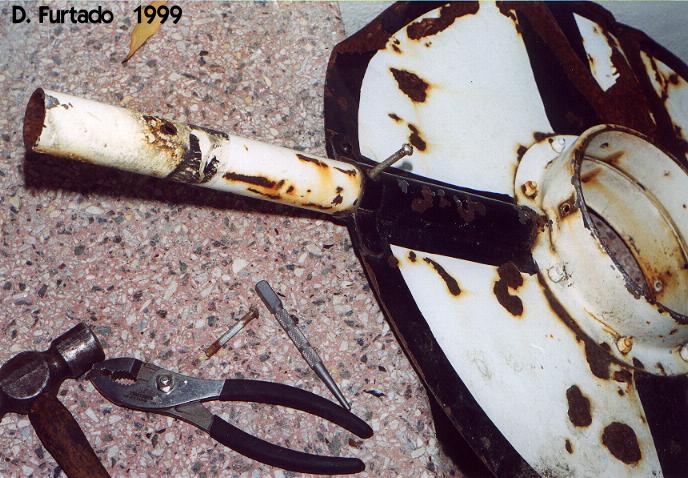
| Close up of light assembly. This will later be dismantled and cleaned. |  |
|
 |
A look inside. For more on motor box (bell housing) restoration, see my other project section. | |
|
|
 |
|
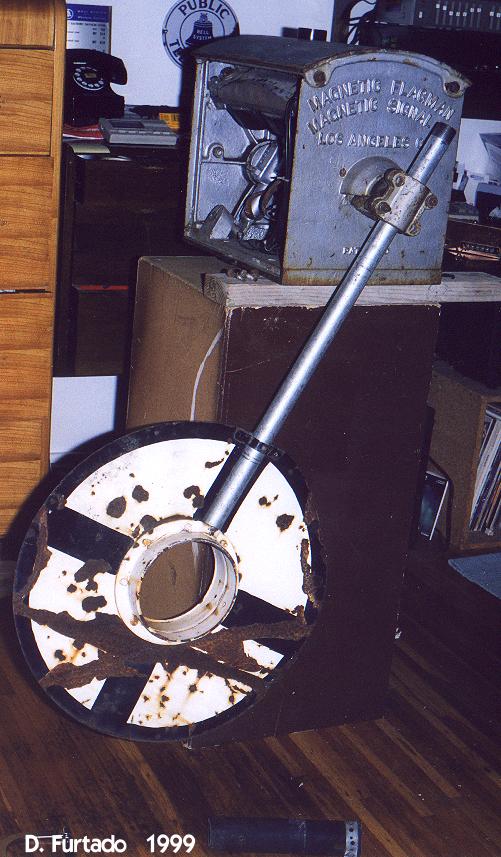 |
New galvanized pipe in place of
the old spliced pipe. Works much better this way.
The banner pipe will need to be cut at 27". I found a good machine shop to remove the old pipe plug that is mounted on the top of the banner pipe. It is held in with a pin. I had them cut the pipe and drill the hole where the wires pass through as well. I also spent some time pounding out the dents. |


