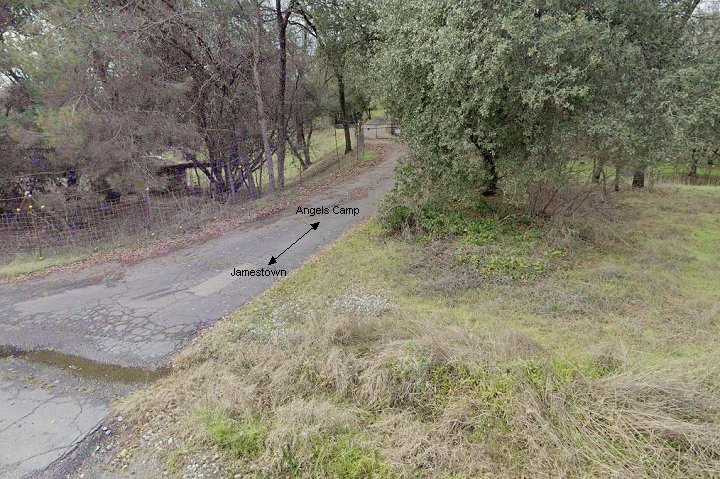
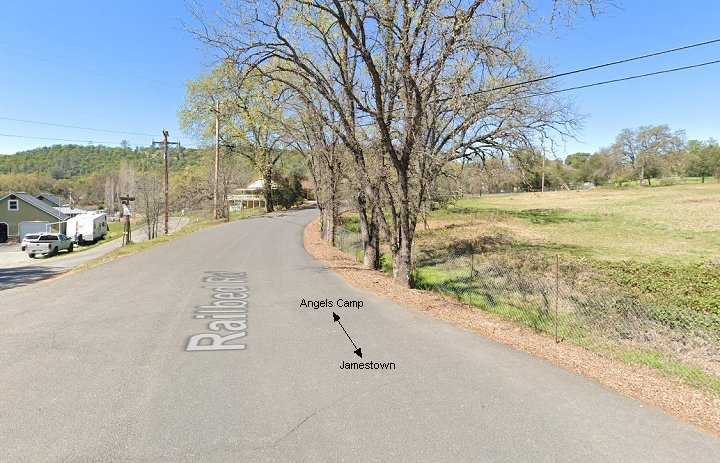
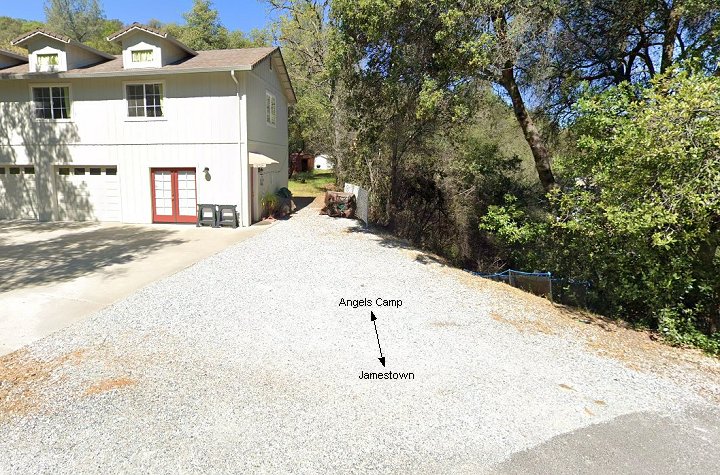
1. Sierra's Angels Camp Branch leaves Jamestown yard here.
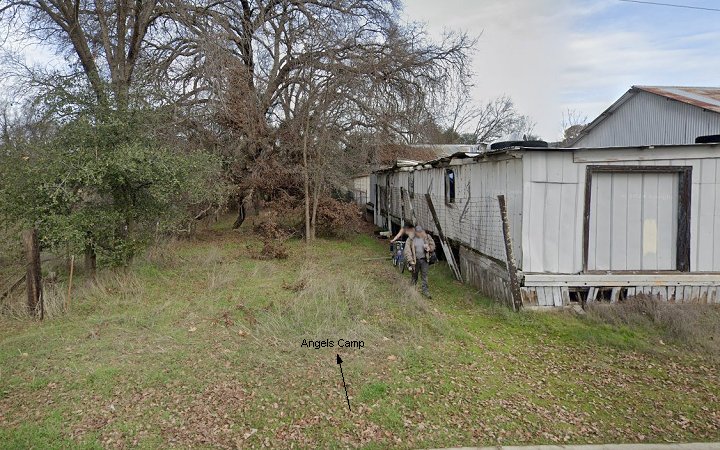
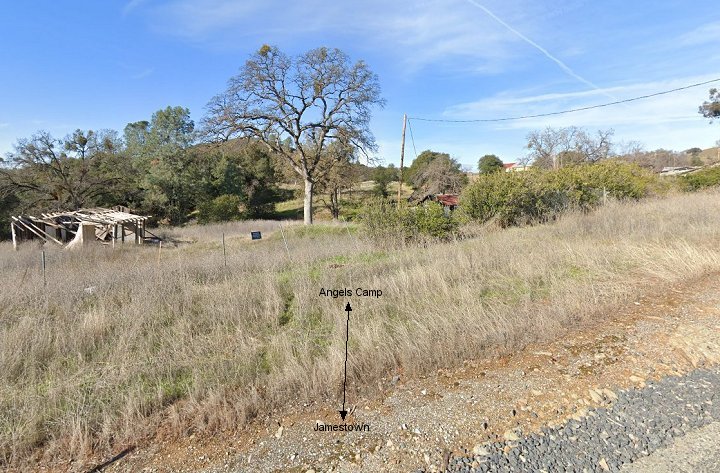
2.-3. Looking both south and north at Willow St.
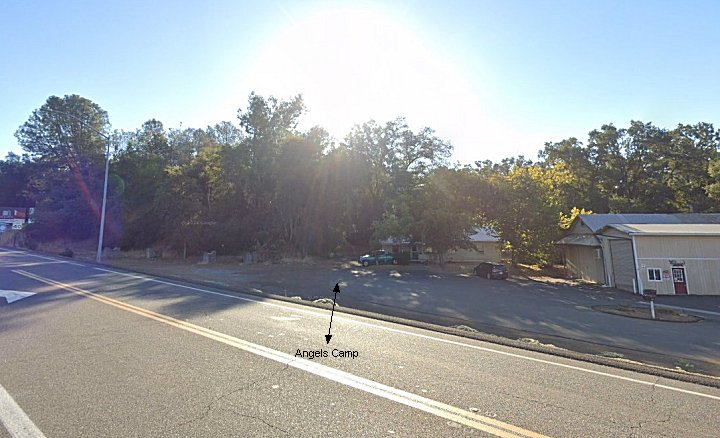
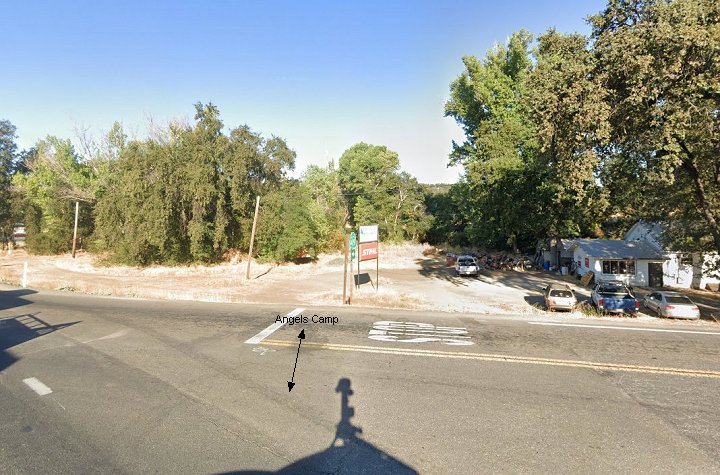
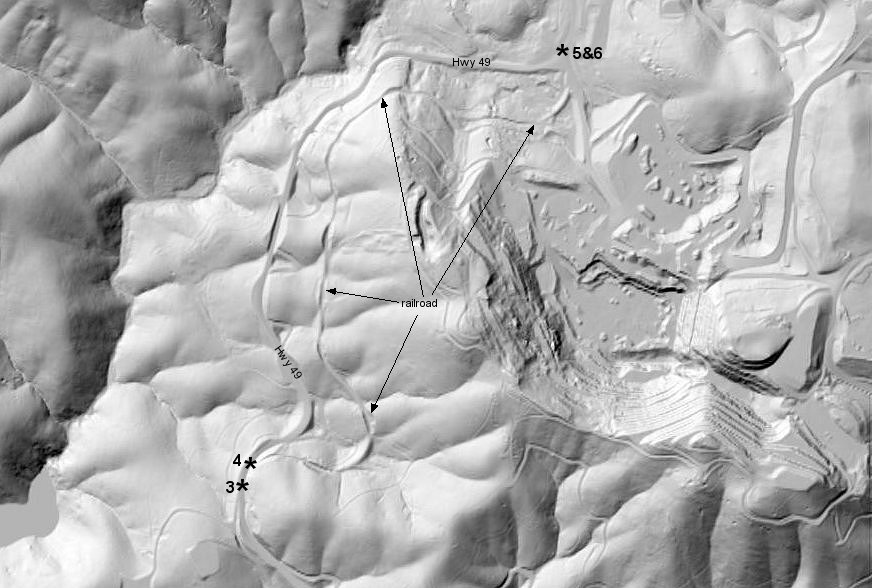
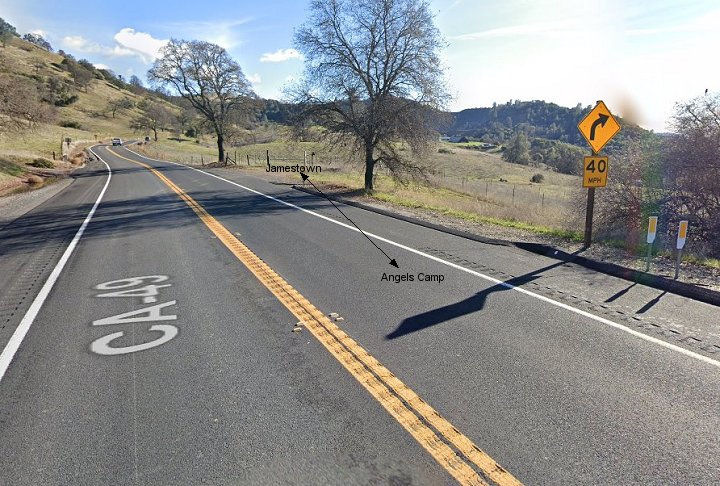
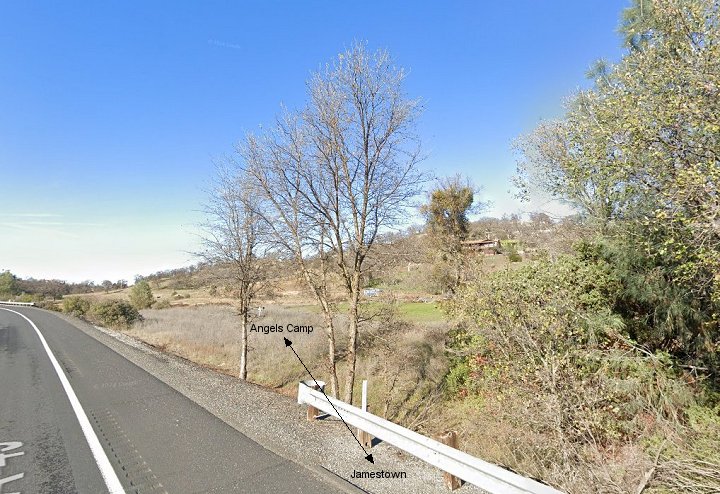
4.-5. South and north views from Hwy 49/108. Not much is evident between image 5 and the next image.
6. The real climb towards Table Mtn Cut starts here on Daly Ct.
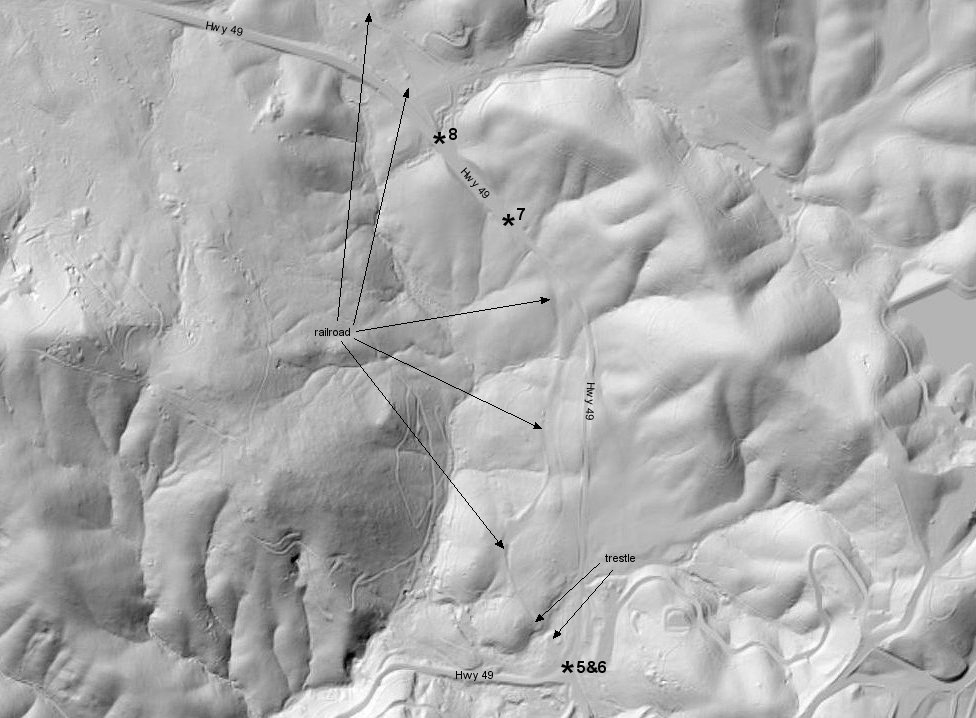
7.-8. Opposite views of where the line joins Pulpit Rock Rd.
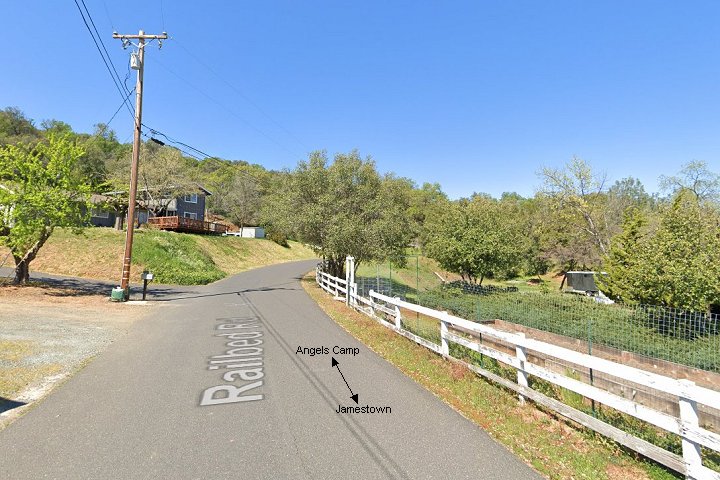
9. Here the line turns onto the appropriately named Railbed Rd from Pulpit Rock Rd.
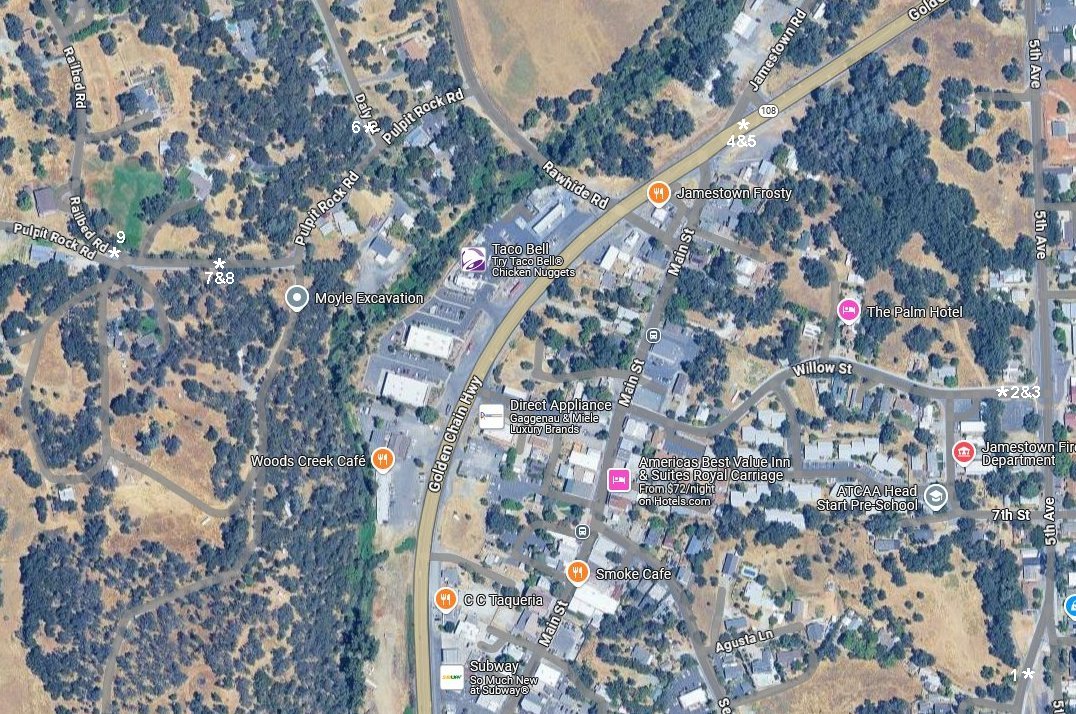
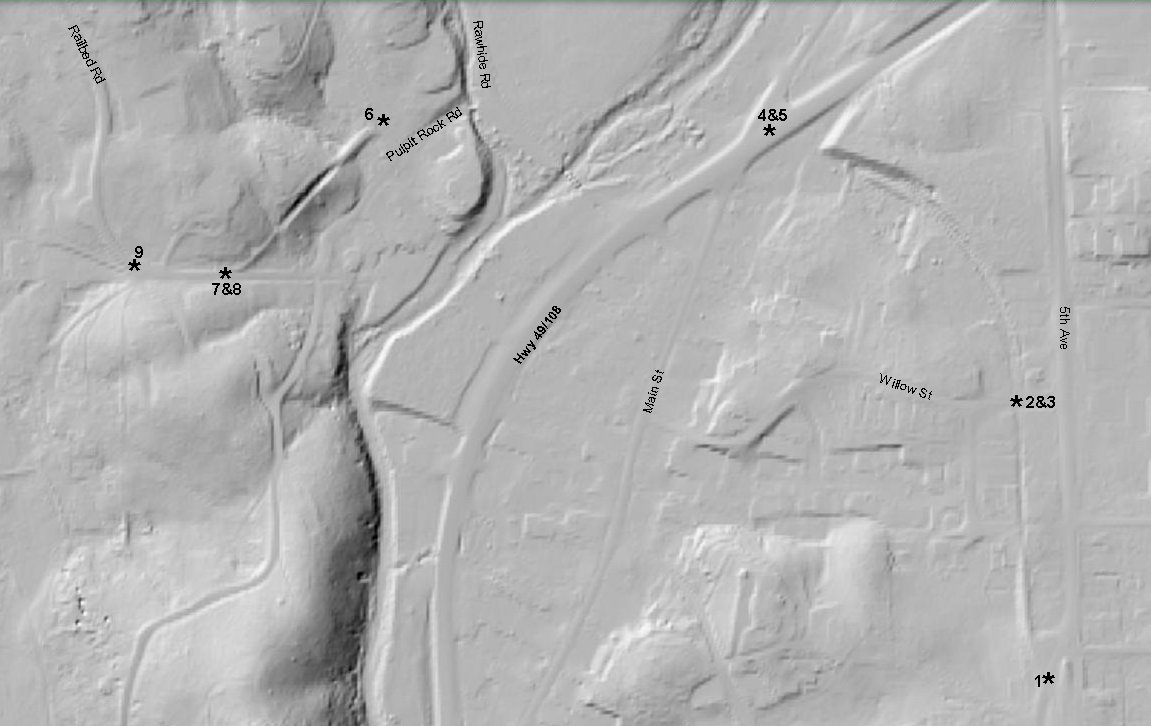
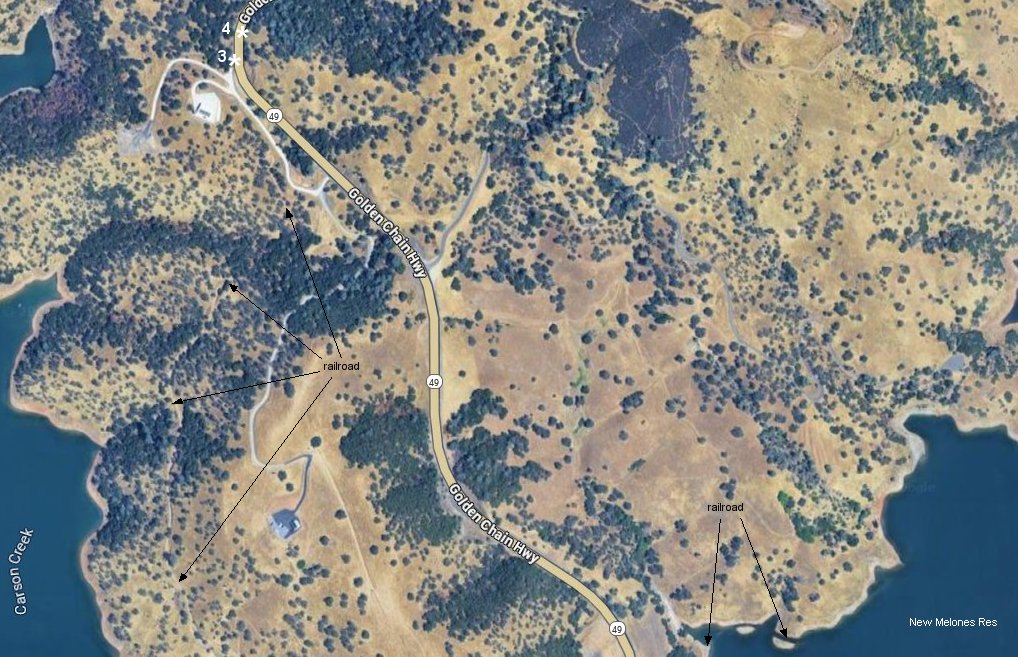
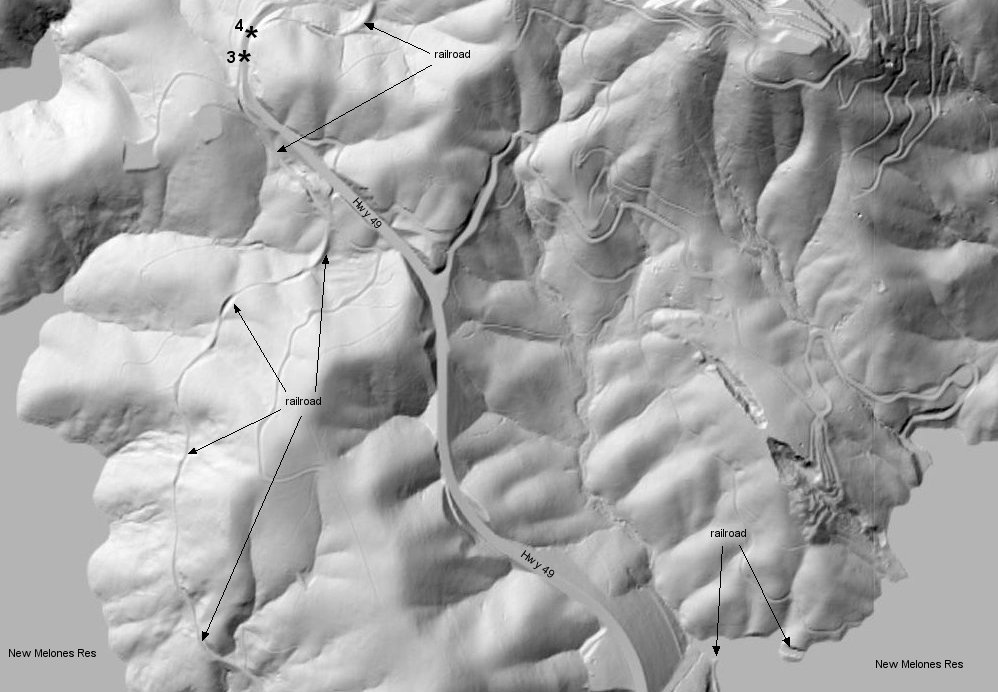
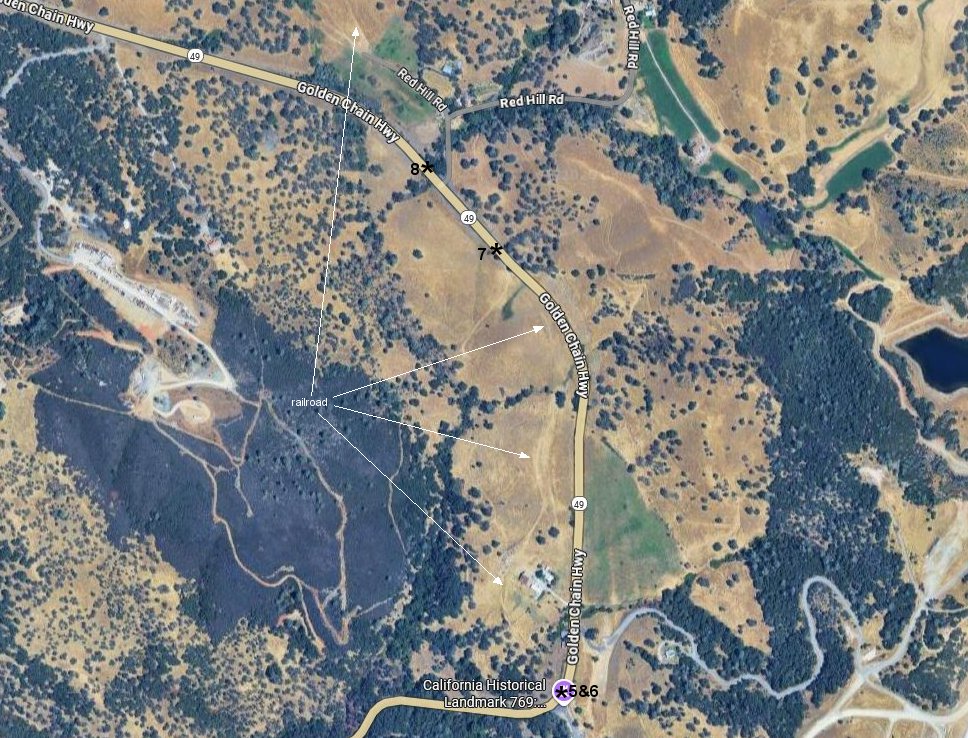
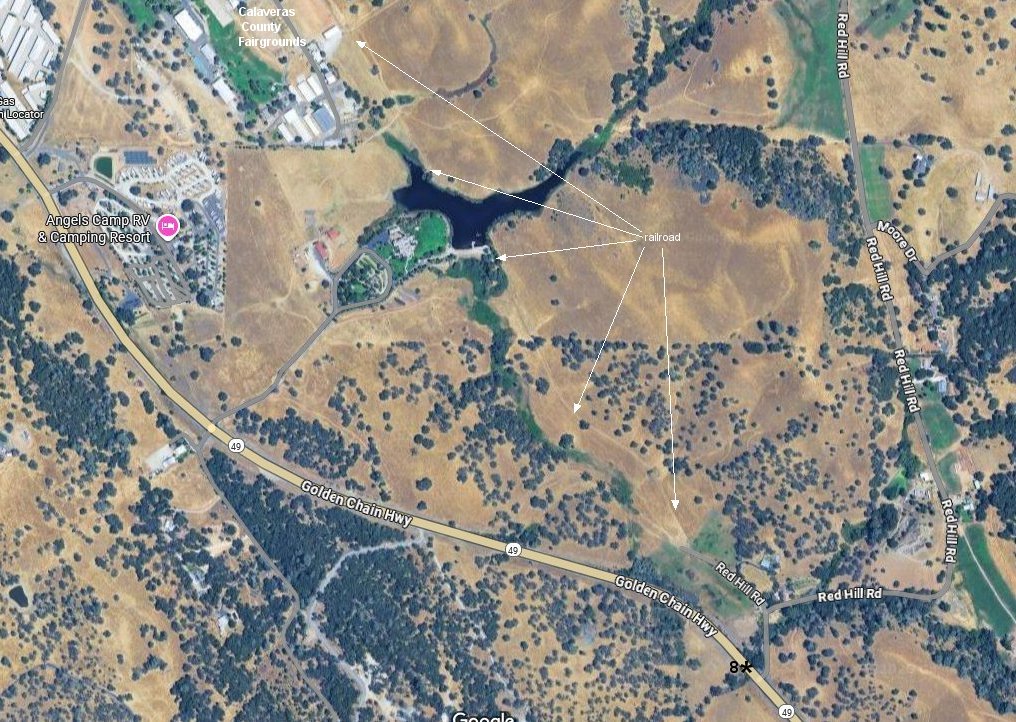
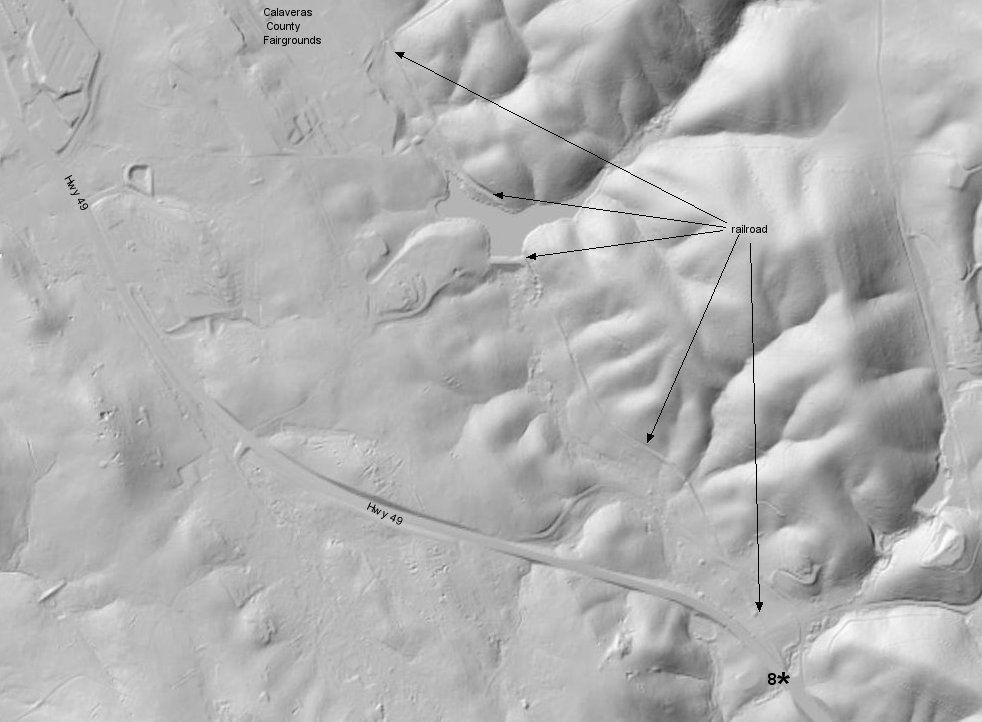
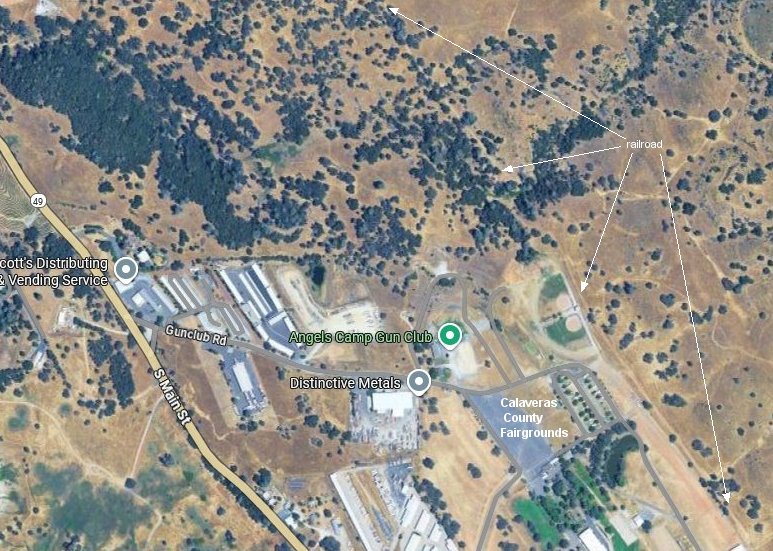
Google satellite and USGS Lidar images marked with the locations of images 1.-9.
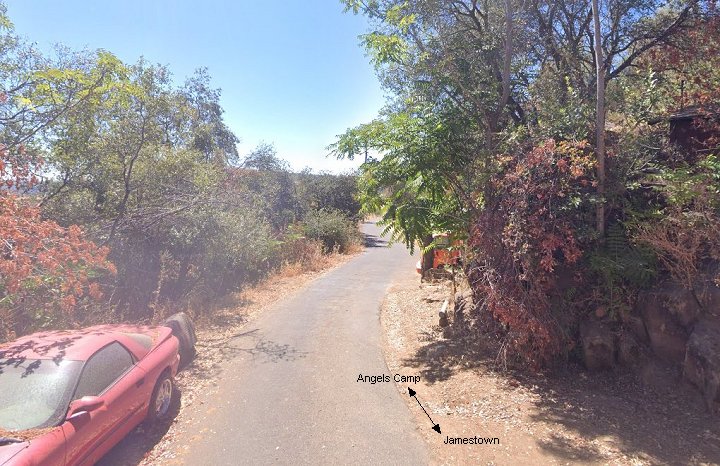
10. Continuing the climb along Railbed Rd.
11. At this point the railroad leaves Railbed Rd.
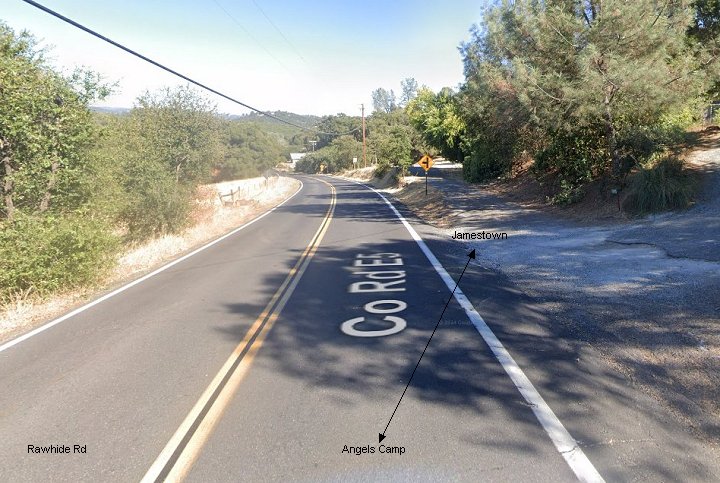
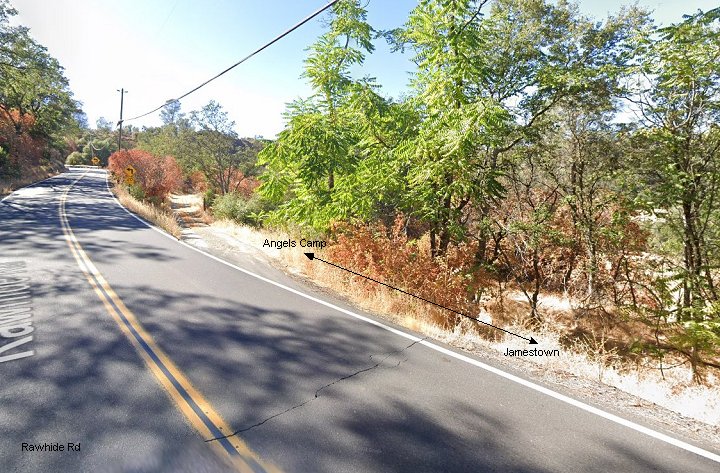
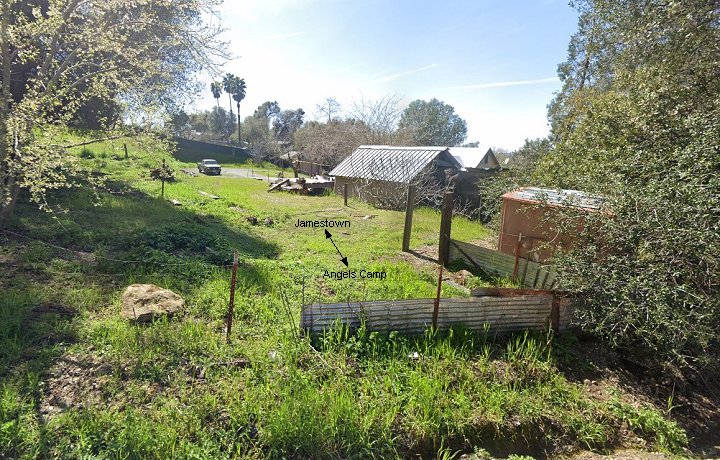
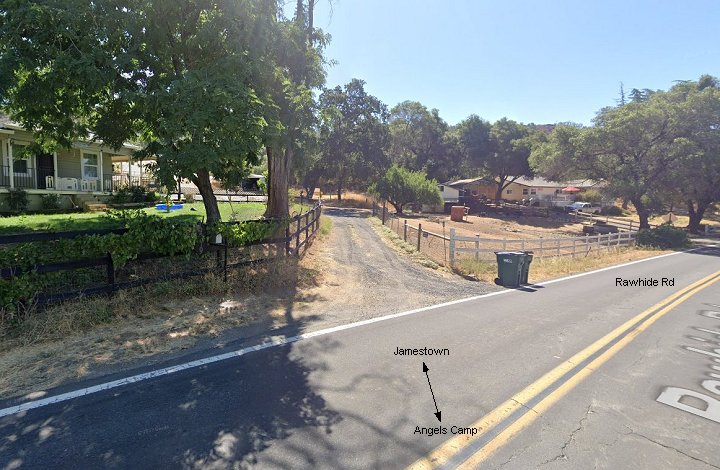
12.-13. Crossing at Rawhide Rd. Image 12 looks back towards image 11. Image 13 continues upgrade.
At this point the line passes behind the plaque commemorating the Humbug Mine.
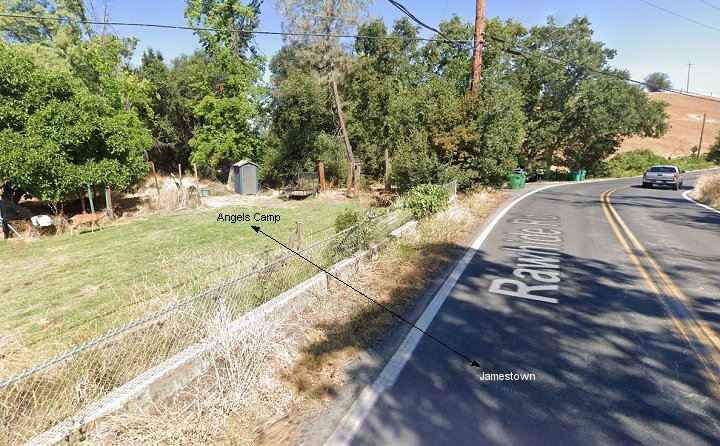
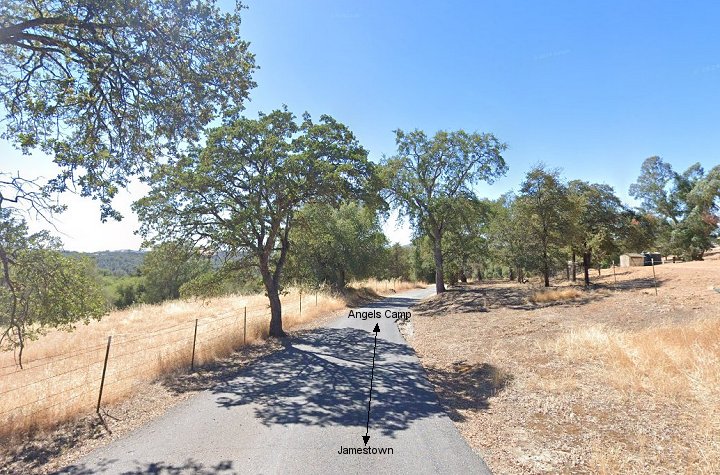
14. Looking upgrade near the cut. The railroad has rejoined Rawhide Rd here but follows the dirt road into the cut.
The far curve speed sign is right about where the cut starts below the road level.
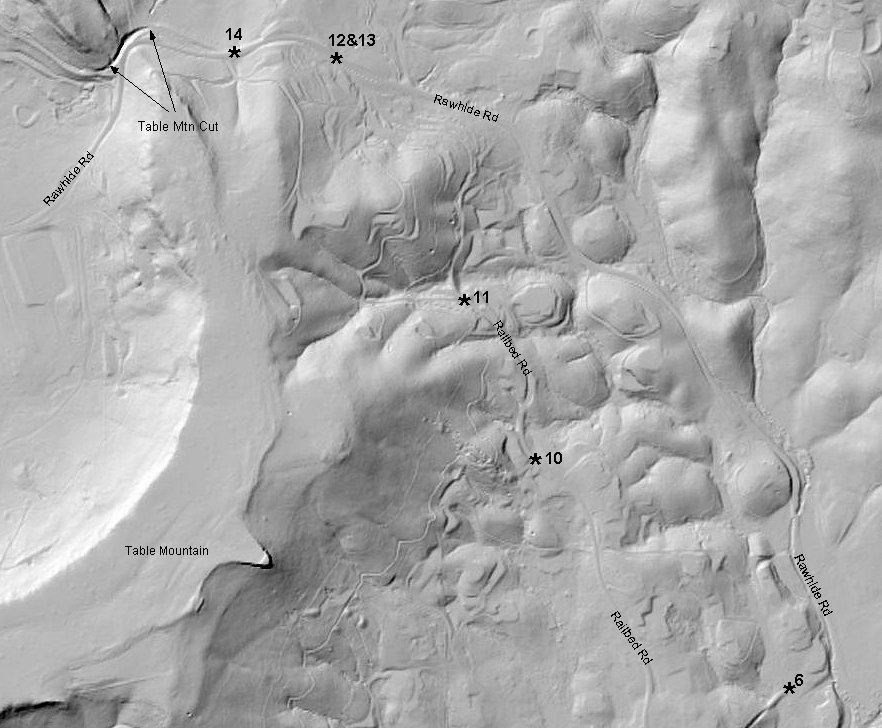
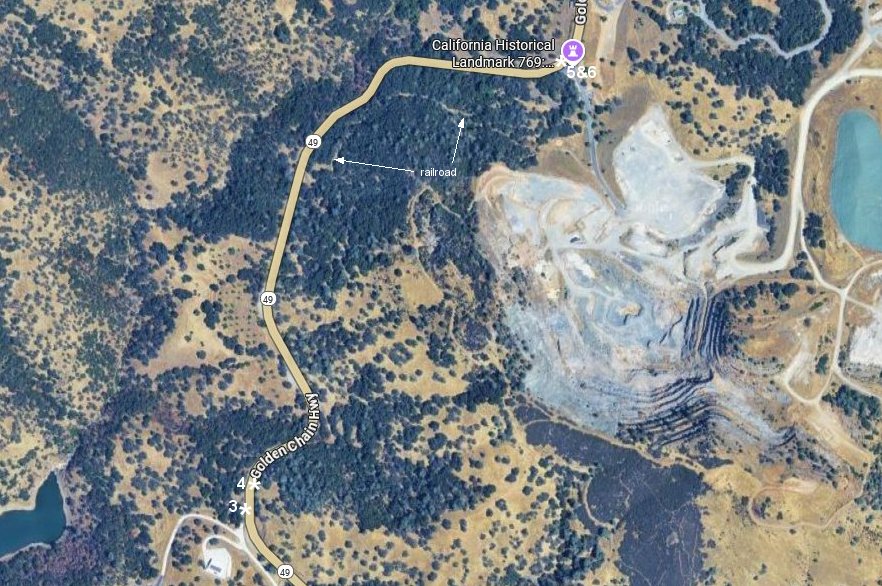
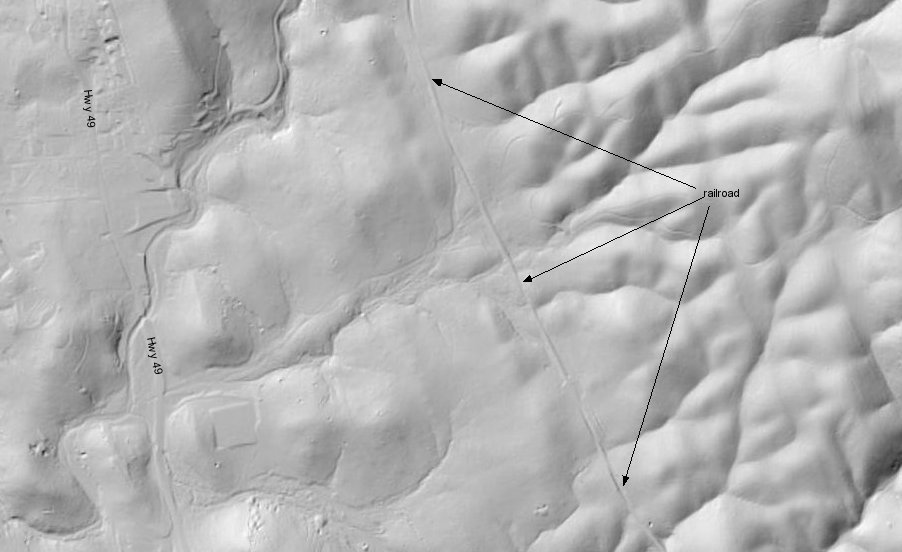
Google satellite and USGS Lidar images marked with the locations of images 10-14.
Table Mountain to Tuttletown
(note: the following images are all Google Street Views)
15. View south from the north in of Table Mountain cut.
16.-17. These two images follow northward along an unnamed lane parallel to the O'Neil Ditch.
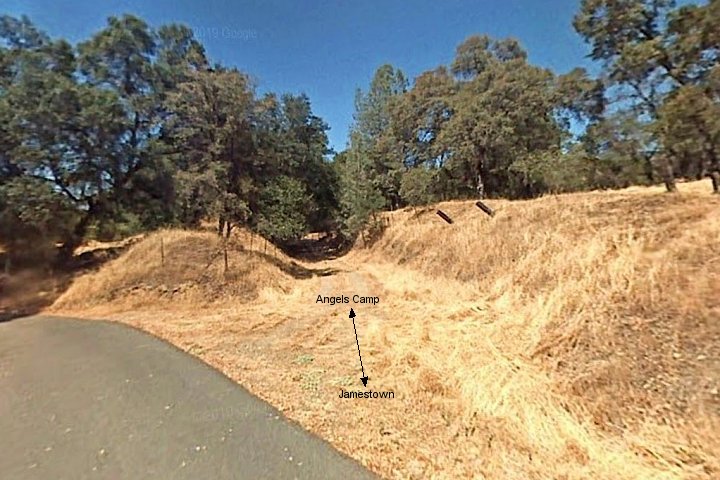
18. View south from Bostwick Rd.
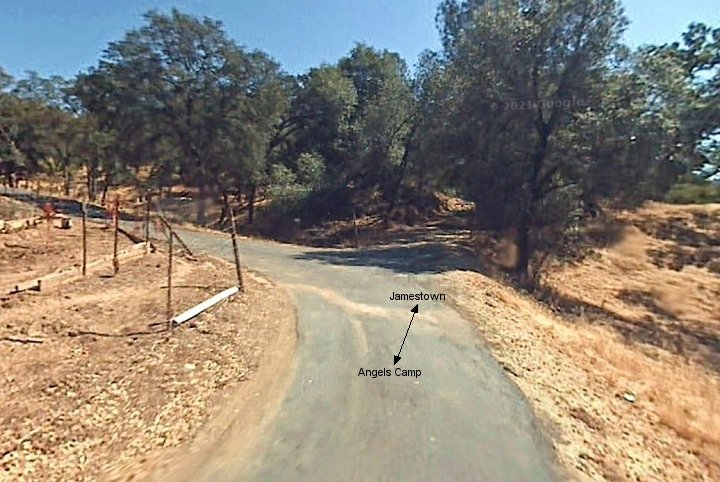
19.-20. South and north views where the line crosses Rawhide Rd turning towards Tuttletown.
21.-22. Just north of the last two images, these look both directions from a little further north along an unnamed lane.
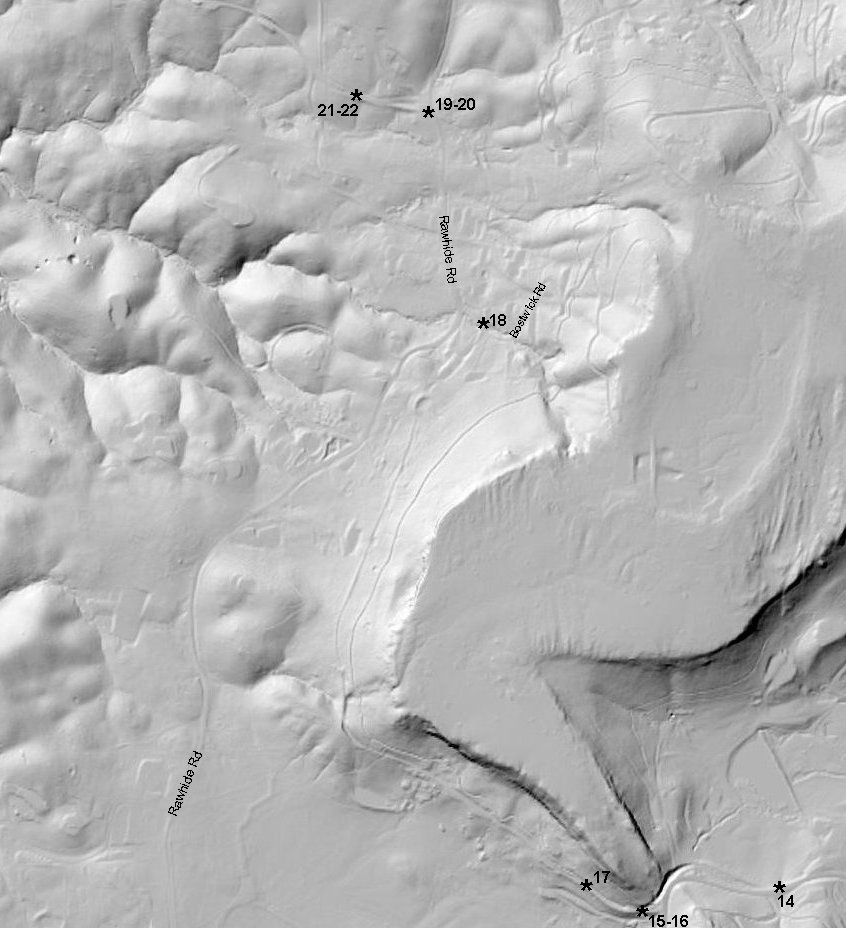
Google satellite and USGS Lidar images marked with the locations of images 15-22.
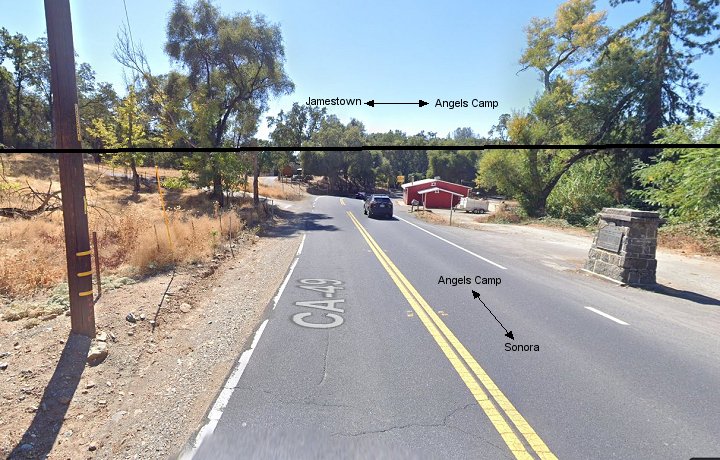
23.-24. South and north views at Sheppard Ranch Rd.
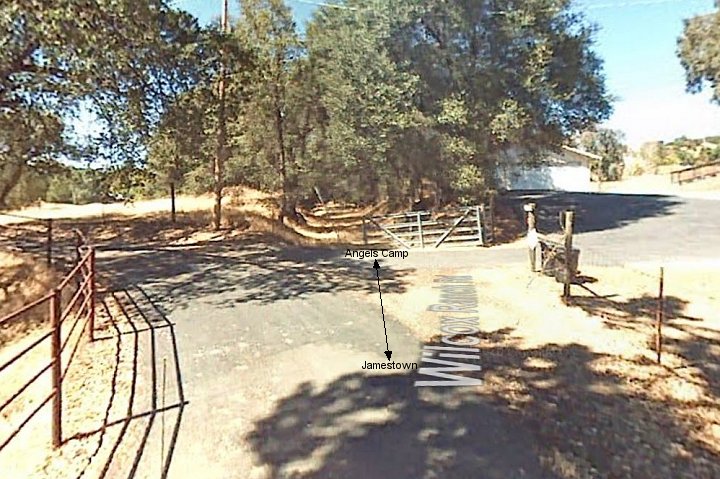
25. This view looks south towards Sheppard Ranch Road from Wilcox Ranch Rd.
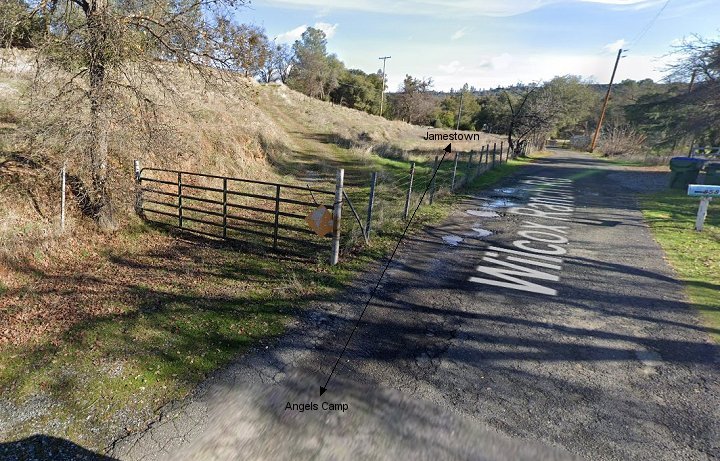
26.-27. These views continue to follow the line north along Wilcox Ranch Rd.
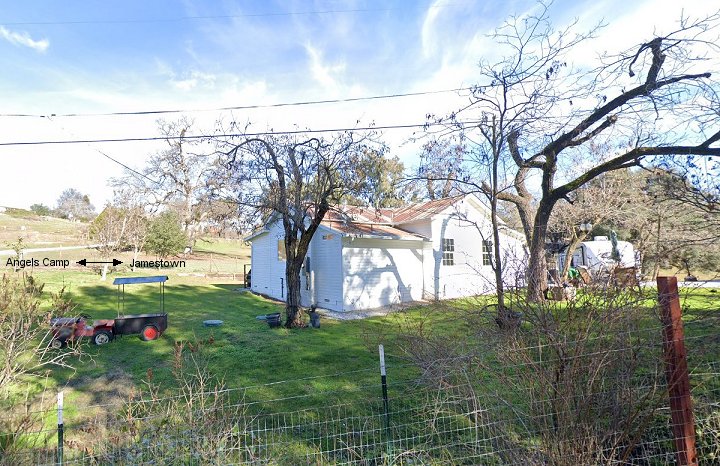
28. This is the old section house located along Wilcox Ranch Rd.
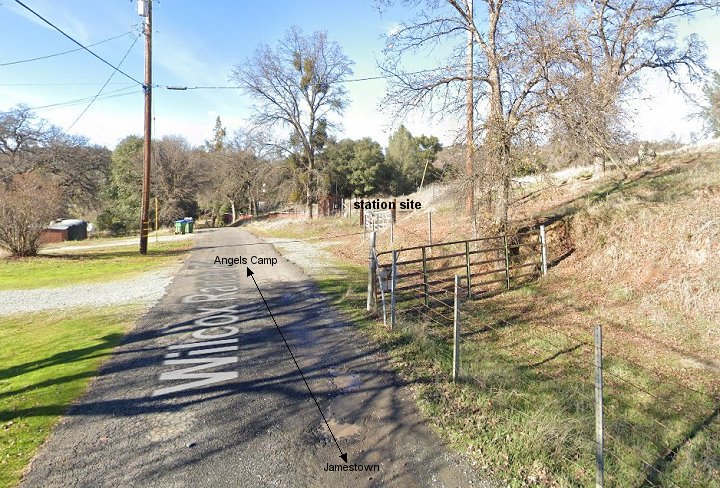
29.-30. These two images are taken near the Tuttletown depot site looking both south and north along Wilcox Ranch Rd.
31. Approximate location of the south end of the Tuttletown trestle on Wilcox Ranch Rd.
32. This view looks north along Highway 49 showing the approximate location of the Tuttletown trestle.
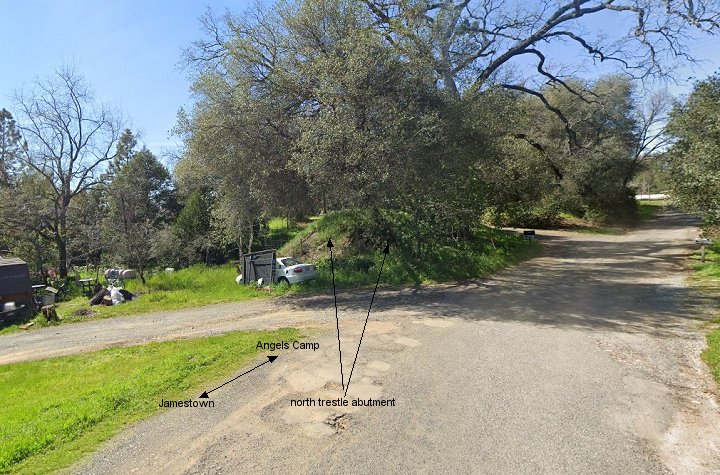
33. This is the north abutment of the Tuttletown trestle. View is north.
34. After crossing the large trestle, the line continues on towards Jackass Hill. Not much access between here and the next grade crossing of Hwy 49.
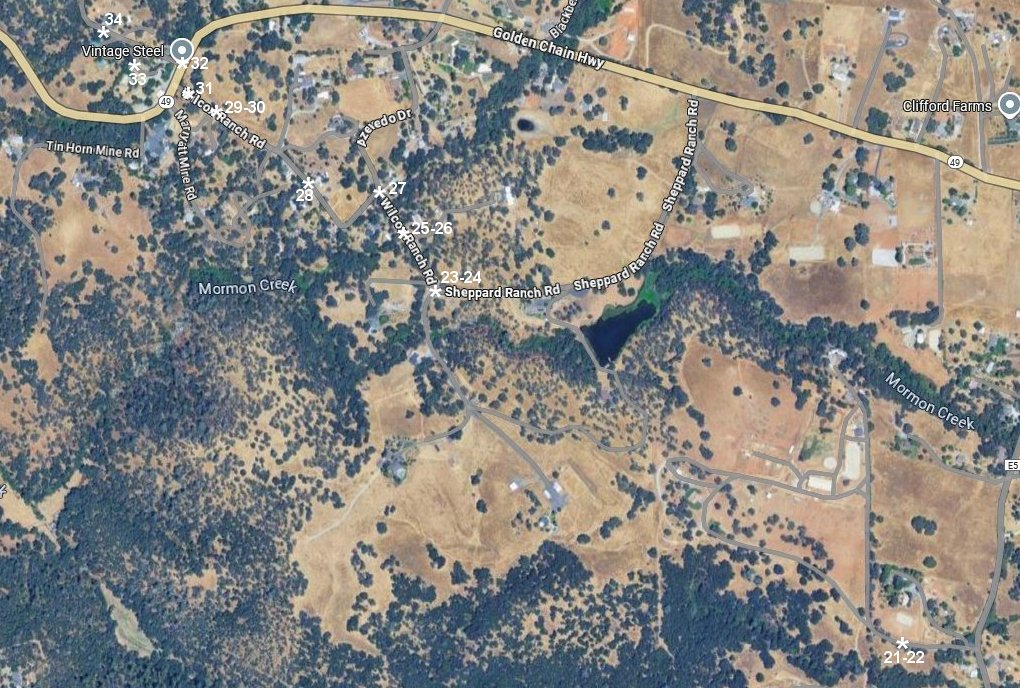
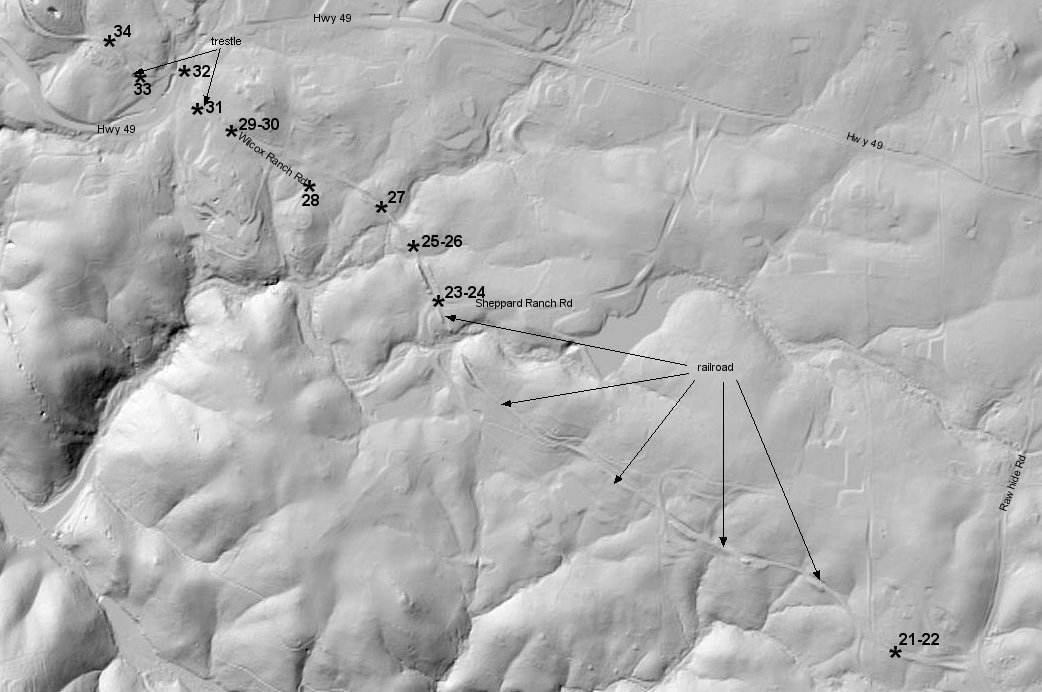
Google satellite and USGS Lidar images marked with the locations of images 23-34.
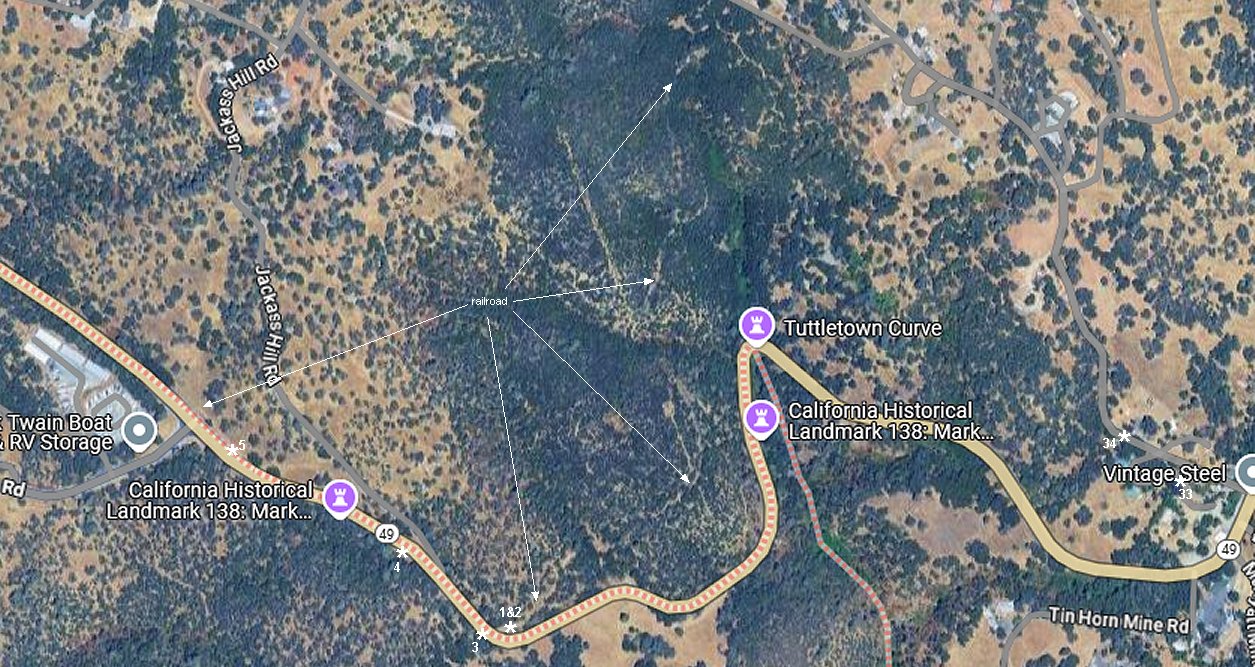
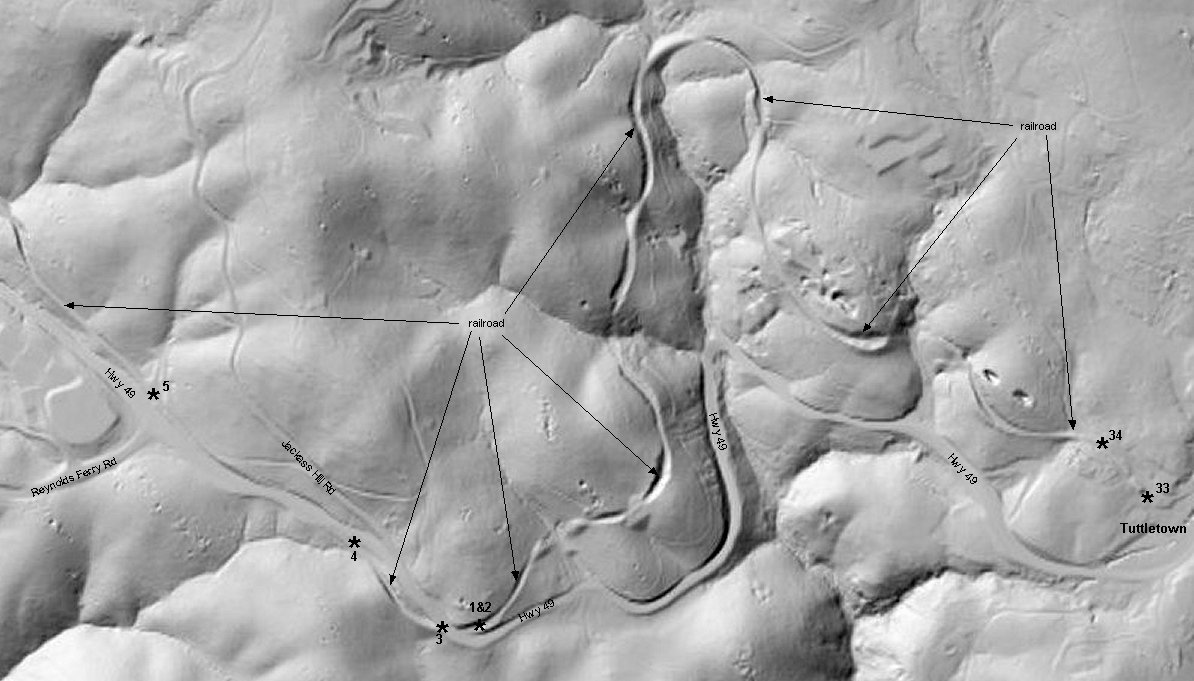
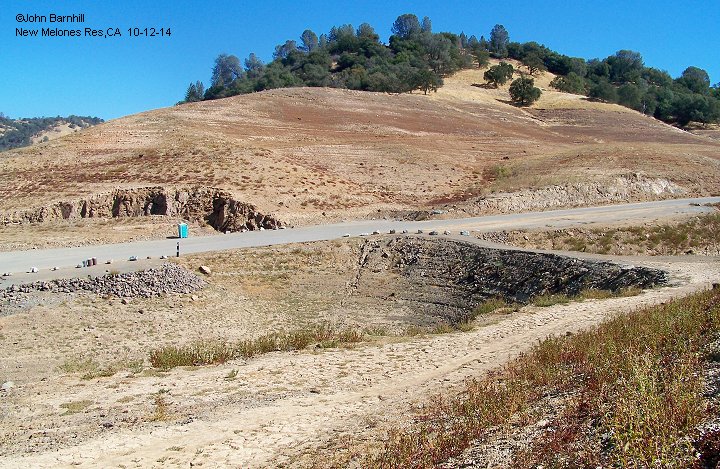
1.-5. At Jackass Hill Rd just south of the New Melones Resevoir, the roadbed crosses the highway twice in quick succesion on its way north.
Google satellite and USGS Lidar images marked with the locations of images 1.-5.
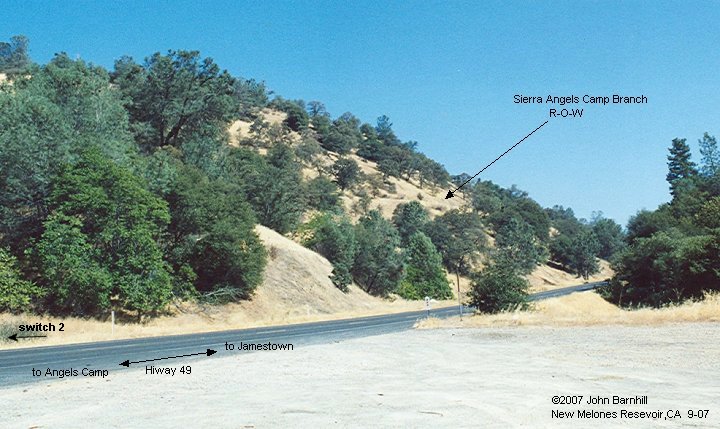
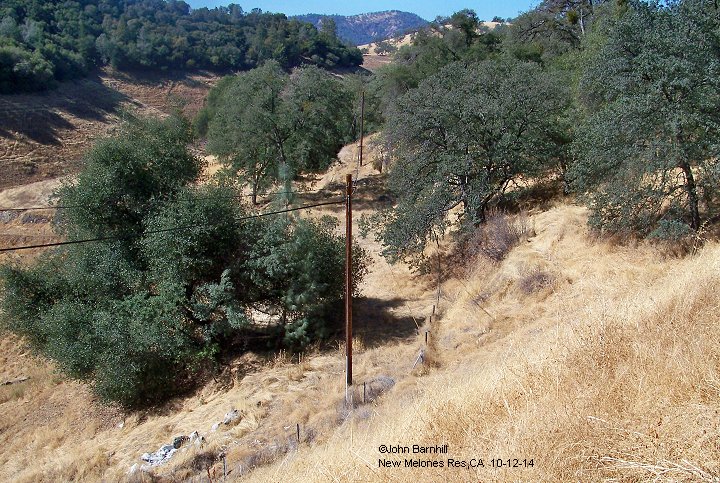
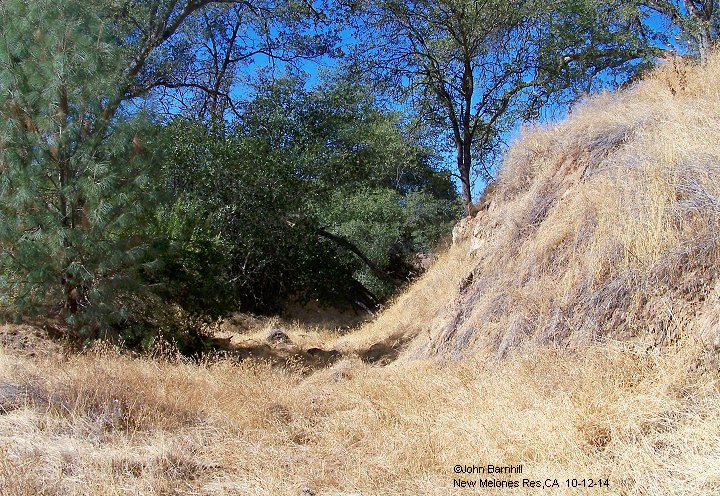
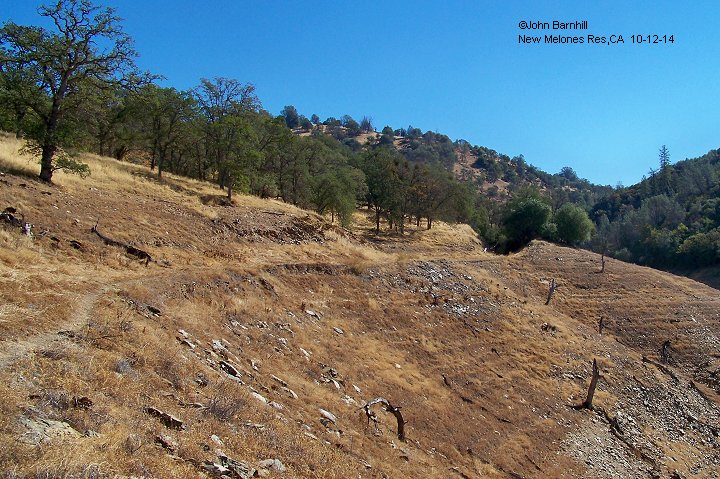
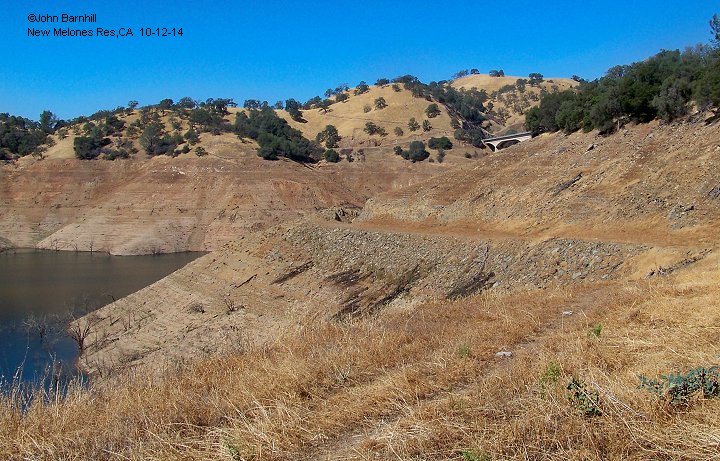
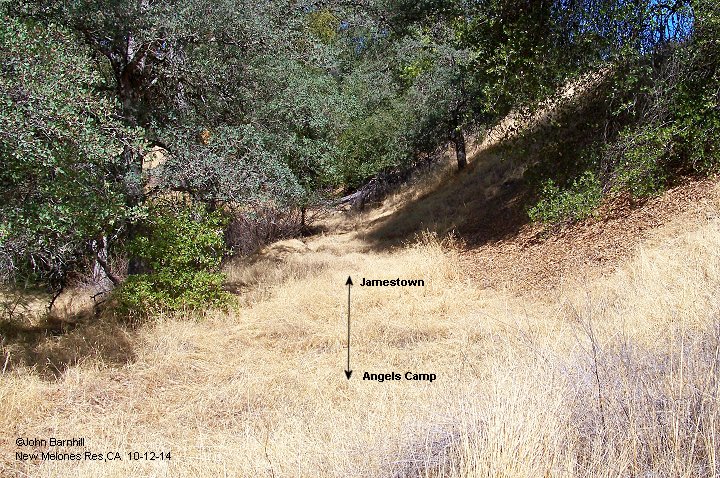
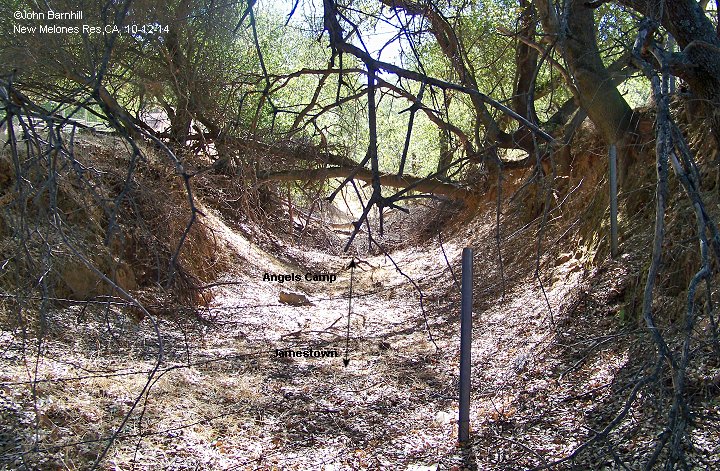
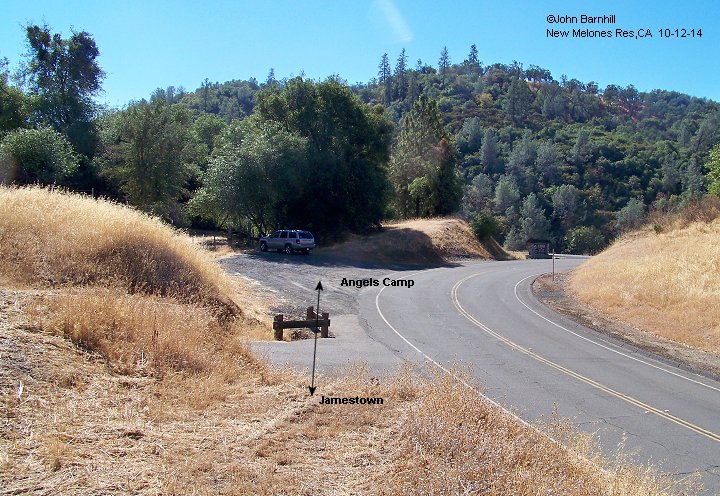
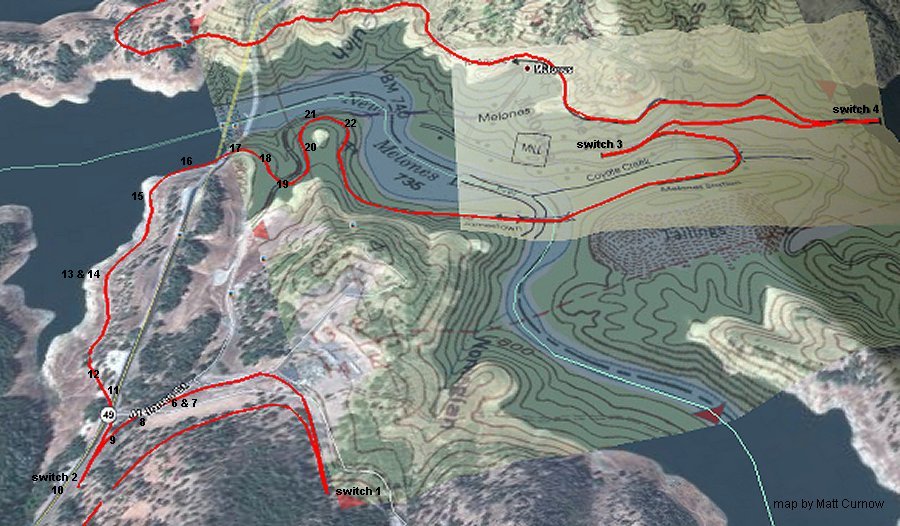
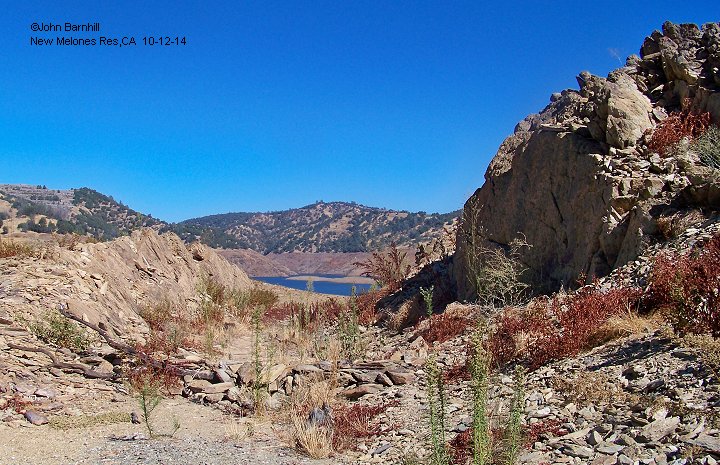
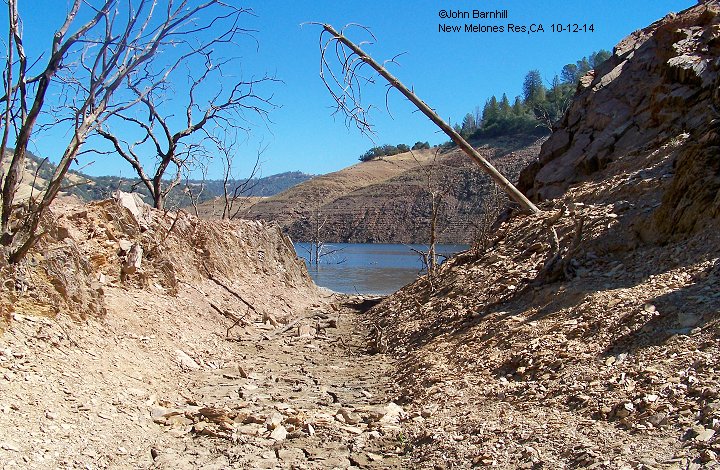
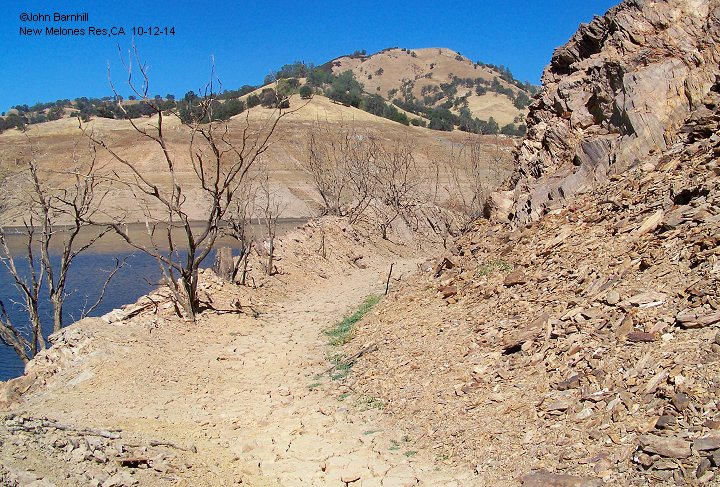
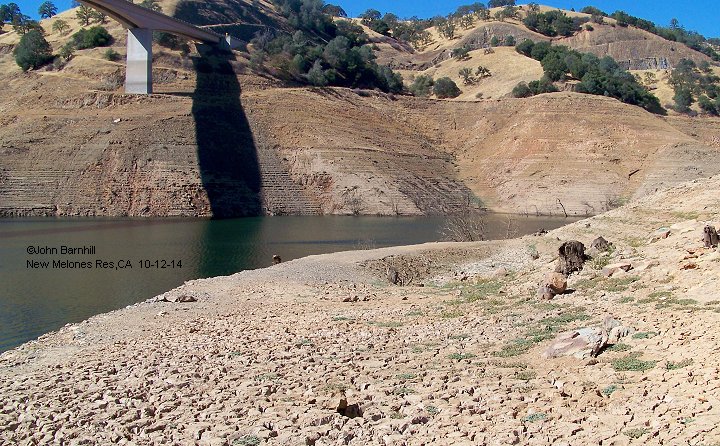
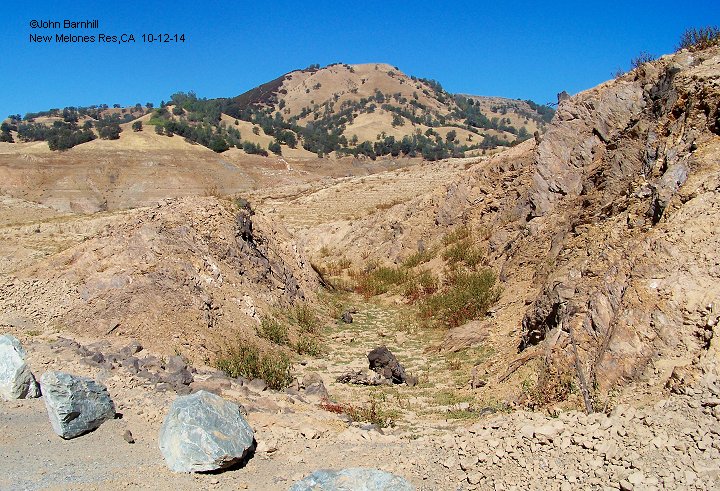
At the lake, the line used two switchbacks to descend into the canyon for its crossing of the Stanislaus River and two more to ascend the other side.
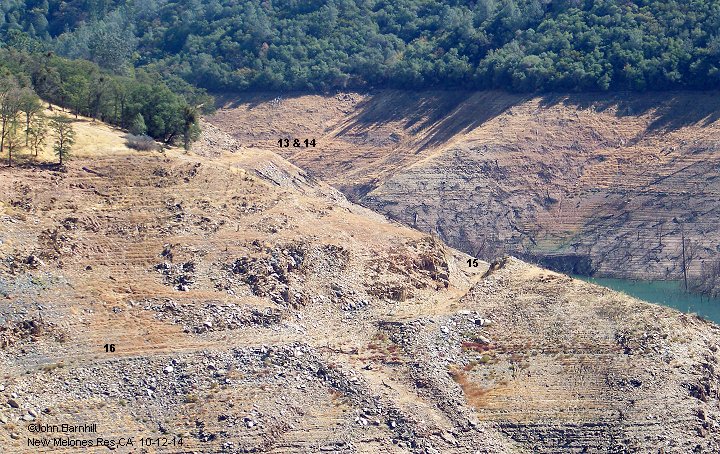
A 2014 trip to the lake during low water revealed much of the old right-of-way.
The map has been marked with numbers to match each photo. Tour starts at bottom left and continues clockwise. Enjoy.
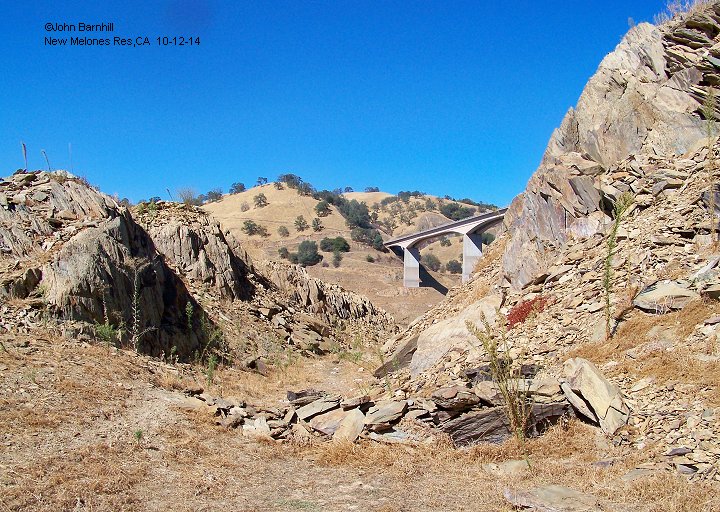
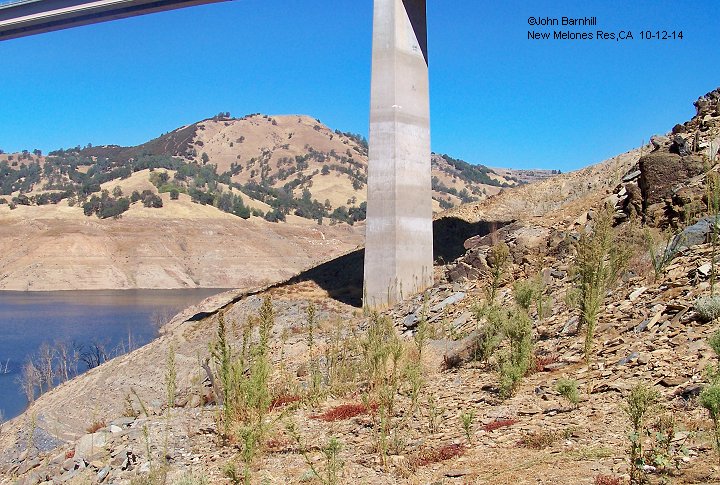
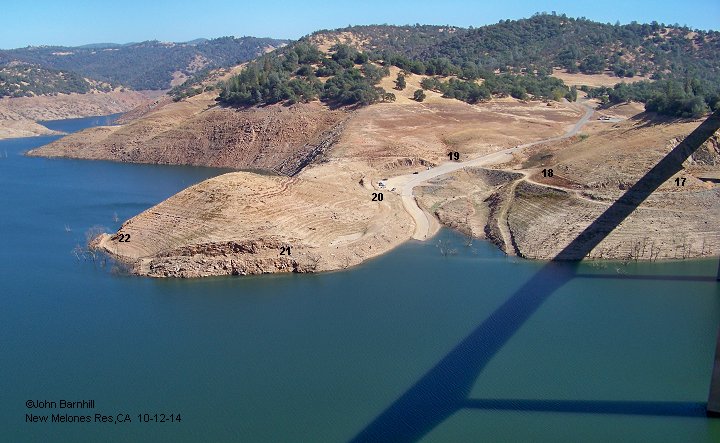
23.-24. These two views were taken from the current Highway 49 bridge looking back at the area covered above.
They are also marked with numbers corresponding to the above photos locations.
25. Switch 1 is still evident in a close up Google satellite view.
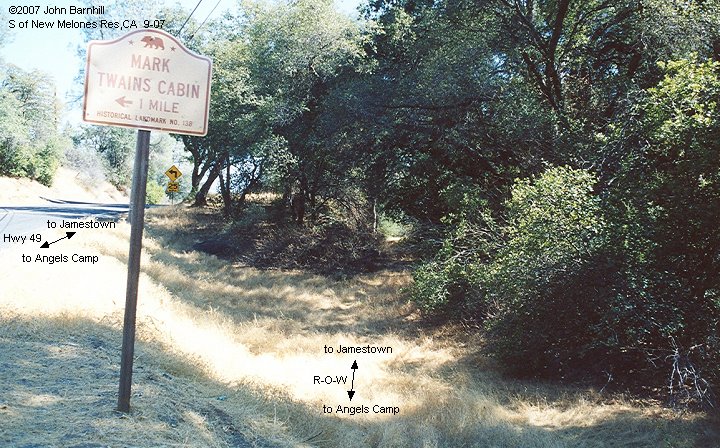
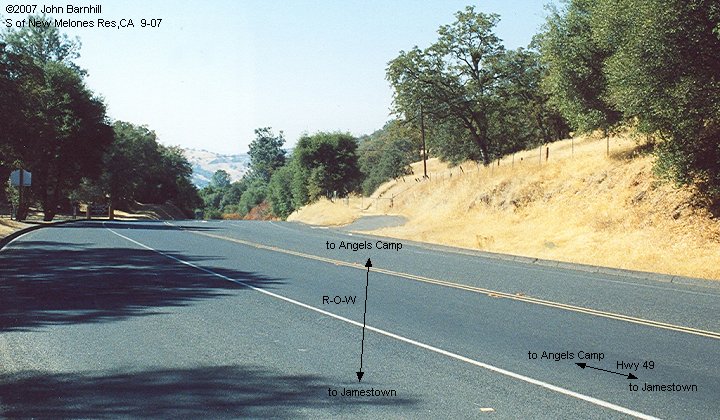
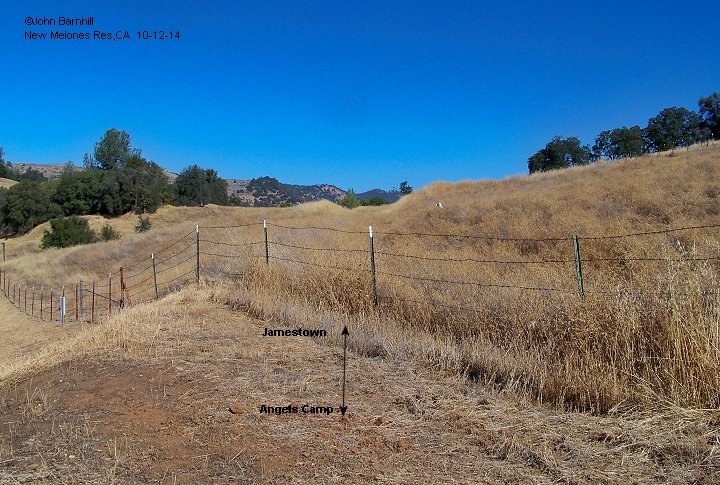
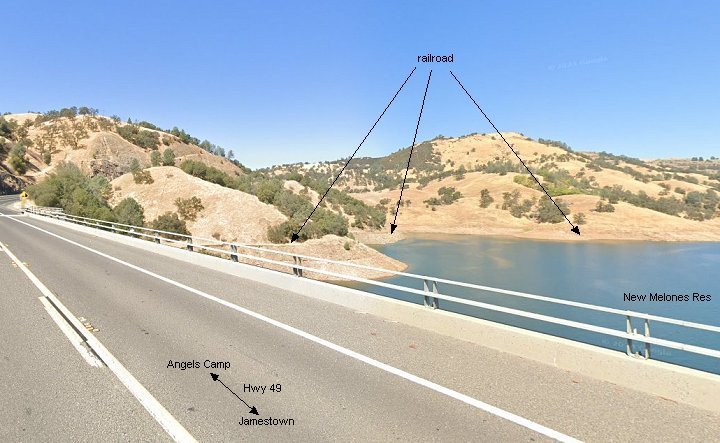
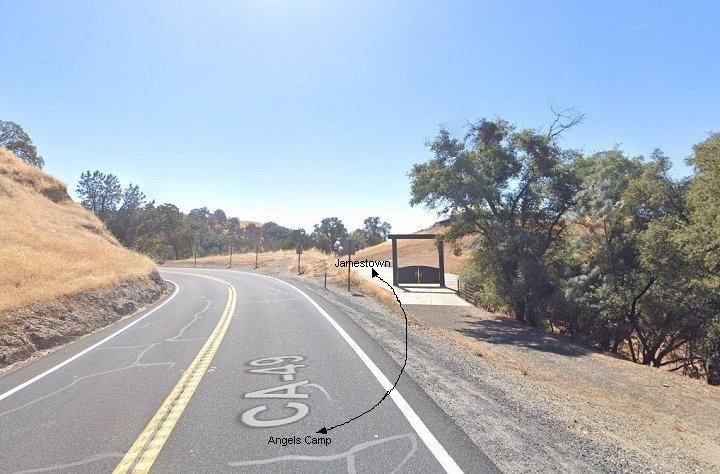
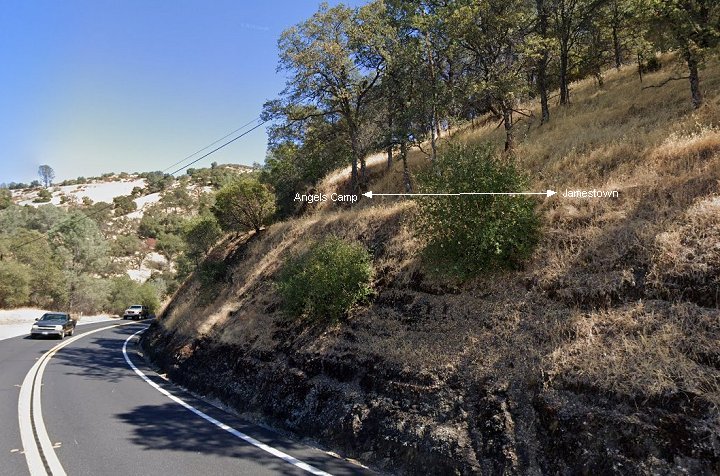
1.-2. Google street views from the Hwy 49 bridge over New Melones Resevoir. Image one looks towards Jamestown while image two looks towards Angels Camp.
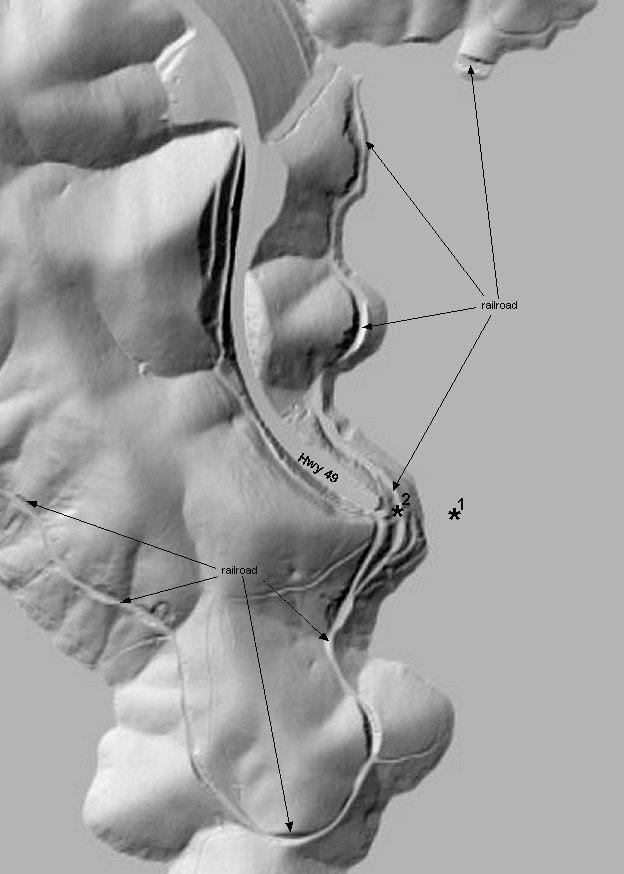
Google satellite and USGS Lidar images marked with the locations of images 1.-2.
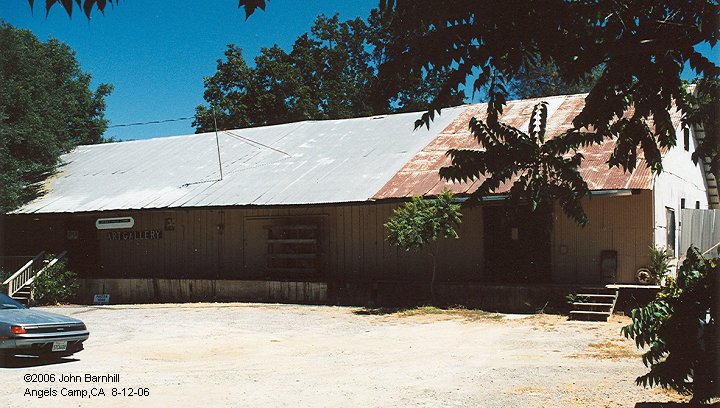
1. & 2. Ex Sierra RR Angels Camp,CA freight house. Now an art gallery.
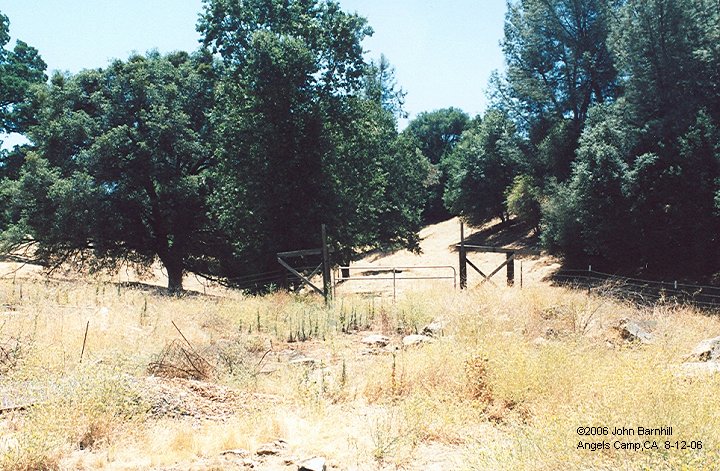
3. View down Sierra r-o-w towards Jamestown. Taken from Angels Camp freight house.
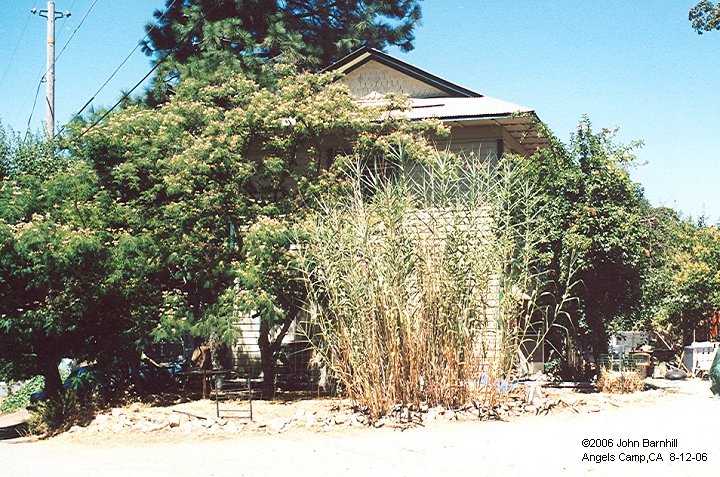
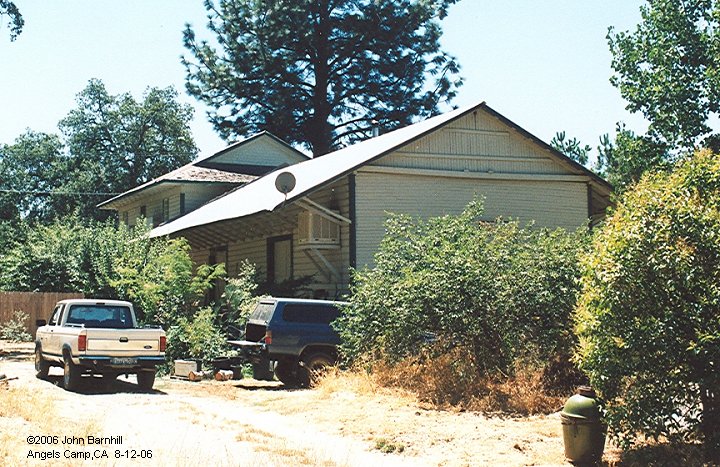
4.-6. Ex Sierra RR Angels Camp,CA depot. Currently a private residence.
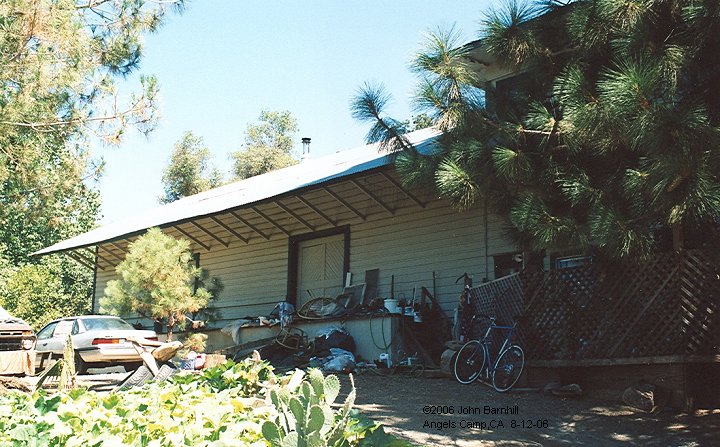
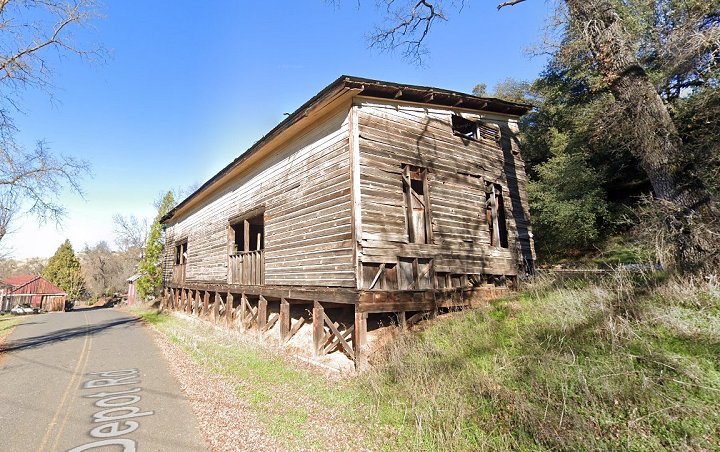
7. Warehouse at the yard. The water tank stood just out of frame to the right across the tracks.
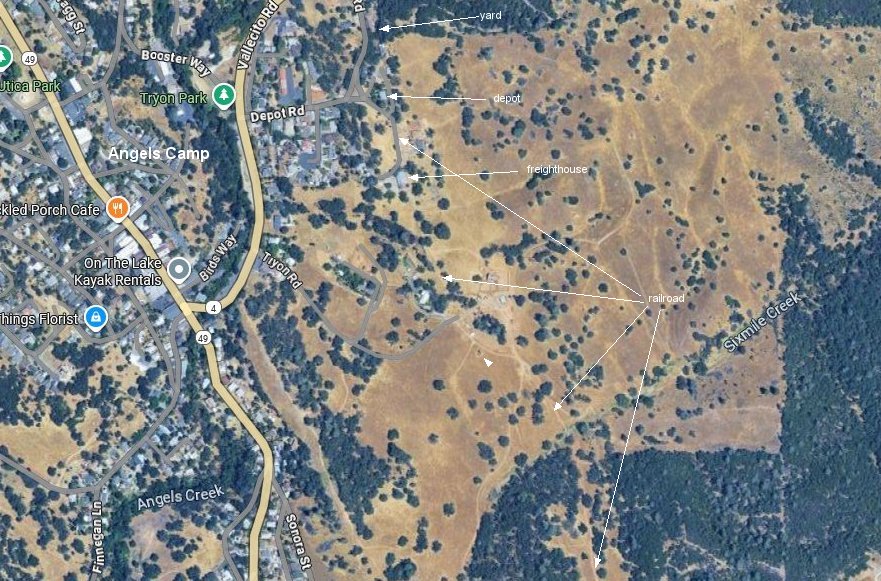
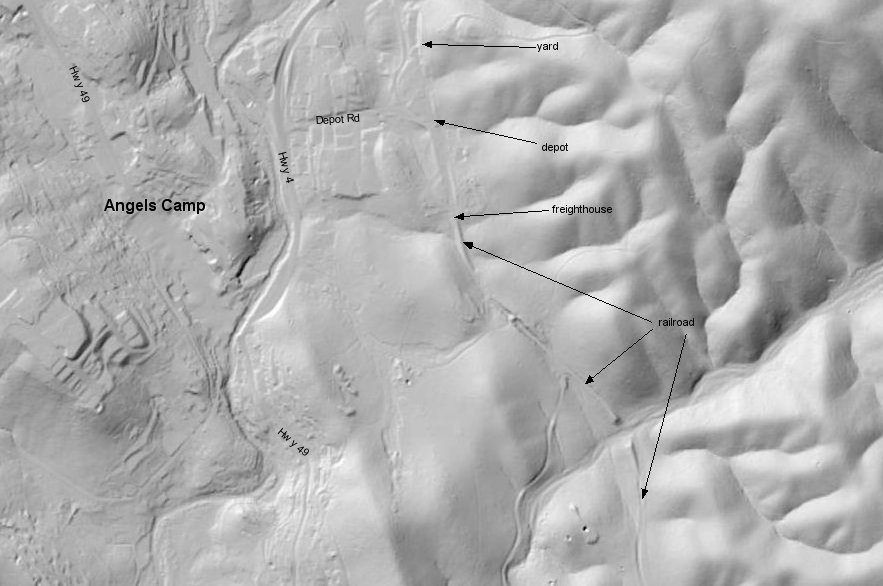
Closer Google satellite view of the Angels Camp yard and structures marked with above photo locations.
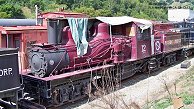
1. Shay #12 spent most of it's life with the Sierra RR on the Angels Camp Branch. Seen here at Pacific Locomotive Association Brightside,CA as Pickering #12.
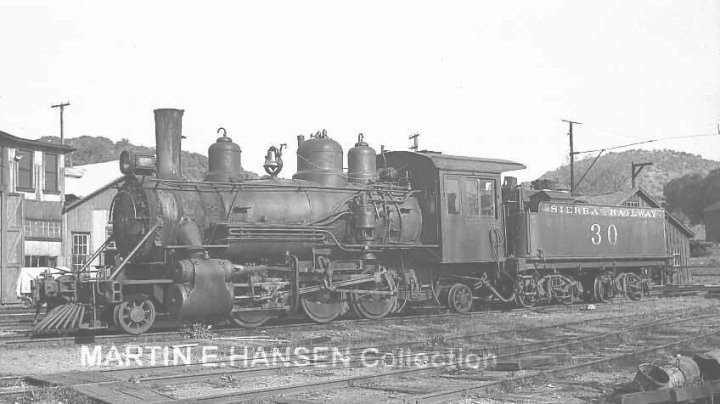
2. Sierra #30 was specifically built for use on the Angels Camp Branch. (Martin E Hansen collection)
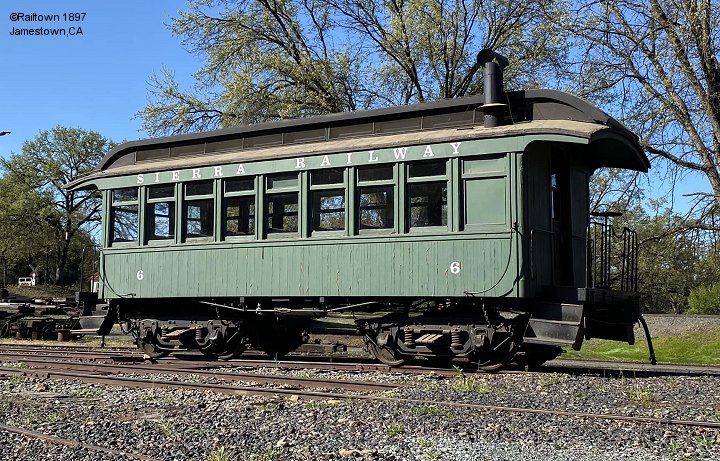
3.-4. Combine #5 and coach #6 were also built to be used on the branch. Seen here at Railtown 1897 Jamestown,CA (Railtown 1897 collection)
References
Rails In The Mother Lode, Adolf Hungry Wolf
Shortline Junction, Jack Wagner
Sierra Railway, Dorothy Newell Deane
Steam Echoes, Glenn Beier
When Steam Was King, Gerald French