


| Finally
after many years of searching, I found a wigwag for sale at a "reasonable"
price. I gave up on hoping to find one for scrap value...or less, from
a railroad. It's now at the point where there are just too few left to
wait for. The photos on the next 3 pages are a sort of "step-by-step" that
I went through to restore this signal. It is not by any means an "official"
restoration guide. It's just what I experienced when I rebuilt mine. I
would like to thank Jim Downard, former signal maintainer for Southern
Pacific, for the countless e-mails of tech support throughout the project.
(To learn
more about Jim, click on the link)
|
 |
 |
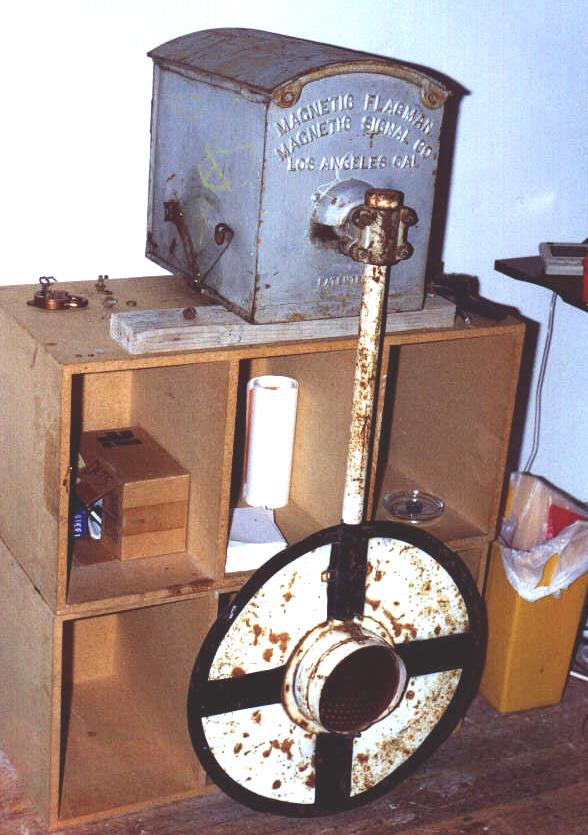
| This is what I started with. Very rusty...but it worked, as you can see below. It came from the City of Orange, CA, on the Santa Fe line. Thanks to Larry Campbell for driving it up to San Francisco from Barstow. And yes, that is a simple model railroad transformer that I used to power it! They run off 8-10 VDC. |
The Project
Click on any picture
to enlarge.
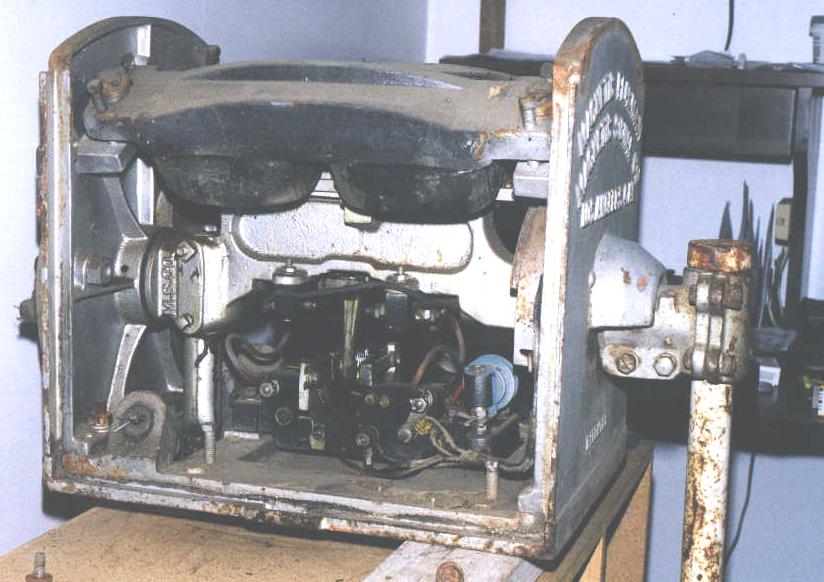 |
This shows the main box without cast iron roof. You can clearly see the magnets on top. |
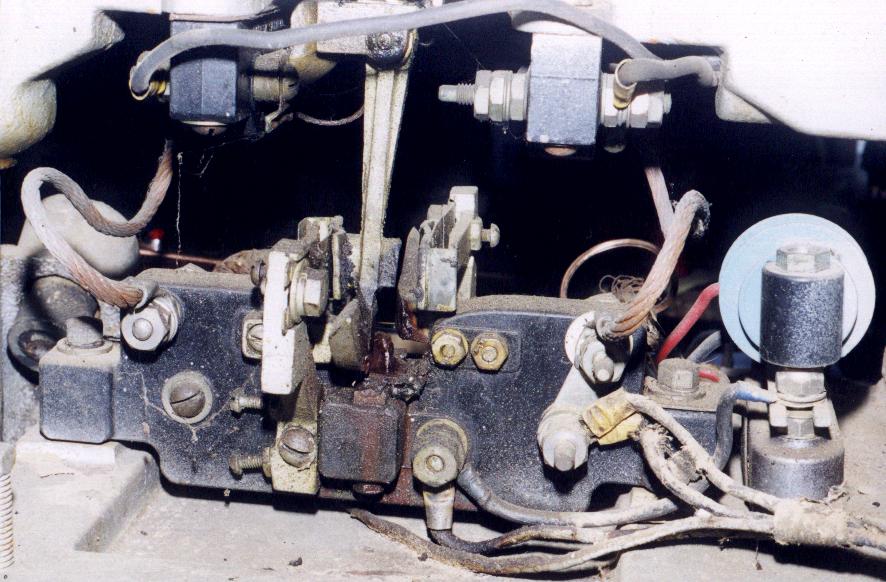 |
Close up views of terminal board assembly and movable finger contact. Very greasy! |
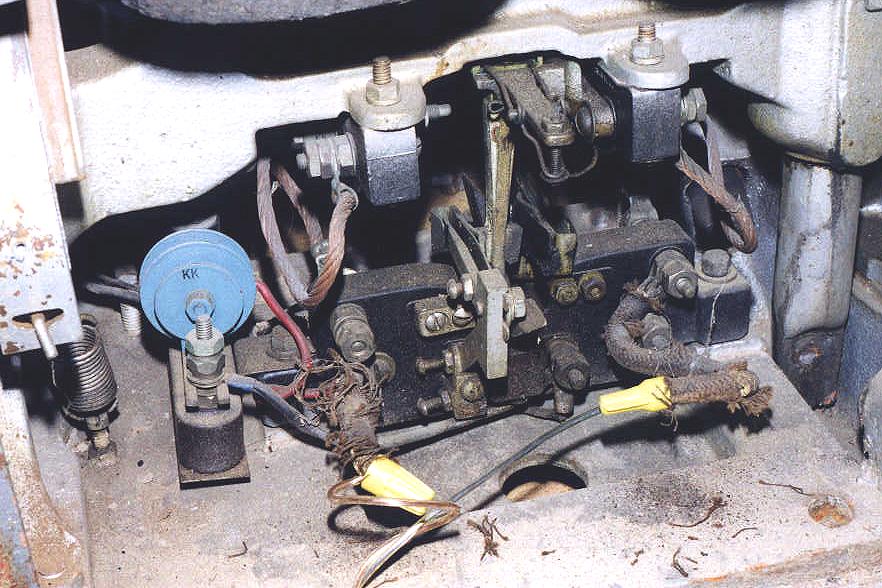 |
Same but other side. |
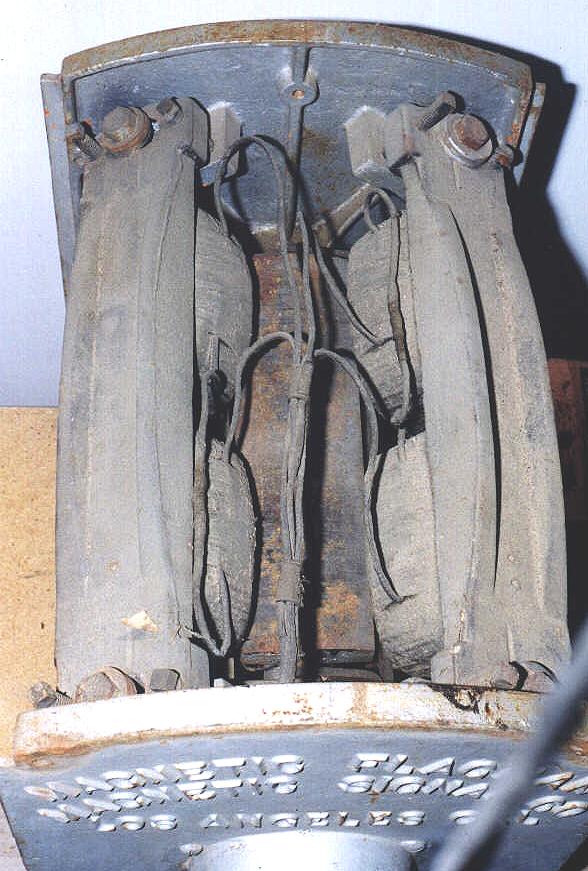 |
Close up view of top of box, minus
cover. Magnets are very dirty, signs of rusting as well. These are extremely
heavy! Be forewarned if you decide to remove them for cleaning. I chose
to do so, using a wire brush, just to get the loose paint, dirt and rust
off. Then I cleaned them up and sprayed them with Krylon semi-flat black.
(Most SP wigwag magnets were painted silver and had molten lead poured
around the adjusting bolts to keep them from getting out of adjustment)
According to Jim, the magnet casings should be sprayed with black armature paint to keep out the moisture (important if you plan on keeping yours outdoors). |
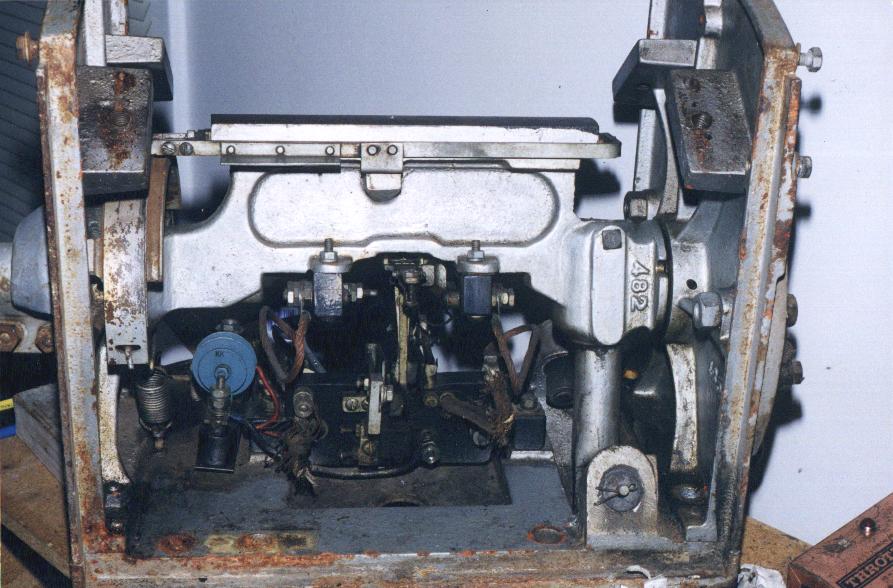 |
Here we see that the magnets have been removed. Always remember to make some kind of diagram of where things went, especially wires. It also helps to number the wires (using tape or something), this way you don't forget where anything went. The terminal block was cleaned with a de-greaser then cleaned with soap and hot water, finally painted with Krylon semi-flat black paint. I did the same for the two bracket supports that mount just under the armature casing (main shaft). All screws, nuts, bolts, and brass parts were cleaned and polished with a wire wheel. |
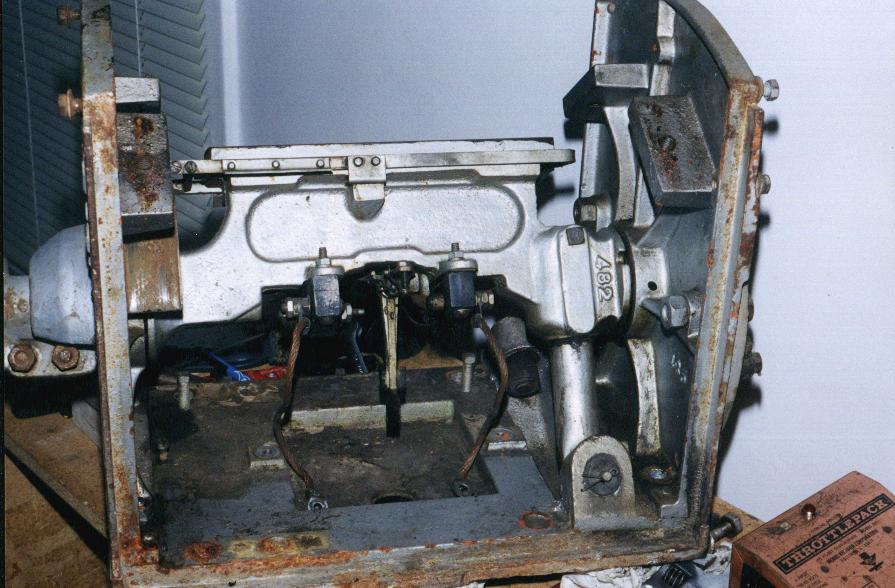 |
Terminal board removed. |
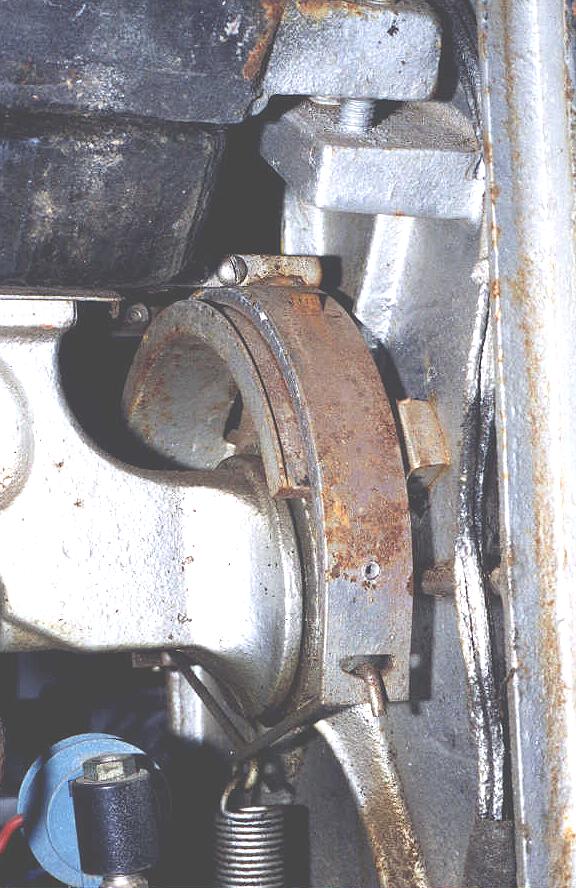 |
Wigwags have brakes too! This is
a close up of the brake drum and shoe. Just under that you can see the
spring. The spring is attached to the adjusting screw. (SP wigwags were
later modified to have two springs, one on either side of the brake shoe)
After removing all of this, the drum should be sanded down to a smooth surface. These tend to be very rusty. The shoe should be cleaned up as well. This was obviously something that would have simply been replaced back in the day, but where are you going to find a brake shoe for a wigwag now? |
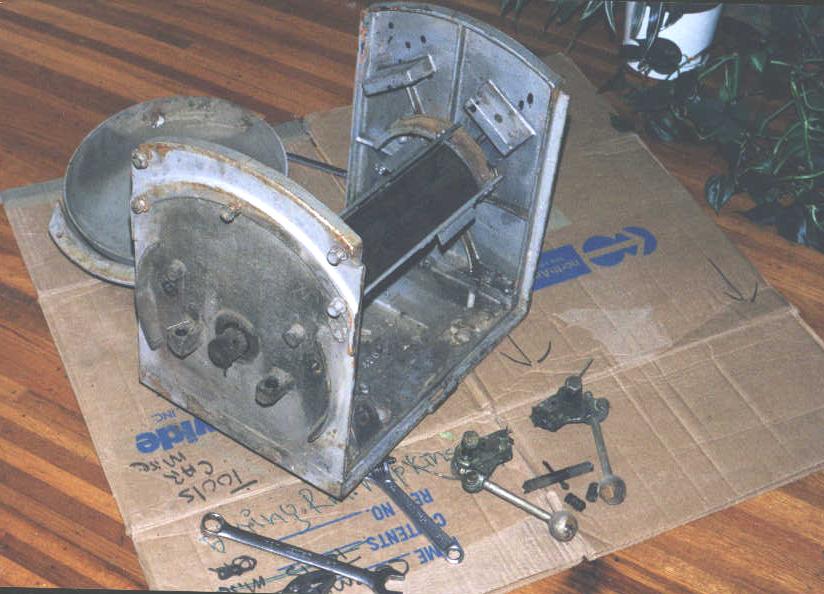 |
A gutless wigwag. |


