 |
 |
 |
 |
 |
| Whitehaven
bound Class 153 363 (single unit) at Millom 1/6/96 |
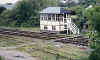
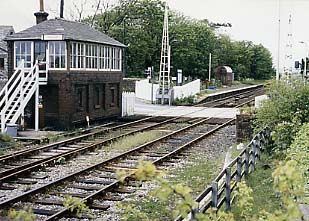
Millom
signal box 1/6/96 |
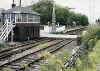
Silecroft
signal box 1/6/96 |
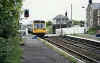
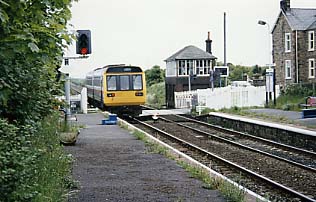
Class
142 004 Nodding Dog leaving Silecroft 1/6/96 |
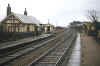
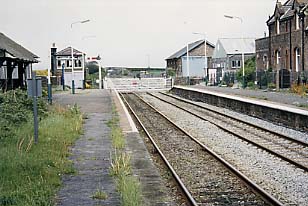
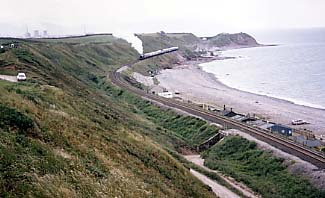
Looking
North to Bootle Station 1/6/96 |
 |
 |
 |
 |
 |
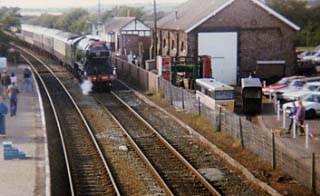
| 4472
Flying Scotsman hauling the "Sellafield Sightseer" railtour 7/5/90 |
Flying
Scotsman at Ravenglass on C.C.E. 17/8/91 |
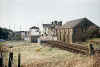
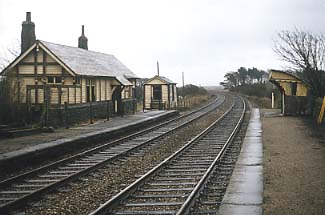
Eskmeals
station 1981 |
Drigg
signal box, goods shed & station 3/1990 |
Class
142 Pacer at Seascale. 1/6/96 |
 |
 |
 |
 |
 |
| Class
142 Pacer at Seascale 1/6/96 |
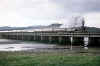
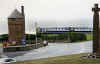
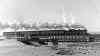
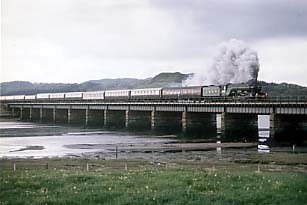
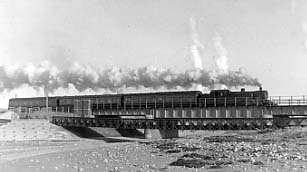
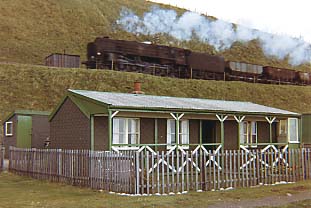
Fowler
2-6-4 tank Southbound at Sellafield on the Calder viaduct. Early 1960s |
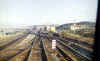
Sellafield
Station 15/9/84 |
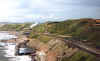
Southbound
Class 47 with coal train at Sellafield. 1981 |
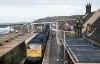
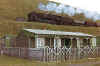
Nethertown
Station September 1990 |
 |
 |
 |
 |
 |
| 4472
approaching Nethertown with C.C.E. 17/8/91 |
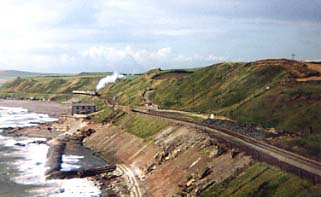
Stanier
Black 5 5407 approaching Coulderton 29/6/91 |
BR.
Class 9F 2-10-0 with coal empties at Coulderton. 1965 |
6201
Pacific "Princess Elizabeth. Cumbrian Coast Express, St. Bees 29/6/91 |
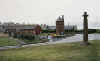
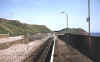
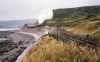
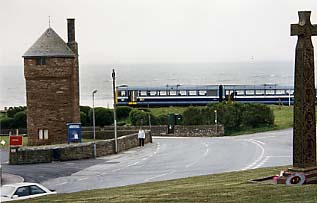
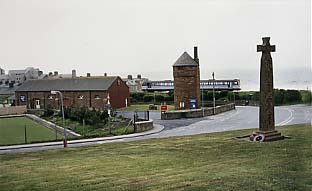
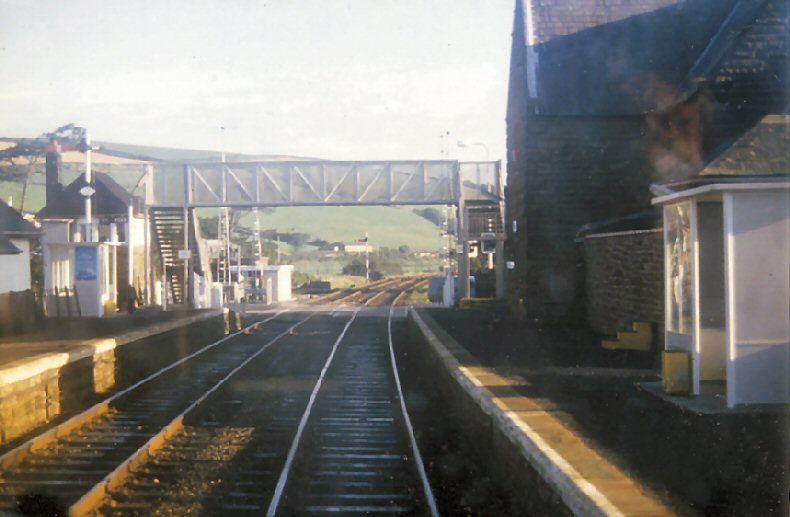
St.
Bees station looking North. 15/9/84 |
 |
 |
 |
 |
|
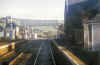
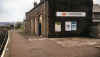
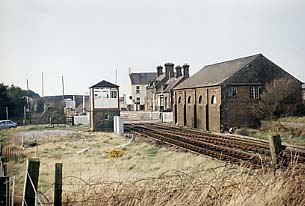
| Corkickle
Station & No. 2 signal box 1986 |
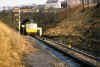
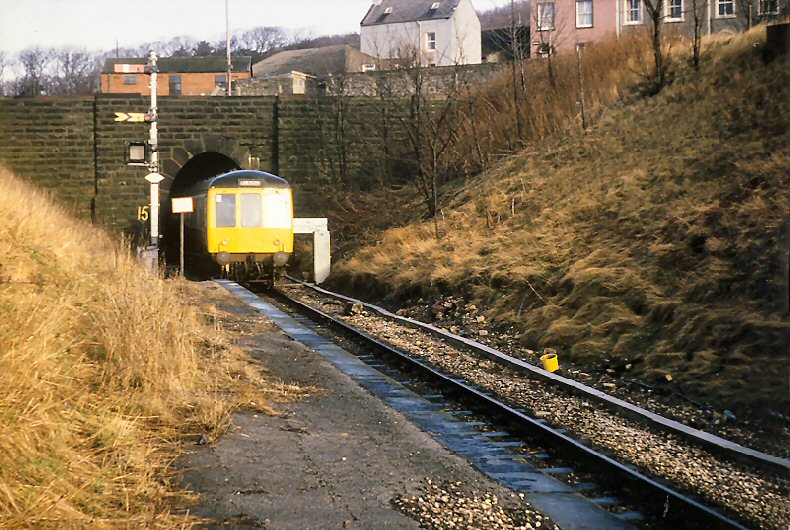
Barrow
bound Class 108 dmu exiting Bransty tunnel 1986 |
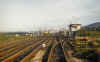
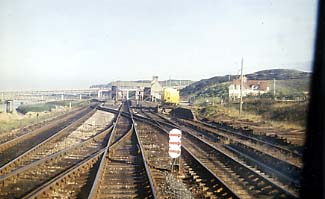
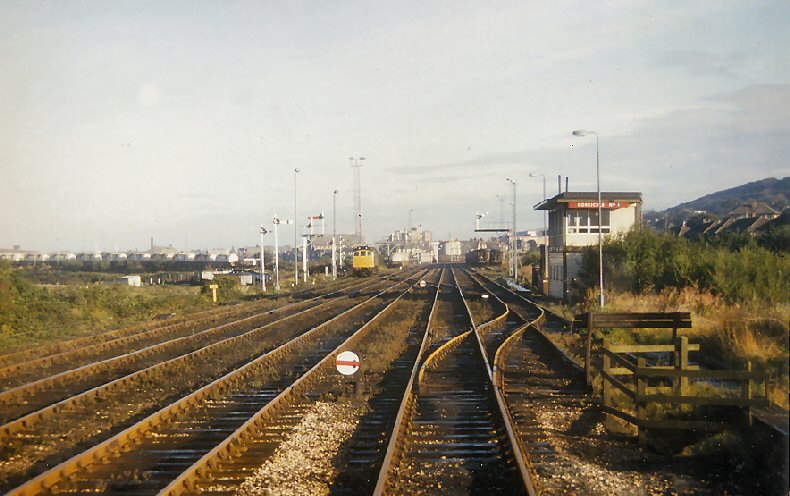
Corkickle
Yard & No. 1 signal box 15/9/84 |
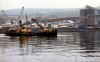
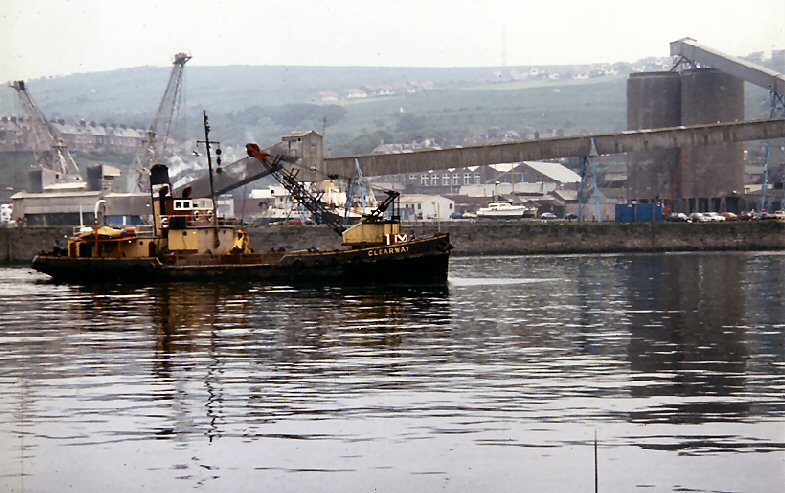
Whitehaven's
steam powered harbour dredger "Clearway" 1/6/92 |
|
|
|
|
|
|
| |
|
|
|
|
| |
|
|
|
|
| |
|
|
|
|


