|
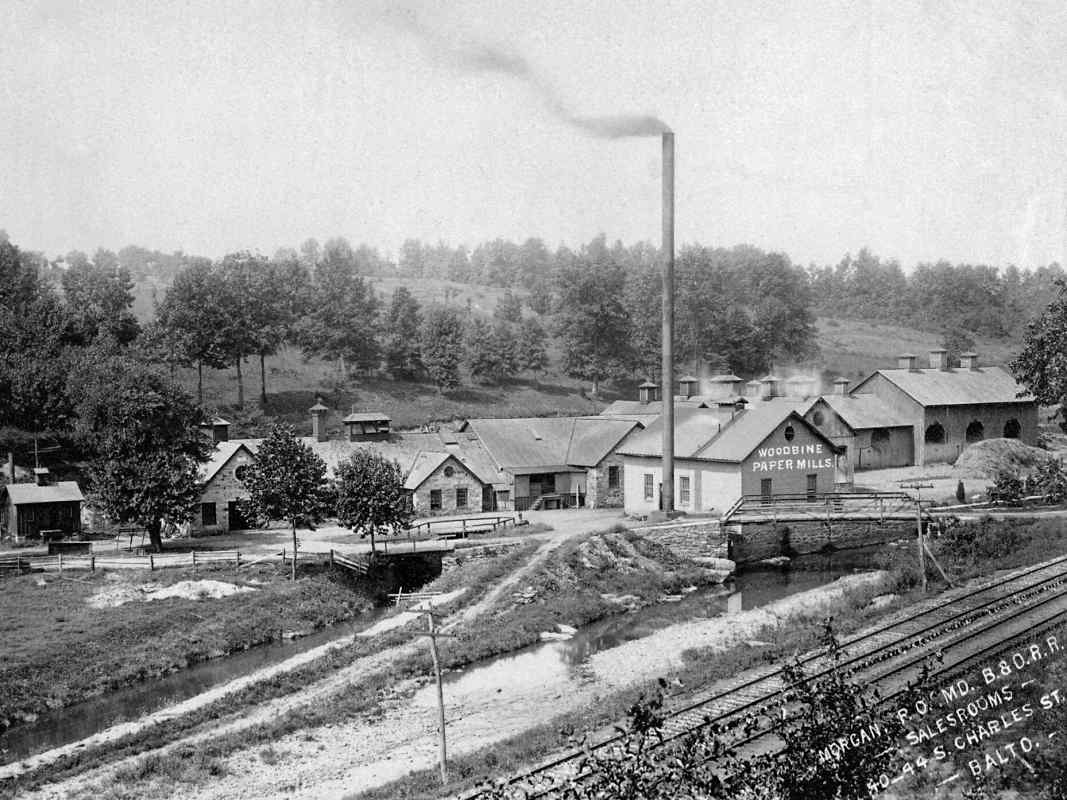
In the days of steam, Gaither had been an important stop for water
as westbound locomotives began their ascent to Mt. Airy. Water
tanks on either side of Gaither Road stored the liquid to satisfy
thirsty locomotives.
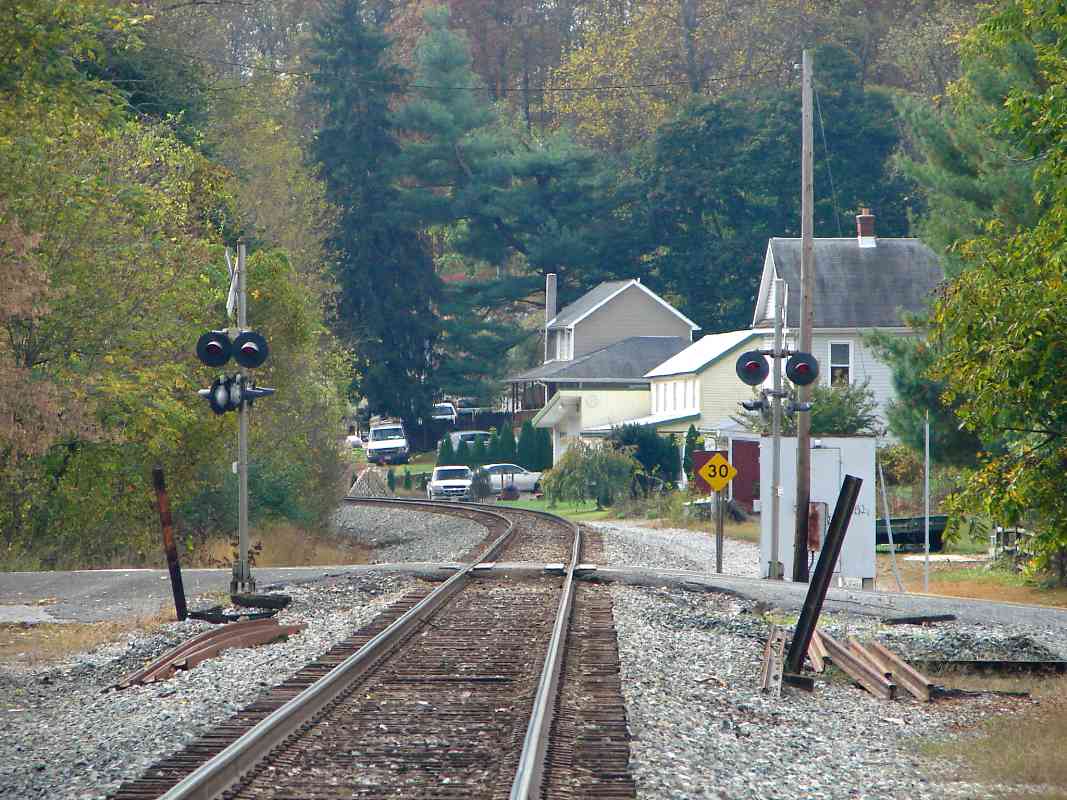
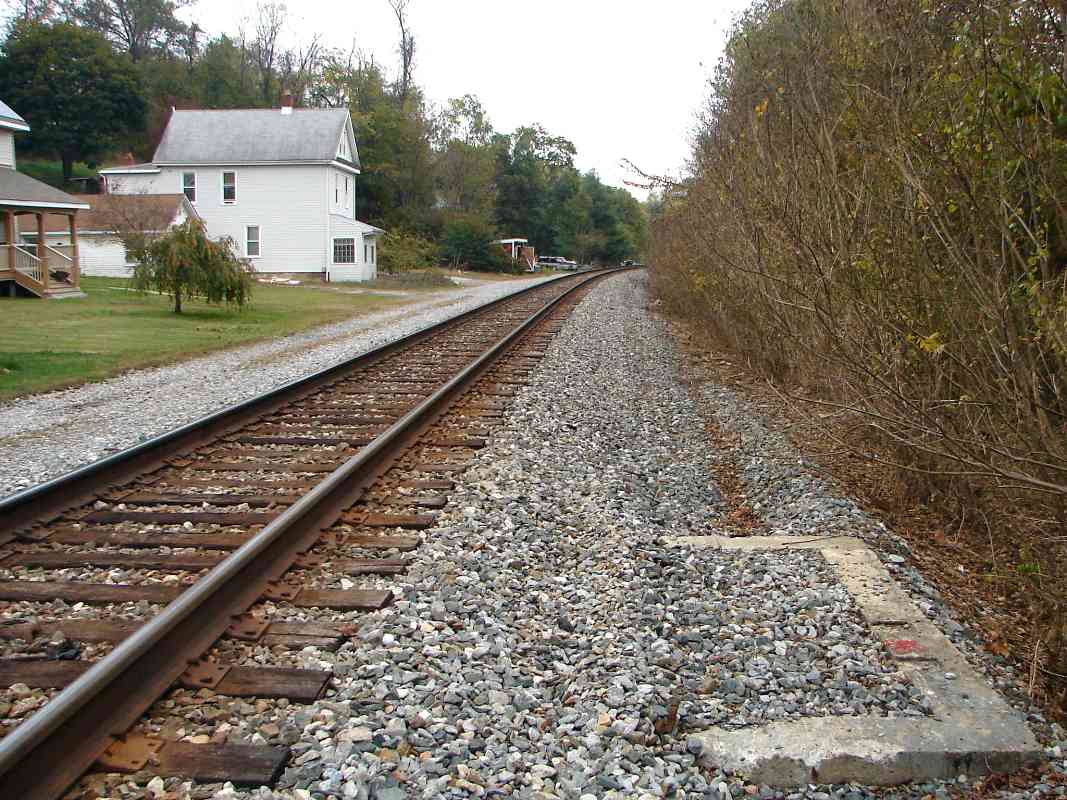
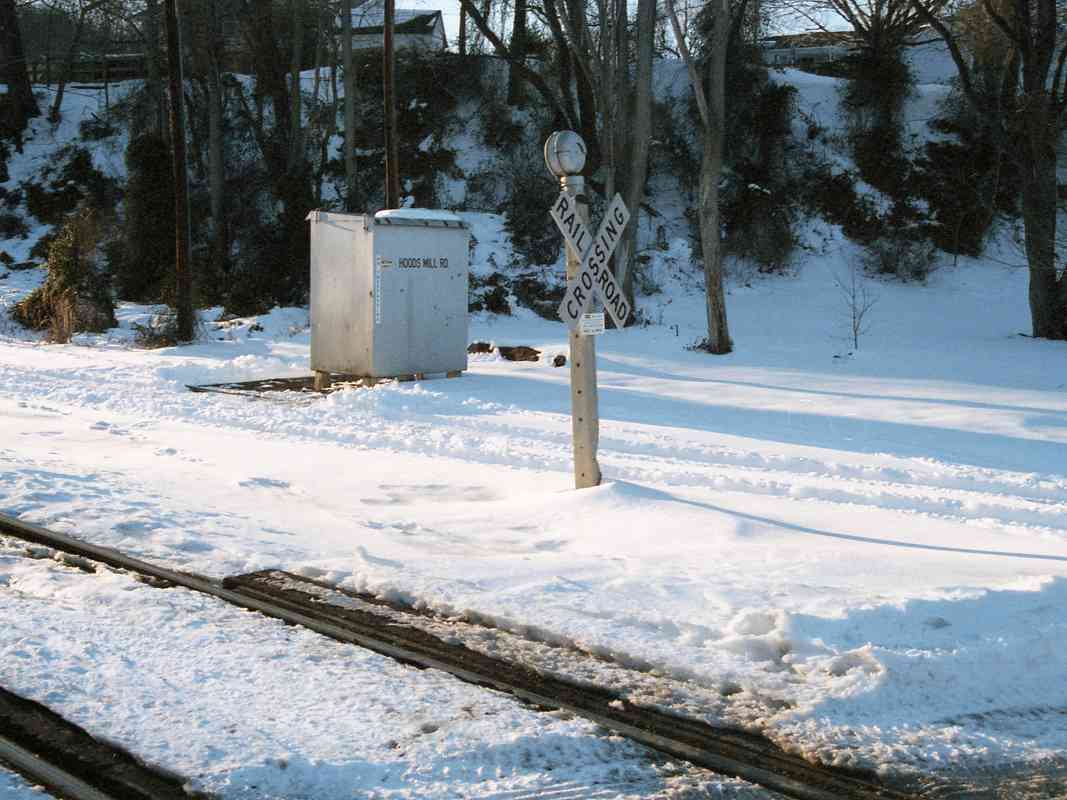
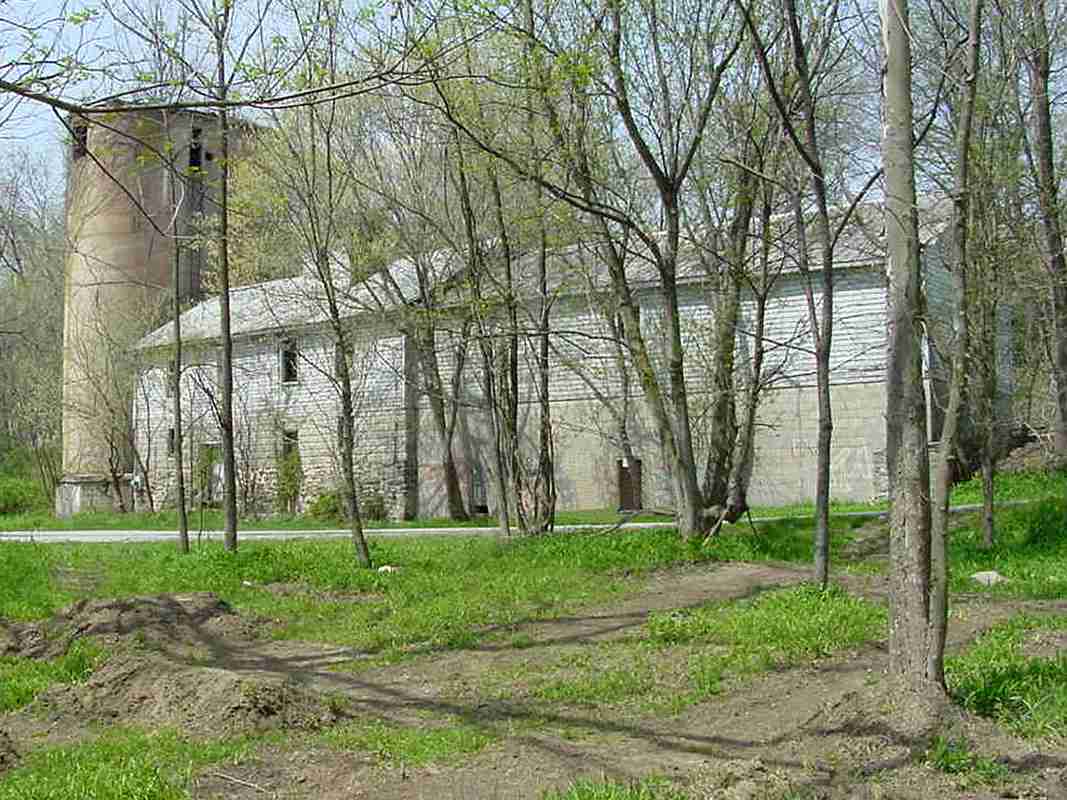
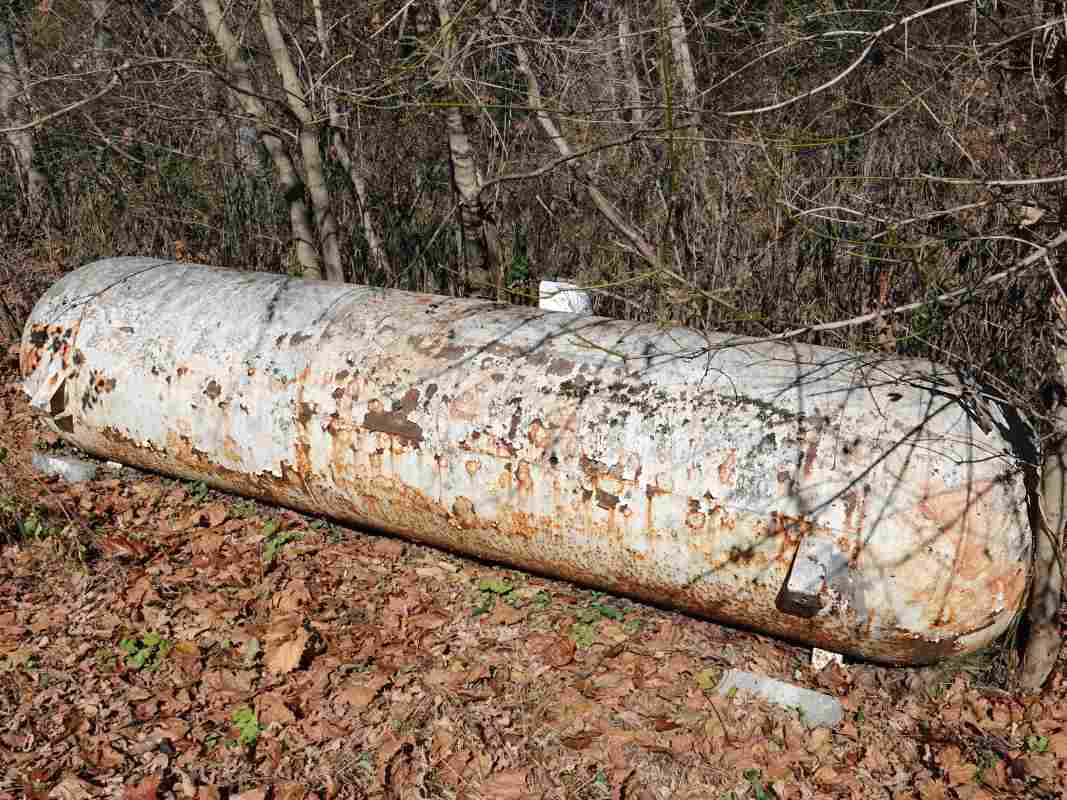
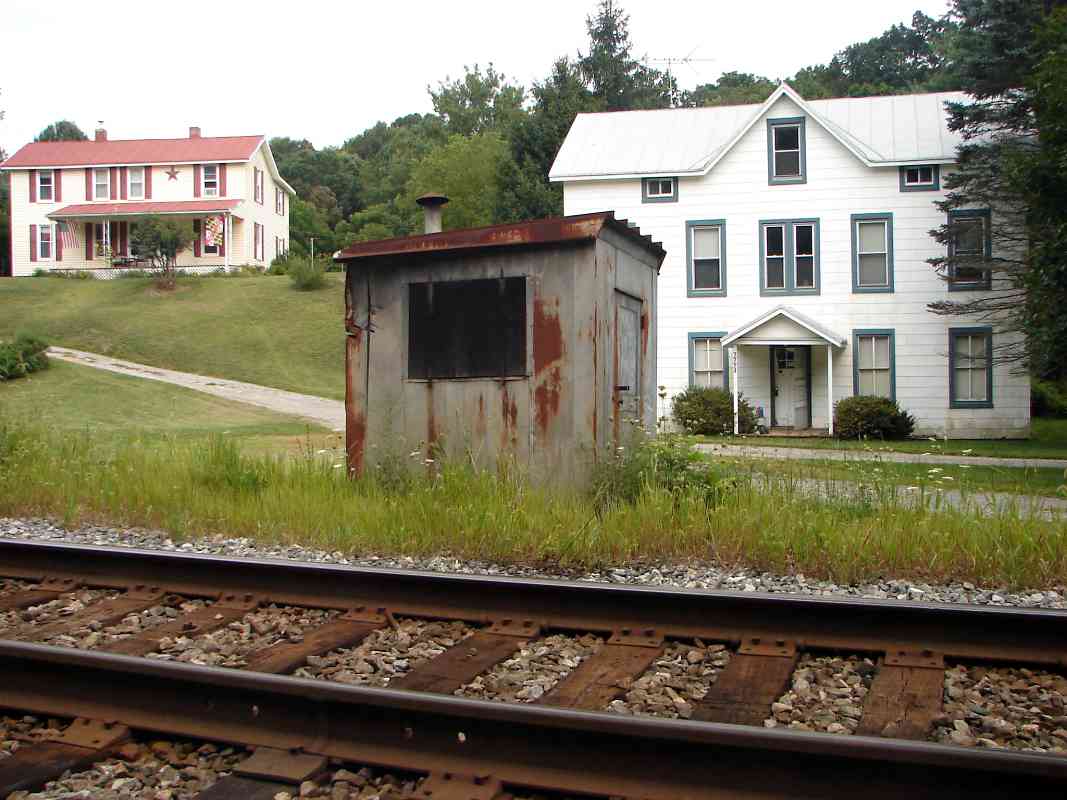
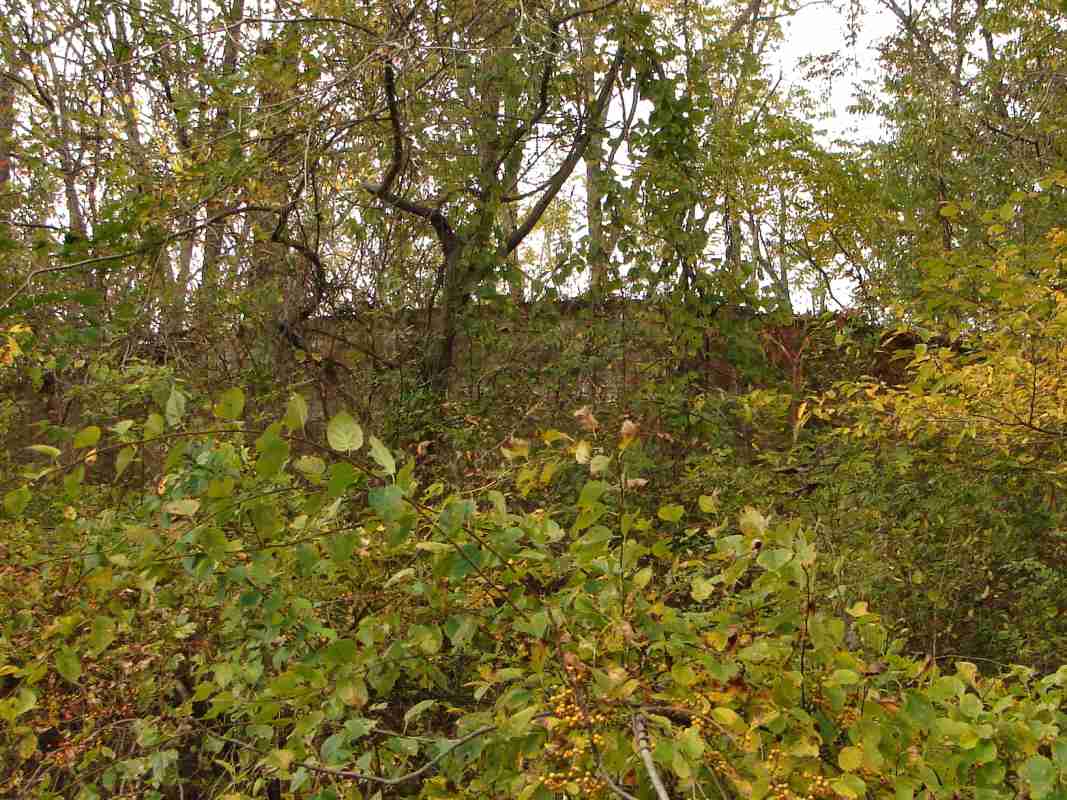
Though close to the tracks, the west side tank is all but invisible
during leaf season. In this view it stands on the other side of the
white house (if you face the front of the house, the tank is on the
right). Detour: Gaither Water Tanks
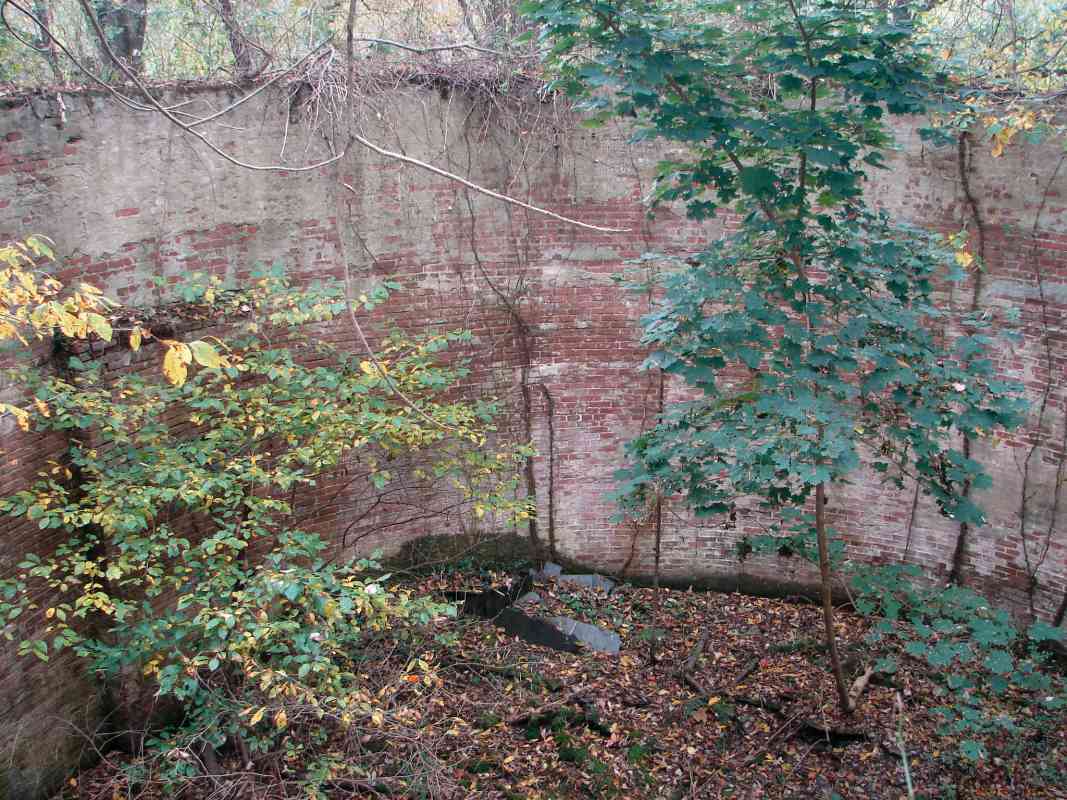
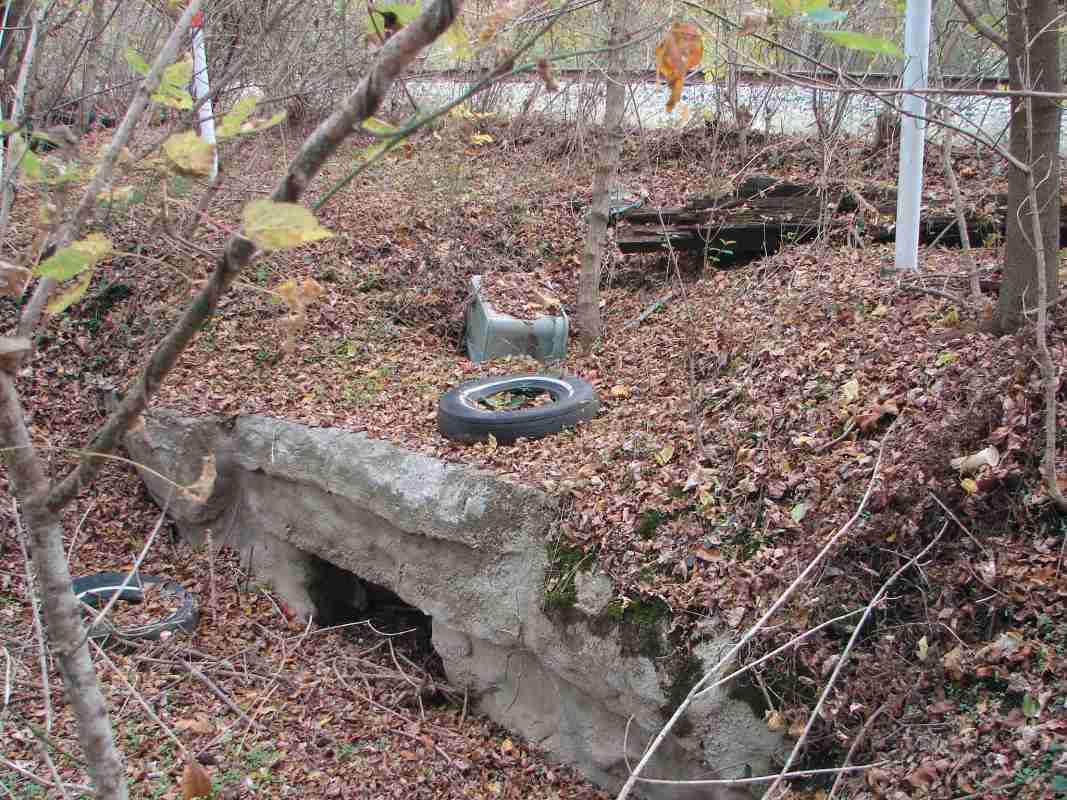
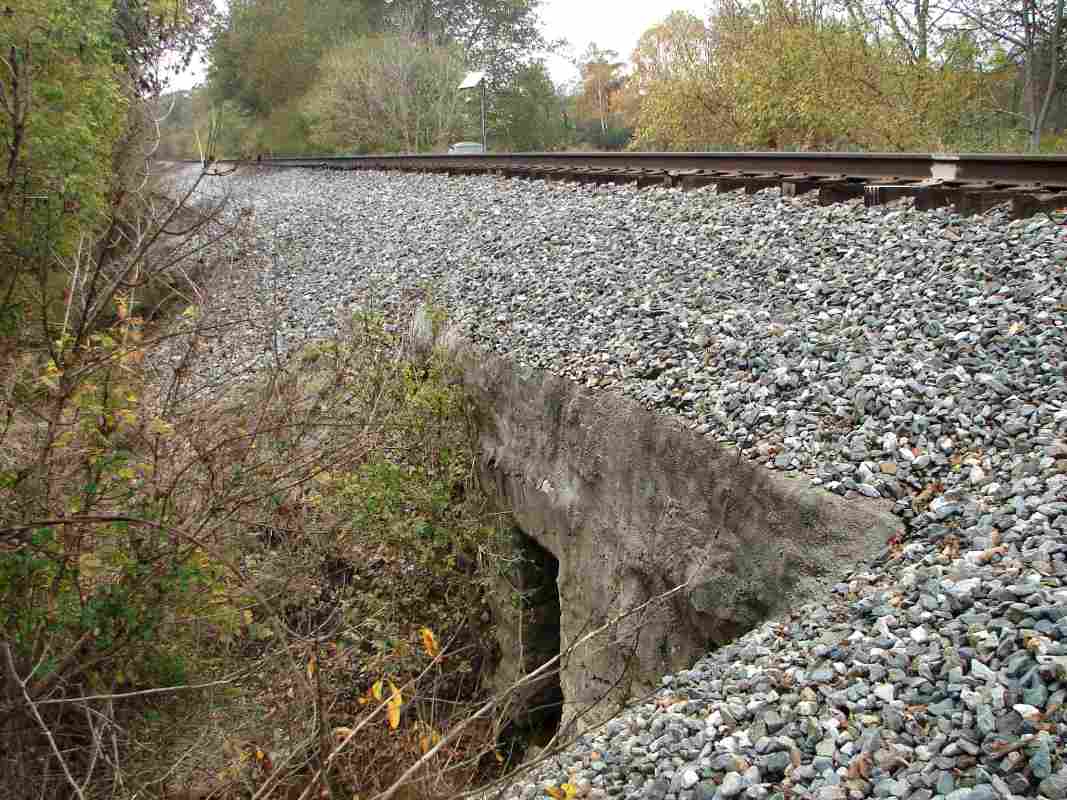
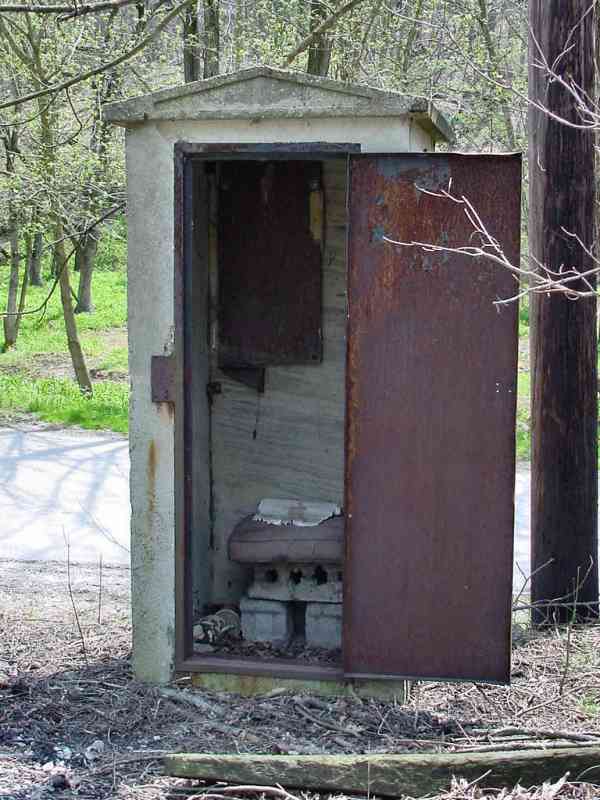
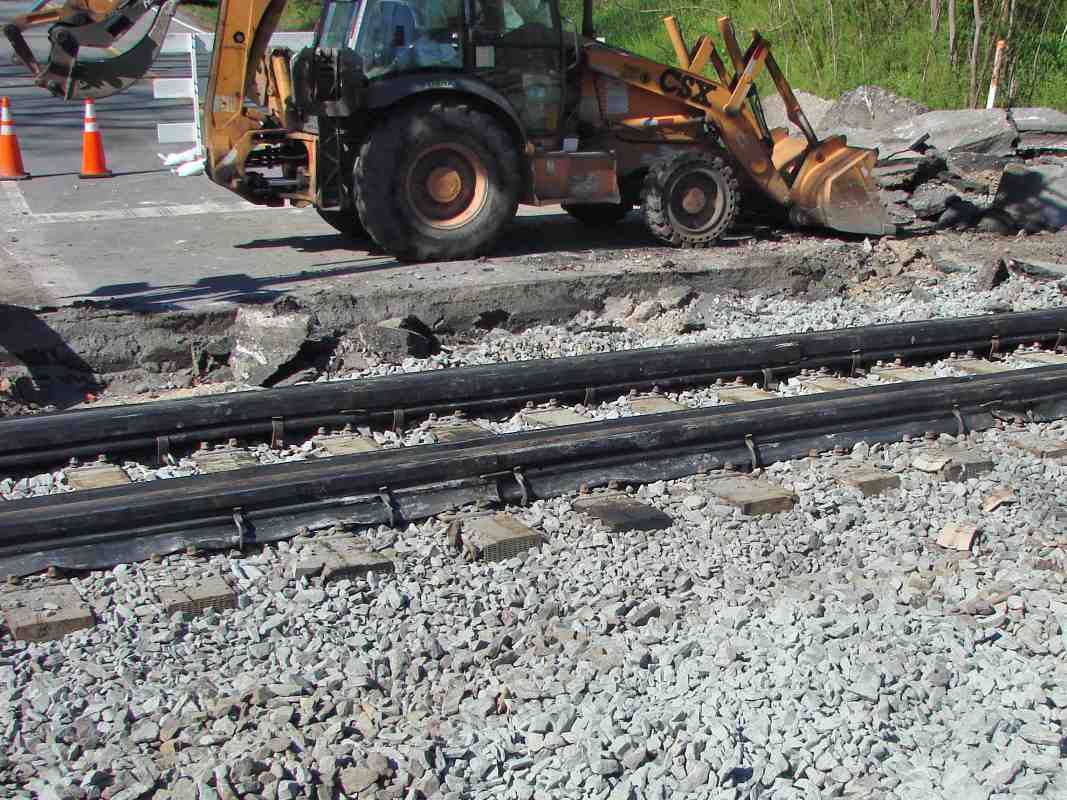
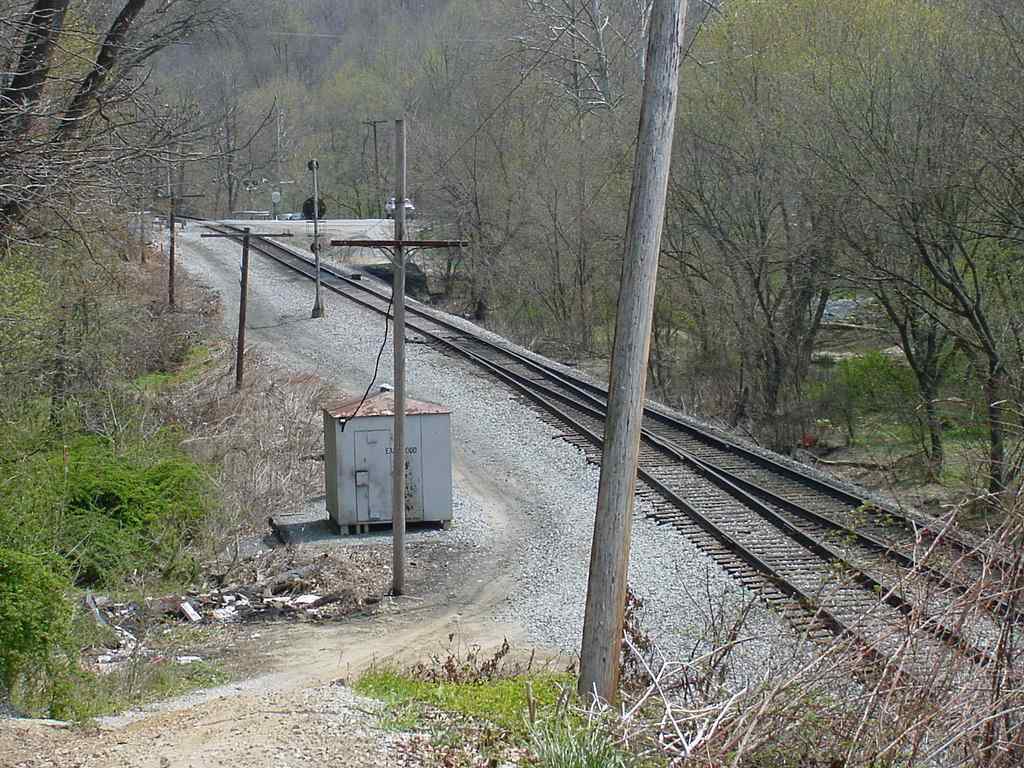
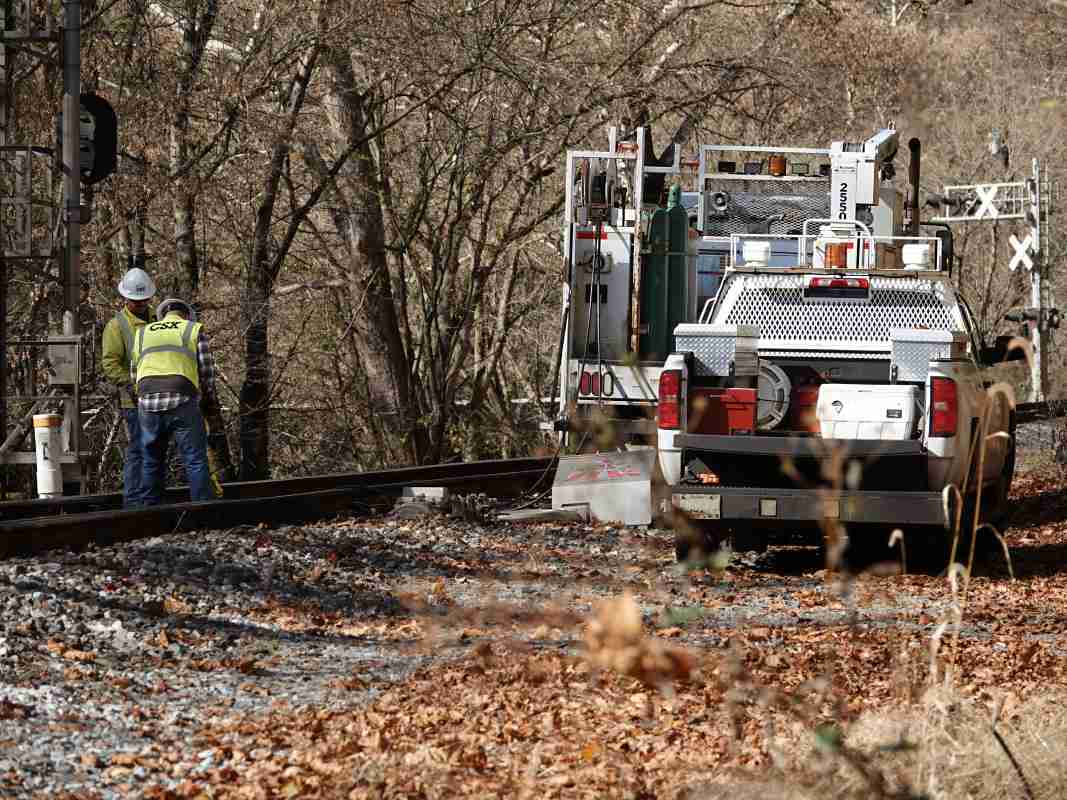
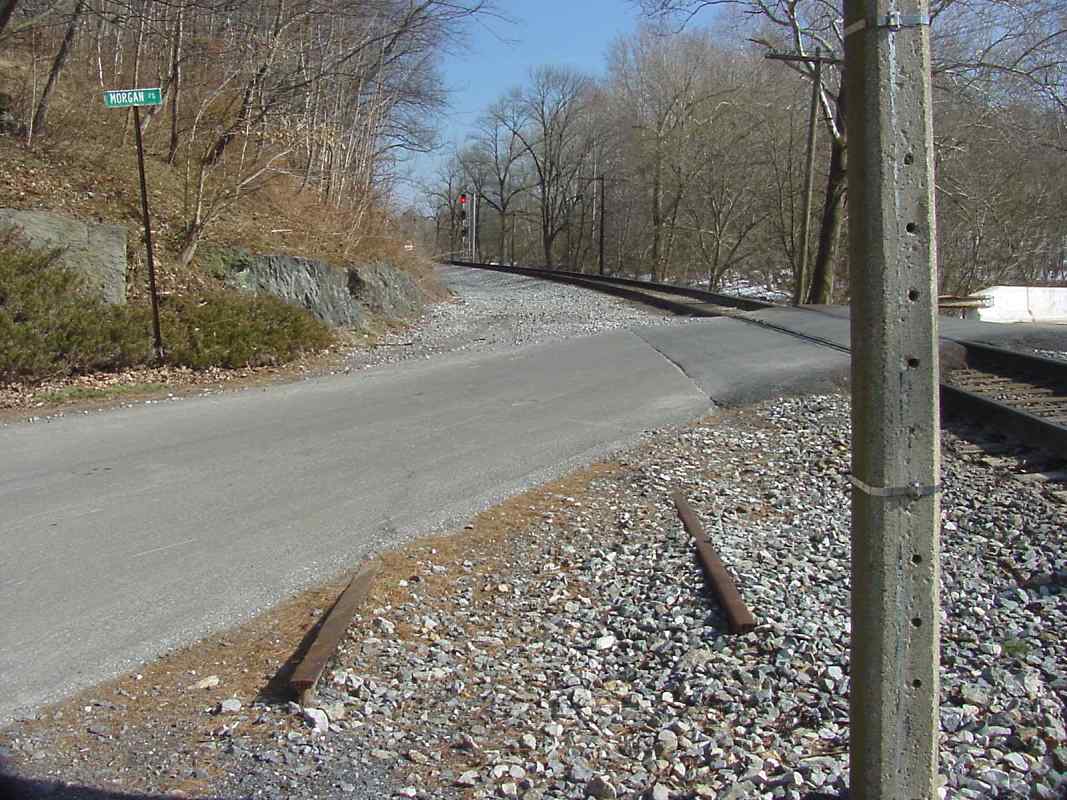
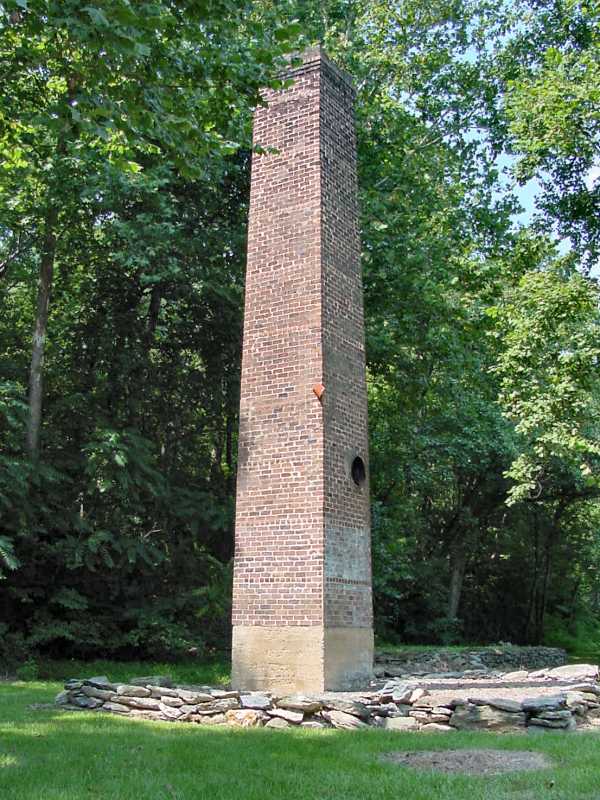
A tall water spigot, a "penstock," was mounted to this disused
concrete base that has never been removed. A siding paralleled
on the other (right) side of this concrete before the 1950s.
Reader Bill Barringer kindly wrote to say:
"The term 'Penstock' is indeed the B&O preferred term. I am a former
employee, who has followed the road for 53 years. It's the only term I
have ever heard used for a water column."
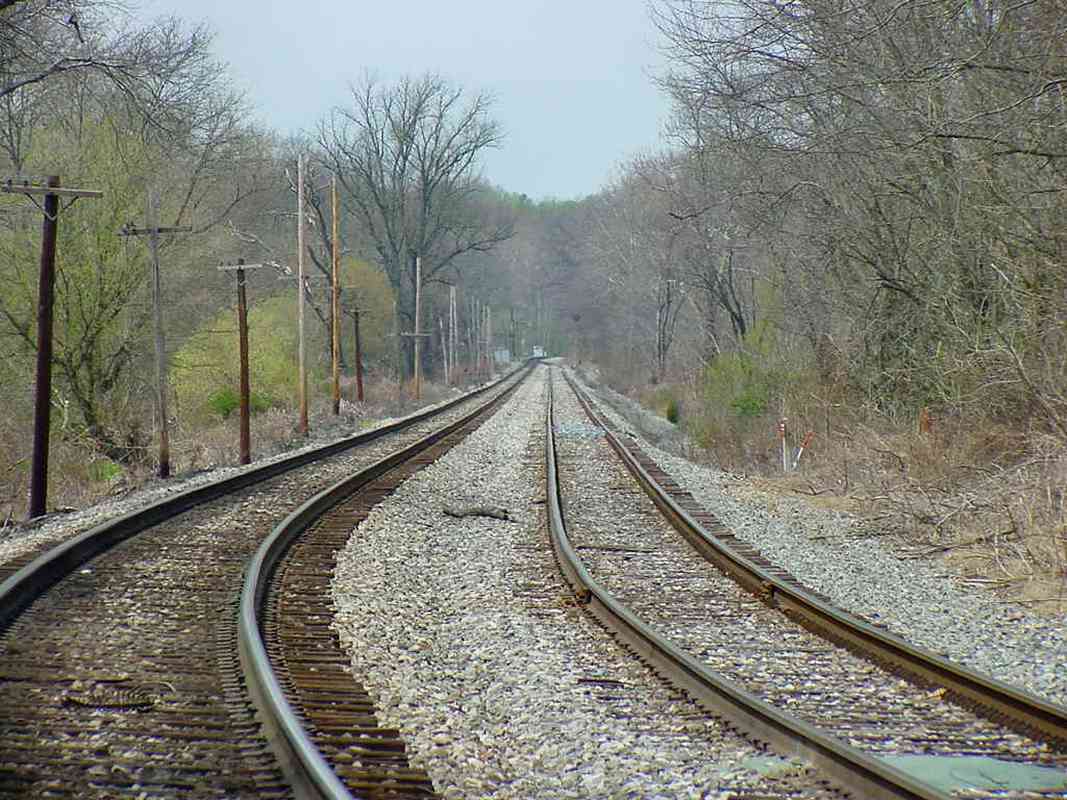
Compare this photo with the nearly identical view from 1948 on page 280
of Impossible Challenge II.
|