


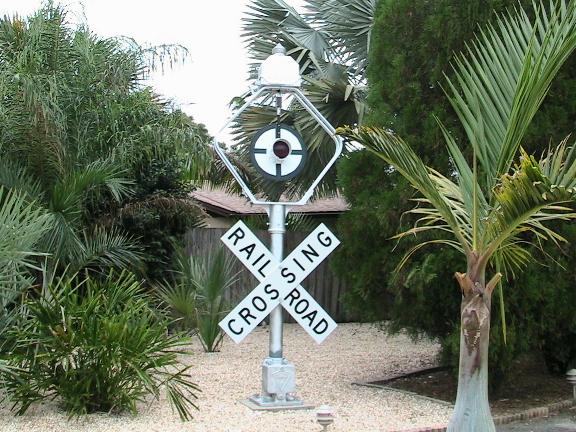
| Bryant-Zinc/Railroad Supply Co. Center Harp Shortie Wigwag
This wigwag was prototypically found all over the Upper
Midwest. There were
I chose the corner of my lot for this signal since I was
running out of room
|
 |
|
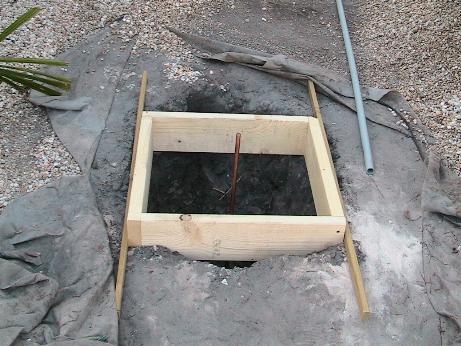
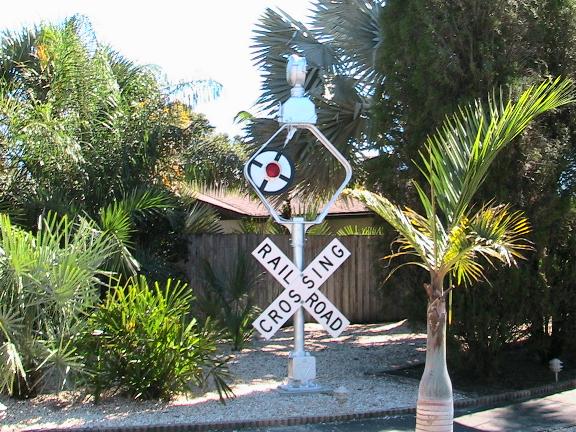
level the frame in the soft sand that we have here in Florida. Made the pad 22.5 inches on a side. That way the outside dimensions would be 2 foot square for the template. |
 |
|
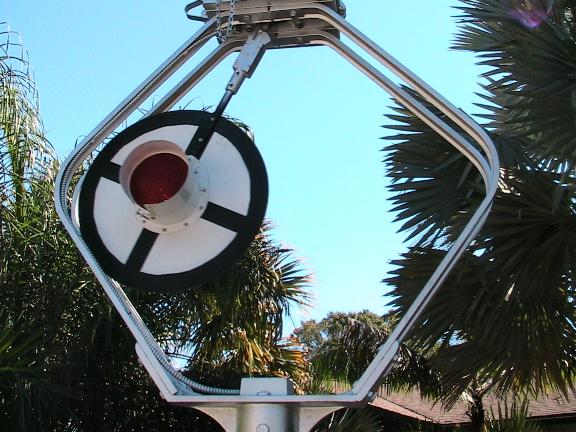
a wire for the bell, one for the motor, a neutral wire and separate wires for the banner light, I decided to use 3/4 in. conduit. I decided to run separate wires for the light as I have
been unable to find
As I have a gravel yard, I needed to move the gravel and
cut the weed
|
 |
|
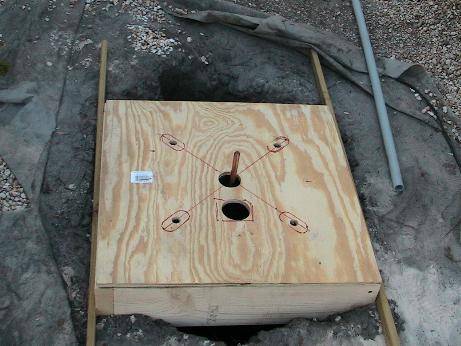
the the center for the ground rod, the conduit opening which is offset on this base, and the 4 anchors. The template fit exactly over the frame so I would be able to center all the anchor bolts. I used 3-foot, 3/4-inch thick threaded rods that I had a welder bend at a 90 angle 8 inches from one end. The conduit came up from behind and into the front hole. |
 |
|
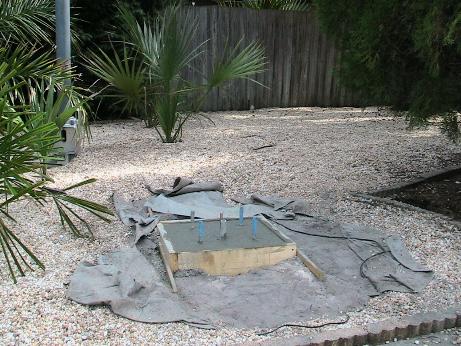
mixer to pour the foundation. Bought 25 bags of cement mix and used 22 of them - pretty good figuring! I covered the top of the conduit and the tops of the threaded rods to keep concrete off. Let the water evaporate off the concrete and the brushed the surface with a whisk brook to texture it. Let it sit for a couple of days and removed the frame. |
 |
|
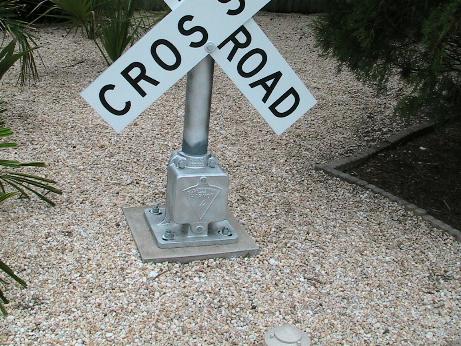
too. Attached the ground wire to one of the anchor bolts and then to the ground rod. Also grounded the base to the household system at the same time. Notice how easy it is to repair a gravel yard. You
could never tell that it
|
 |
|
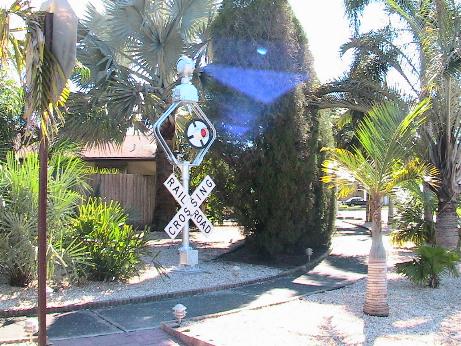
This is a two-person job. We were so afraid it was going to fall as it was so unweildy. I then attached the motor cover with the bell mount on it. The bell was not ready so I put a finial cover over it to keep the water out. I then attached a temporary banner and wired up the light. |
 |
|
began to light, swing, and clang immediately. The banner is still temporary until I can get an another
one restored. I
I wanted to only have the bell work when the signal was
turned on but wanted
I had a timer for the light to turn it on at dusk and off at dawn. |
 |
|
the motor. I used 3/8-inch armored conduit which was prototypical. I passed six 14-gauge through it which was a tight fit. There is a separate juction feed in the base of the signal. I went from 12-gauge to 14-gauge wire here. |
 |
|
|
 |
|
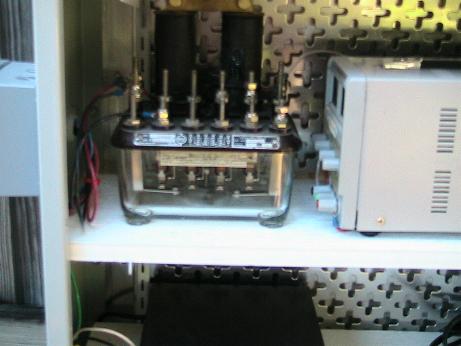
which is the type used for outdoor cable TV wiring centers. The door slides down to open and is held shut by a couple of clevis pins. The various switches are attached to the sides of the box. I designed this so that I could use it for 2 more planned signals in the back yard. Power was supplied from tapping into an outdoor outlet
with flexible conduit.
|
 |
|
anytime the power is onto the signal. It bypasses the timer and is powered in the same way as the bell is. Power only comes to the relay when the power switch is turned on. The relay also powers an indicator light in the house that shows if the signal is powered. I cannot see the signal from in the house so I added this next to a three way switch that will allow me to turn the signal on and off from the house. |
All photos by Jerold Crawford (2007)
More of Jerold's collection
- Part 5
More of Jerold's collection
- Part 1
More of Jerold's collection
- Part 2
More of Jerold's collection
- Part 3
Express Menu
12/07


