


This is the 2013 diary of the S&TR
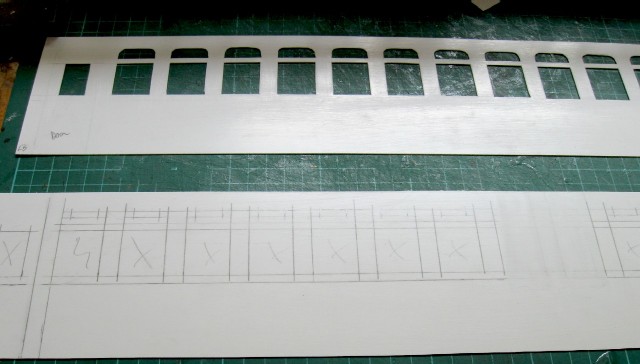
Dec 22, 2013 I've cut out all the windows: Since the existing cars don't have end doors modeled, I'll experiment with adding concertina diaphragms between cars. This one is just a paper mock-up - it needs to be taller. And with a bit of luck it will ultimately have a smoke generator with frying bacon smells!!!
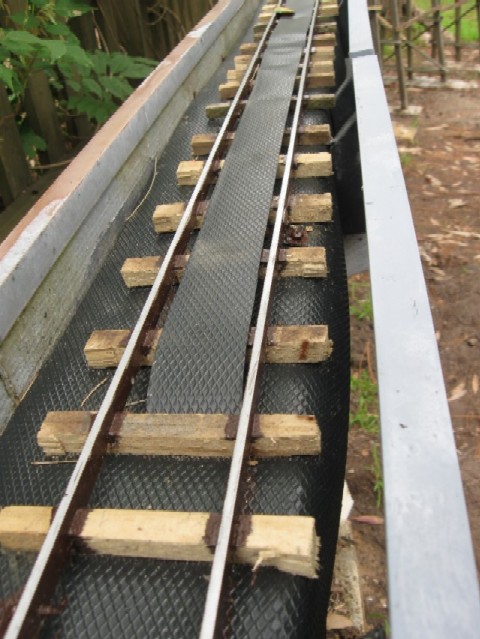
The top of the main 100 x 75 timber was rotten for about 5mm so I chiseled all that off and placed plastic �damp course� on the timber, under the track to keep water off. I'm also experimenting using this dampcourse between the rails to stop leaves getting under the rails.
Originally it was a single span of 3.3m � much too long for a prototype steel girder, so I'm adding a new, central pier, made from 110mm drain pipe.
I reused some of the better old sleepers to repair the sidings at Melaleuca.
Here's the 3 motor blocks-I used #2 for this loco.
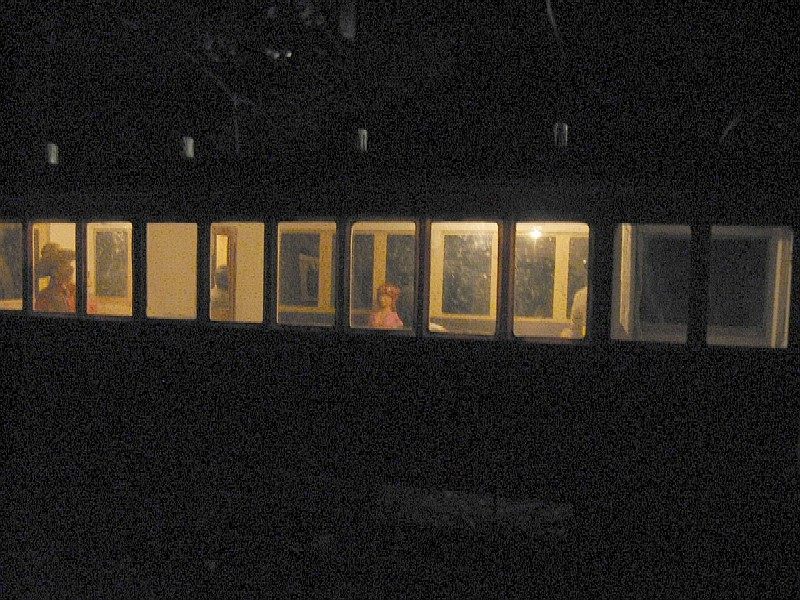
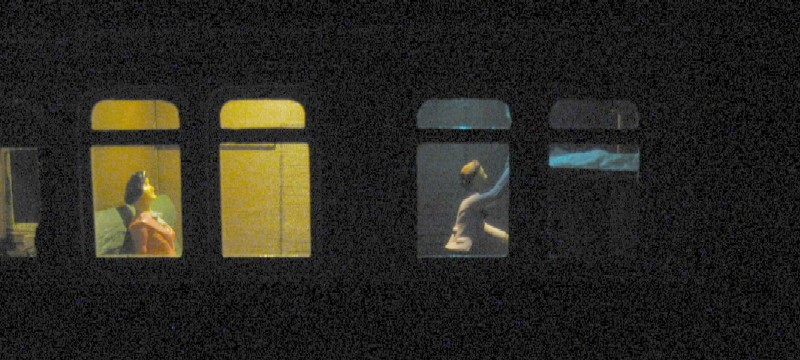
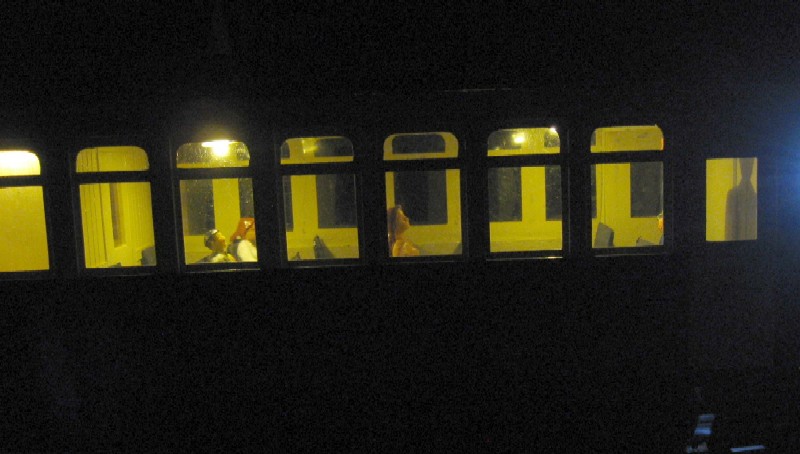
This is the end platform car. The sleeping car close up. One compartment has a blue night light! The sleeping car overall view The Boston & Maine coach the Mail train sitting car
To watch it, click here
It's 24 minutes long, so be prepared!!!
I've also uploaded a short video made at night as an experiment for future videos.
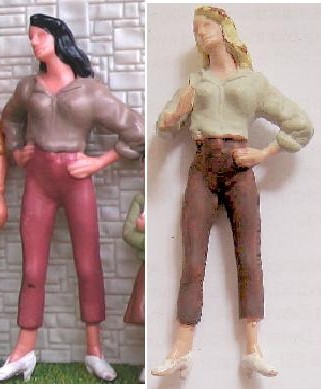
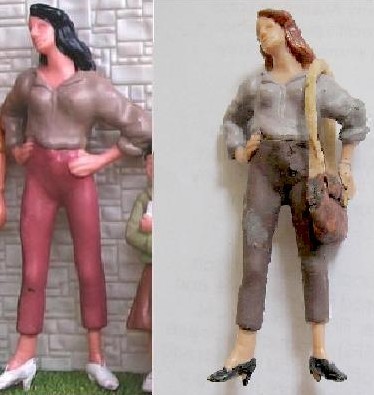
Then I decided to do a few mods to the cheap plastic figures I use to personalise them. This woman's pose is pretty weird, so I cut her right arm at the shoulder and superglued it back at a different angle, for a waving pose. Then I took another one a cut her left arm at the elbow - broke her wrist in the process, so I added a handbag to glue her hand to!
click here for 2004-06 diary
click here for 2007 diary
click here for 2008 diary
click here for 2009 diary
click here for 2010 diary
click here for 2011 diary
click here for 2012 diary
back to current What's New?
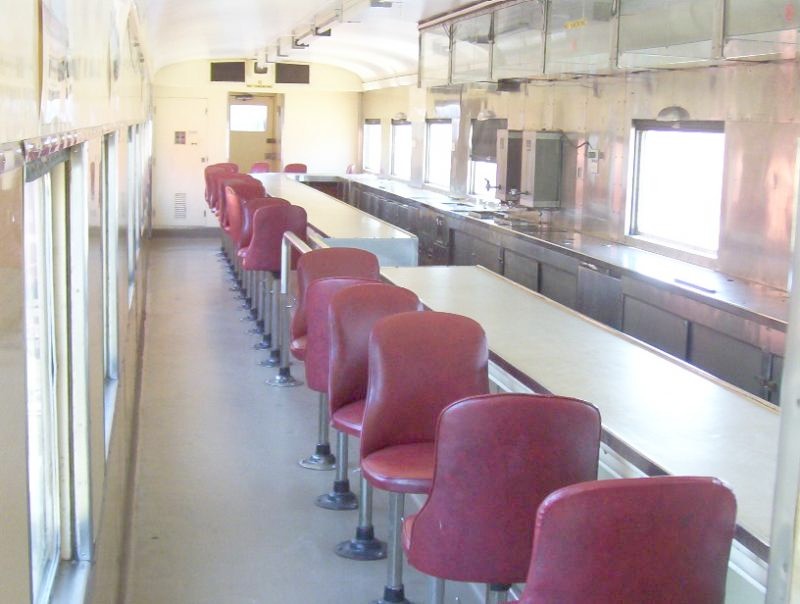
Egged on by Mark, I have started building a Buffet car for my "Mail' train. It will look like existing carriages outside but have a buffet diner section inside, similar to the Spirit of Progress:

Dec 1, 2013
I have replaced the fibro 'girder' on the big bridge along the fence, using black styrene.
To reduce thermal expansion, I decided to make each side in two halves of 1650mm each. I cut them in the shade and then laid them in the sun where my thermometer went off scale at 50C and it was 1660mm long � a 10mm increase for say 25C. So I need to allow for maybe a 20mm change in length. (0C to 50C)
So I fixed each of the halves at its midpoint, so it can expand +/-5 mm in each direction from 25C. The moving end has slots with loose screws, hopefully to allow it to slide.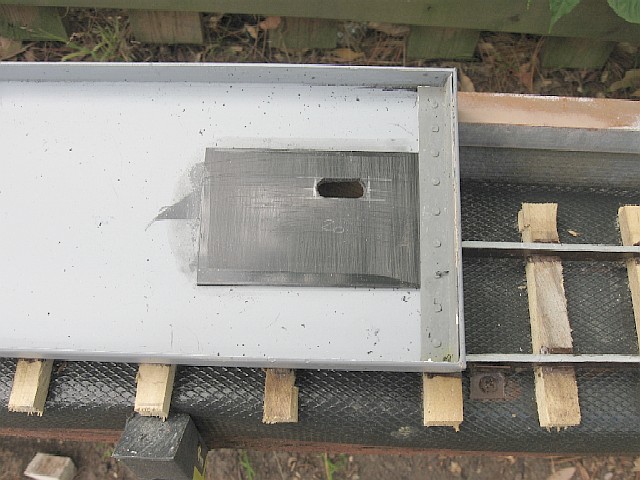
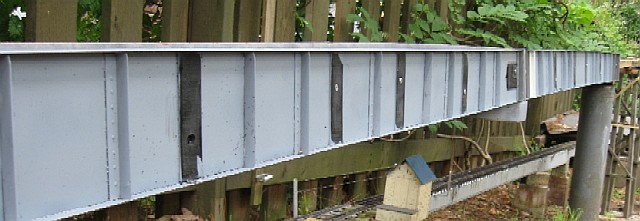
I'll wait till after a really hot day to see if the expansion works, before I cover the screws with the ribbing (black in pic).
Nov 30, 2013
I've made a final decision to just use nails and fishing line for the safety rails! Experimented using telegraph poles, but it looked like a forest. Will also use timber walkway on one side. Have started the slow work to complete this.
Nov 25, 2013
Had to lift most of the track to fix some kinks at the rails joints, but all 'real smooth' now.
I'm thinking of using this 'gutter guard' mesh as safety rails. Doesn't look too obtrusive. Black styrene as walkway on one side only.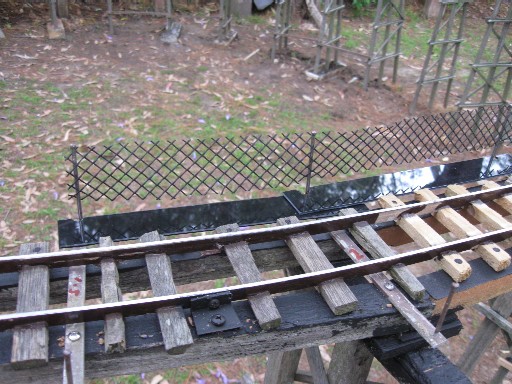
Nov 19, 2013
After 4 days work, I've finished the whole trestle and the track is back down.
Here's the first passenger train, after many test trains were run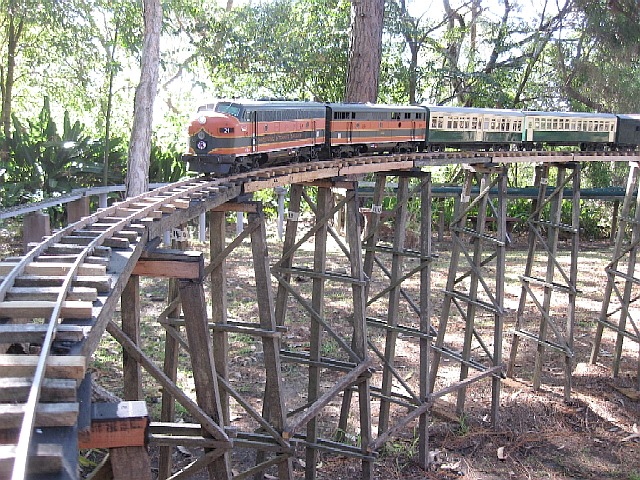
Now for the safety rails. If only I had some idea of how I want to make them.
Nov 15, 2013
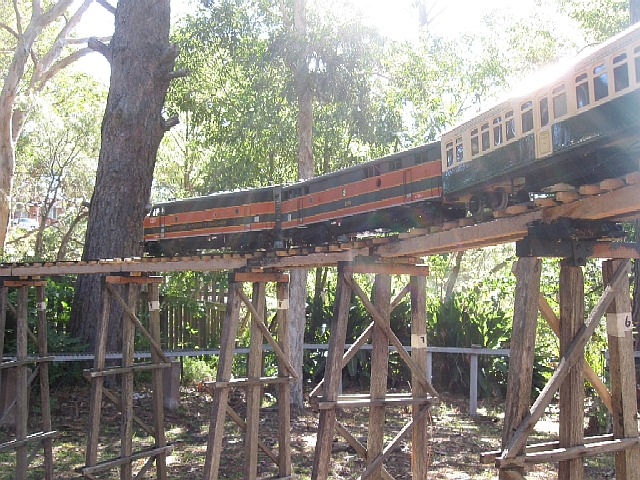
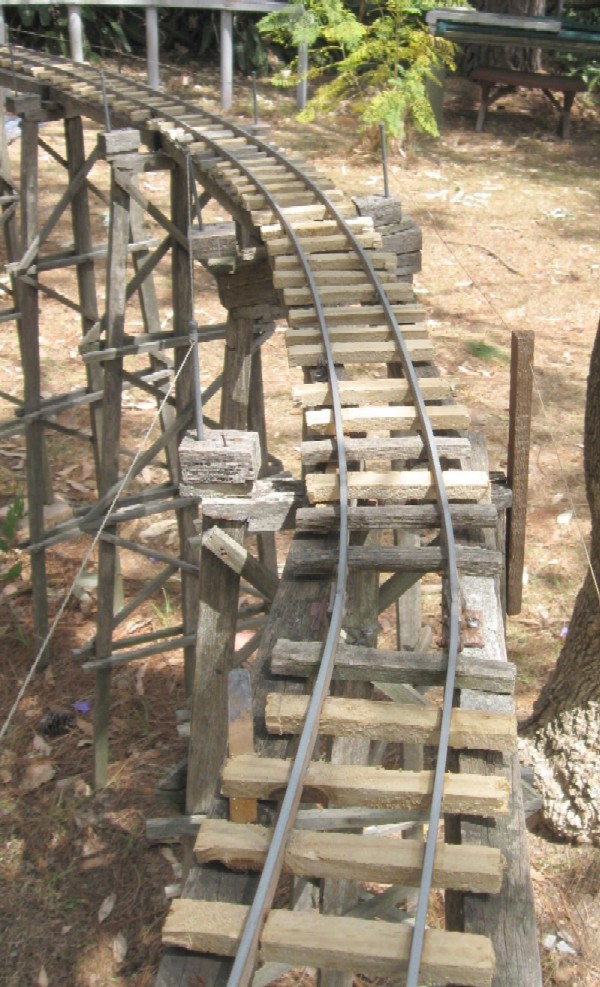
I've started repairing the big timber trestle. I'm removing and replacing all the top cap pieces and most of the stringers. This time I'm painting all the joint surfaces and horizontal surfaces and using nickel plated screws. So far I've done about 2/3.
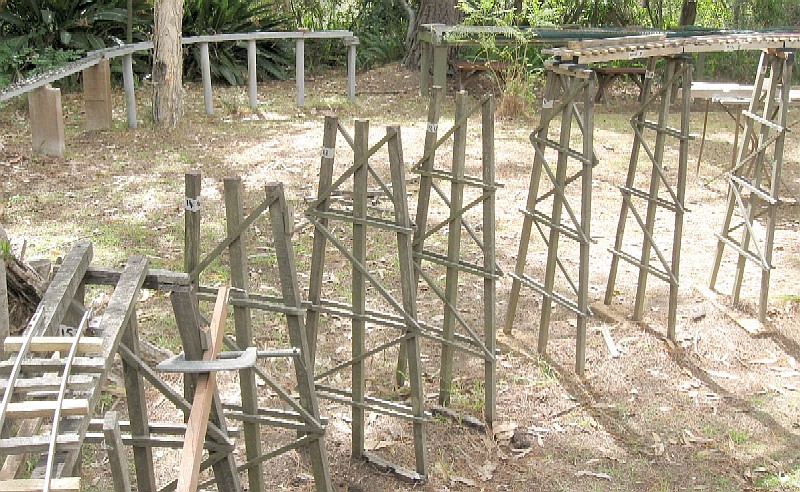

I still haven't figured out how to make the new 'safety rails' to protect trains from falling.
Nov 4, 2013
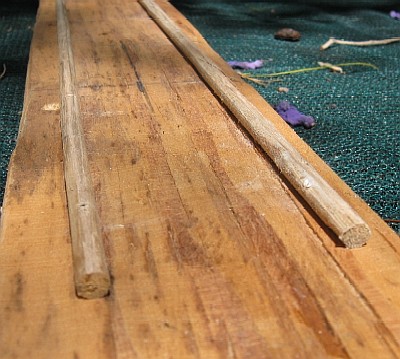
I've started experimenting with making a wooden rail track for a future logging line. It would be great to run my Climax and a few log wagons. So I nailed some 6mm dowel onto a board for a first test. I nailed straight through the dowel. The final plan will use sleepers, but this is just a quick test. It's a straight bit and then a small length of 900mm radius.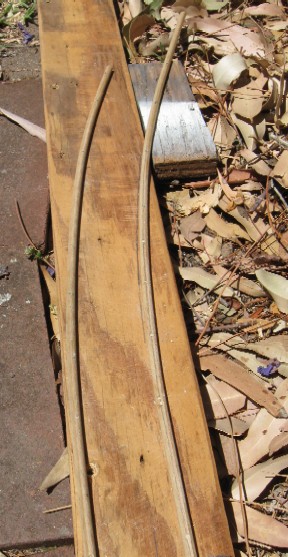
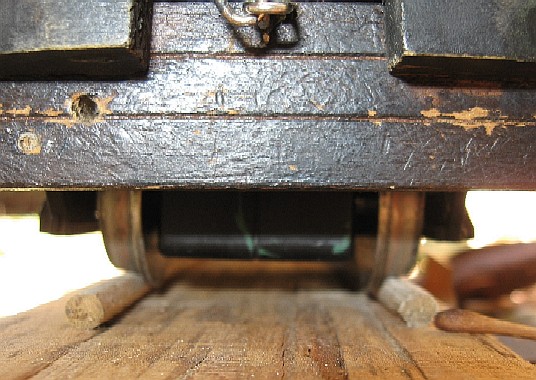
The lower pic shows the Climax wheels. The Aristo wheels have a very wide tread and so it sits OK on the round rails. It runs OK.
Now to buy some more dowel and try an 800 mm radius semicircle.
Nov 2, 2013
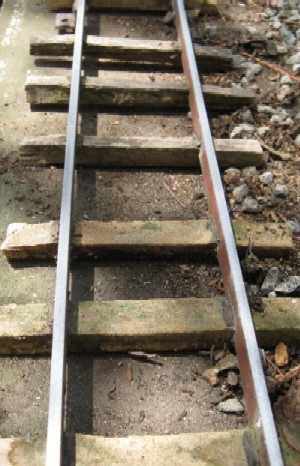
It's maintenance time (unfortunately). The big trestle is showing signs of rot on the top horizontal timbers and the bents that I have previously concreted. So as a start, I have replaced all the sleepers (the track is the slotted type with Alum bar). This will make the track nice and solid, so I can remove it to repair the bridge. At least these days I cut the slots using a router, instead of by hand, so it only took an hour to make 100 sleepers and a few hours to instal.
I might try some 'plastic' tomato stakes when repairing the bridge.

Sept 24, 2013
I purchased three Bachmann Big Hauler motor blocks and carried them home from America in my suitcase.
The first one to replace the very noisy motor in my loco #25 - a virtually off-the-shelf Big Hauler. It was a pretty easy conversion, just some problems with getting the walschaerts valve gear to look right. I did a few cosmetic changes, blackening the white wheel rims and trim, but would like to do a few more minor changes to personalise it.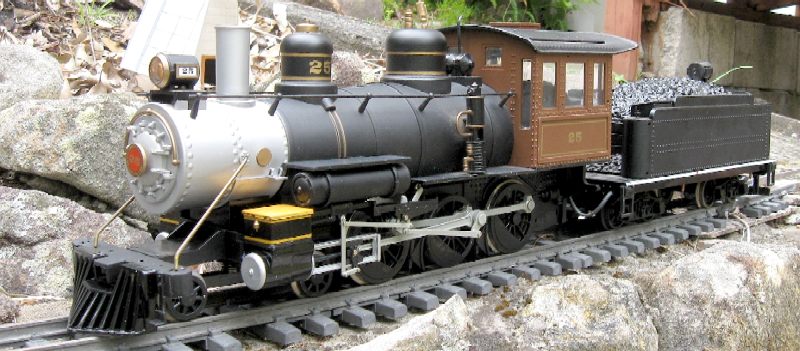
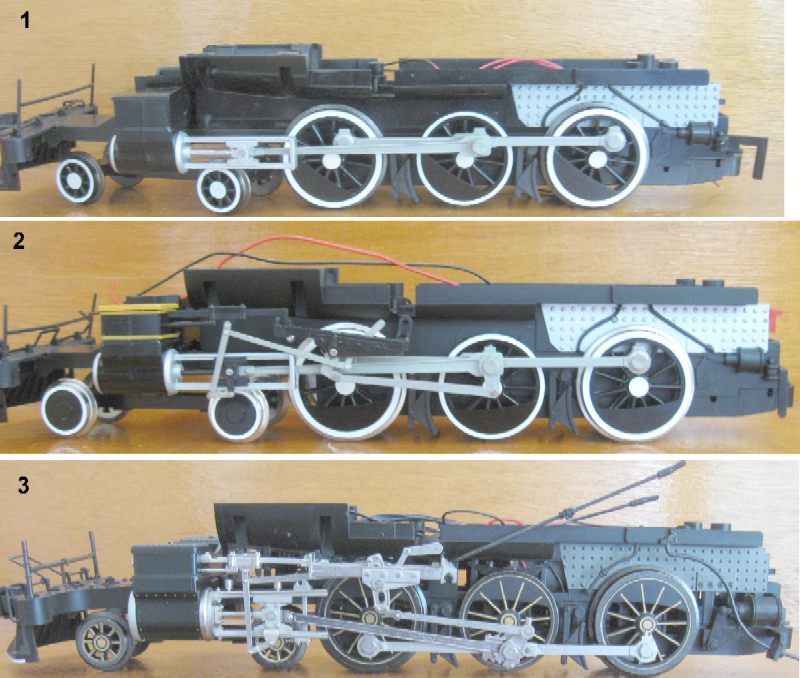
#1 motor block will replace the front unit of the blue Garratt which is noisy, and #3 block, with its metal valve gear, will replace the motor in the 36class. This leaves the one from the 36class for a future loco.
July 28, 2013
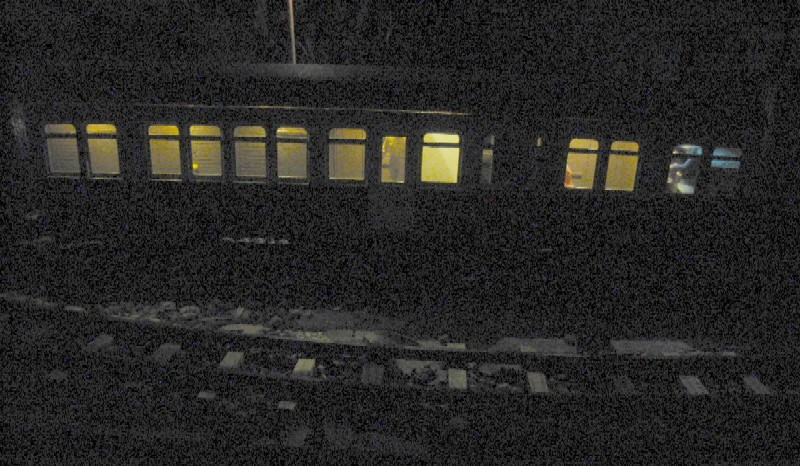
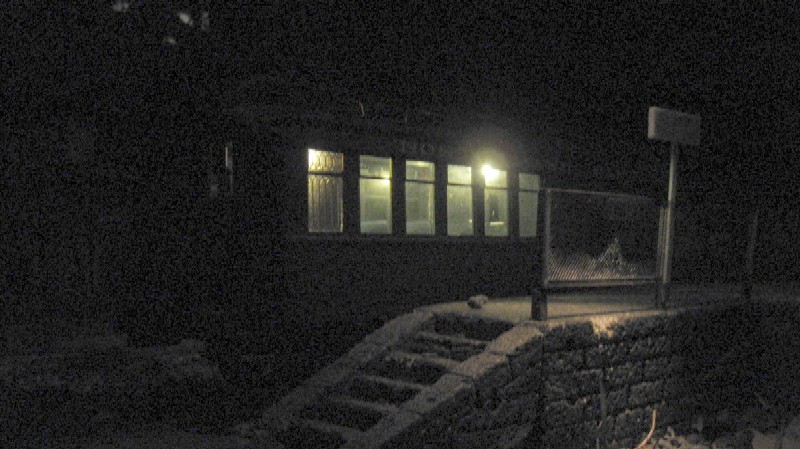
With grandson Ernie, we recently did some night time photography. I put some temporary lights in Ti-tree and Maple Jn stations, and used a torch taped to a dowel rod to provide platform lighting.
This shot used a torch to provide infill light on the loco.
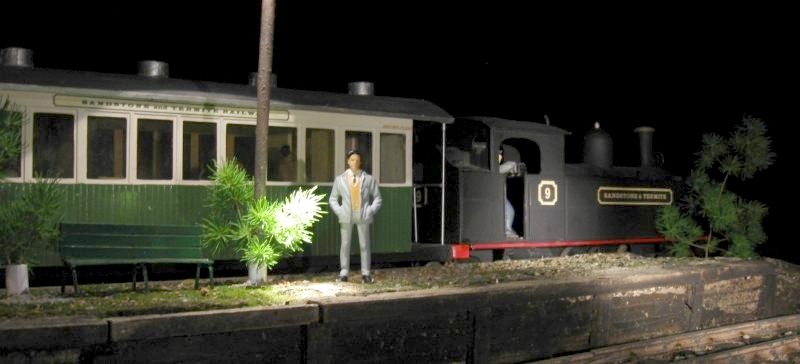
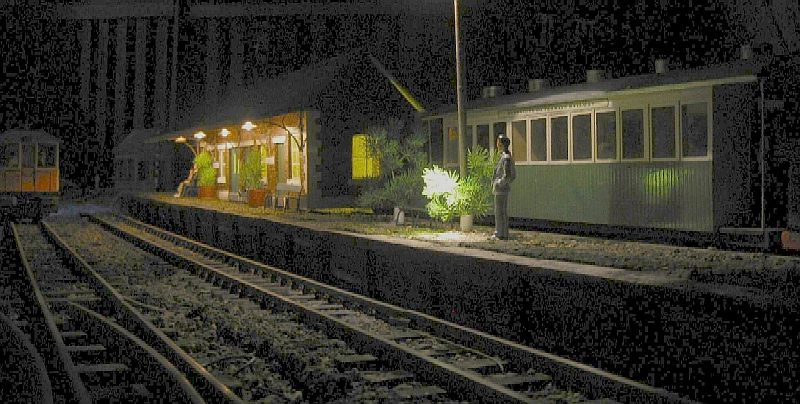
Following my tests with night time , I've installed lighting in all my passenger cars now, using mainly the 'warm white' LEDs I bought recently on eBay.
July 14, 2013
The last 2 months have been largely spent making an epic video called the 'Grasslander' - a fictitious train ride on the 5 railways of the GRASS club members see here for info on our club
click here
June 14, 2013
**** A magpie stole my gate *****
I built this (white) gate from wire and solder years ago. I just happened to look out the window yesterday, and the maggie had it in its beak.
I raced outside but it flew off with it. If I hadn't seen it, I would never have known what had happened to it.
April 25, 2013
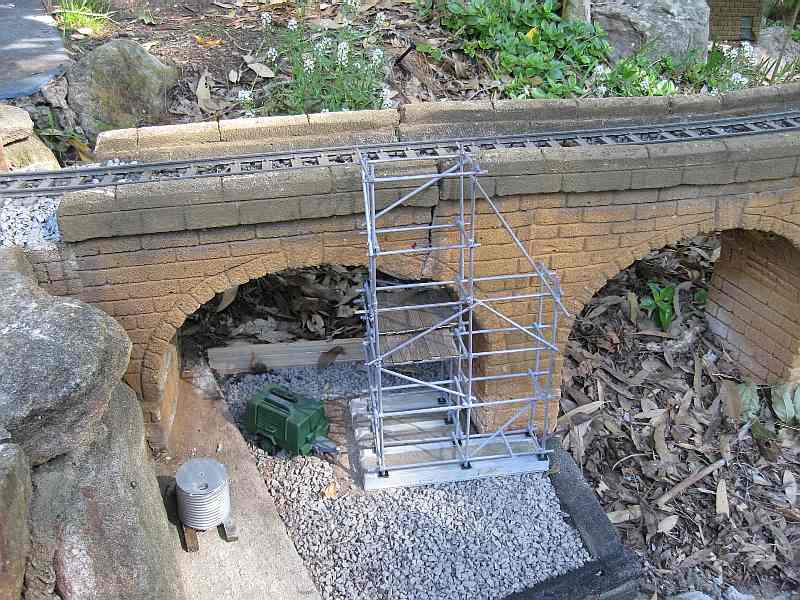
Lilyvale viaduct has developed major cracking, so workmen have started erecting scaffolding and preparing a worksite, to repair the damage.
I made the scaffold from bamboo meat skewers held together with heatshrink tube and copper wire and superglue.
April 7, 2013
Bought 3 diecast car kits from Aldi (thanks Geof!) - a little Fiat, VW beetle and VW Kombi. These kits (Welly) are easy to put together, mainly just glueing the small parts like lights etc. I've done the Fiat, even converted it to right hand drive. Painted the seats, and added NSW yellow number plates.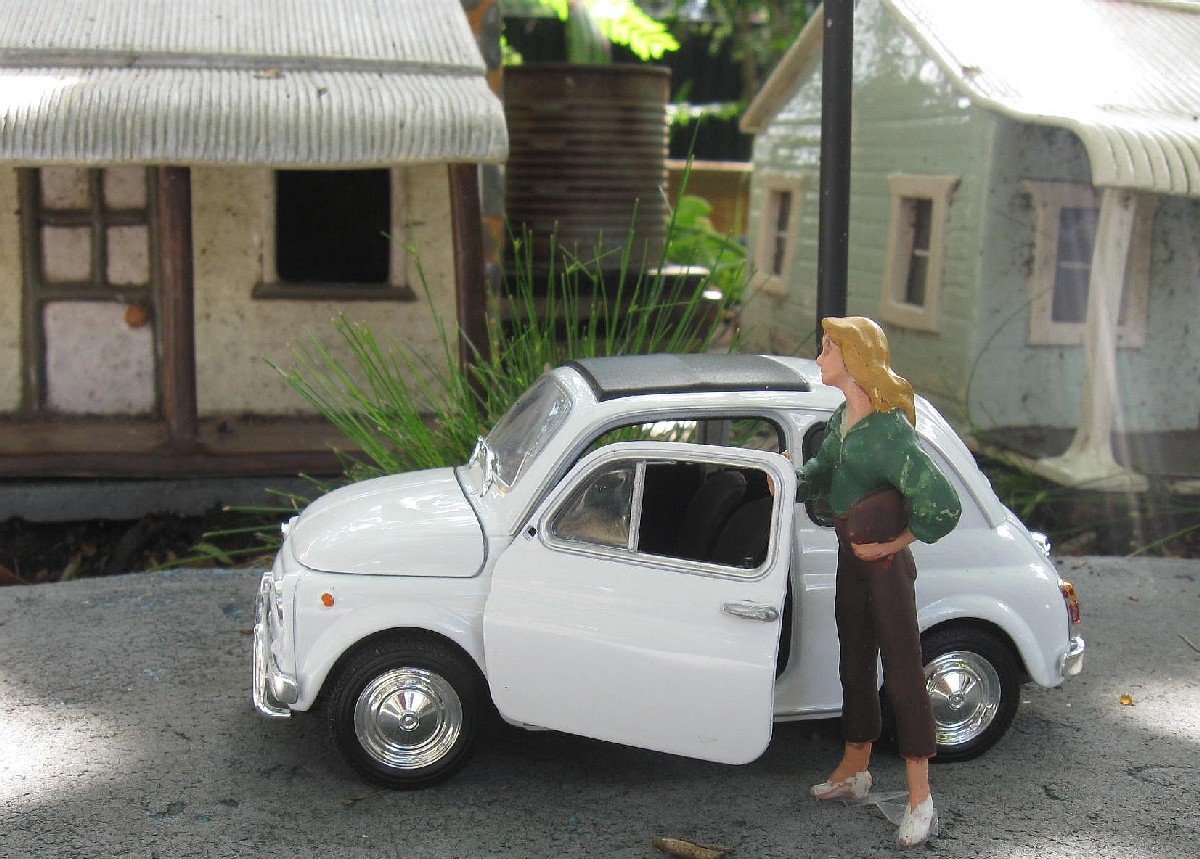
April 3, 2013
It's been a 'maintenance' month, fixing stuff that's showing its age.
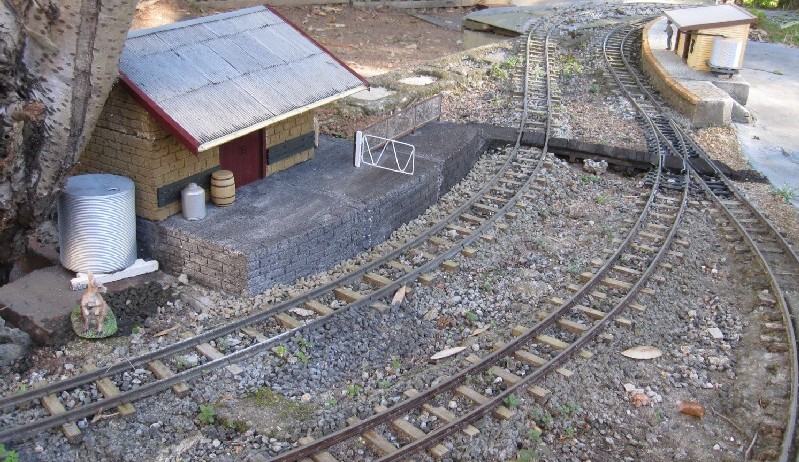
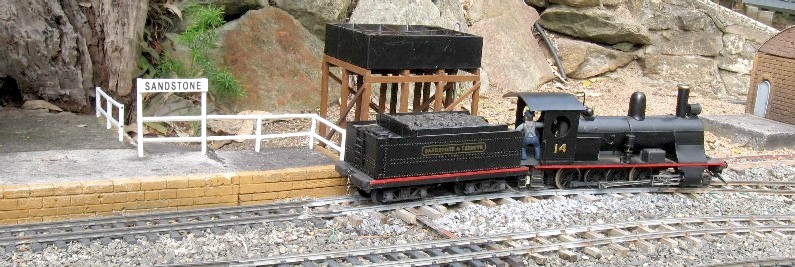
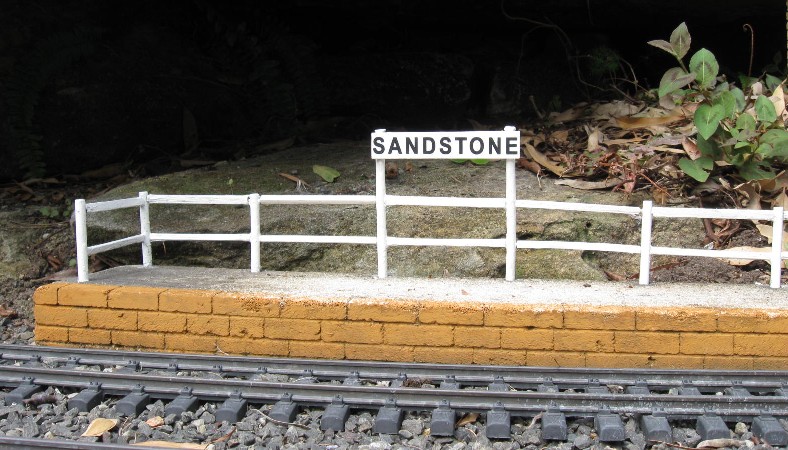
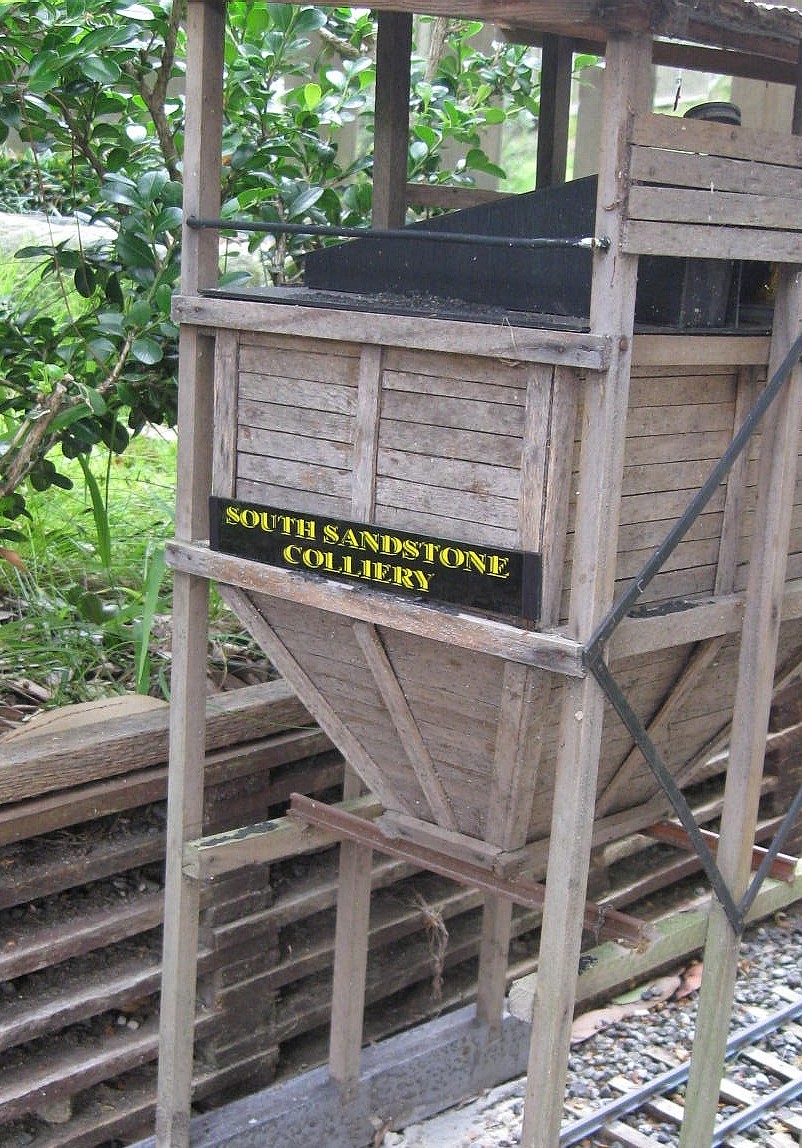
First the fences at Sandstone had got broken, so I repaired them and decided to replace the station signs at the same time. So I got new signs printed at the local print shop. Did Lilyvale and Melaleuca while I was at it and a new sign for the coal loader.
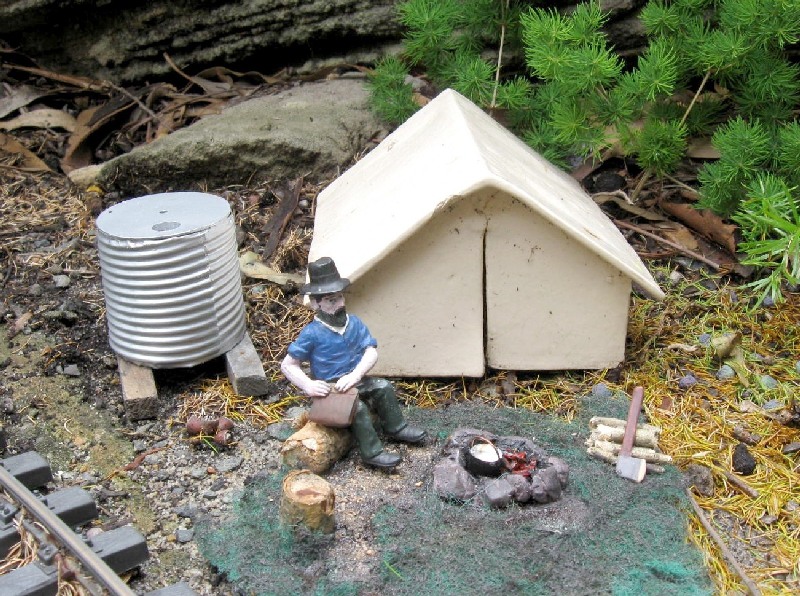
Made a small diorama for the ganger's tent that Pauline made for me. Added a fire with a billy boiling, a water tank and wood heap with axe. The green 'grass' is a 'scotchbrite' scouring pad.
March 7, 2013
I've been using white LEDs for headlights but the ones I've bought have a very bluish tinge. I found some 'golden warm' LEDs on eBay, so have bought some. link
They are a much yellower tinge, but not 'yellow', and better for older style incandescent headlights. Here's a comparison of the old and new.

I think I'll stick with the bluer ones for diesels and the yellower ones for steam.
March 6, 2013
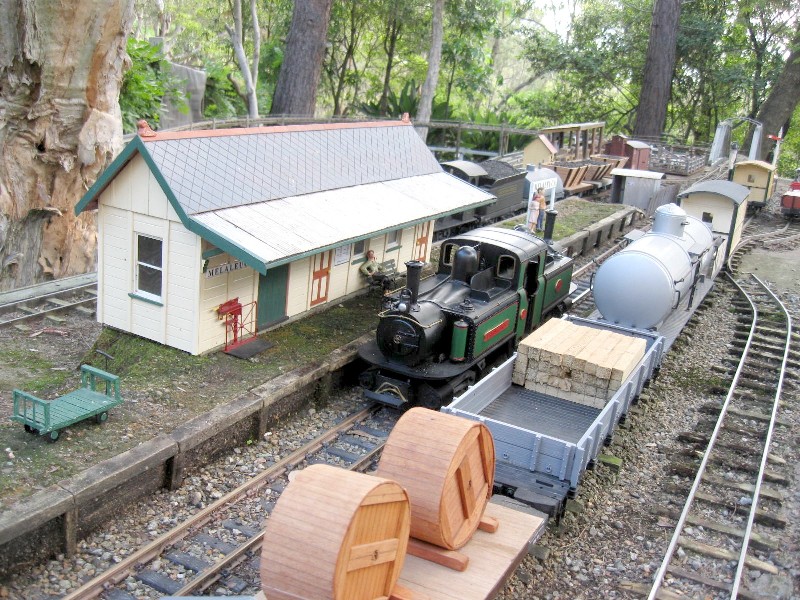
A visit from Martin Smith. He wanted to try out his track powered Fairlie, so I had to resurrect some track power. Amazingly, I got a good lot working again after about 5 years, with just 2 wires broken off.
Here's his Fairlie at Melaleuca. It's a beautiful model and runs very smoothly.
Feb 24, 2013
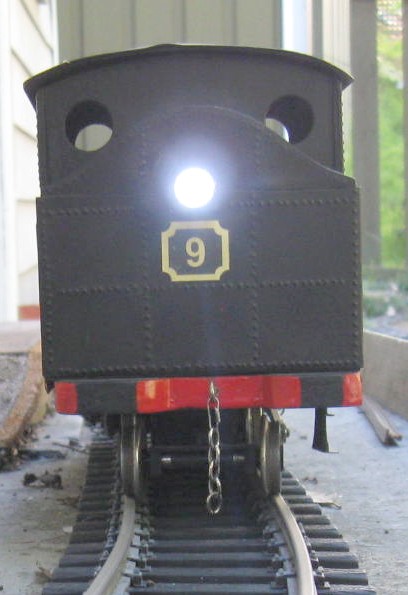
I built a steam sound for my #9 tank many years ago from a simple Picaxe white noise generator. It was a very harsh sound. When I built my #20 tank, I managed to design a Picaxe interface which allowed the chuff to be shaped and volume controlled. This sounded really good, so I changed the old #9 circuit to the new one. This video compares the sounds.
click here
Feb 14, 2013
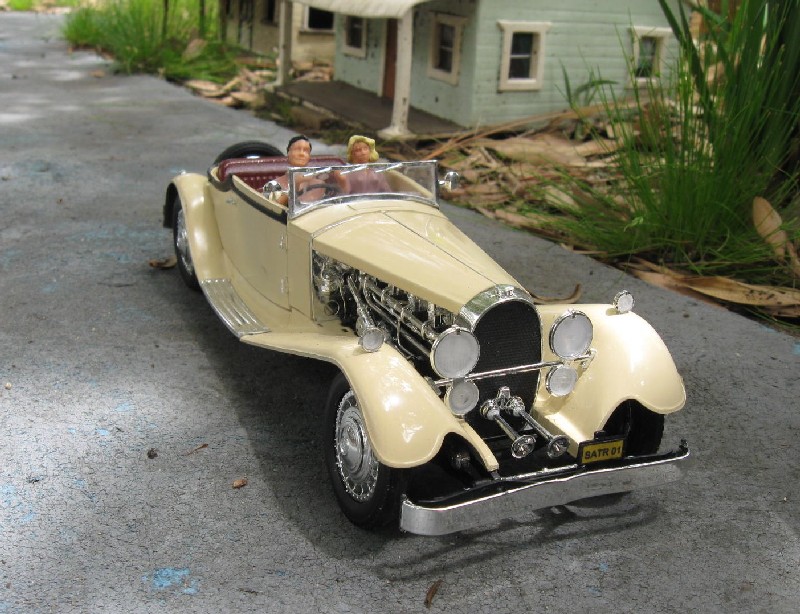
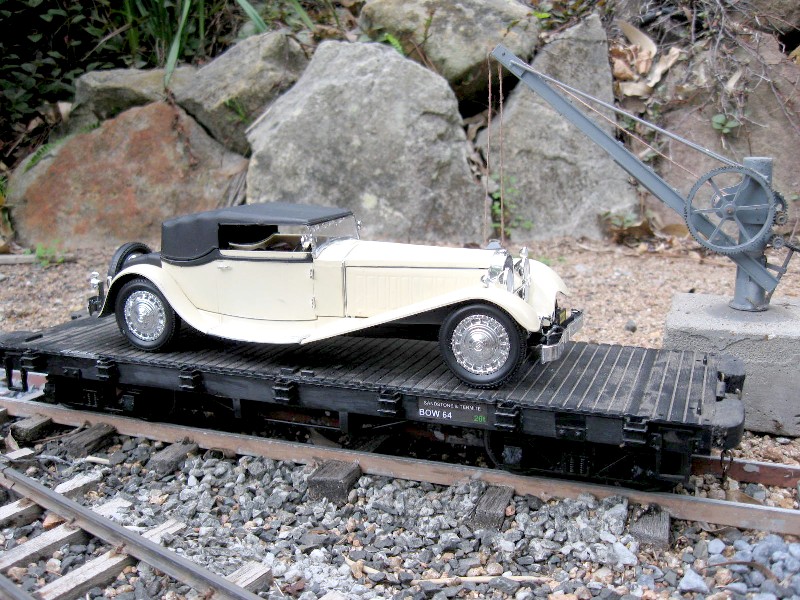
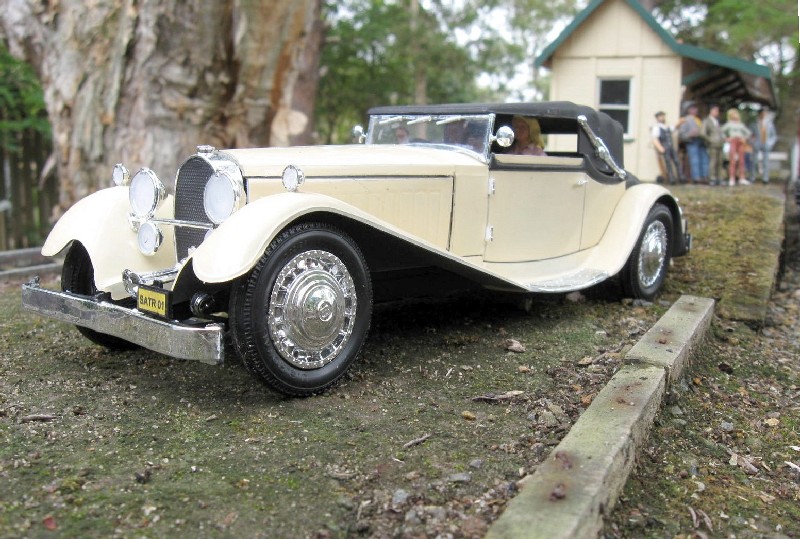
It's been a prosperous year on the SaTR, so the owner decided he needed a new car. Here it is being delivered - I'd hate to be the employee in charge of unloading it.
Actually my daughter gave me the kit of the Bugatti Royale Victoria for Christmas. Sure was a finnicky thing to build!
Feb 2, 2013
It's been a long time since updates, with holidays and visitors and sickness.
Unfortunatley this update is about a major crash. Loco 20, the brown 2-6-4 tank in the pic below, came off the high trestle somehow and fell 5' onto the rocks. I didn't take pictures as I was too upset. Hopefully I've gathered up all the parts and have started putting it back together. Repainting all the scratches will be the hard part.


