


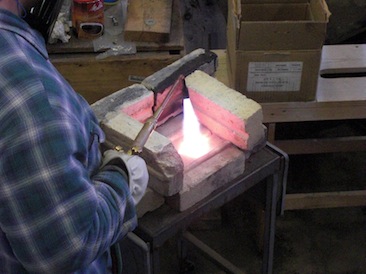
Work started with obtaining the bottom plate and the fabrication of all the various pieces of angle iron. The long straight pieces were cut to length and drilled for the rivet holes. There is a rivet hole every 1.2 inches with a 0.6 inch offset between the two flanges of the angle iron. We use 3/8 inch diameter size rivets which then require a slightly larger hole than 3/8 inch. We use a "W" size drill to get the necessary clearance. Instead of using cutting oil, we use Dawn liquid detergent for cooling and lubrication. It seems to work well. Since angle iron can not be curved to the radius's we needed for the front and rear of the tank, we had to fabricate these special pieces.
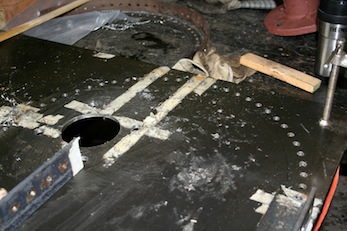
We cut the necessary 2 inch curved bottom pieces out of plate steel. Then we bent some 2 inch bar stock for the upright pieces. These two pieces then had their rivet holes drilled. Lining them up carefully, the two pieces were tacked welded together. Then they were given a full weld being careful not to warp the pieces. Once done with this, all the various pieces of angle iron were laid out on the tank bottom and fitted at their final position. Everything was clamped down and the bottom steel plate was then match drilled using the angle iron pieces as a guide. A magnetic based drill was used for all the drilling. Next we had to position the two water outlet holes in the front of the tank and drill two three-inch holes in the steel bottom plate. The position of the outlet holes had to be just right since there was minimum clearance for the pipe fixtures below the tank.
Next the baffle plates were fabricated and the bottom angle iron supports riveted to the bottom. To minimize leaking we are using a thin layer of high temperature RTV between the angle iron and the steel plates. Next was the installation of the two overflow pipes. These go from the top of the tank by the water fill opening, through the tank and out the bottom.
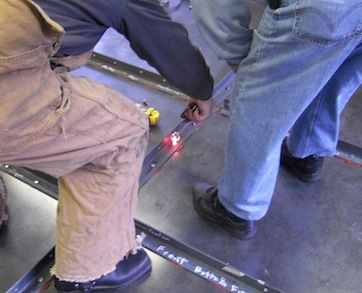
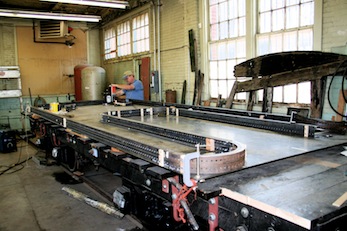
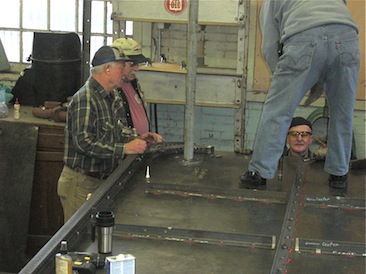
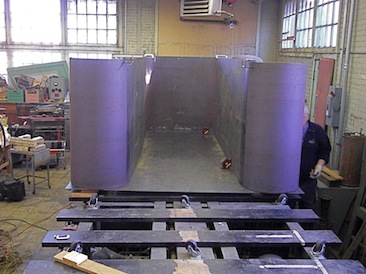
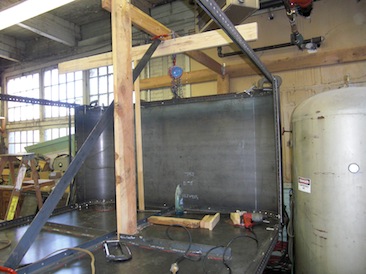
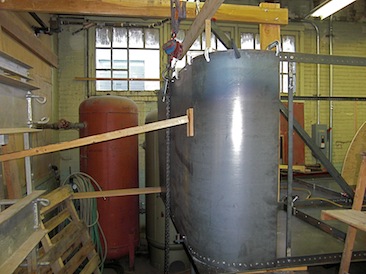
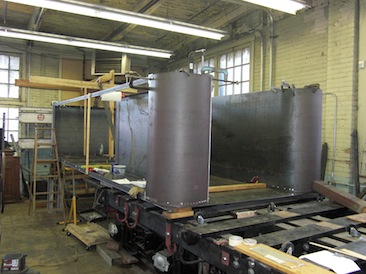
The curved steel side pieces arrived on 20 November 2008 from Petersen's and we are now installing them starting with the piece that makes up the back of the coal bunker. As with the bottom piece, the side pieces have to be matched to their respective angle iron pieces and then match drilled for the rivets. The two main side pieces will be a bit of a challenge because of their size and weight (189 inches by 43.5 inches and 430 pounds). The assembly process is drill one piece, clamp to another piece, match drill, bolt everything together and then one by one replace the bolts with rivets. A slow process, one would think we work for the government.
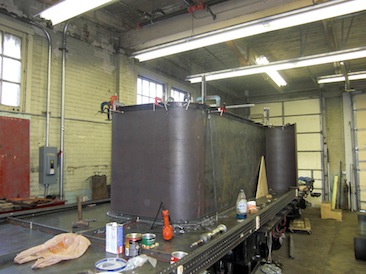
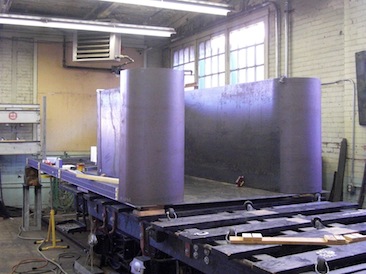
We still need to get the internal bracing bars that are 2 inch boiler tubes bent flat at the ends and the water inlet assembly. But as you can tell from the pictures, there is some notable progress. Once all the bottom fitting is done and the bottom angle iron riveted to the tank bottom, we will need to remove the temporary rollers we have between the tank bottom and the tender frame. This should be fun. More to come as the build accelerates, keep checking in.
____________________________________________________________________________________________
Photos from Jan 31, 2009:
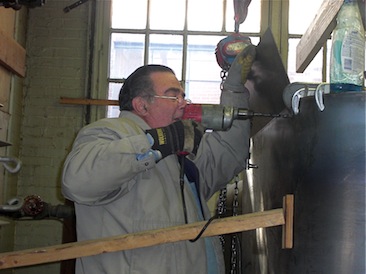
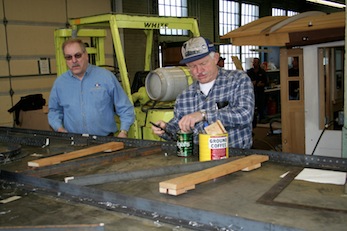
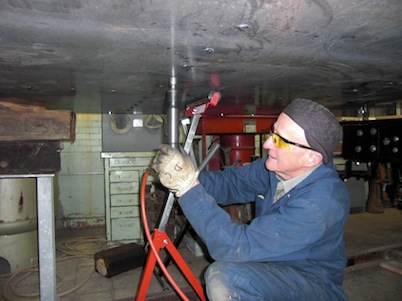
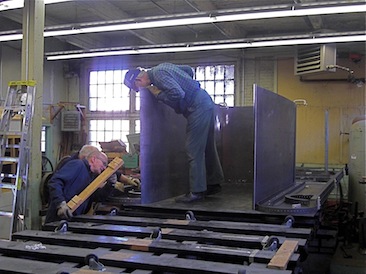
Chapter President Mike Burdett drilling through quarter inch steel!


